
Easy DIY Power Tool Storage Station
- Workshop DIY Projects
- April Wilkerson
- Updated: March 8, 2023
Thinking about building a DIY power tool storage station? Check out this organization DIY project where I added power tool storage to my shop wall!
Hey! Sorry for the stretch of silence on my end. It has been unusually cold in north Texas and I haven’t been wanting to get out in my shop and freeze. Buuut, I have been able to get some things done here and there when the sun decided to come out. One thing I did was finally build a storage system for my corded power tools. I did a lot of looking around but decided that the french cleat system was the direction I wanted to go.
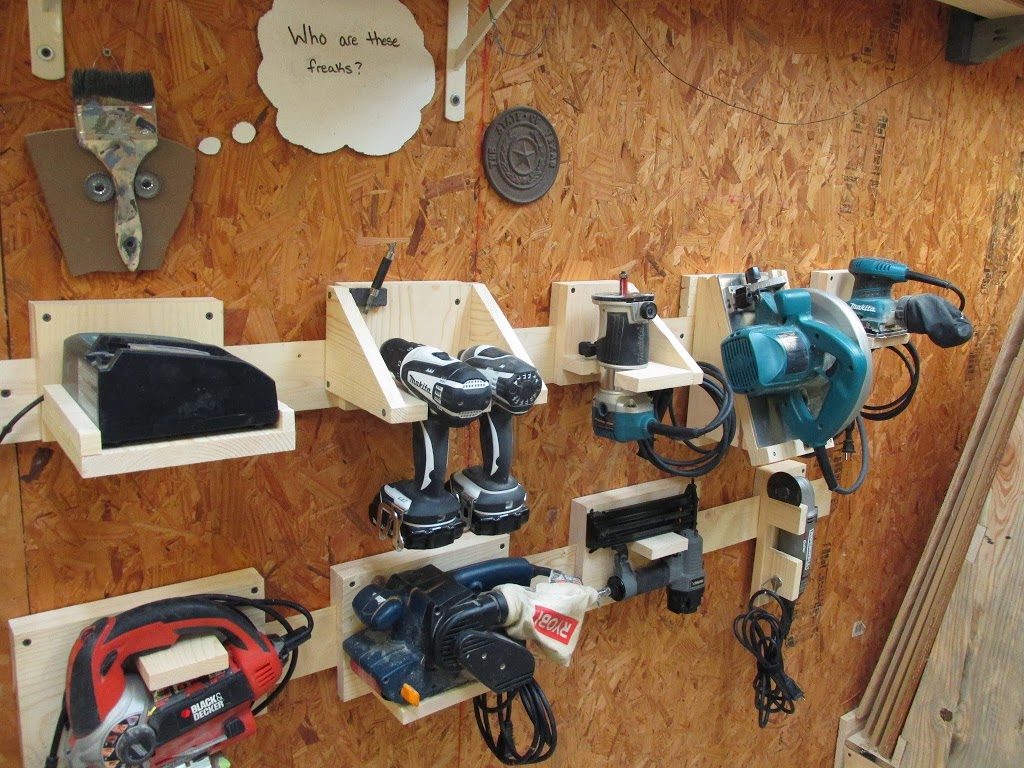
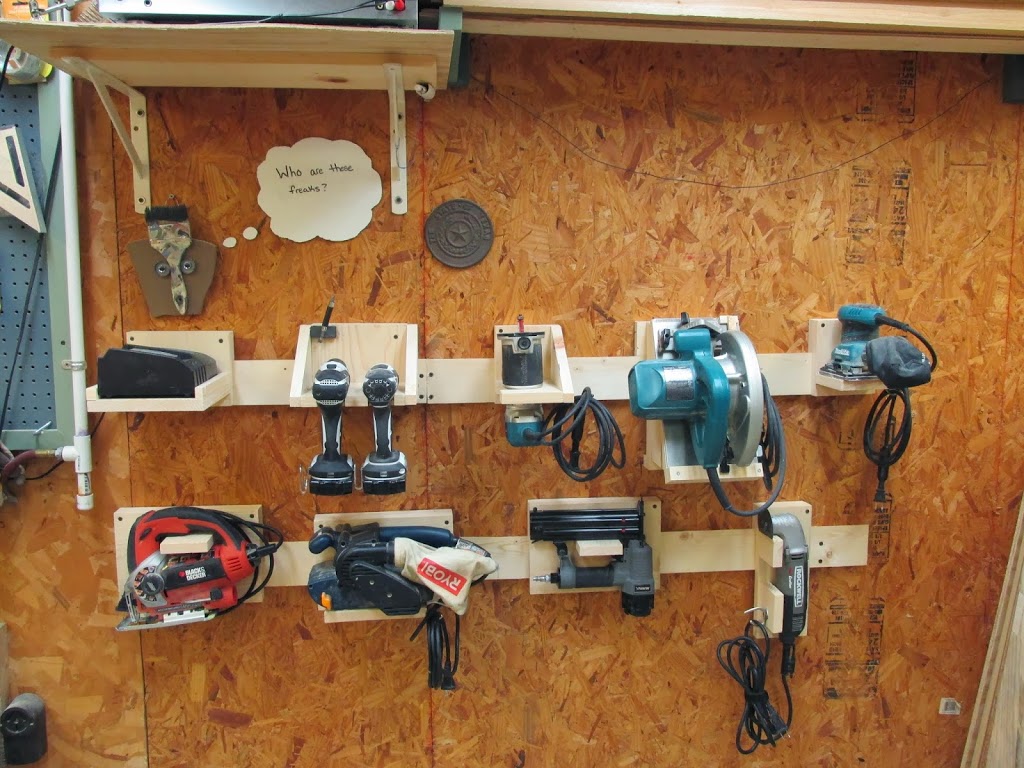
I was using a cabinet up to this point, but I’m not a huge fan of cabinet storage so when I first saw this thing called “french cleat system” in Family Handyman, I knew it was the exact thing I wanted to build to store my tools. It’s taken me a few months to get around to it….so many projects, so little time and all that….but now that it’s in, I can’t be more pleased. I love how visible and accessible it makes my tools, and how flexible the overall system is.
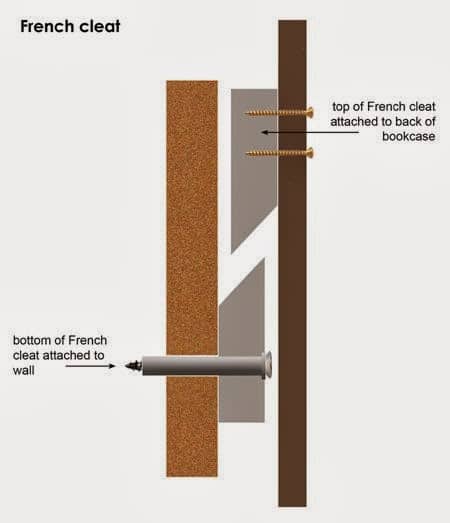
Then you hang the cleat on the wall brace and use gravity to keep it there….brilliant but simple….my favorite thing (besides new tools and thin mints of course).
Here are the steps in case you are interested in making your own.
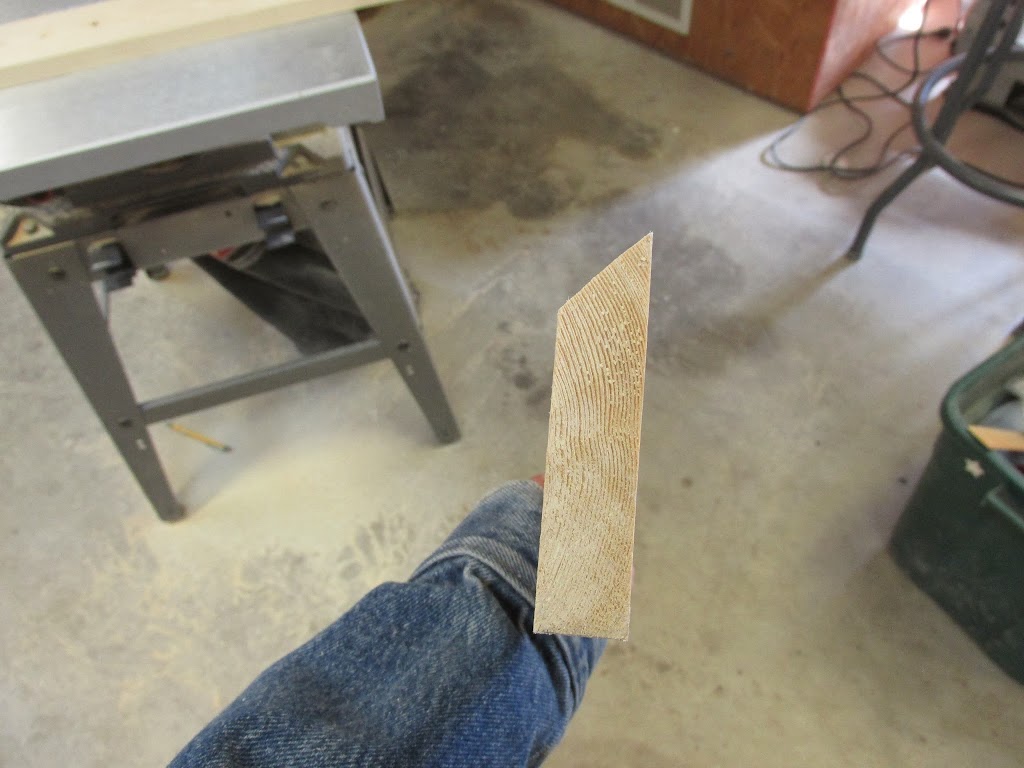
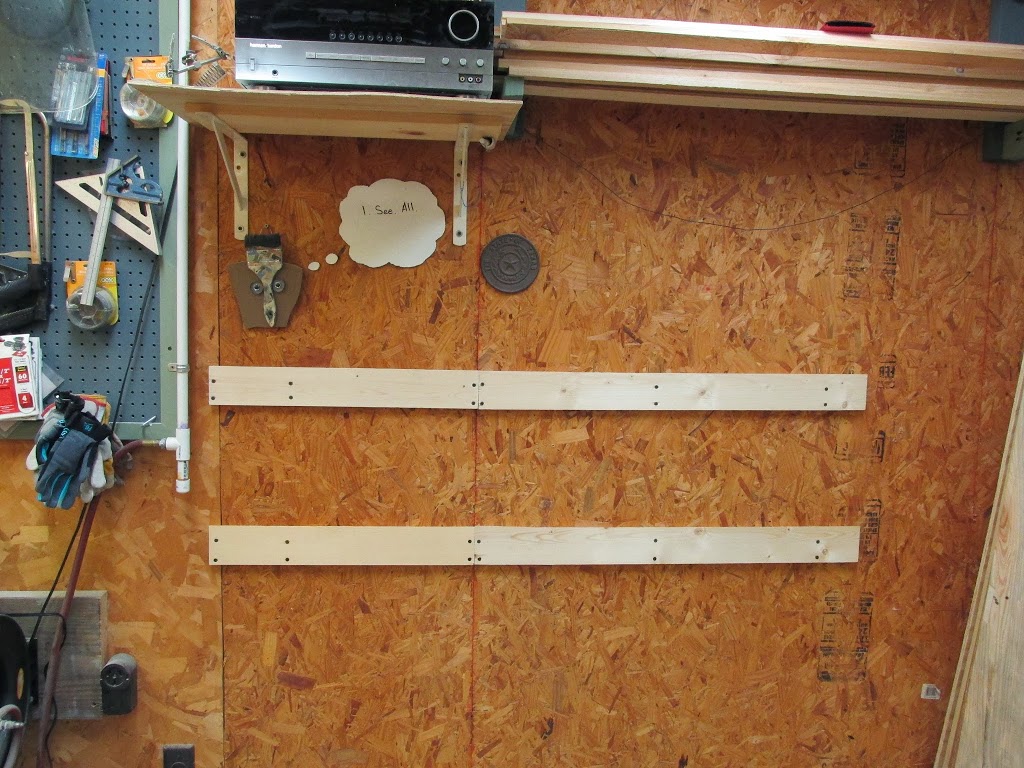
Simple. Now to make the hangers…
Note: When making your hangers, you need to make the back piece (that is connected to the cleat) long enough, to where it goes down at least to the bottom of the brace on the wall. If you don’t make it at least as long as the brace then it won’t sit as snugly when you hang it.
Drill Holder:
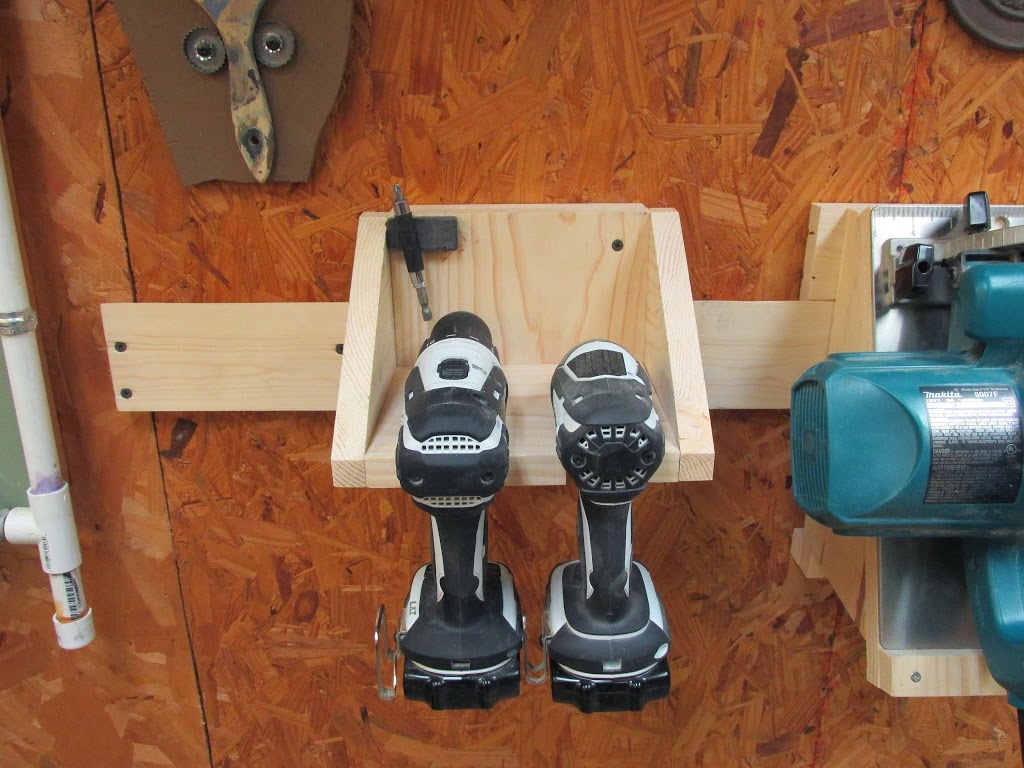
1) I first made the platform for my drills so I could get an idea on how wide it needed to be. I simply just rested my drill/impact on the piece then traced around it with a pencil. Tip: Make sure you remember the base of the drill is wider than the top where you are tracing.
2) Then I cut the back and the cleat then screwed them together.
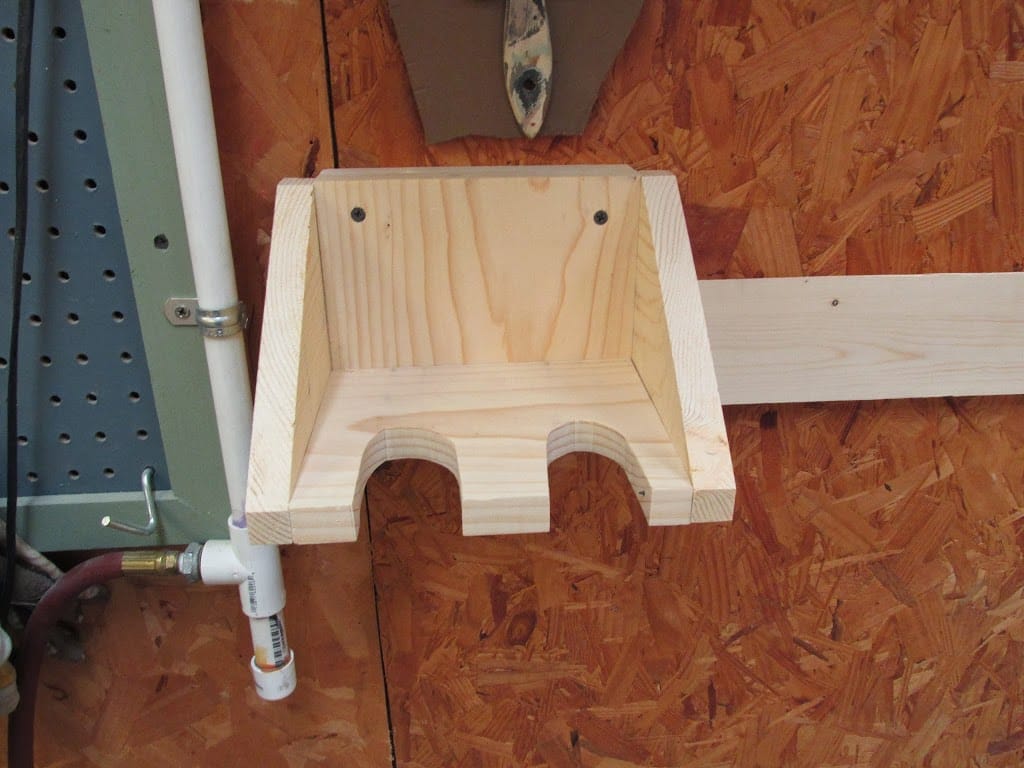
I made the base shallow so it wouldn’t be too hard to support, but this means that I can’t holster my drill with my drilling guide still in the chuck. Since this is what I primarily keep in my drill I decided to add on a magnet so I would be able to always keep it close and easily assessable.
5) I don’t know what type of glue will stick magnet to wood so I used some liquid nail. : )
Circular Saw Holder:
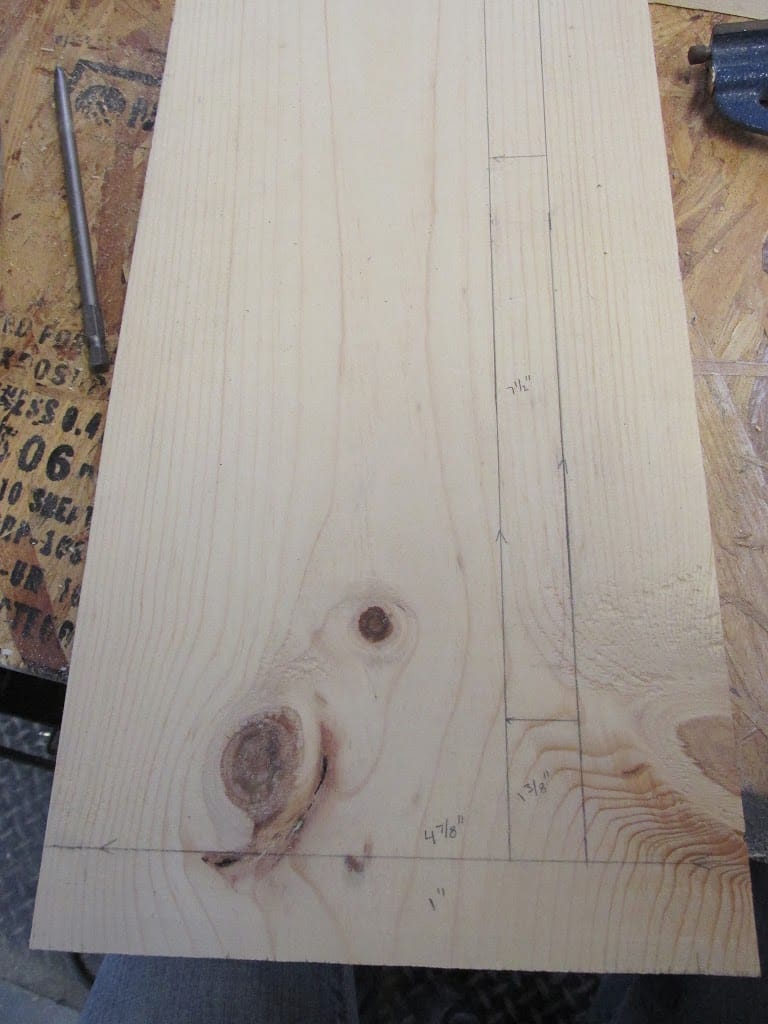
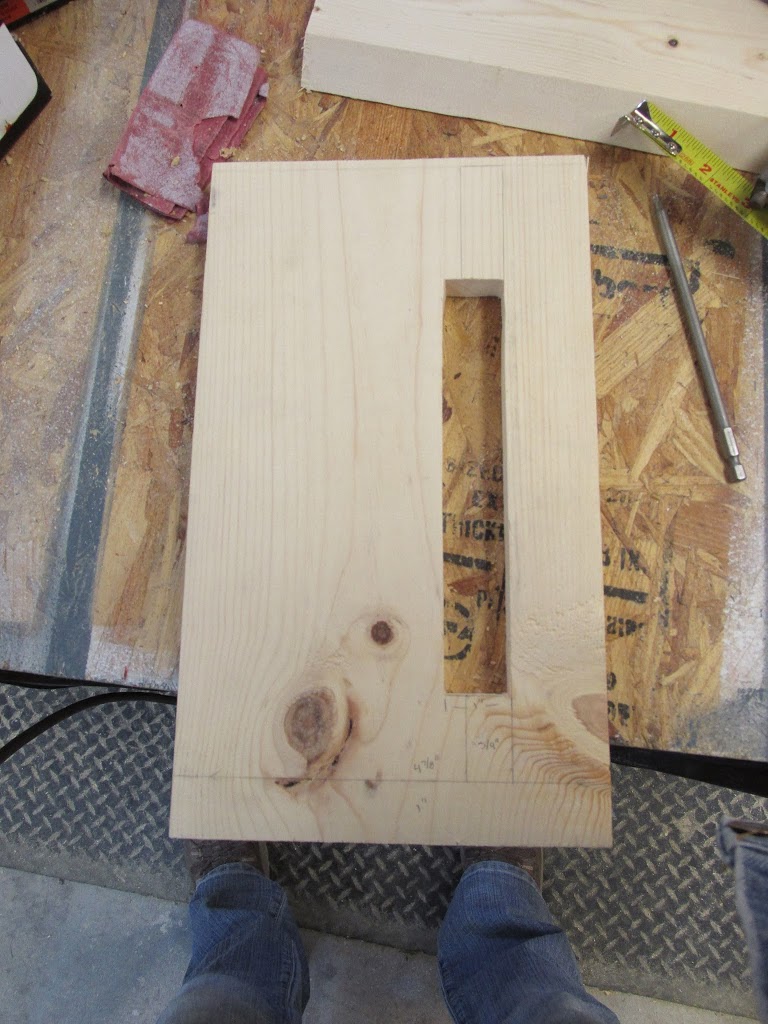
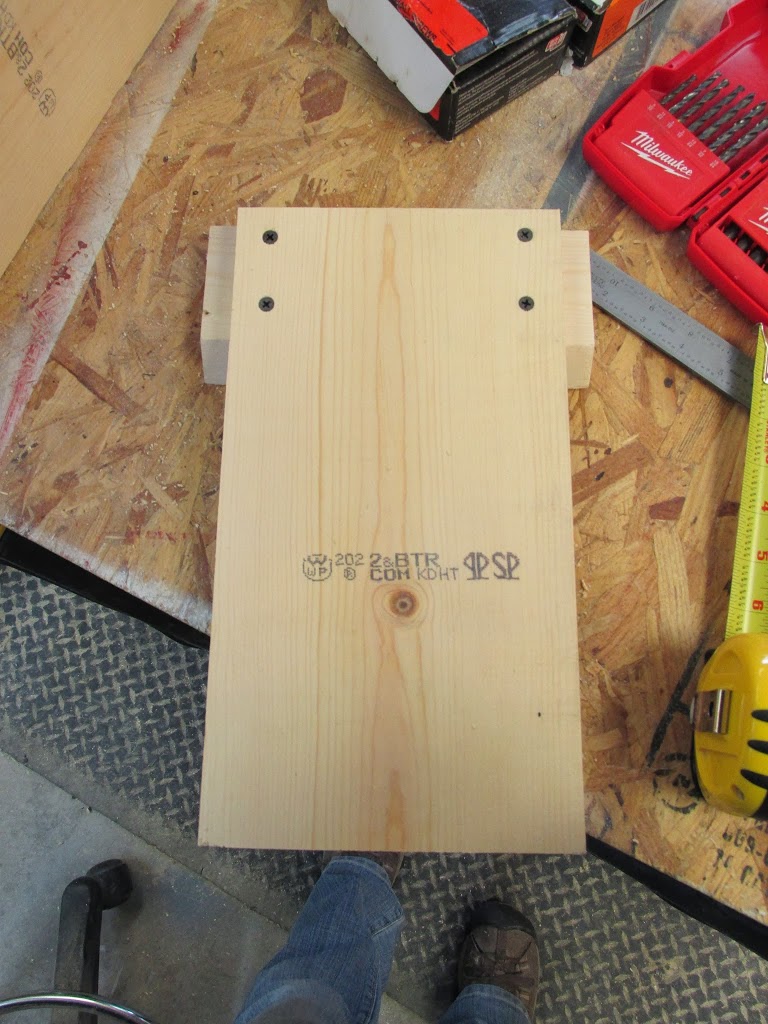
3) To give the saw something to rest on, I cut a 1″ footer and screwed it in place along the bottom. (I didn’t get a photo of this step, but you can look at the finished hanger to see what I mean.)
4) I cut a back the same dimensions then attached it to a cleat. Since this is a heavy tool, I went ahead and made the cleat a little wider than the hanger so it has a larger footprint on the wall brace.
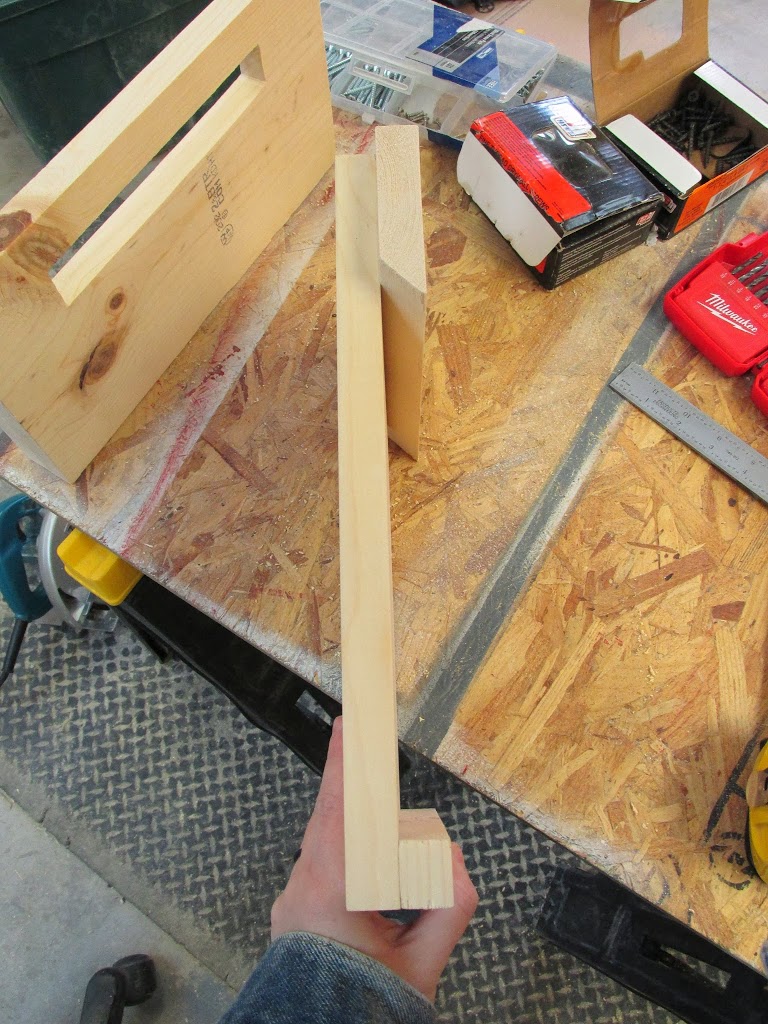
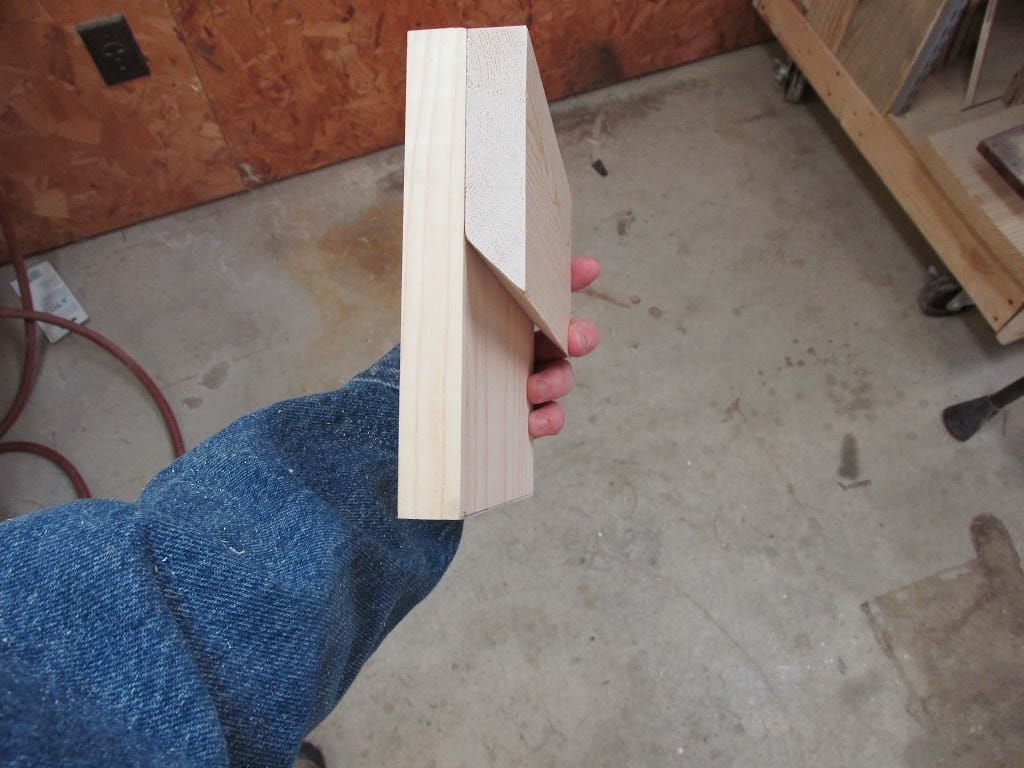
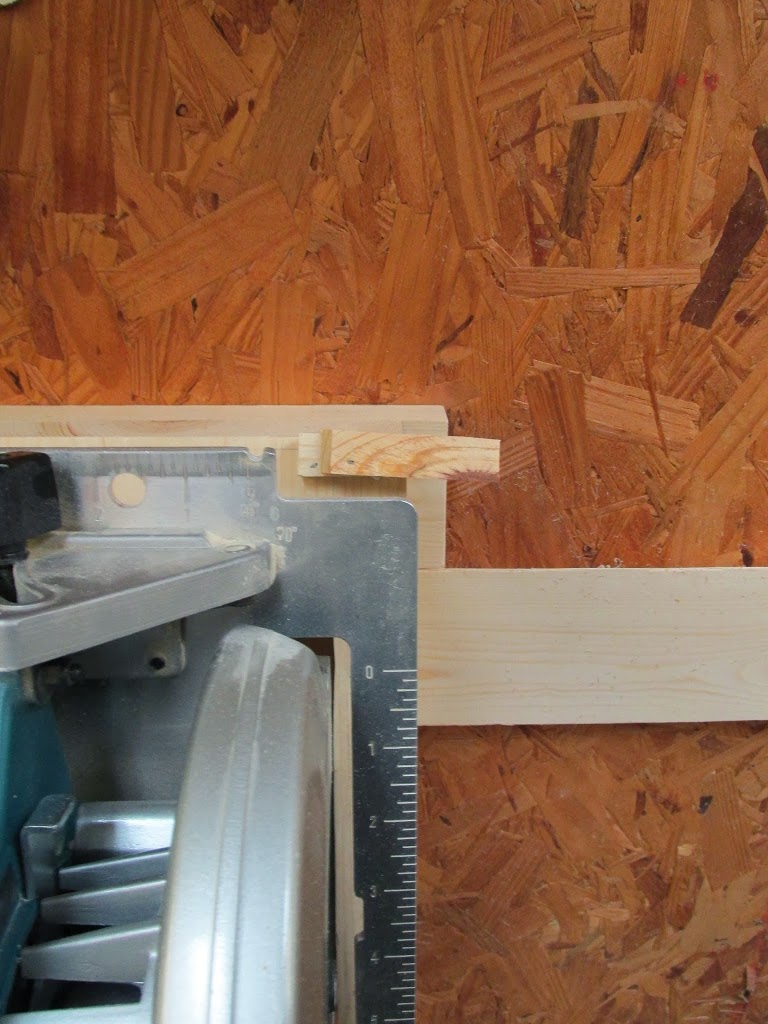
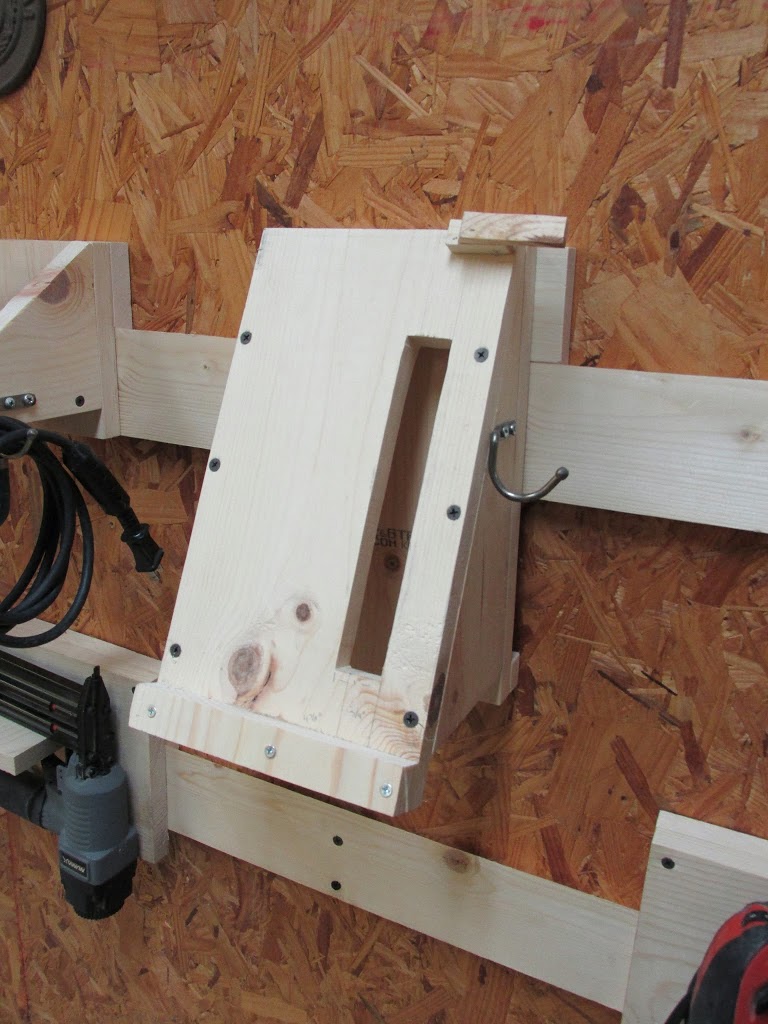
6) The next thing I did was cut the side pieces and to be honest, I have no idea how to figure out what angle was needed so I just cheated. I wanted the bases to be about 4 1/2″ apart from one another so I laid down a fresh scrap, then put the two platforms on their side and on top of it then moved them to the position I wanted them. Then I just made a few marks, moved off the front and back pieces, then used a straight edge to connect the marks which created the lines for my side triangles.
7) Then I was able to cut them out and attach them with screws. Tip: Again…pilot hole, pilot hole, pilot hole.
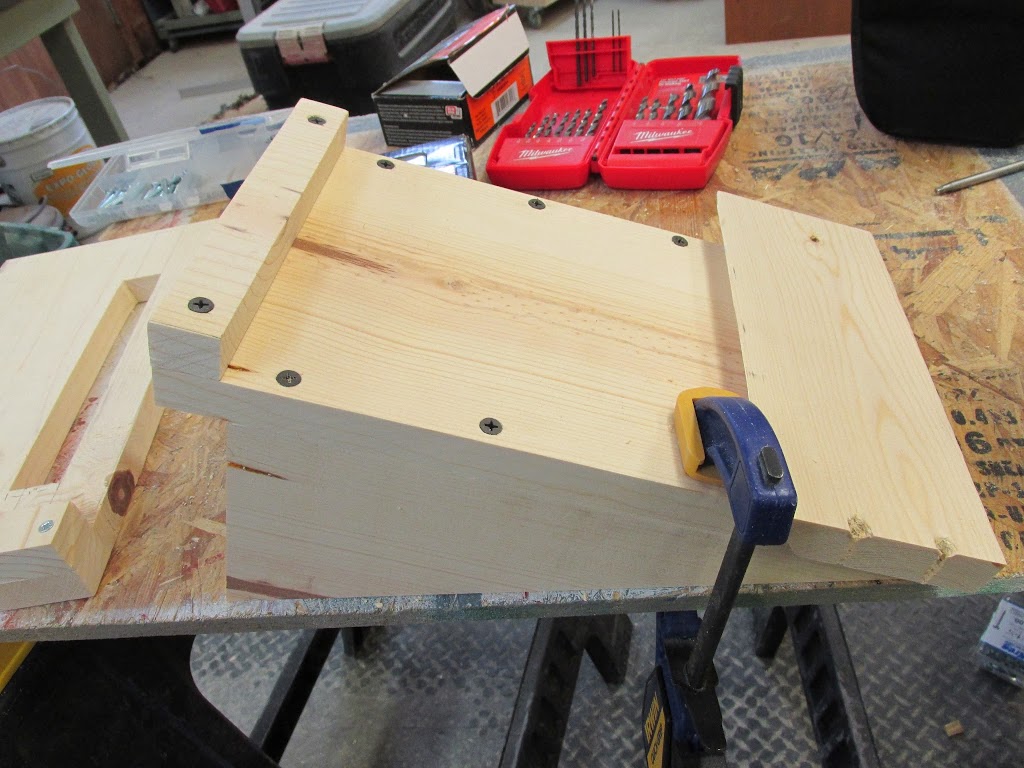
8) Since my tools are corded, I ransacked a spare hardware container in my shop and found four hooks that would work perfect so I took one and screwed it into the side.
9) Last thing. The saw would sit on the hanger by itself…
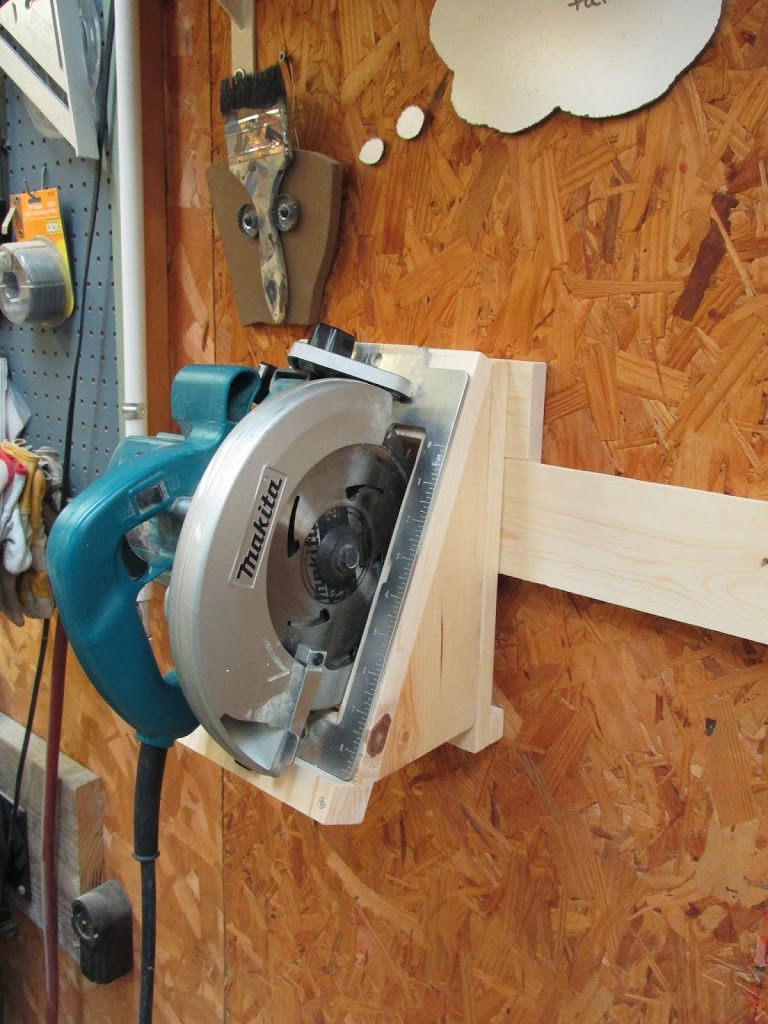
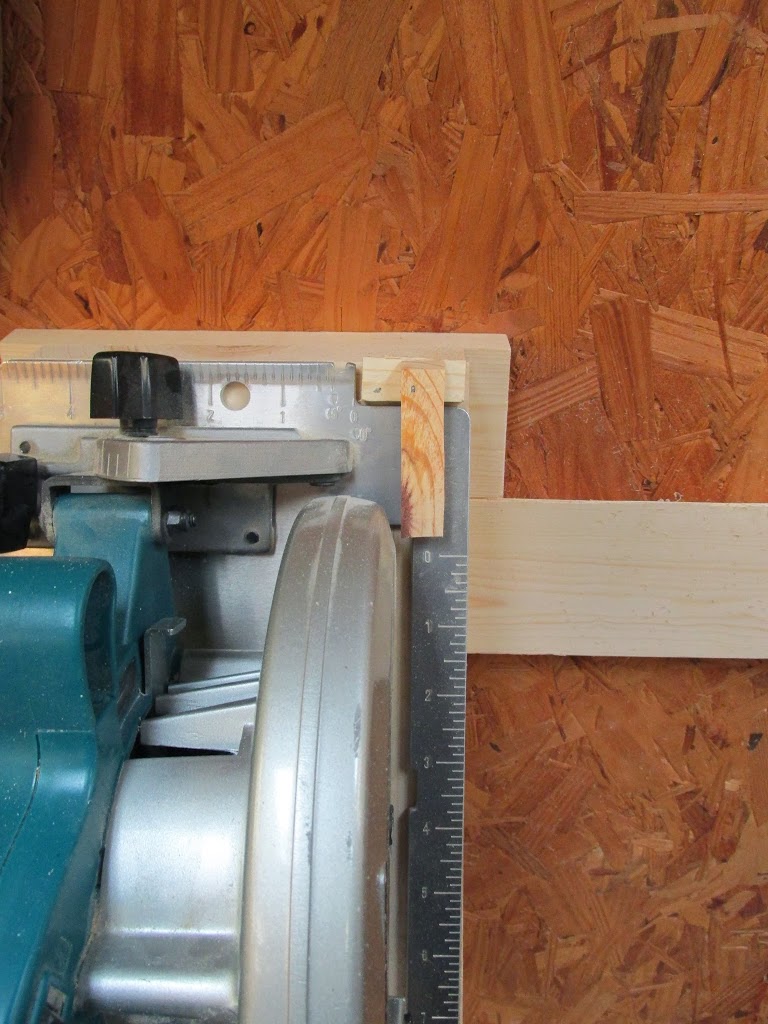
1) I cut the back and attached it to a cleat.
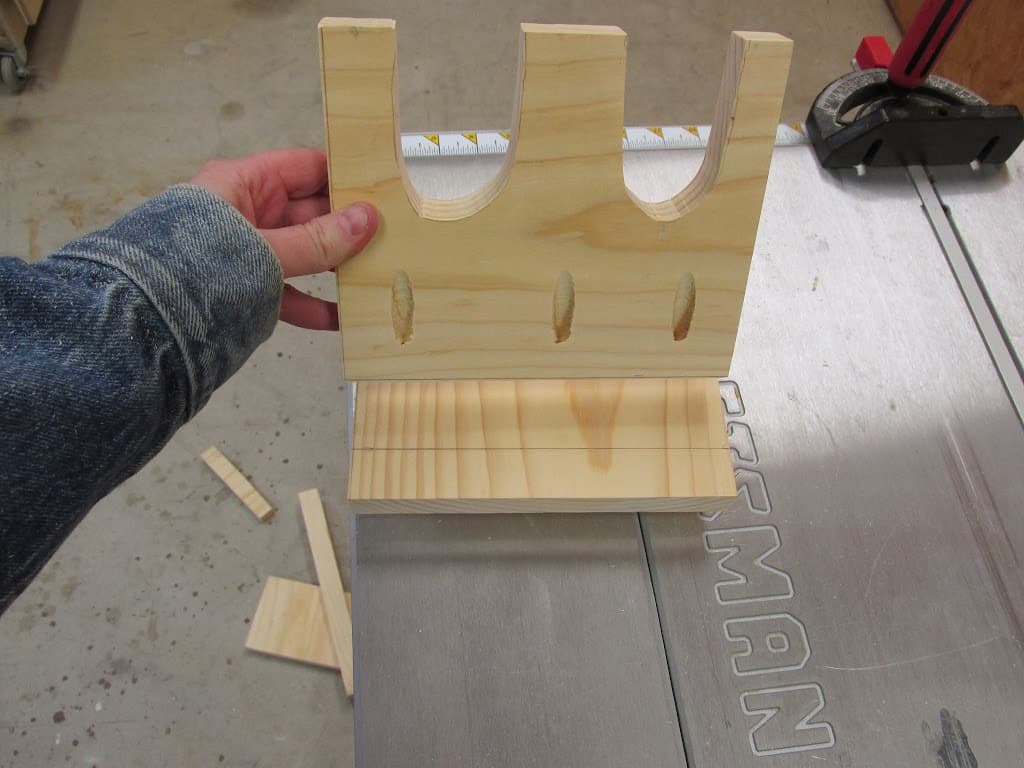
2) Then I cut the base, drilled three pockets, then mounted it 1″ from the bottom.

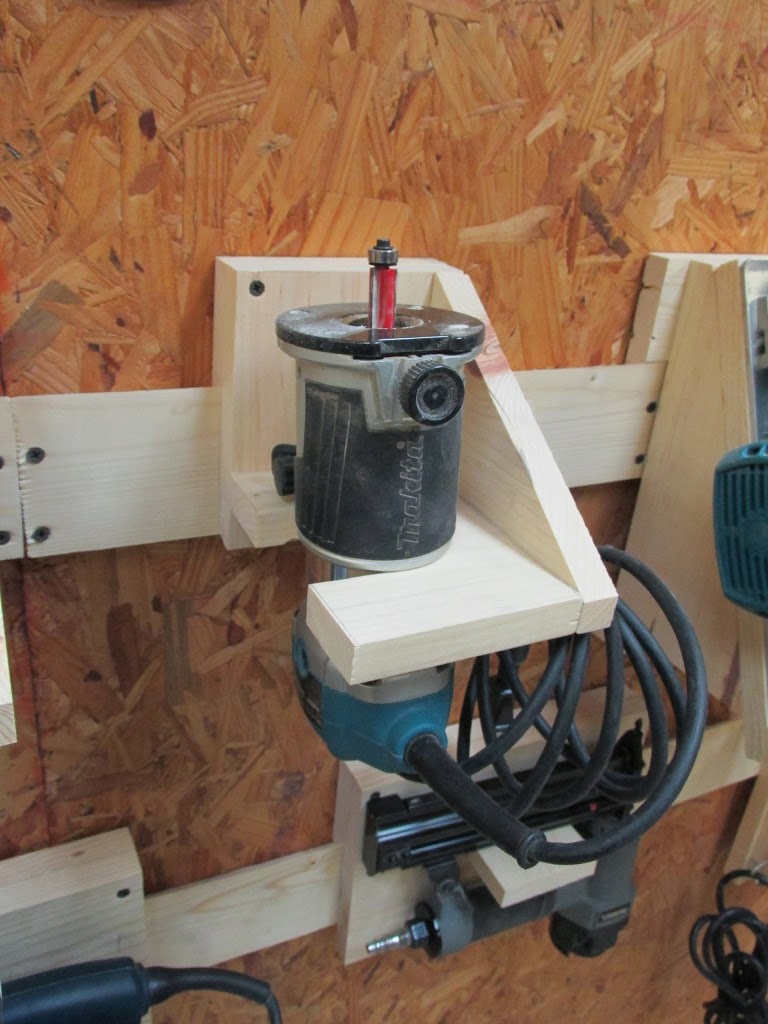
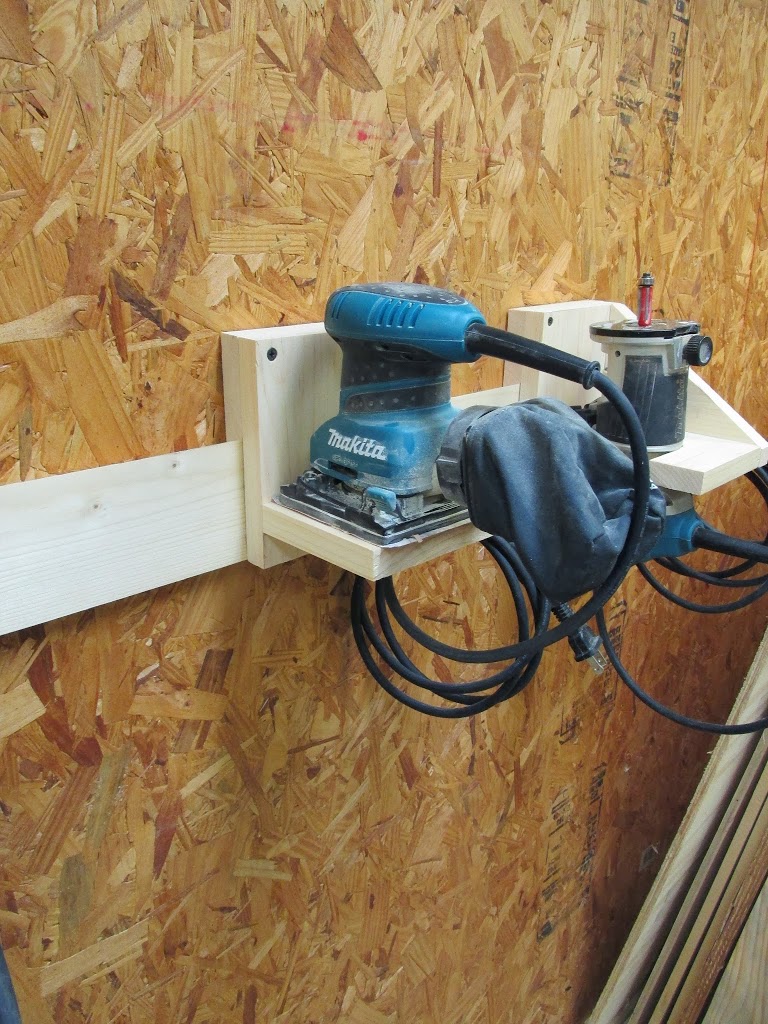
I was originally going to make the slot forward facing just like my drills, but decided that the weight of the router rested better when I turned the slot sideways.
1) I measured my router and made the below layout.
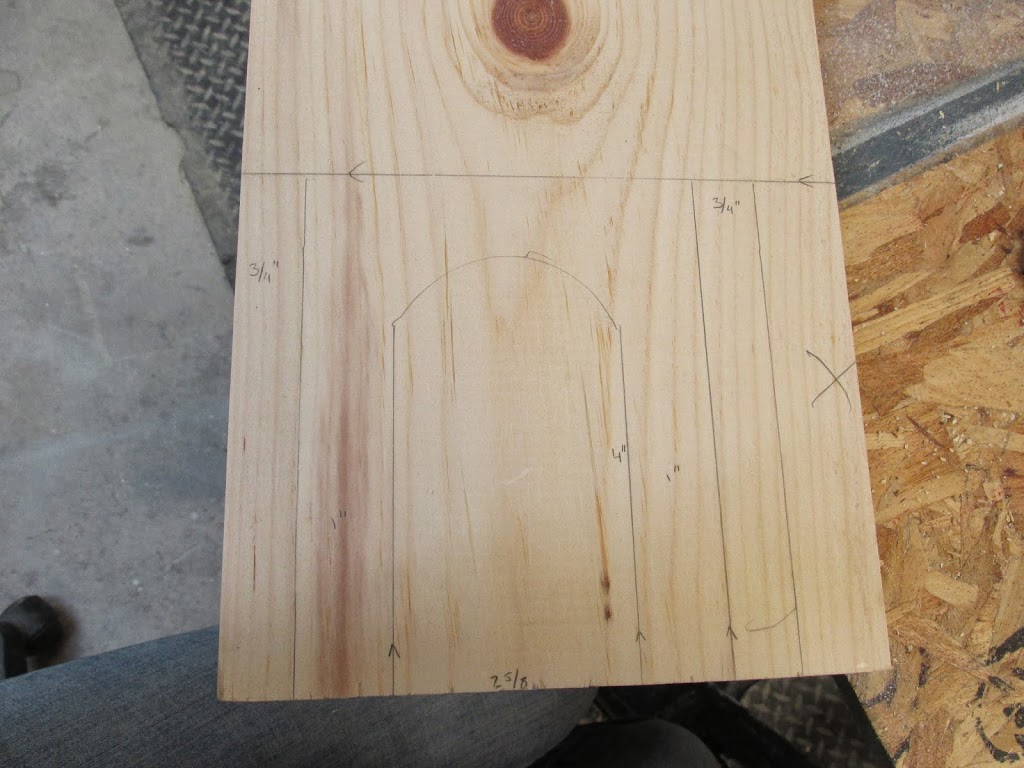
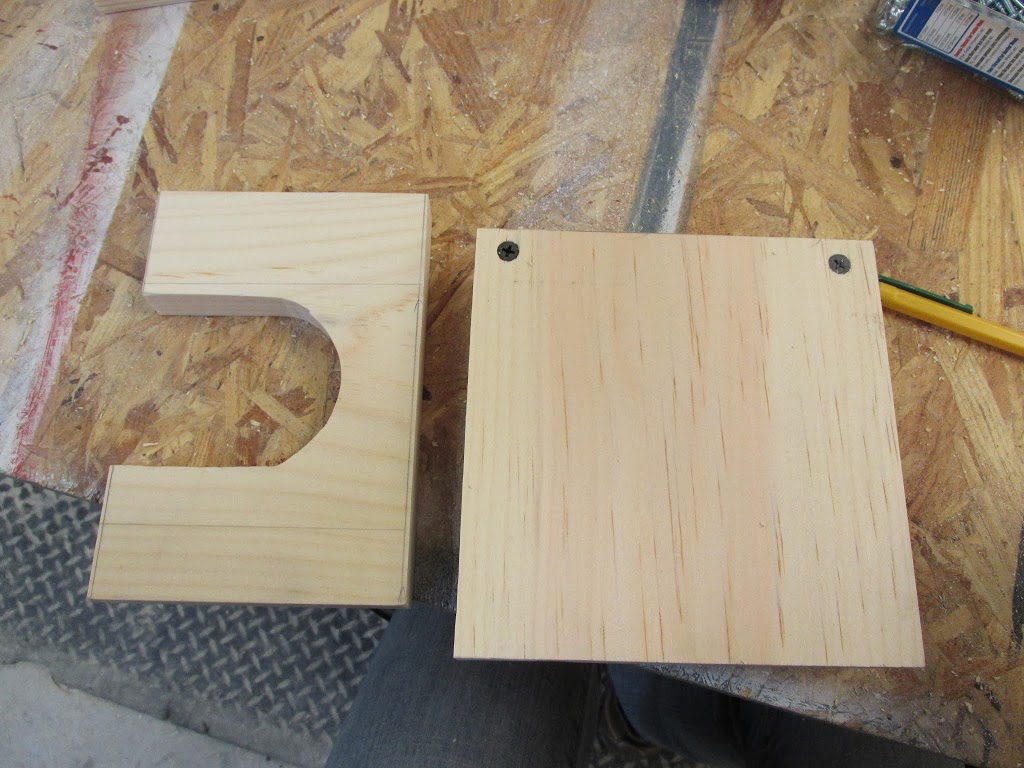
2) Once I cut it out and decided to rotate it, I cut the ‘arms’ of the base off a little shorter. Then cut a back and attached it to a cleat.
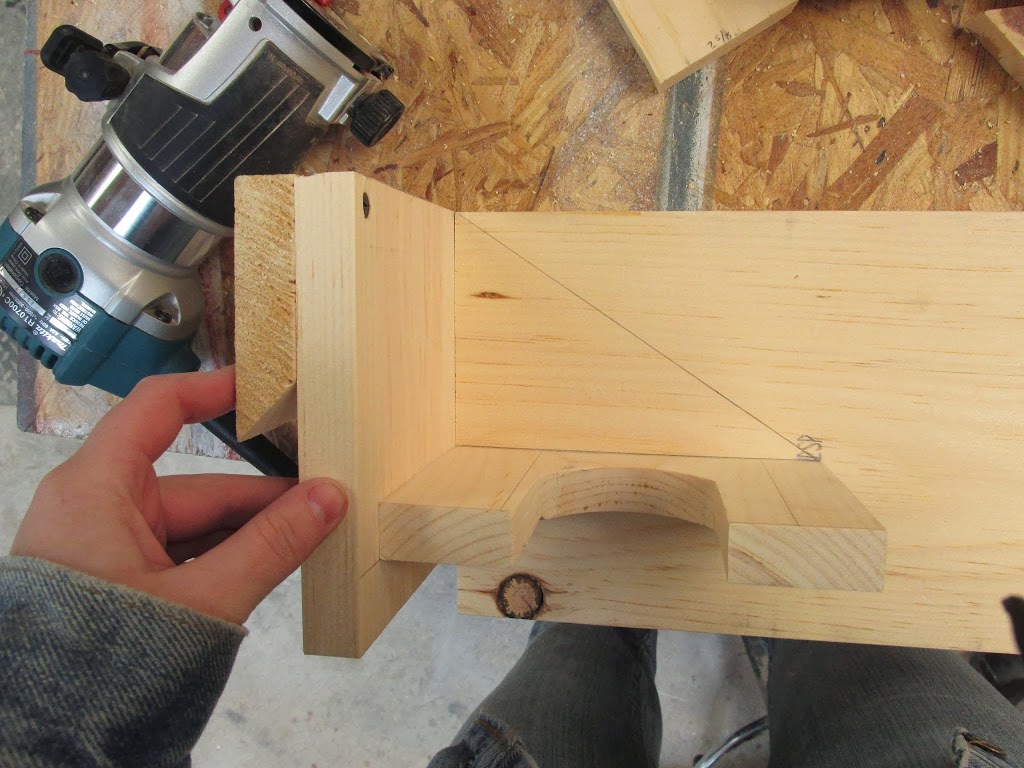
3) Again, to make the side I cheated and held the hanger on it’s side against a scrap piece then first traced the base, then moved it, and used a straight edge to connect the top left corner to the end of my line to make a triangle then I just cut it out.
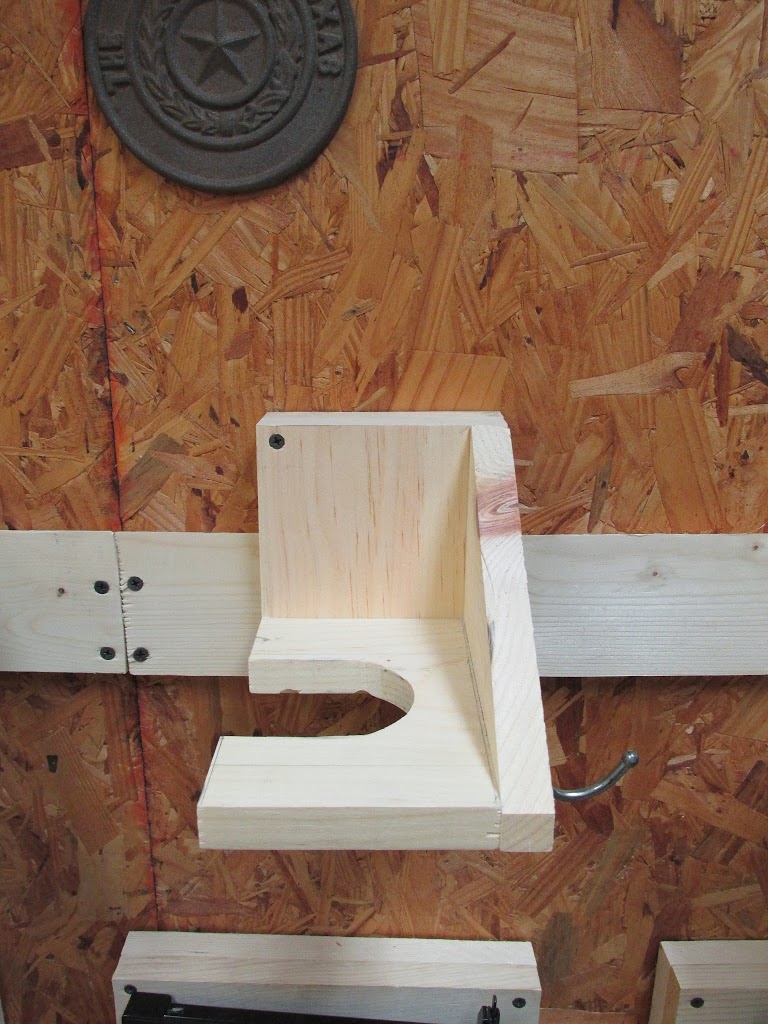

So I guess I got carried away because I don’t have a single photo of this in pieces….: ) oops.
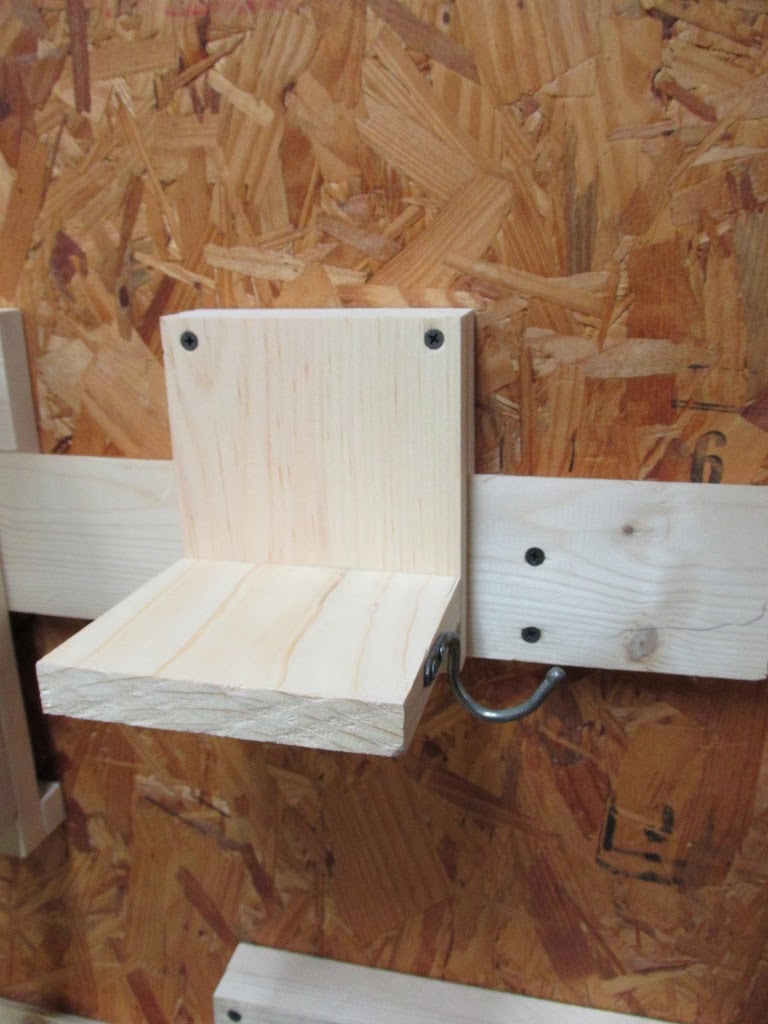
1) It’s the same exact steps though….I cut the back and attached it to a cleat.
2) Then I cut the base and drilled pockets then attached it 1″ from the bottom.
3) To keep the charger from moving, I cut two stripes 5/8″ wide and glued them on each side.
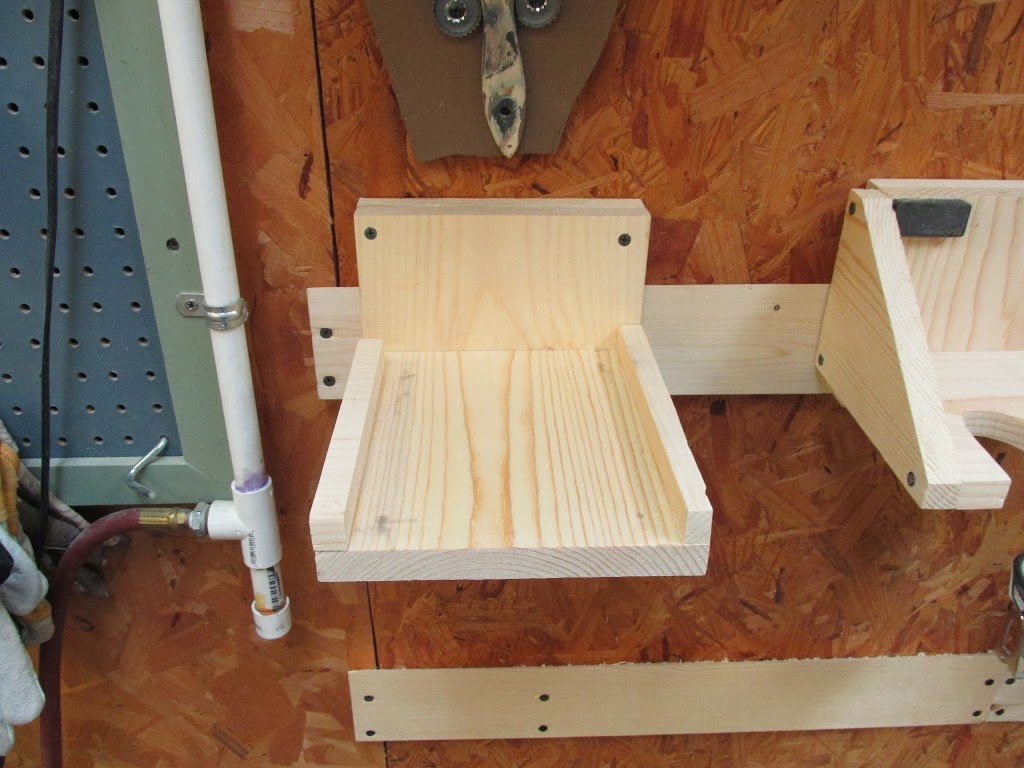
Note: You can either drill a hole in the base for the cord, or you can leave a gap on one of your side pieces.

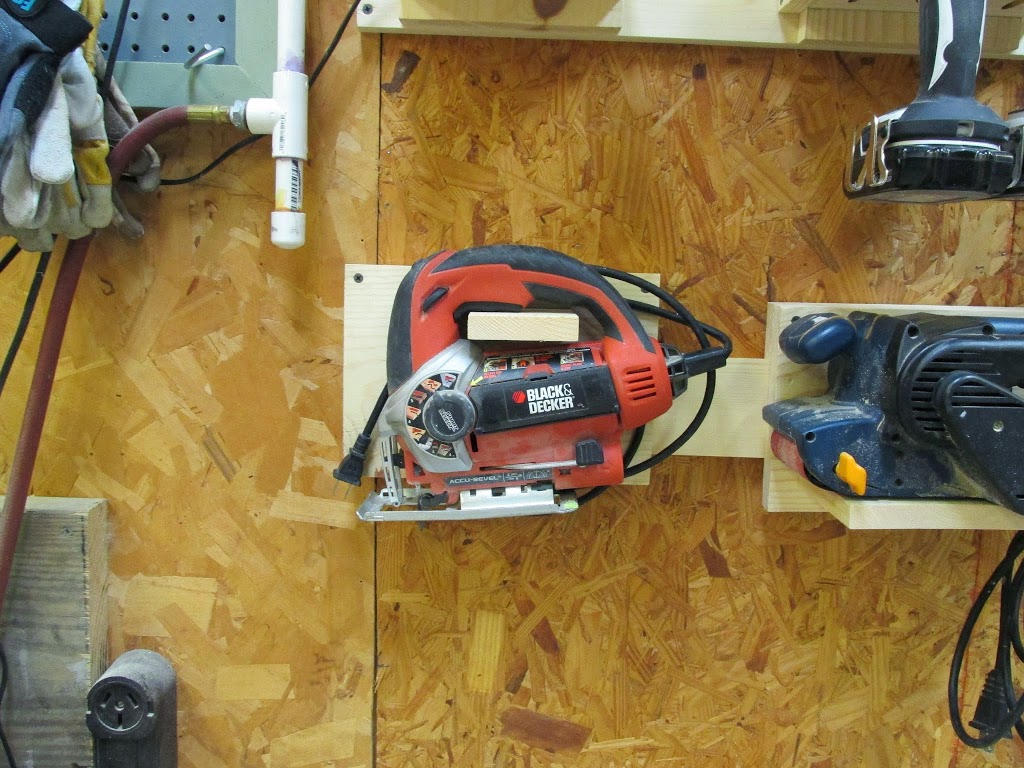
Yeah yeah I know…but I haven’t been able to upgrade to a Mikita jigsaw yet.
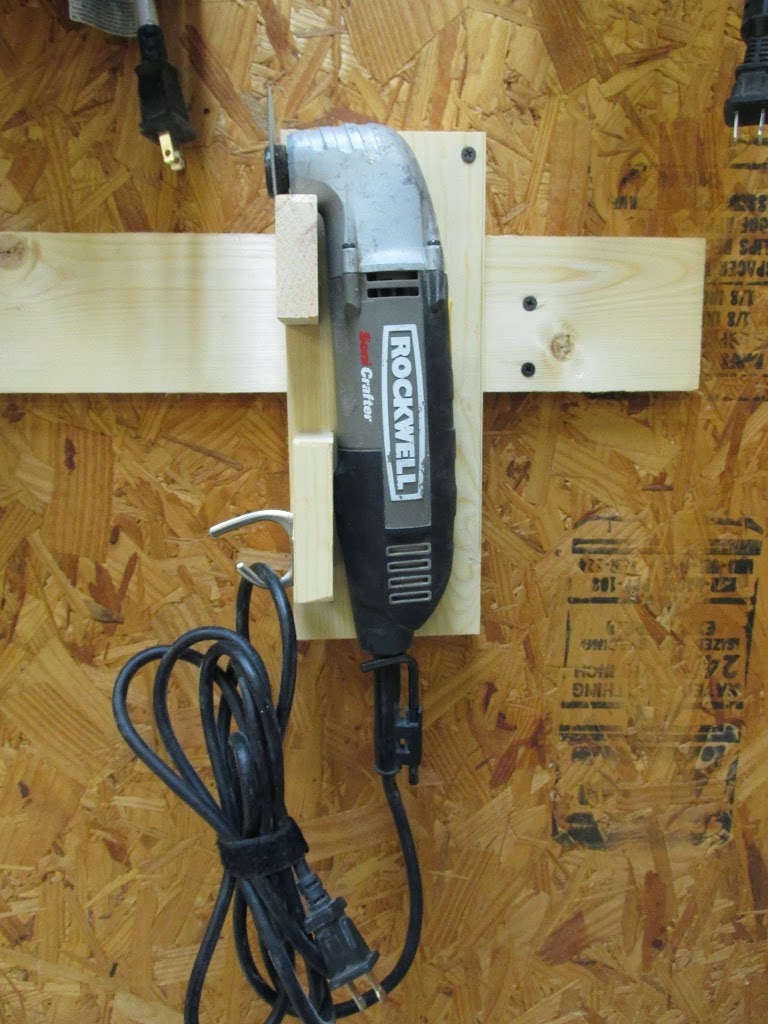
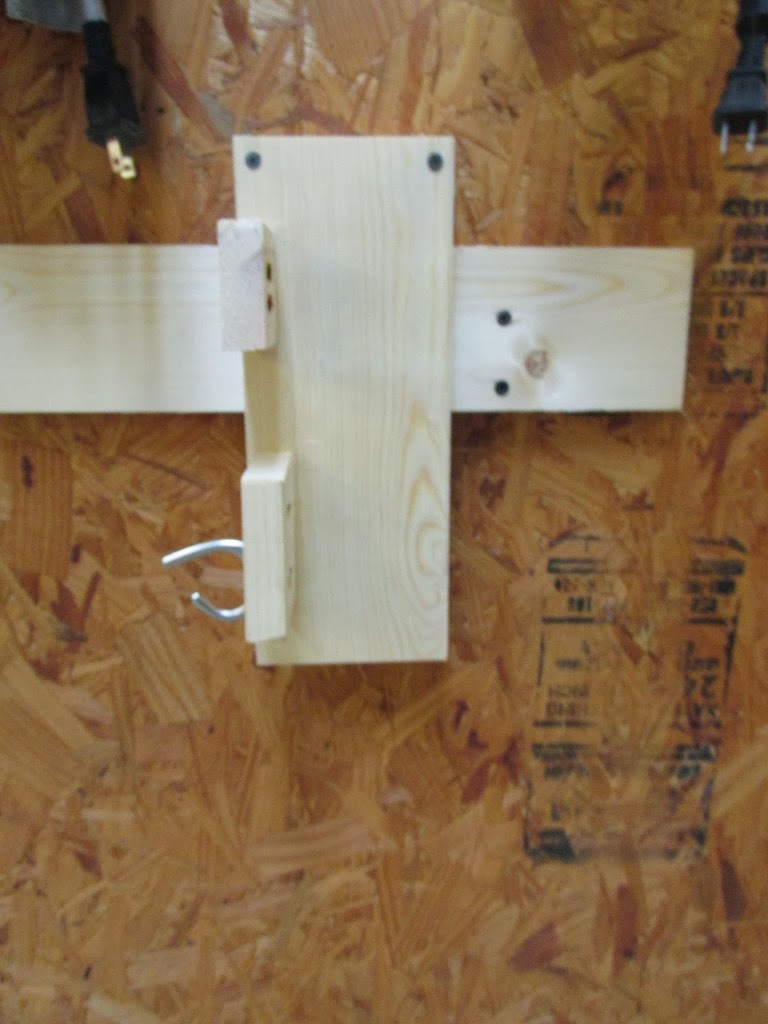
1) I cut the back and attached it to a cleat.
2) Then measured and cut the peg piece. Put a couple pockets in the back then screwed it in place.
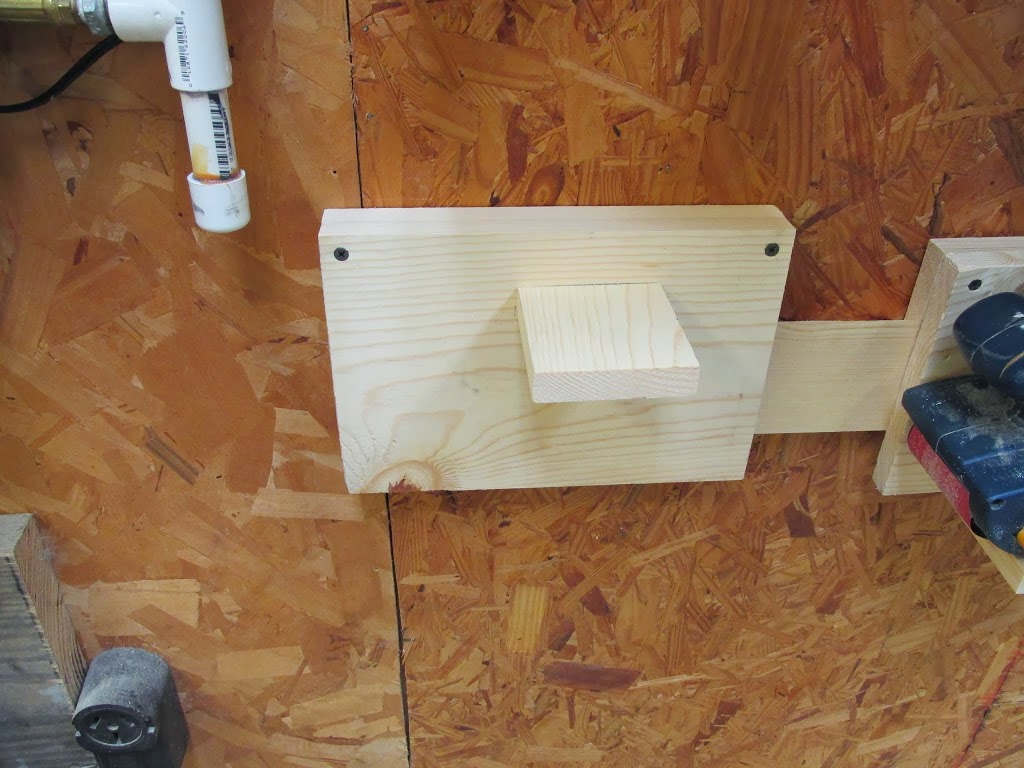
I did not add a hook for this cord, because of the position of the peg, I’m able to wrap the cord loosely then slide the saw on the peg and the cord be sandwiched in place.
Nail Gun Holder:
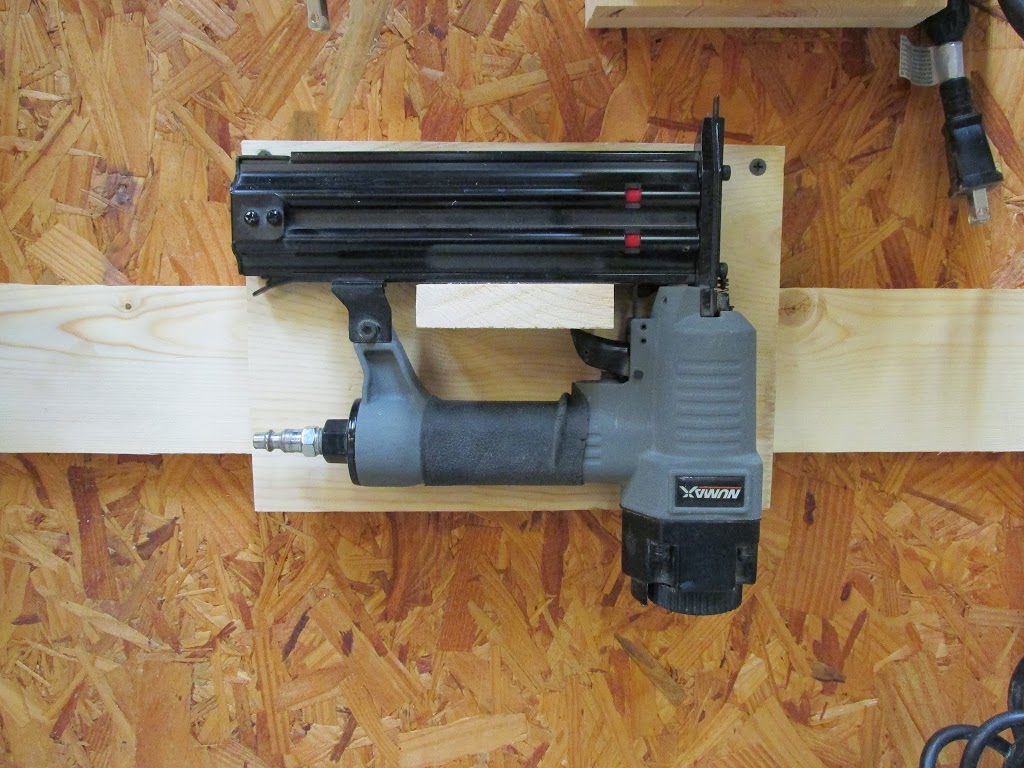
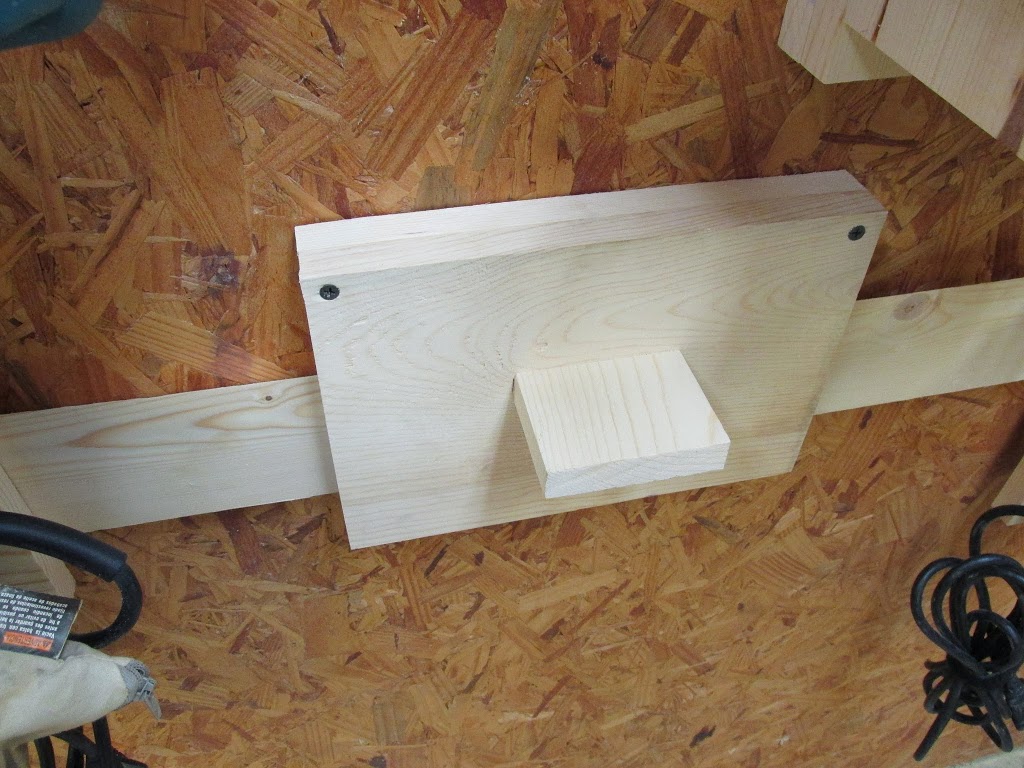
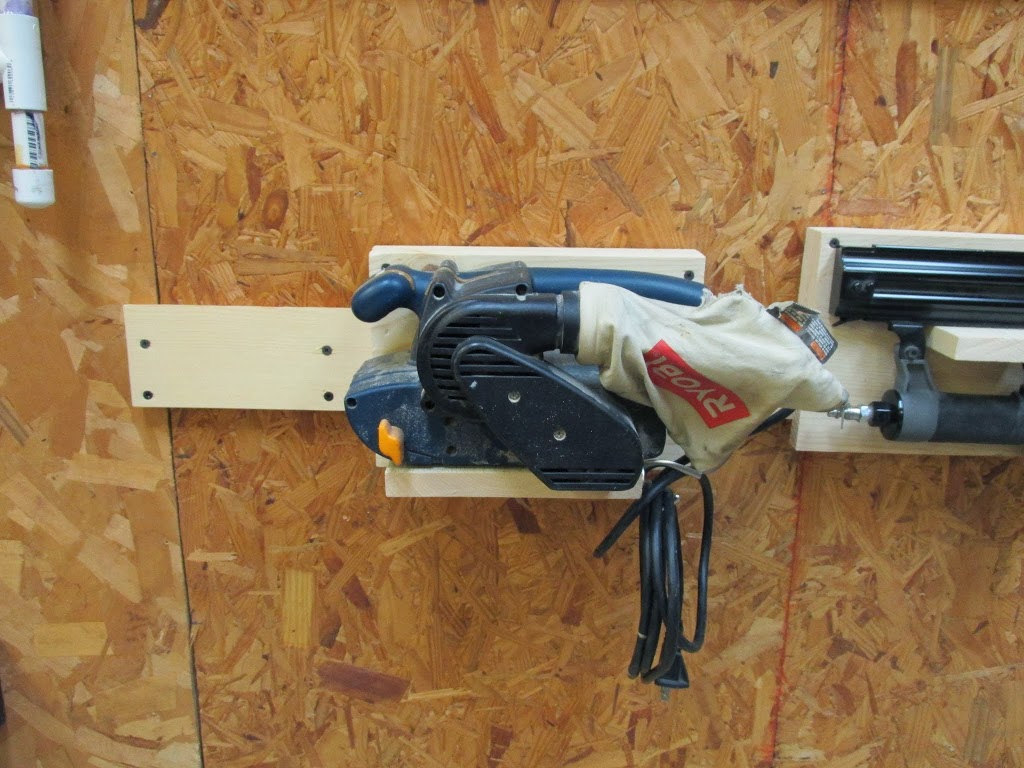
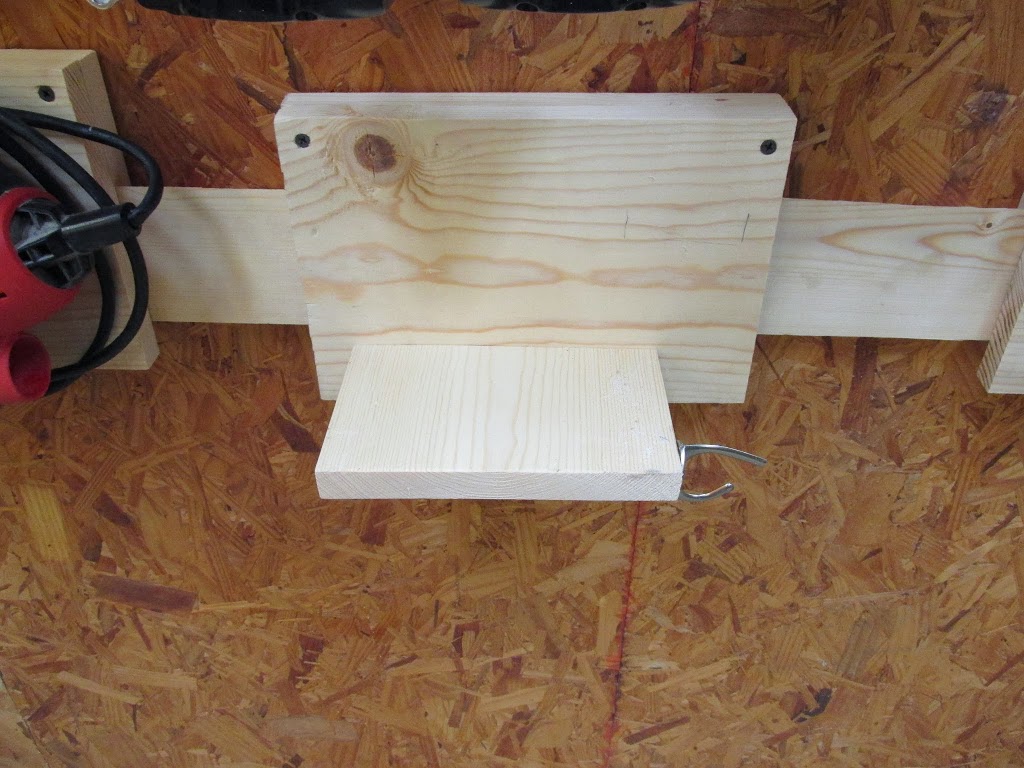
1) I cut the back and attached it to a cleat.
2) Then I cut two pegs. One to create a lip for the tool to rest on, and the other to counter the tool from swinging forward. I mounted the first flush with the left side, but move the bottom peg in just a little so the tool isn’t resting completely up and down.
3) I know that I mounted all the other cords on the right, but this cord just fit better on the left so that’s where it went. ; )
I actually still have a sawzall to hang, but it seems to be missing from my shop currently…..I bet my husband wouldn’t have any idea about that….. >: /
Edit: Last weekend I got around to painting my system my shop colors so here is an updated photo.
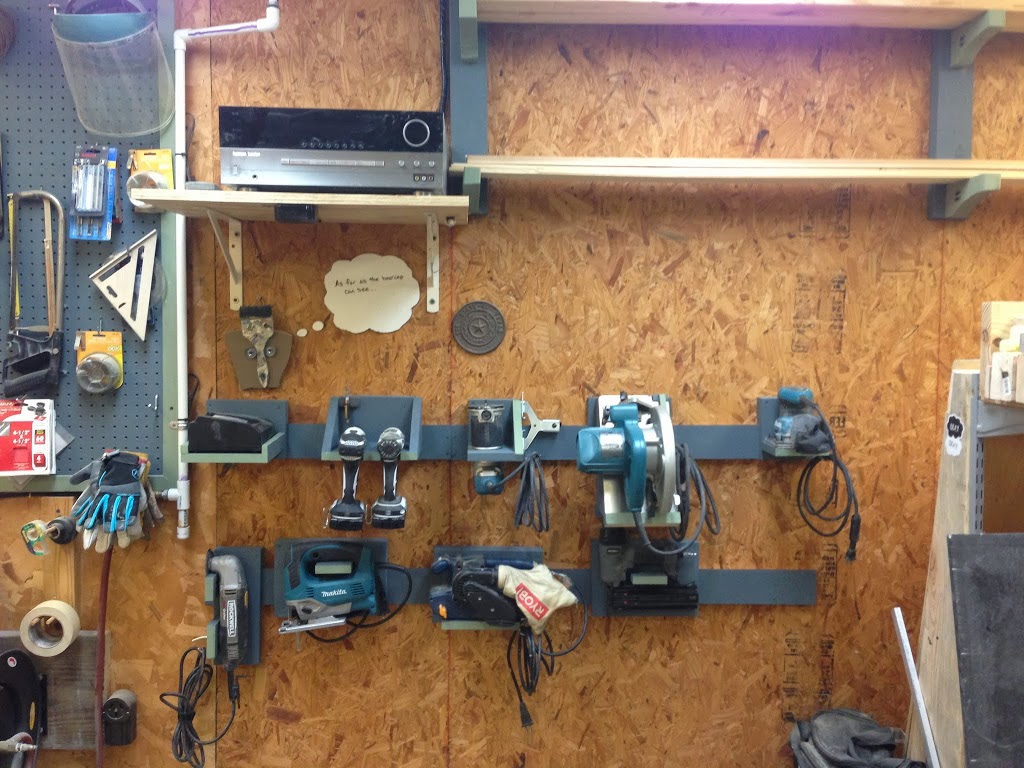


Total Time: 8-9 hrs
Total Cost: $3 (only because I was a scrap hook shy. Darnit)
Oh, and for those of you who have asked about the paintbrush with the attitude….his name is Harvey and he is isn’t typically that grumpy…
One Response
Good job and really looks the business too. Thanks for sharing.
Comments are closed.