
Easy DIY Rolling Drill Press Stand
- Workshop DIY Projects
- April Wilkerson
- Updated: March 8, 2023
Thinking about building a DIY rolling drill press stand? Check out this easy DIY project where I built a rolling stand for my drill press!
I just got in from my shop and I tell you what…it is really coming together. I am having too much fun transforming it into an organized and functioning work space. Check out my latest project that helped it along another step….
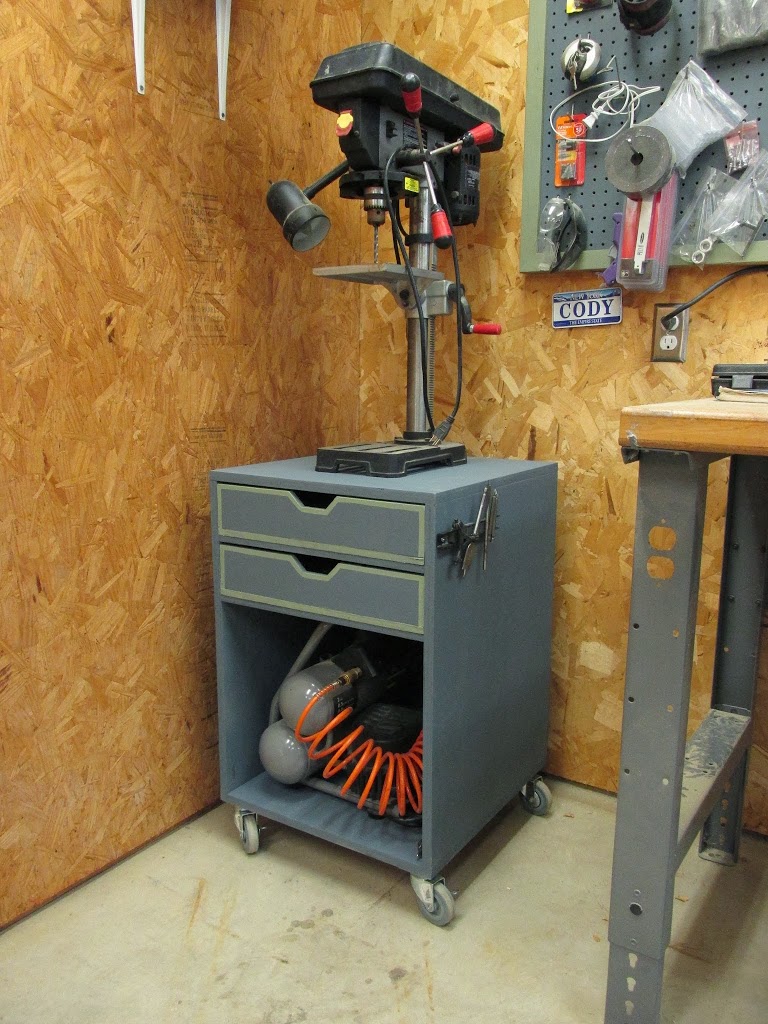
Before, I was storing my drill press under my work bench and just pulling it out when I needed it. Well this thing is heavy and awkward to lug around, so after I finished my porch swing I swore this was going to be my next project.
It really goes against my character to put drawers into something in my shop because I know I’m just going to fill it full of junk and lose track of what’s in it. …However, I went ahead and built two because it would have been a waste of space to leave it empty and that goes against my character even more. : )
Alright, so here are the steps for this build:
1) The first thing I did was move my drill press around to the different work surfaces in my shop to figure out what height I liked best. It turns out I like it around 29″, which is roughly the height of my sawhorses. (I’m 5’6″)
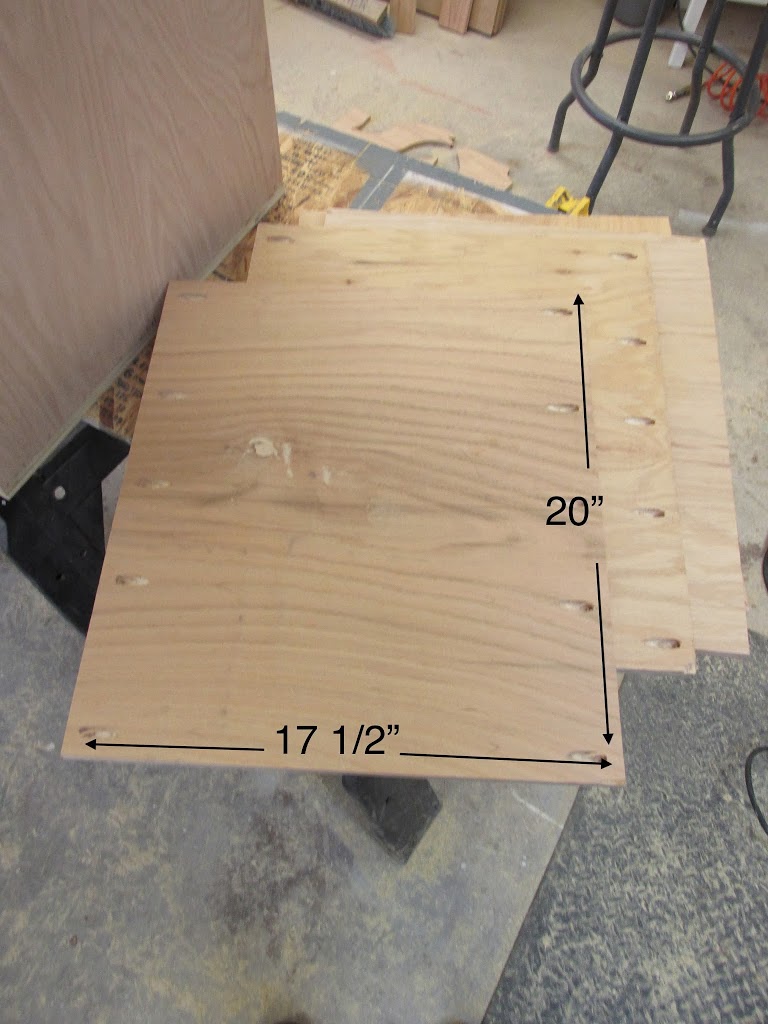
2) Next I grabbed a 4’x8′ sheet of 3/4″ plywood and cut out the top and bottom of the stand first. (Click on the photos to see my dimensions)
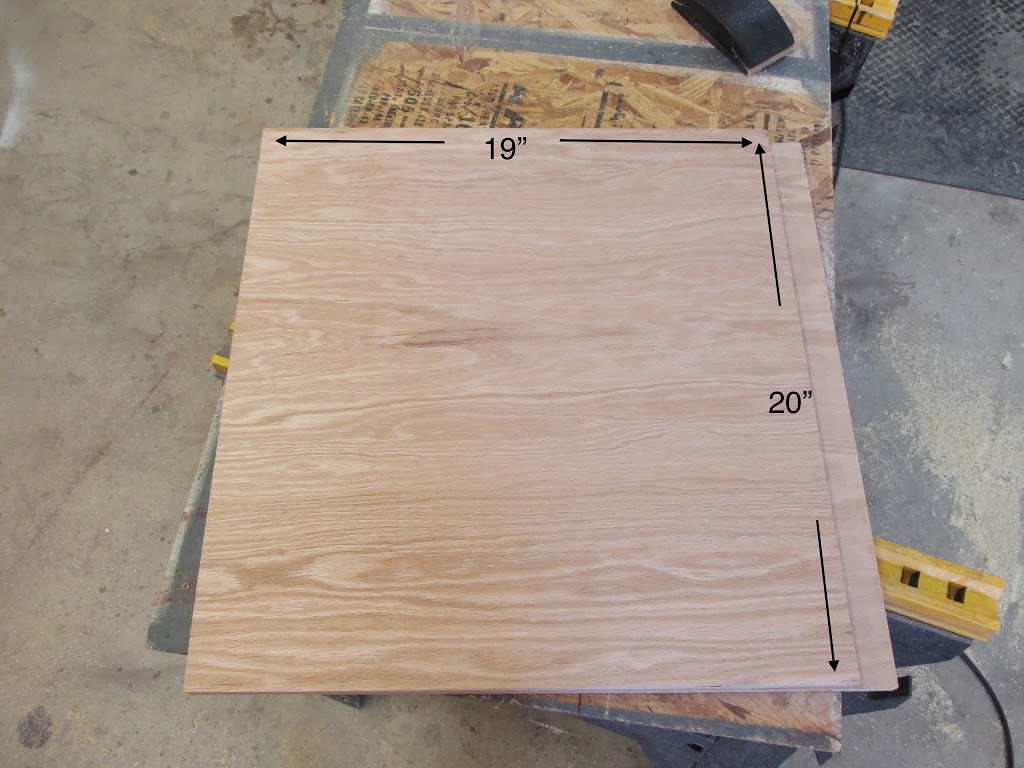
Note: My drill press base is only 7″ wide, however if I made the stand that size then the press would want to tup over because it is so top heavy. So instead, I overshot it by 6″ on each side, then 4″ on the front and back and that is how I came up with 19″x20″.
2) Next I cut the sides.
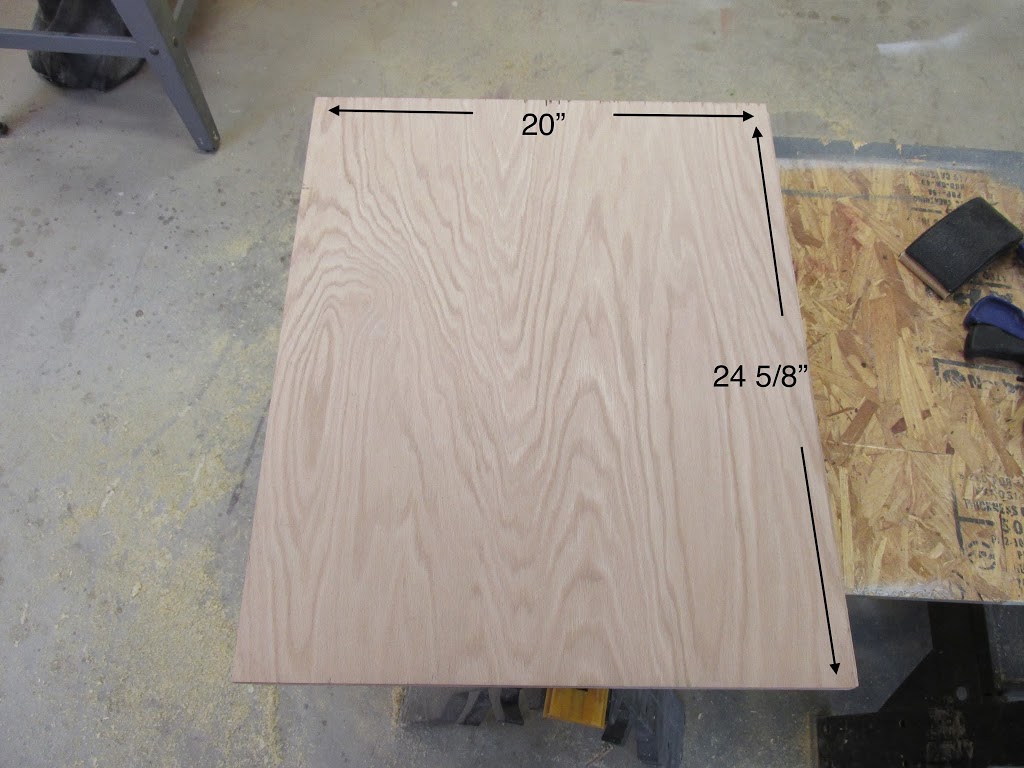
Note: I planned on using 3″ casters and my 3/4″ wood actually measures 11/16″ so I took: 29″-1 3/8″ = 27 5/8″ – 3″ = 24 5/8″.
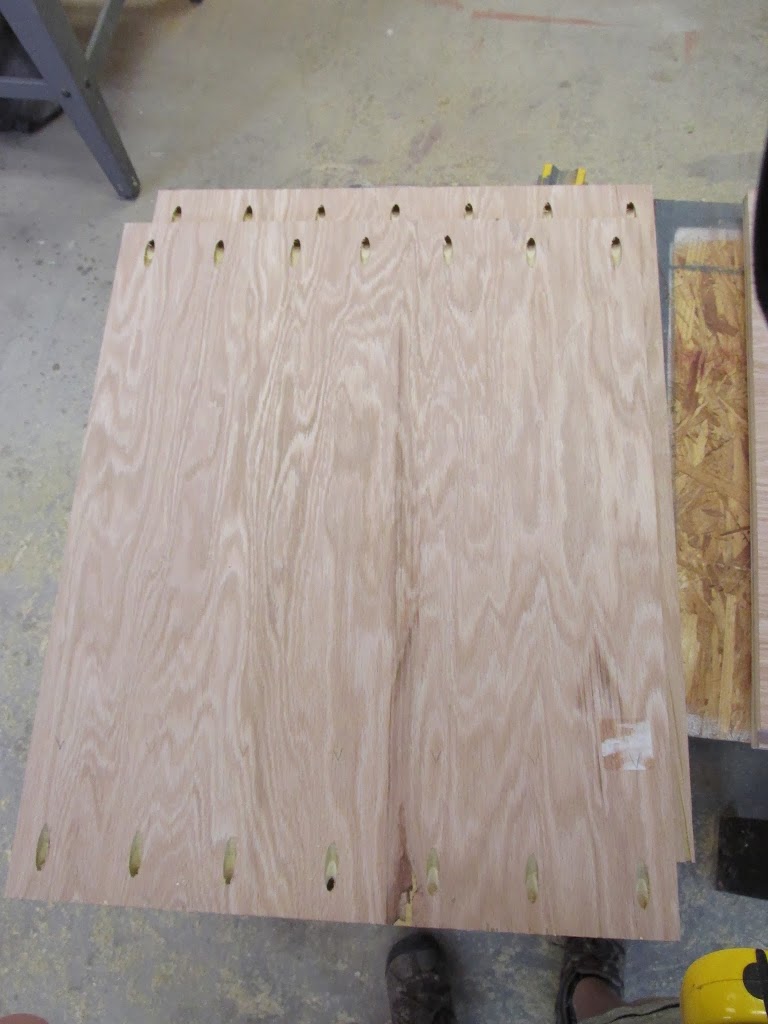
3) Then I put pockets holes in the sides using my Kreg Pocket Jig.
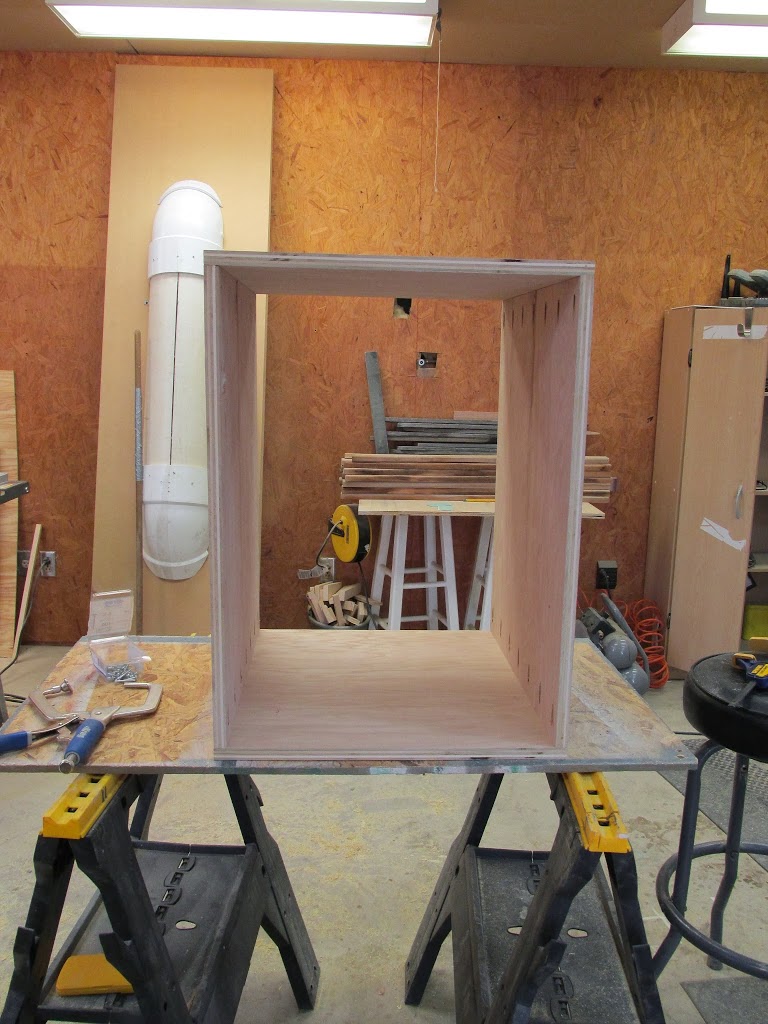
….before anybody asks: Cody is building a robotic competition boat and that thing in the background is a fiberglass layup mold. …easier way to say it is: Cody’s building a badass boat and he is using my shop to do it. ; ) Much better.
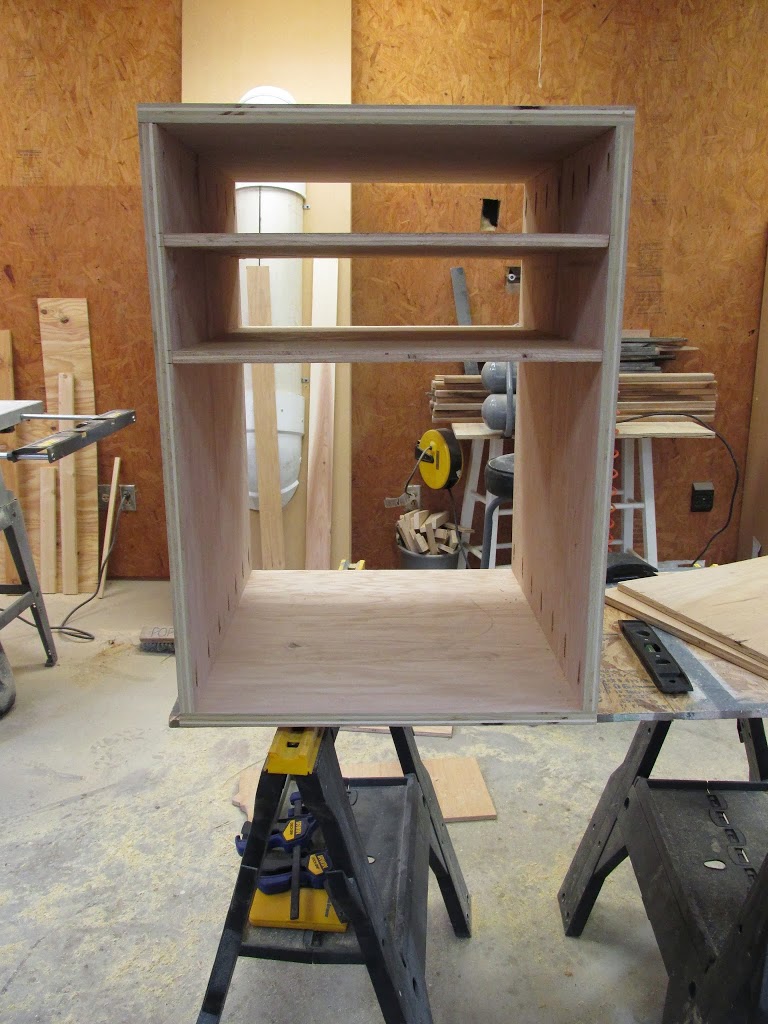
5) Instead of purchasing sliders, I went with a ‘shelf then drawer slides on top of shelf’ system. ; ) So I grabbed some 1/2″ wood from my scrap pile and cut four pieces all the same dimensions (two for the shelves and two for the bottom of the drawers). Then I put pockets in the two that would be the shelves.
Let me pause before going on and explain what my thought process was….my small air compressor has just been hanging around without a permanent place, so I decided to use up some of this space for it (it’s 15″ tall). Then since I decided to incorporate drawers, I wanted them to be shallow so it would cut down on how much stuff can be buried. Think about what sort of stuff you want to store before moving forward. Maybe you want the entire thing to be drawers, or maybe just one large drawer…..regardless, it’s totally customizable.
6) I wanted my drawers 3 1/2″ so I came down 4″ and placed my first shelf, then went down another 4″ and screwed in my second one. This leaves 16″ for the bottom compartment.
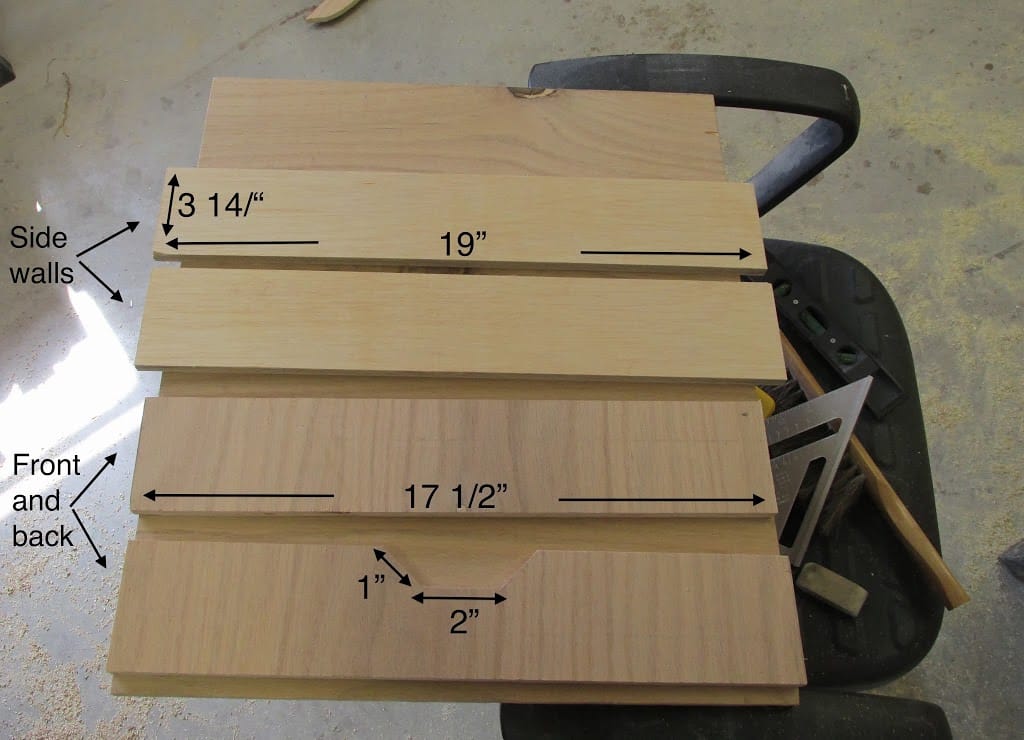
Now to make the drawers.
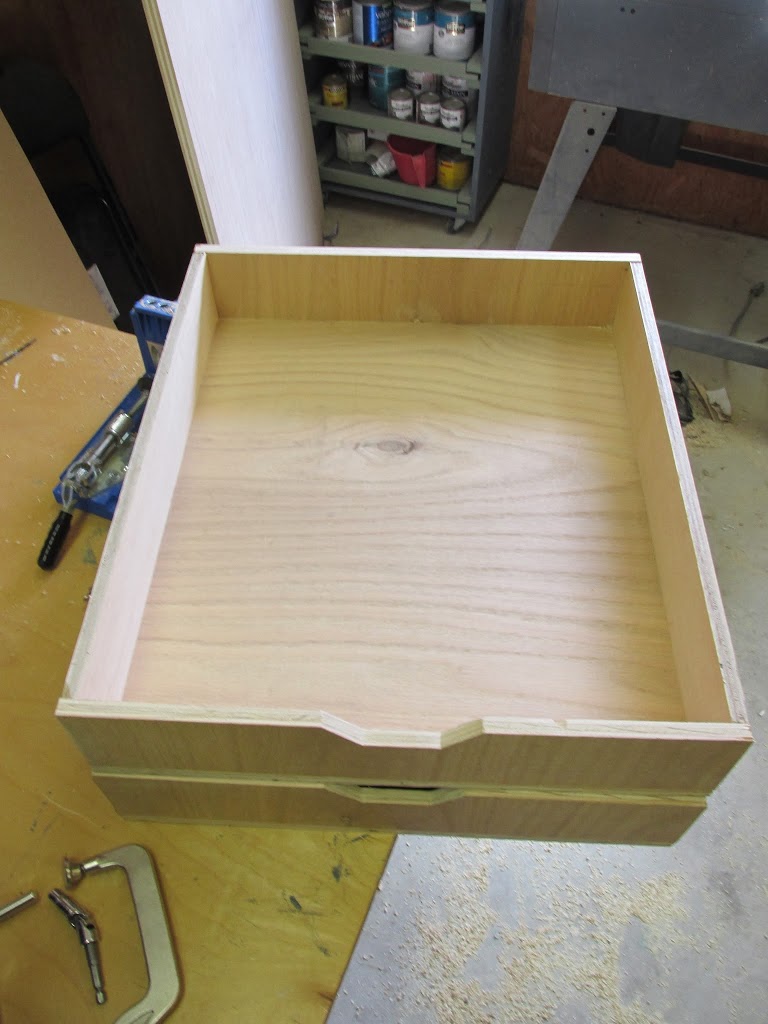
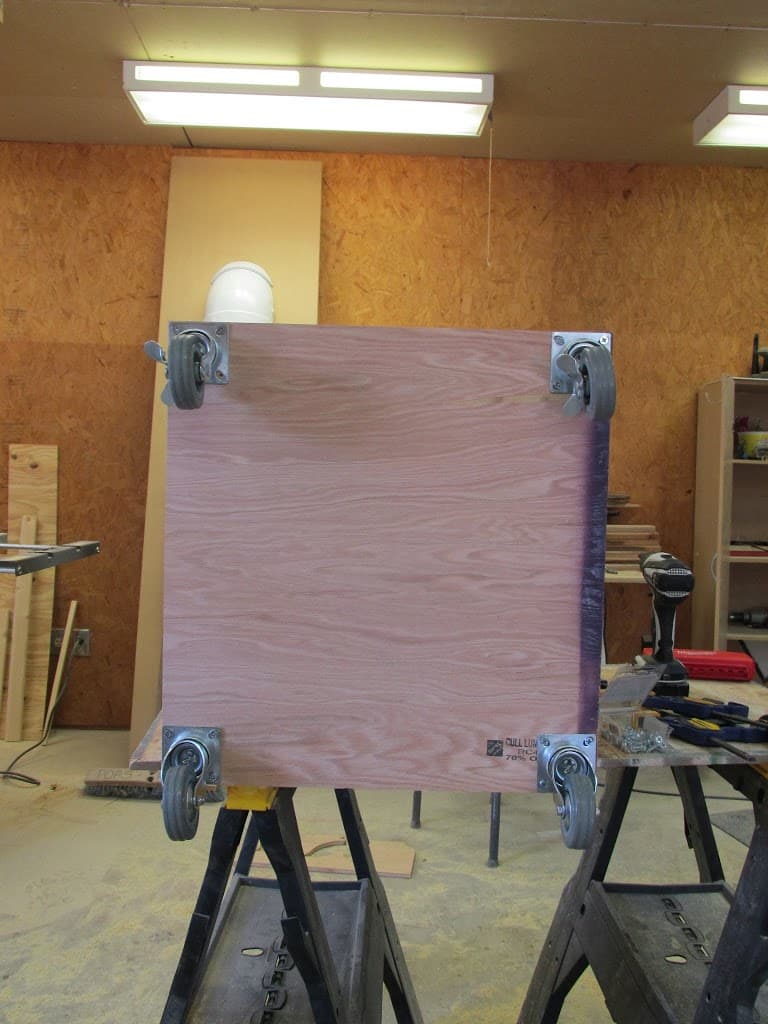
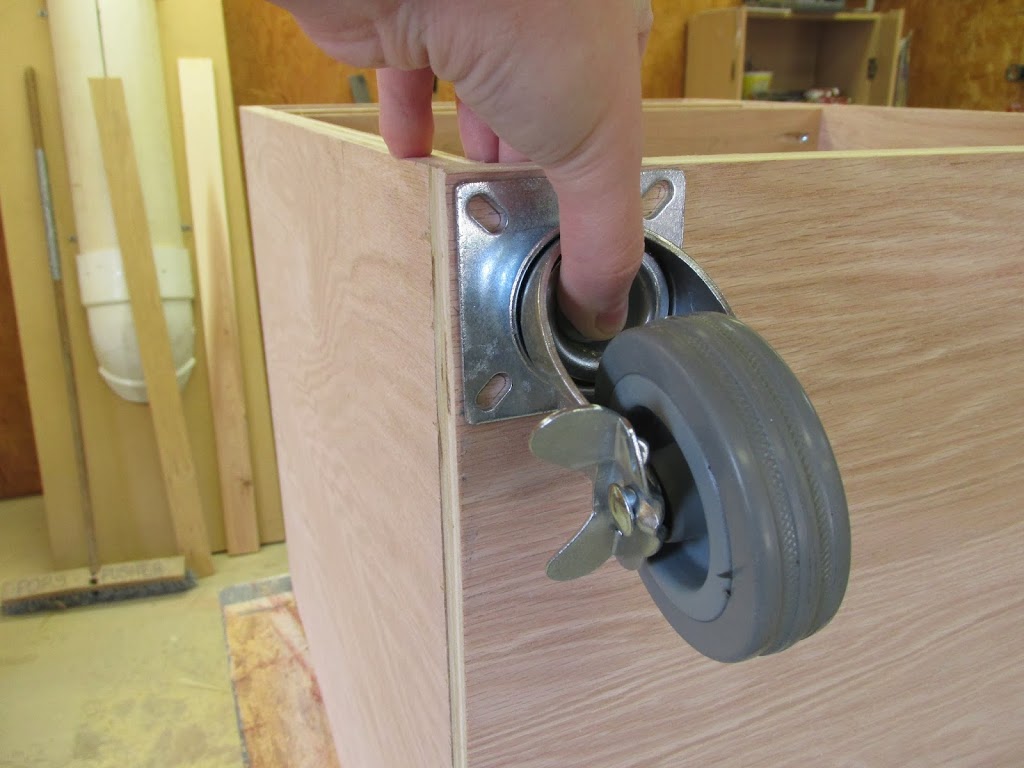
Last thing was to attach a back. I waited until now to attach a back because I wanted to see how sturdy the unit was before deciding how thick to make the back. So I first checked for square and was right on, then set my drill press on top and terrorized it some to see what the stand could take. This thing is sturdy! I’m impressed….since I wasn’t trying to stiffen it up any, I went with 1/4″ for the back, just to give the drawers something to stop against.
10) So I cut a back then attached it with my nail gun: Note: Since I planned on painting my stand, I wasn’t worried about the different material.
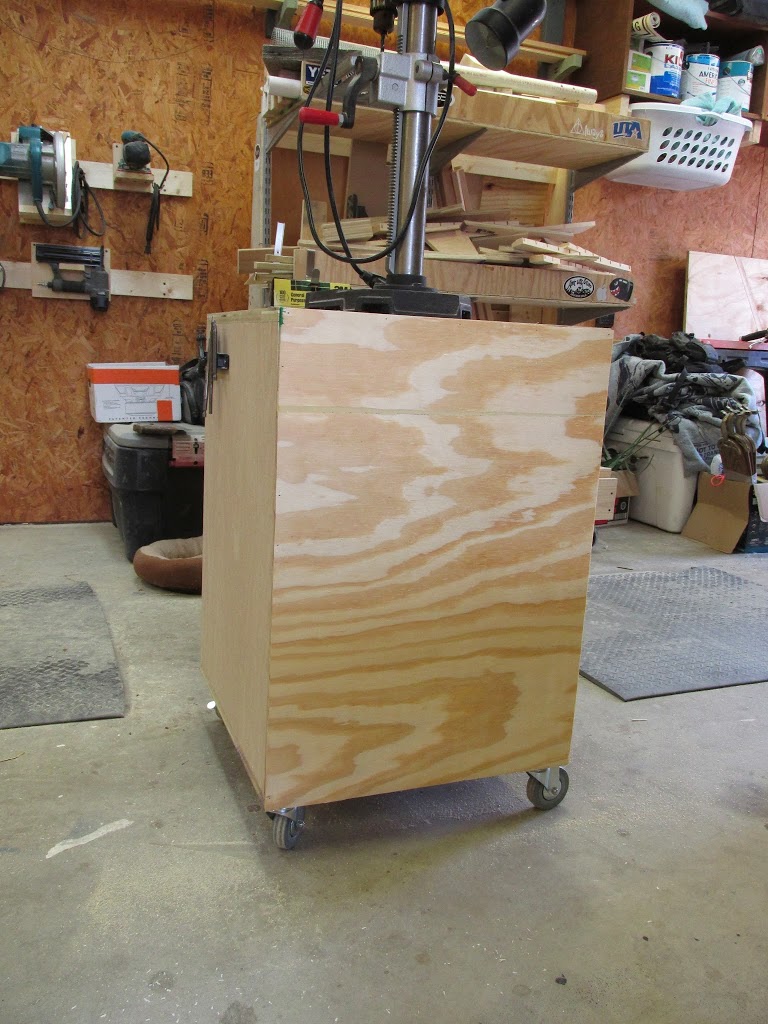
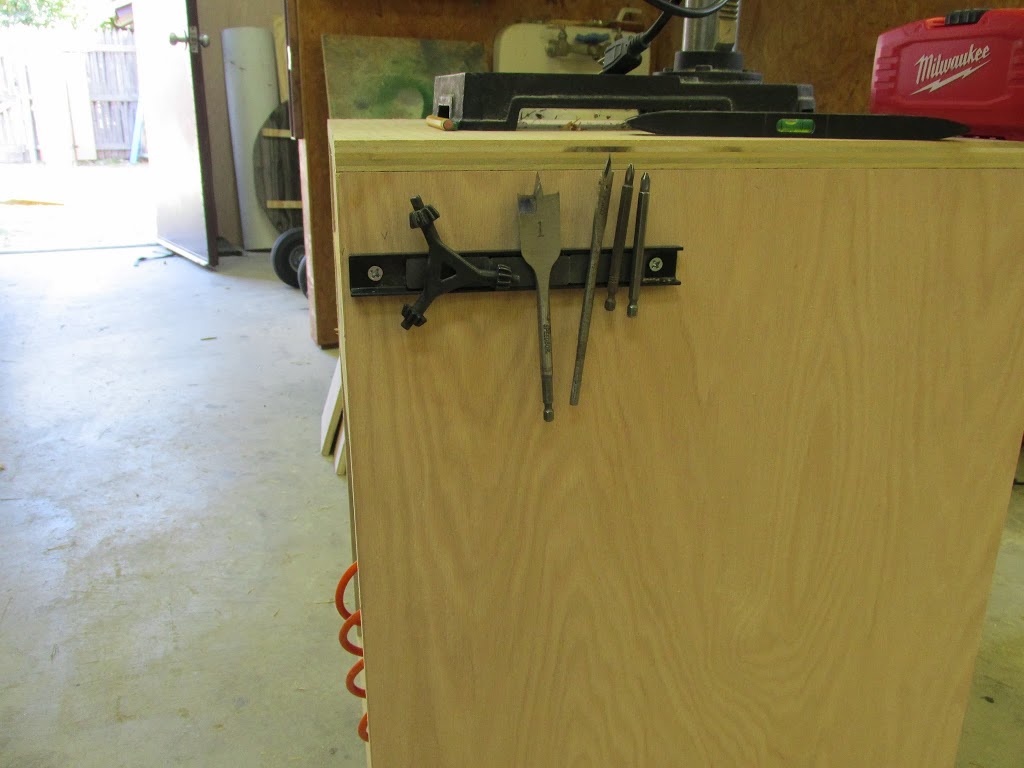
Ah, I lied, one more step…11) I saw a magnetic bar I had left over from making that tool caddy so I went ahead and attached it to the side in order to hold my chuck key and any bits I might be using.
Wonderful! Now I just needed to clear out a space for it…..Here was my corner before and than after:
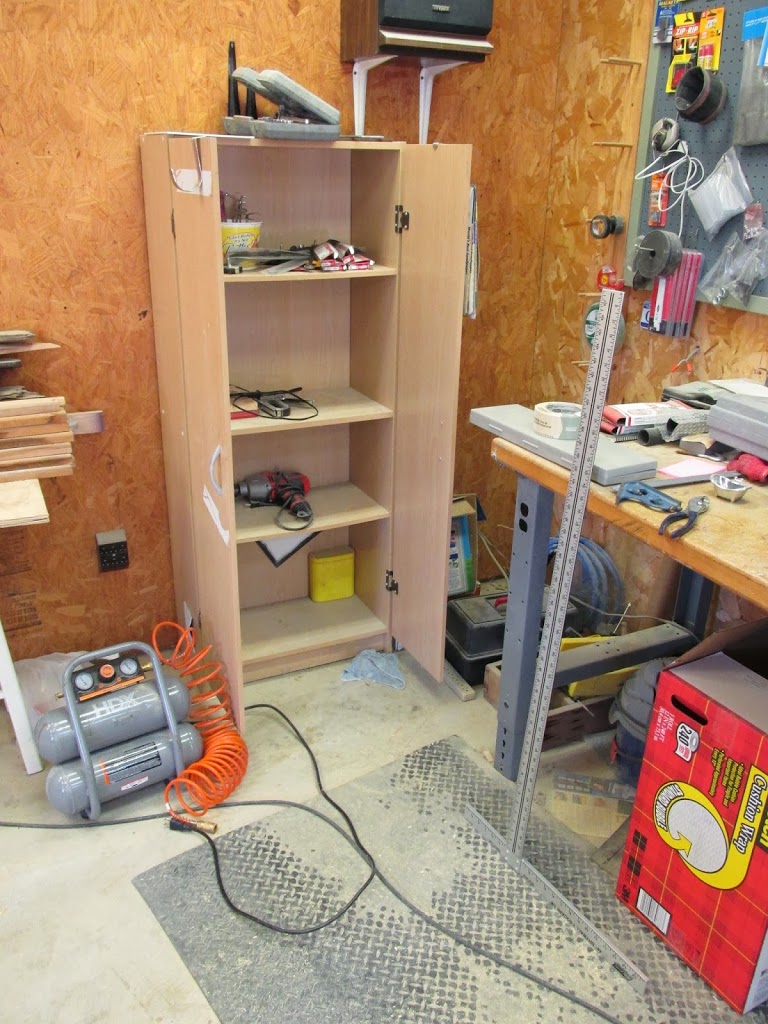
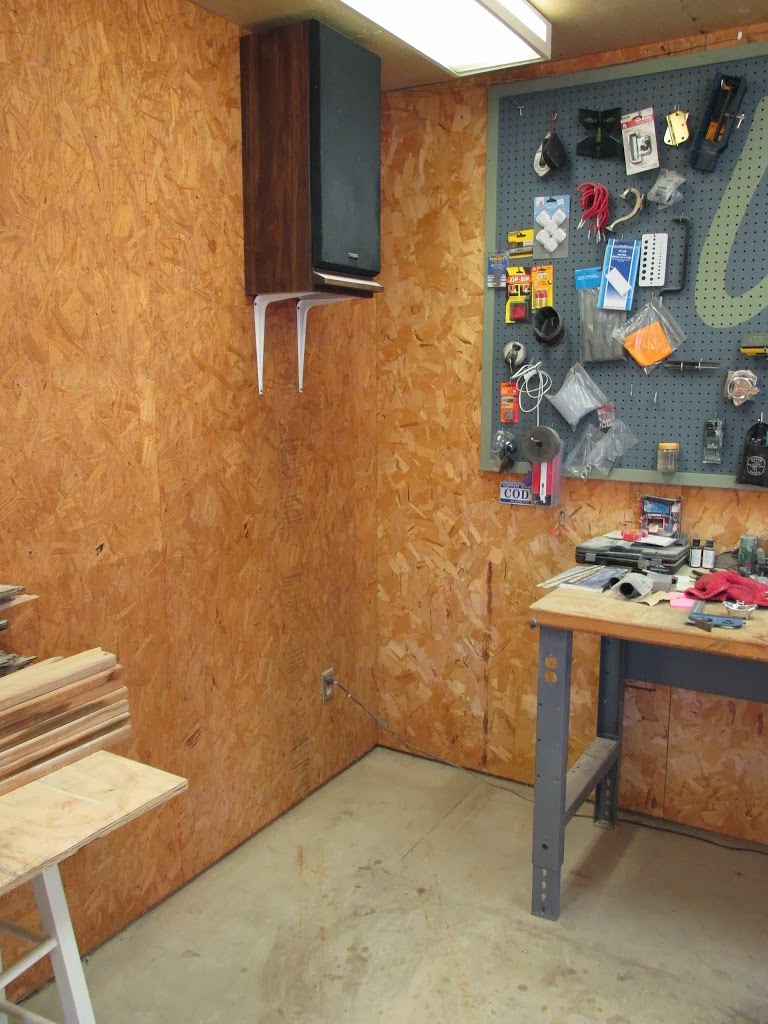
That was the cabinet I was storing all my tools in before I built my french cleat system. I still had some small things such as my boxes of brad nails, extra pegs for my board, my soldering iron, etc…so after I built this stand with my junk drawers I was able to transfer the rest of the items out and put the cabinet on the curb.
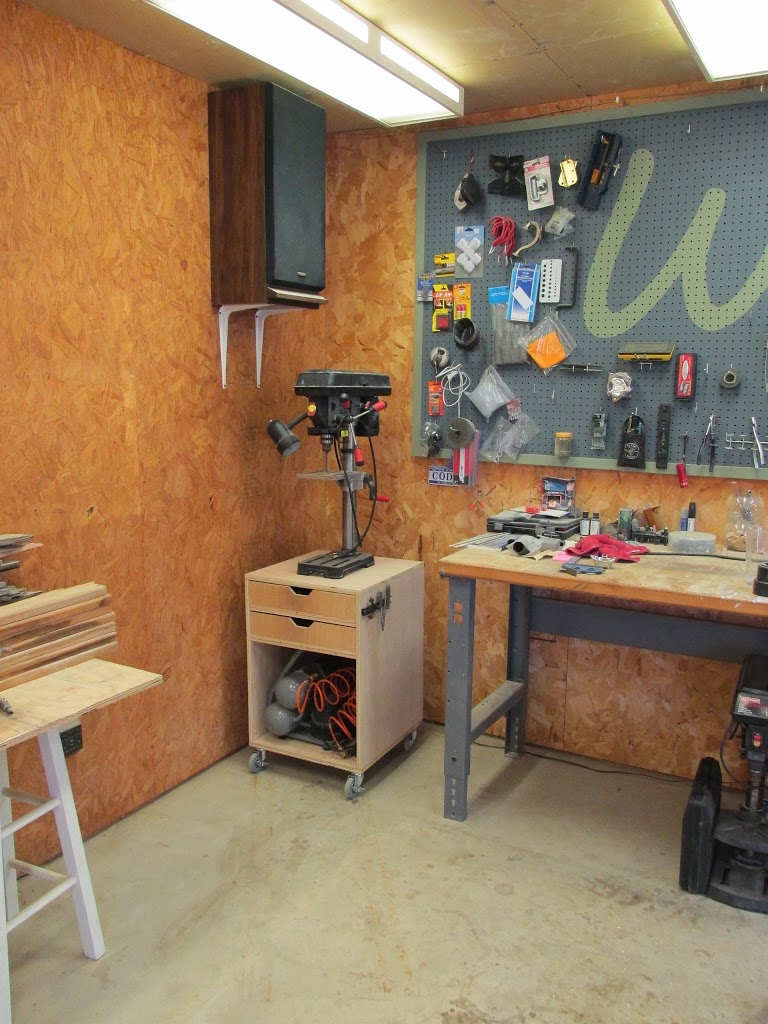
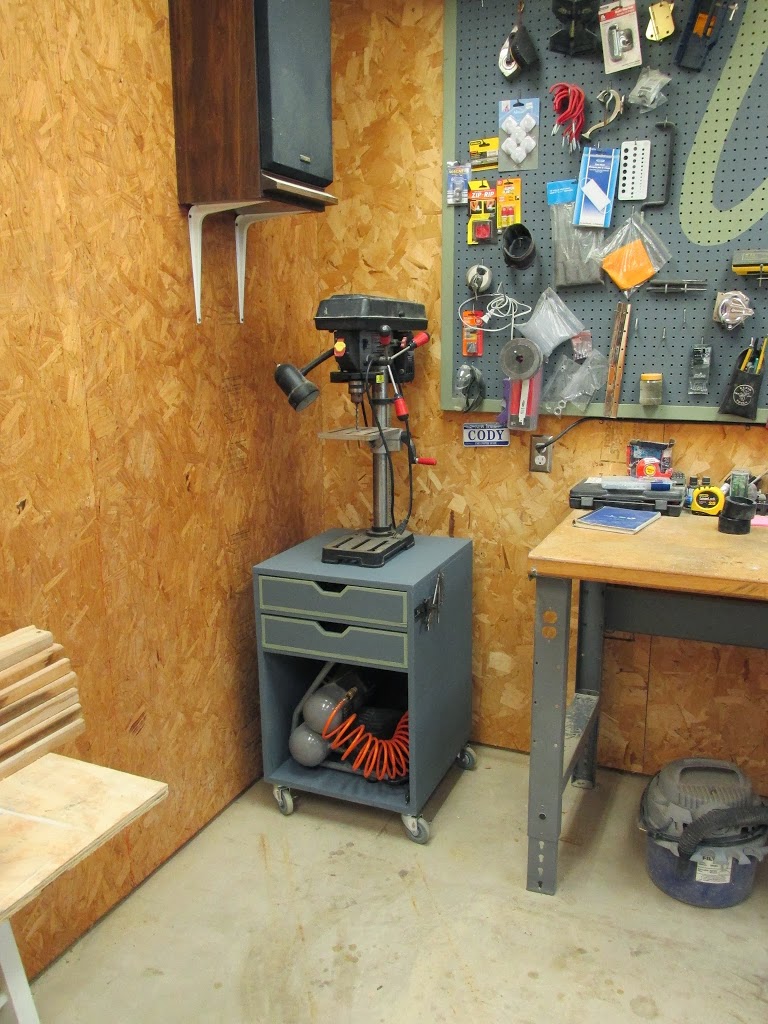
Yeah, that’s more my style. : )
Tip: When I want to make a nice clean boarder on something like this I grab a 1″ foam brush instead of a normal paint brush. Put a little paint on the end then just drag it across the edge. Both drawers only took me about 3 mins to do with this trick.
The cool thing about my compressor being housed down there is I can just plug it into the wall and use it without having to haul it out.
Total Time: 6 hrs
Total Cost: $35
Just an updated visual on this side of my shop…: D Like I said, it’s coming along.