
How To DIY Simple Wooden Shelf
- Workshop DIY Projects
- April Wilkerson
- Updated: March 8, 2023
Side Story: Cody and I were driving to a friend’s house one day and saw two of these Fisher speakers sitting on somebody’s curb. Yep, they were throwing them away. So we stopped and asked if we could take them and they said “sure”. So I got these speakers for free! Took off the cover and they were in perfect condition….lucky day or what?!
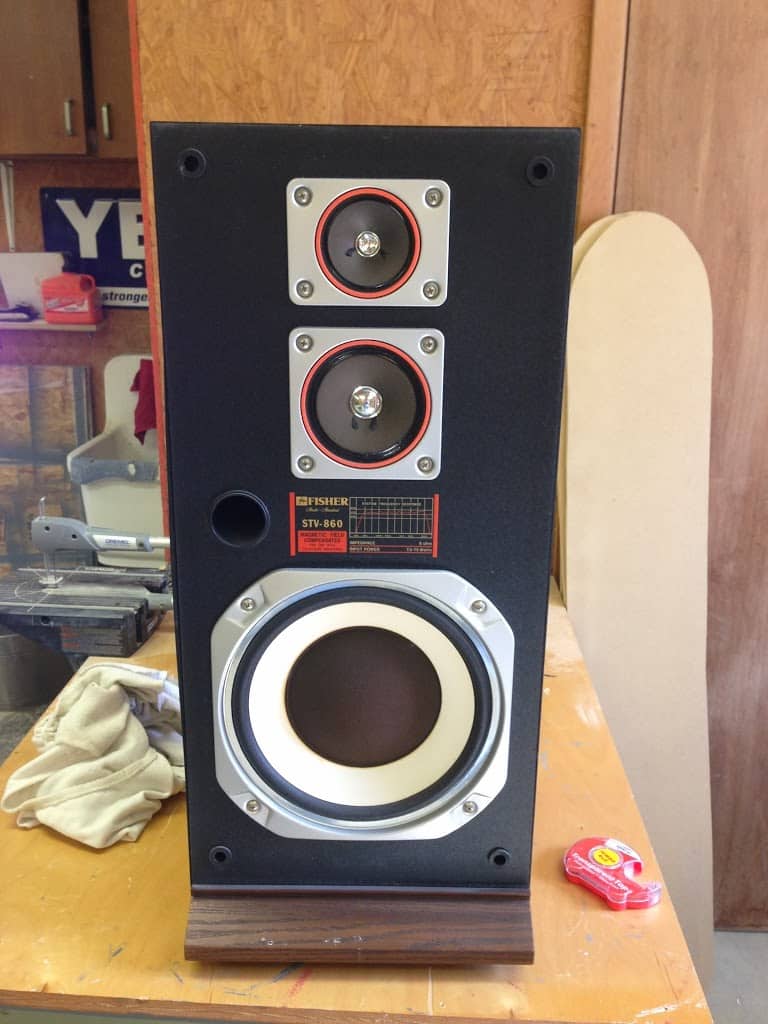
Ok I’m done bragging about my free find. ; ) Now to those steps.
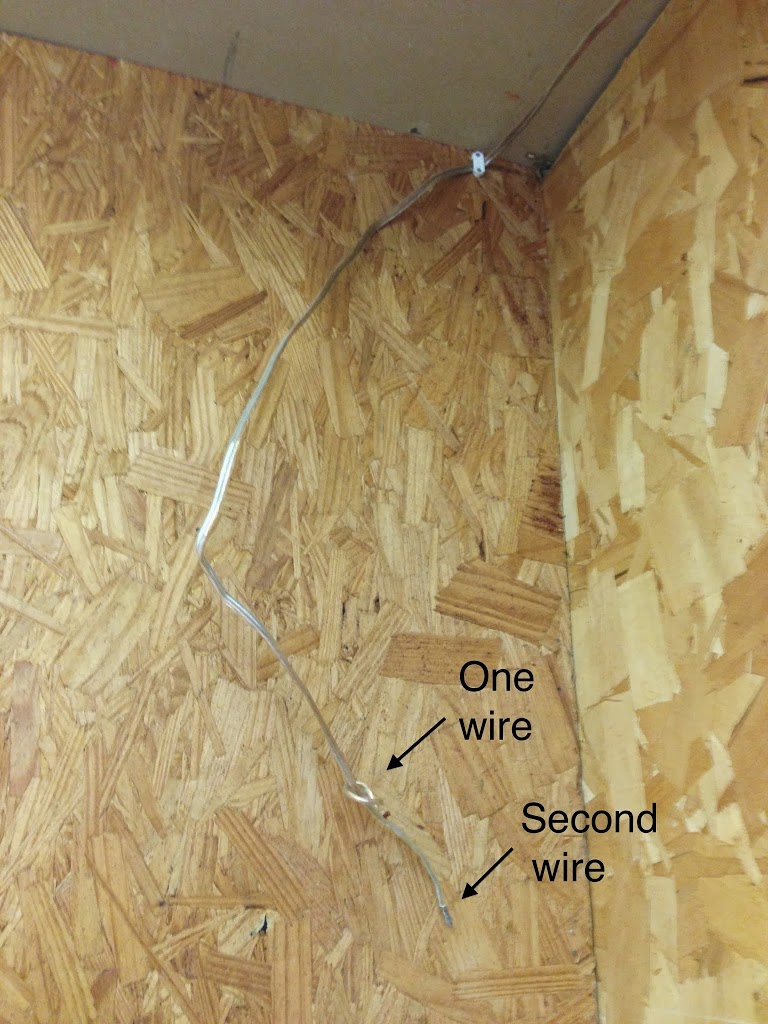
Tip: I know it’s unlikely that you will also be moving a speaker but here is a good tip for you to know….if you are going to continue to have the radio playing while you are working on relocating a speaker (like I did) then when you remove the wires from the back of the speaker you need to make sure sure sure that the two wires do not touch each other or you will short out the amp. You can touch the wires with your fingers, just not to each other. A good trick to keep them from coming in contact with one another is to take one and just tie a simple square knot with it.
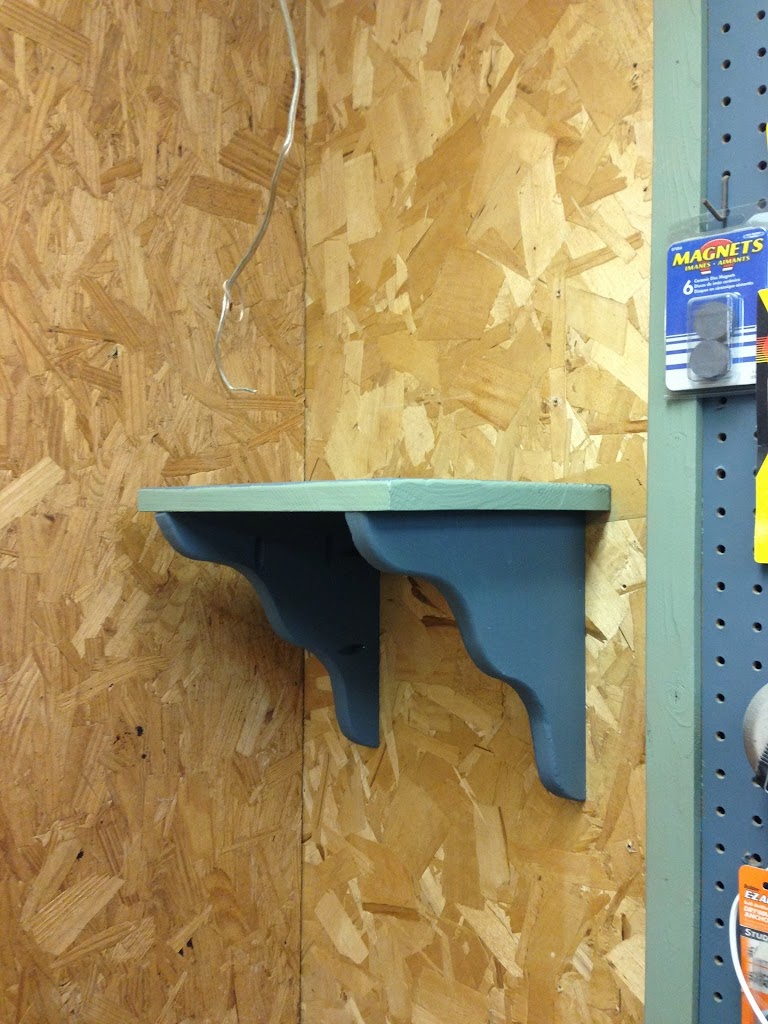
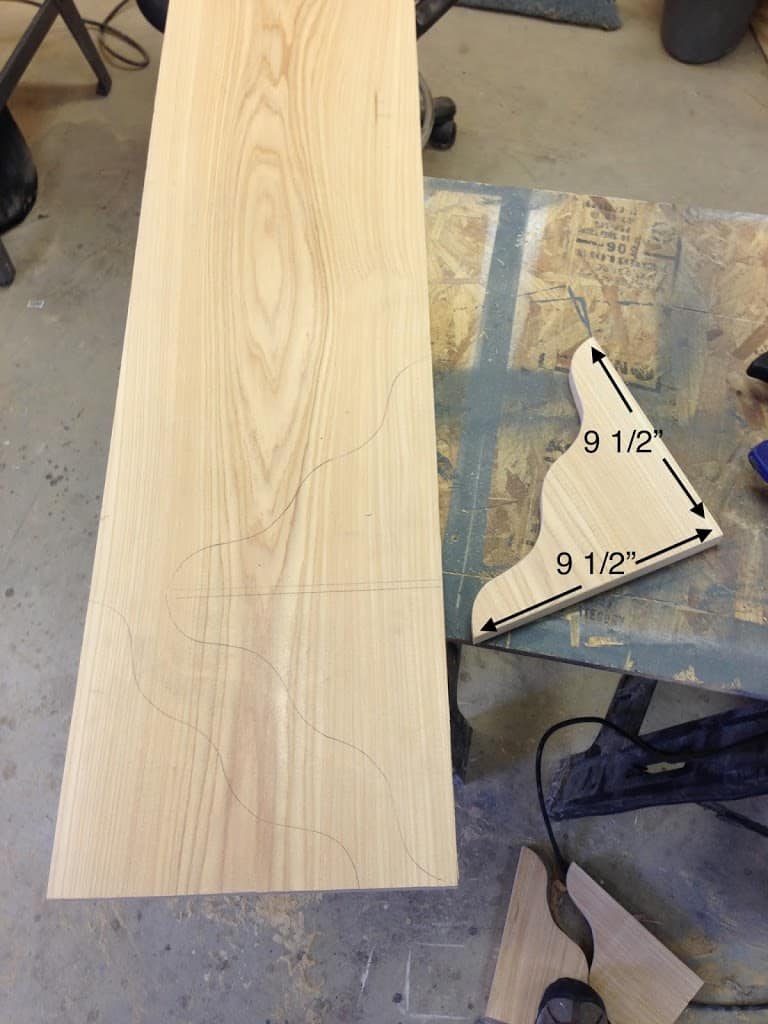
1) First things first, was to measure. My speaker is 10″ deep x 12 1/2″ wide x 28″ tall so I made my brackets 9 1/2″. I measured off the two straight ends first, then connected the two with a simple wavy line. I didn’t get it perfect on the first go, so I just played around with it until I landed something I liked. I’m using some 1x pine scrap wood I had.
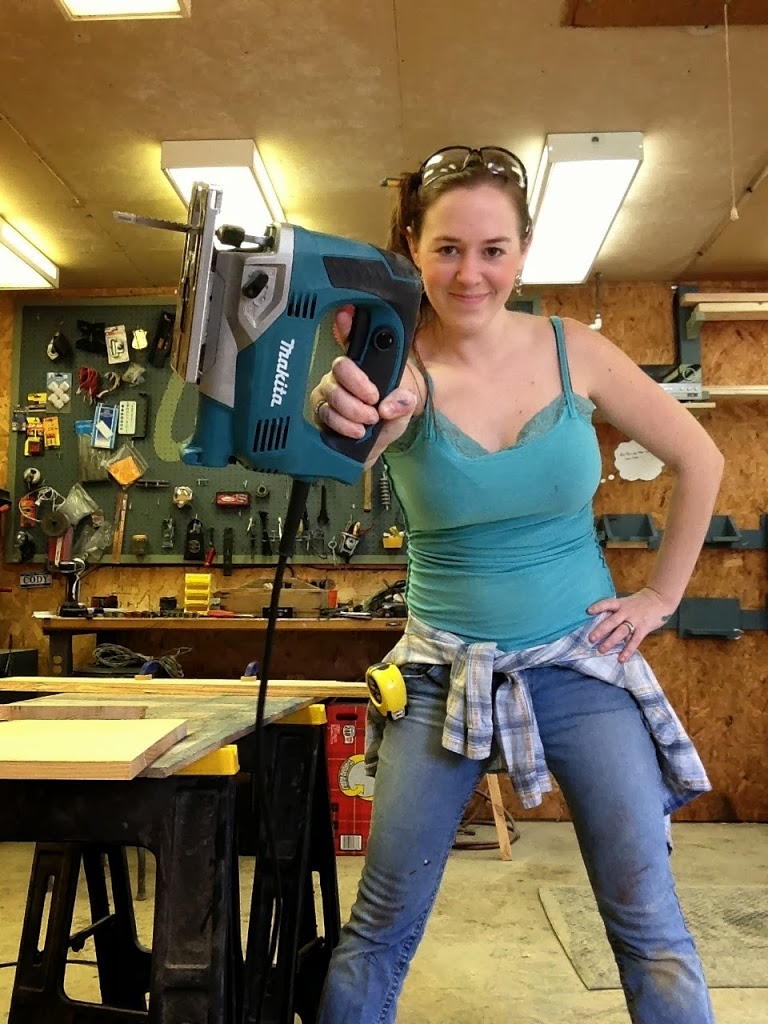
2) Next I cut it out using my jigsaw. I took my time cutting this first one then used it to trace out the additional three I would need. (I’m making two shelves)
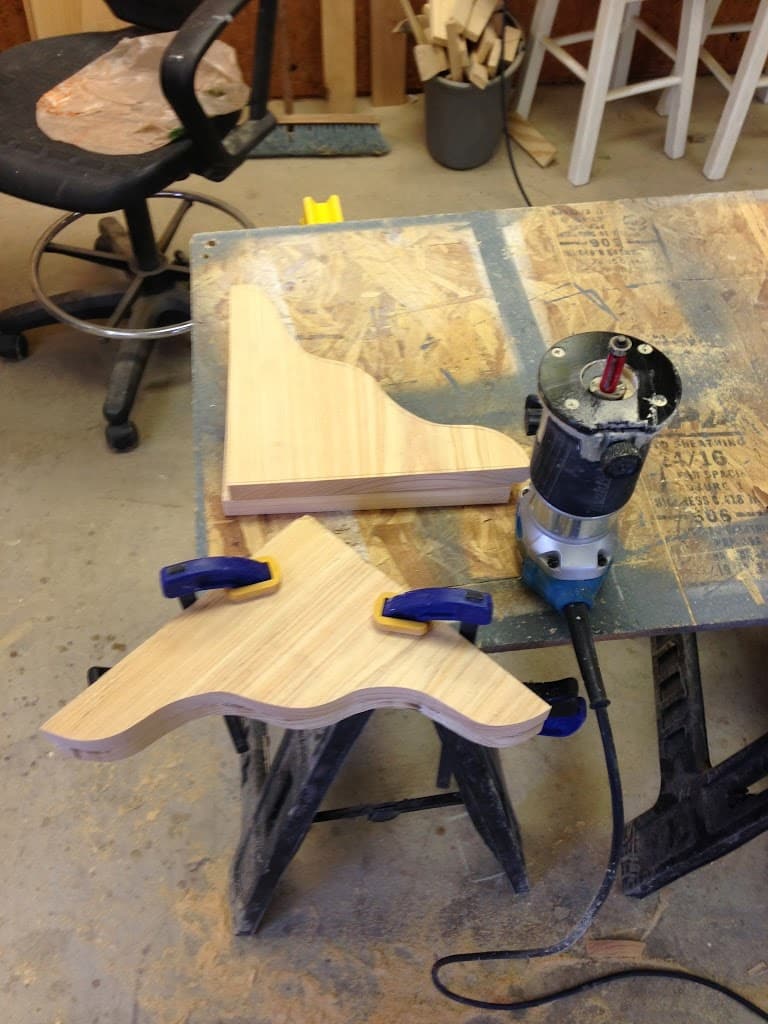
3) I decided to rough cut the remaining brackets and used my flush trim bit to get them perfect. (Related video here) If you don’t have this bit, then just take your time and cut them all with a jigsaw.
4) Then I cut the actual shelf portion.
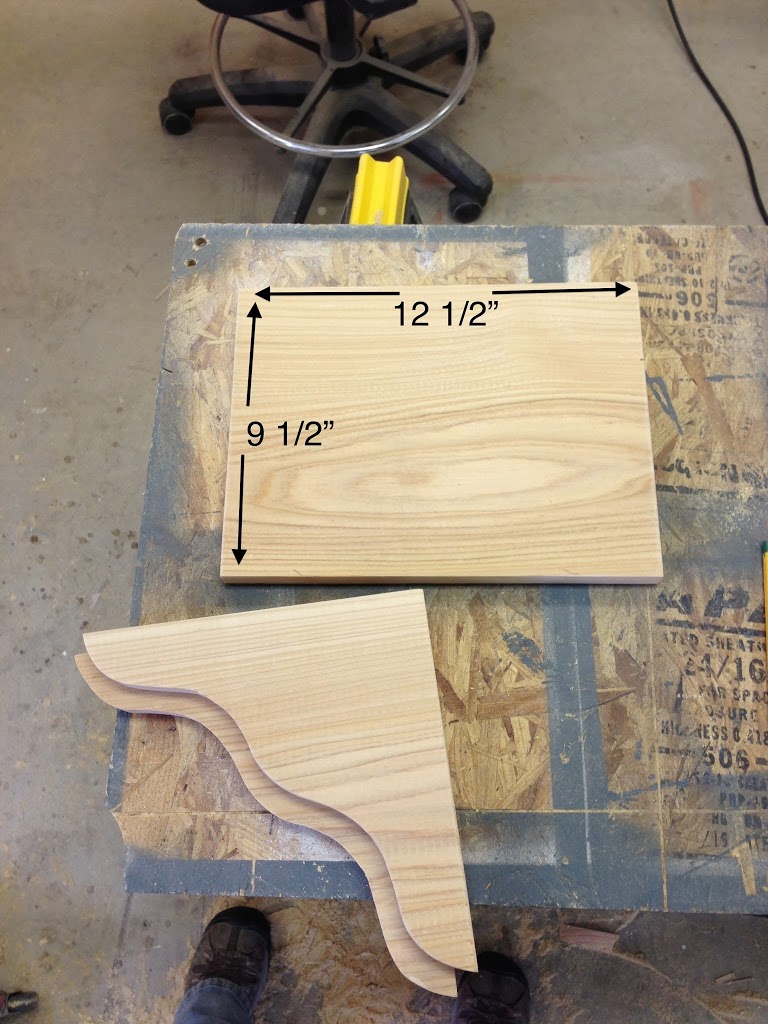
5) To make the pieces look a little more decorative, I put a round over bit in my router and went over all the outward facing edges. (This bit just takes off the sharp edge.) If you don’t have a router, then just take some sandpaper to the edges until they are slightly rounded.
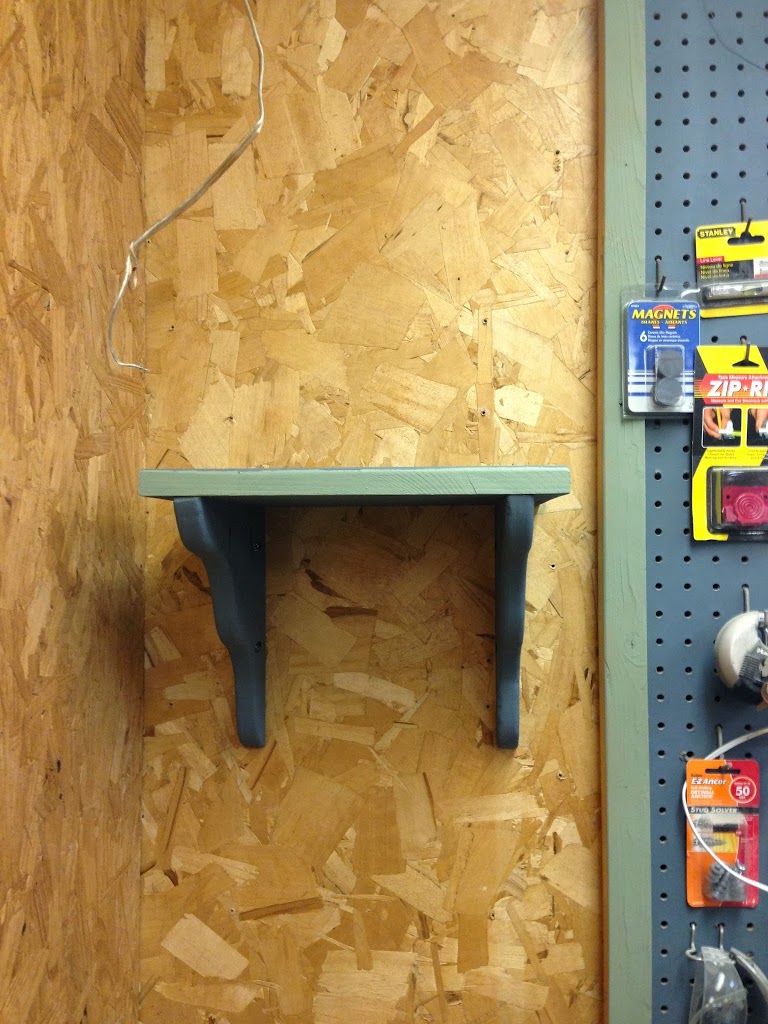
6) Then I drilled a few pocket holes using my Kreg pocket jig. Two to attach them to the shelf and two so I could attach the shelf to the wall. I came in 1″ on each shelf side then screwed the brackets in place.
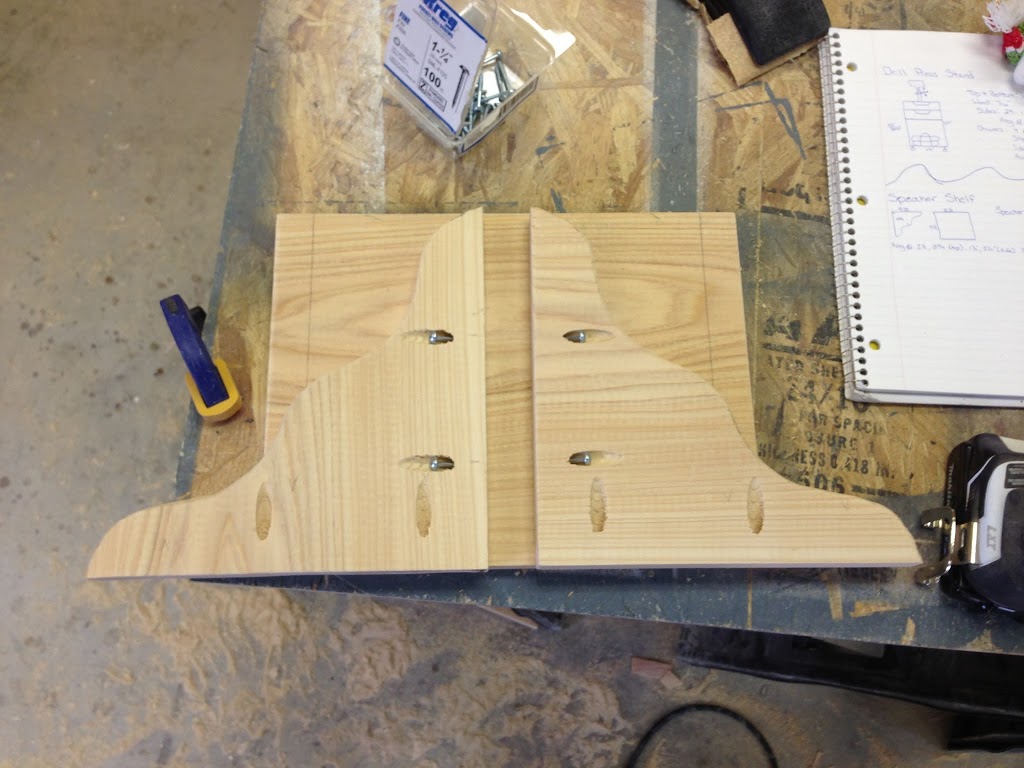
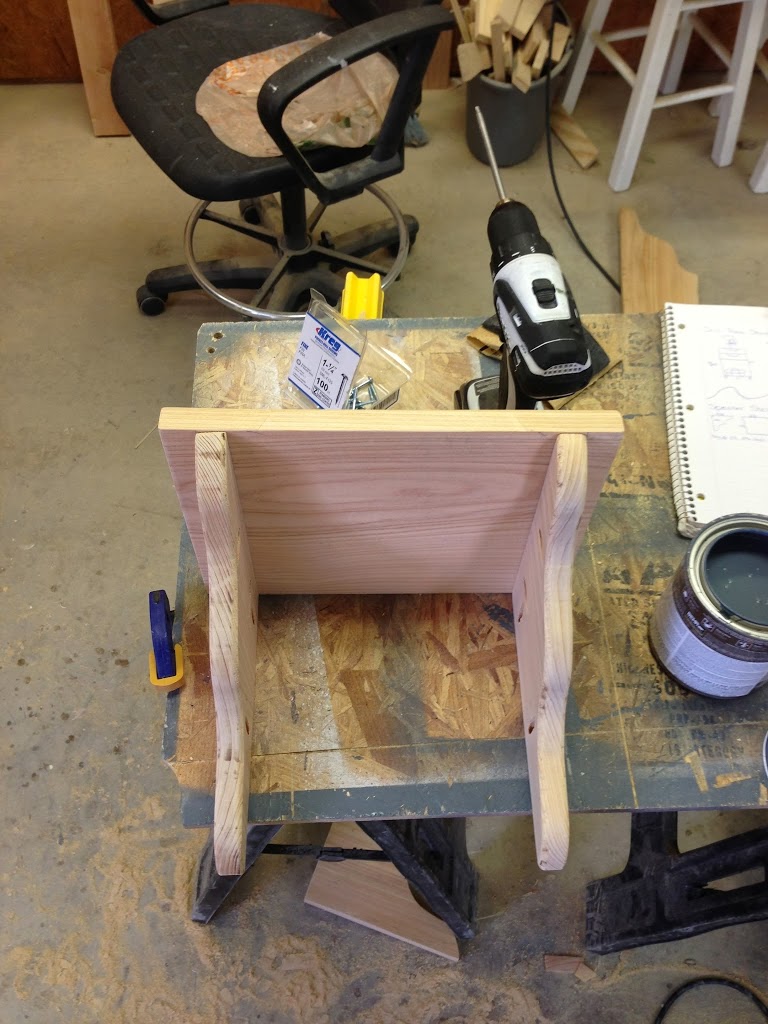
And that’s it. Like I said…simple. : )
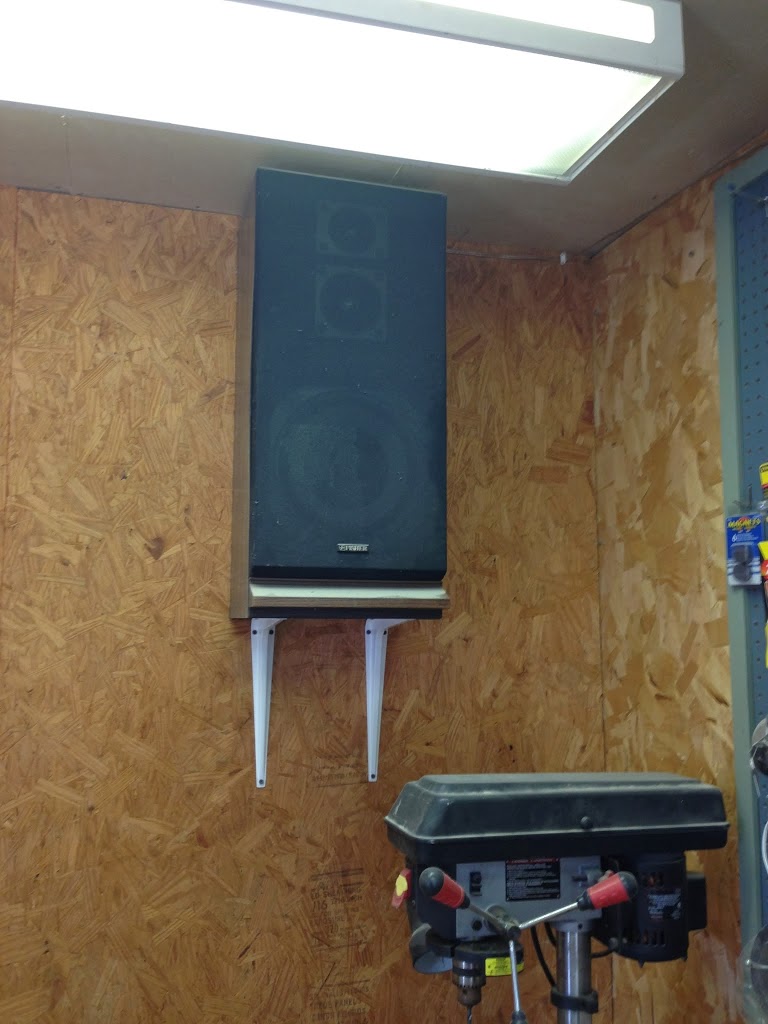
I put some color on mine, screwed it into my wall, then hooked my speaker up. (of course I painted the speaker as well…almost nothing is safe from me and paint)
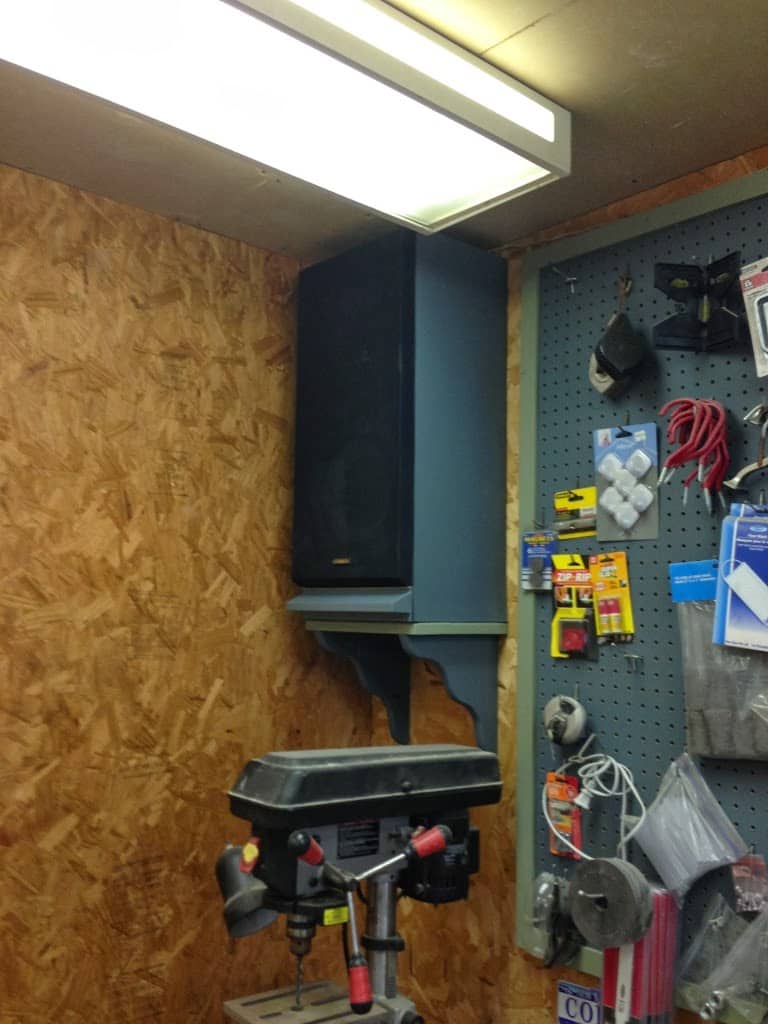
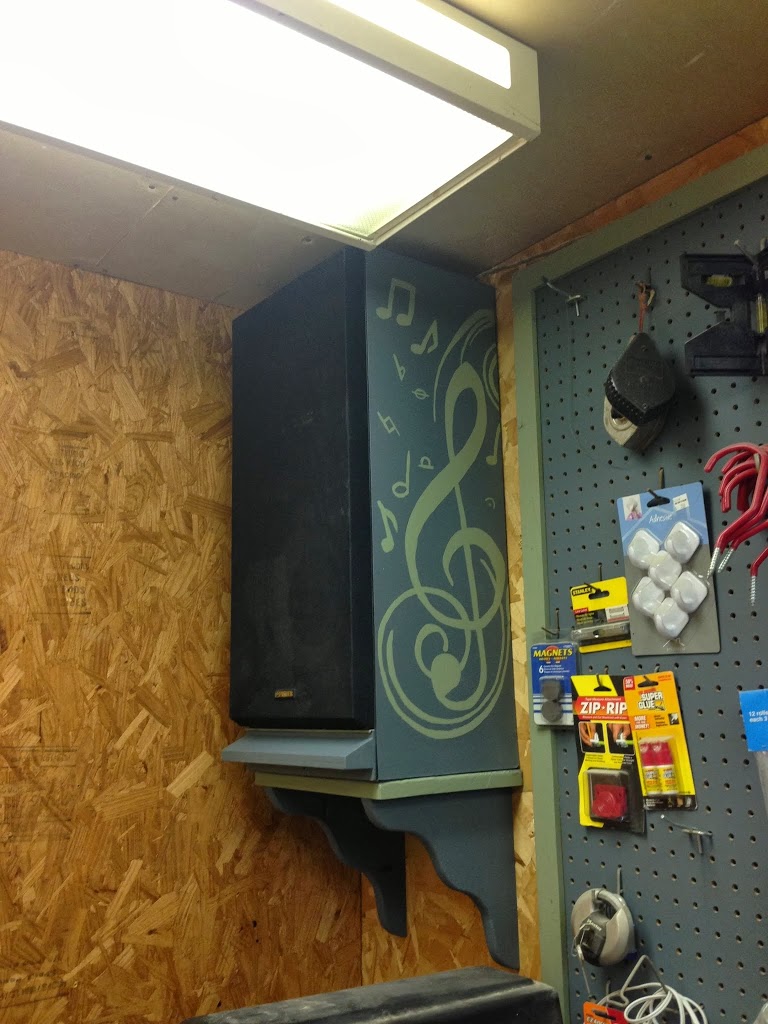
Ah yes, that’s better.
Now just because I put my shelf in my shop and put a speaker on top of it, don’t let that stop you from making one. Something like this would be great in an entry way, nursery, or kitchen…really anywhere you have something you want to display.
You could make one with limited tools too….really all you would need is a jigsaw and nailgun or drill. If you don’t have a Kreg jig then you could purchase some of those picture hangers from Wal-Mart to hang it on the wall (just don’t over load the shelf).
Cheers!