
Simple DIY Wall Lumber Rack
- Workshop DIY Projects
- April Wilkerson
- Updated: March 8, 2023
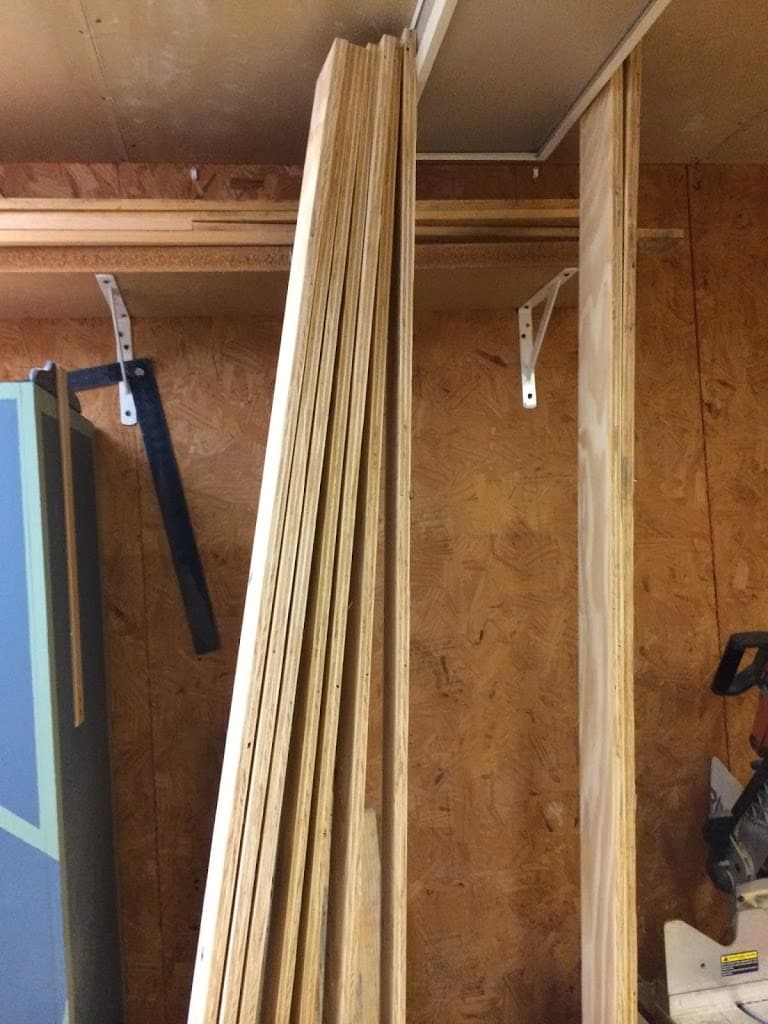
Thinking about how you can build a DIY wall lumber rack to save space in your garage? Check out this lumber rack DIY project where I built my own for my shop!
A wall mounted lumber rack has been on my to-do list, but it just kept getting pushed down and down. Well all it took was a neighbor to call me and ask me if I wanted a bunch of wood he didn’t feel like moving to his new place, to get my butt in gear and start building my shop one.
I did some research a while back and had already decided to build the same rack that Marc over at The Wood Whisperer designed and built. He put together a great video tutorial as well, which can be found here.
For this job I purchased four 10′ 2x4s and one sheet of 3/4″ plywood.
1) I first cut what will be my vertical supports. I cut seven lengths of 32″ and one length of 17″. Then just because a flat surface rests better against a flat surface, I ran each length through my table saw to take off the rounded edge on both sides.
2) Next I took a 1/4″ drill bit and predrilled my holes.
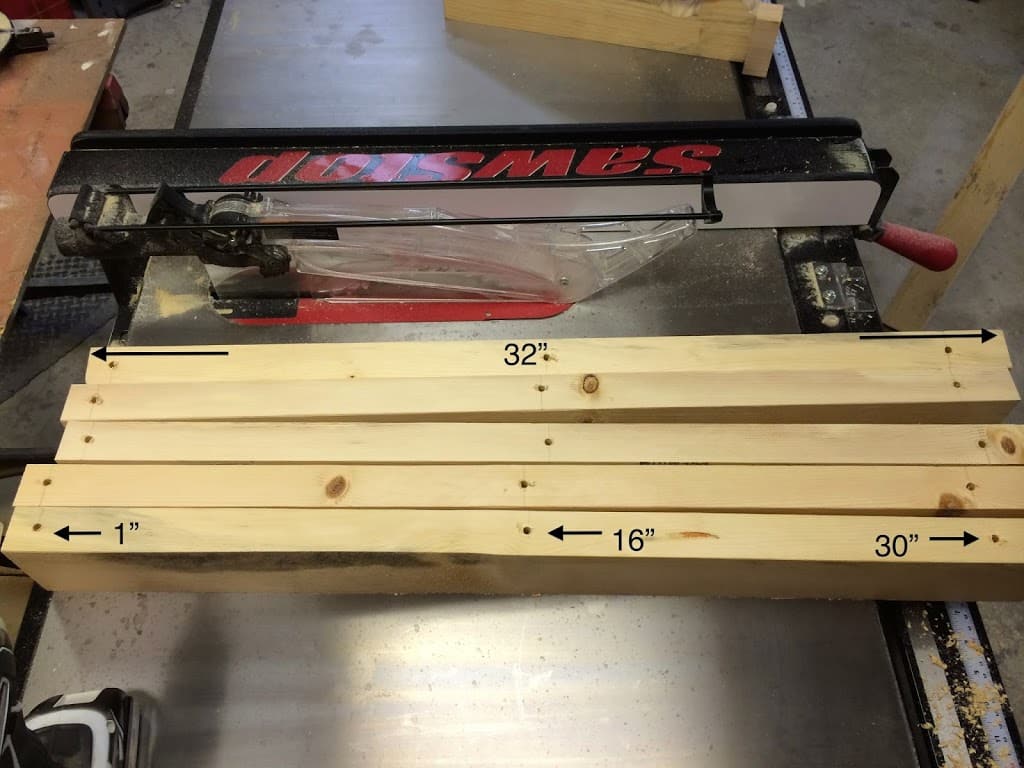
Note: I drilled my holes at 1″, 16″, and 30″ from the bottom of the board. If you are going to change the heights of your horizontal members, then figure out where you want them before making these holes. I used lag bolts and did not counterbore the heads so I placed them directly below where I was going to want my shelves. You just don’t want to run into an interference issue of wanting to put your shelf somewhere, but a bolt head be in the way.
3) I am using 4 1/2″ lag bolts but you could also use screws (then you wouldn’t have to worry about the heads interfering). I place a lag bolt as well as a washer in each hole and got them started.
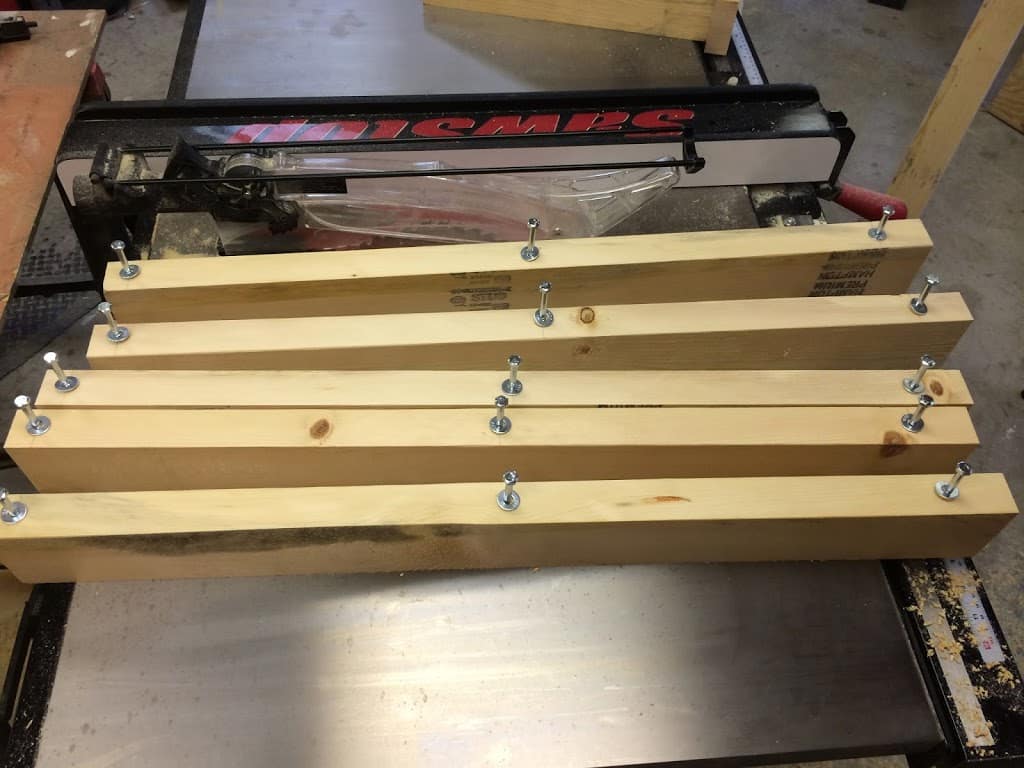
4) I located my studs with the stud finder you see in the video and just started installing them. I used my impact to make this process easier on myself (still wore me out though ; ) ). I would first drive in the bottom most bolt then hold a level up to it and get it plum (completely vertical), then drive in the middle bolt, then finally the top.
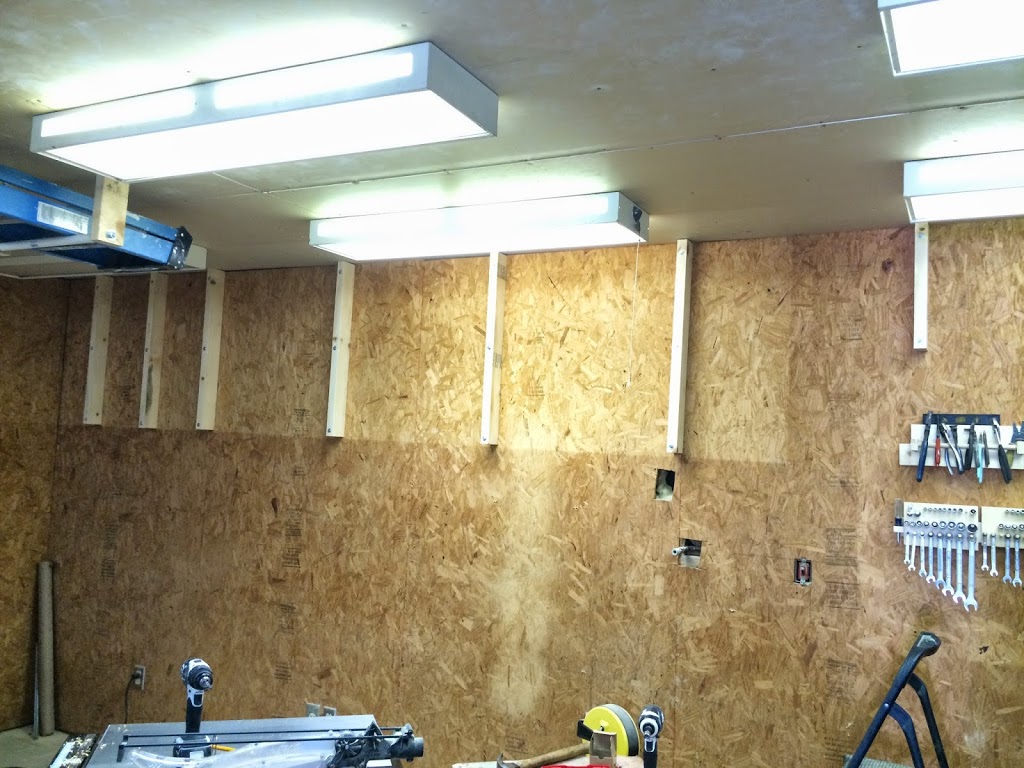

I decided I wanted two levels of shelves and for the top to be 14″ and the bottom to be 12″.
1) So I grabbed my 2x4s and used my miter saw to cut seven lengths of 14″ and six lengths of 12″.

3) Then I used my miter saw to cut the strips up into the two different lengths. I need two plywood pieces for every horizontal member, so for my set up, I needed 14 lengths of 17 1/4″(the top level) and 12 lengths of 14 1/4″ (the bottom).

Tip: I set up a temporary stop block to make this go quickly. Just take your first board and line it up, then set a scrap block in place with a clamp. ; )
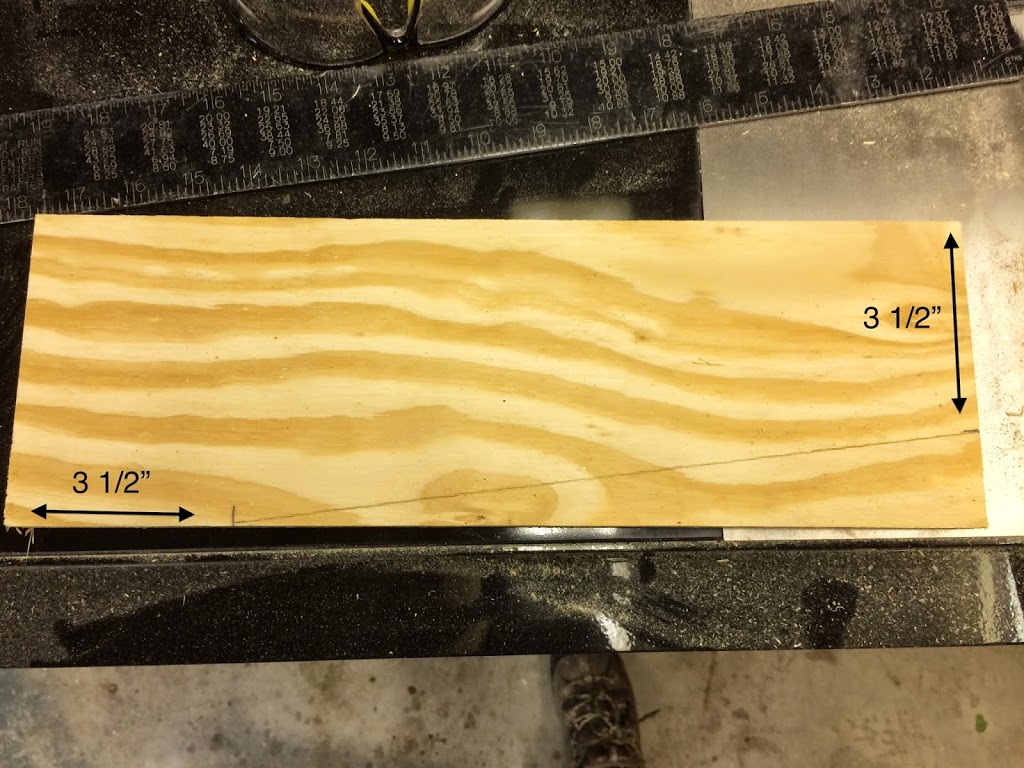
4) To cut in the taper, I came in from the back 3 1/2″ and made a mark, then came down from the top edge 3 1/2″ and also made a mark. Then I was able to use a straight edge to connect the two marks.
5) Next is to cut the angle we just made. I placed mine on the miter gauge on my table saw and made a few cuts until I figured out what angle worked best. Then I grabbed a scrap piece of 2×4 and clamped it in place. This way I won’t have to line up each and every board, but rather, just make sure the board is resting against my ‘stop block’ as well as my miter gauge, and I should get the exact same taper on every single board. After I cut all the small boards, I repeated the step with the long board I made my line on.
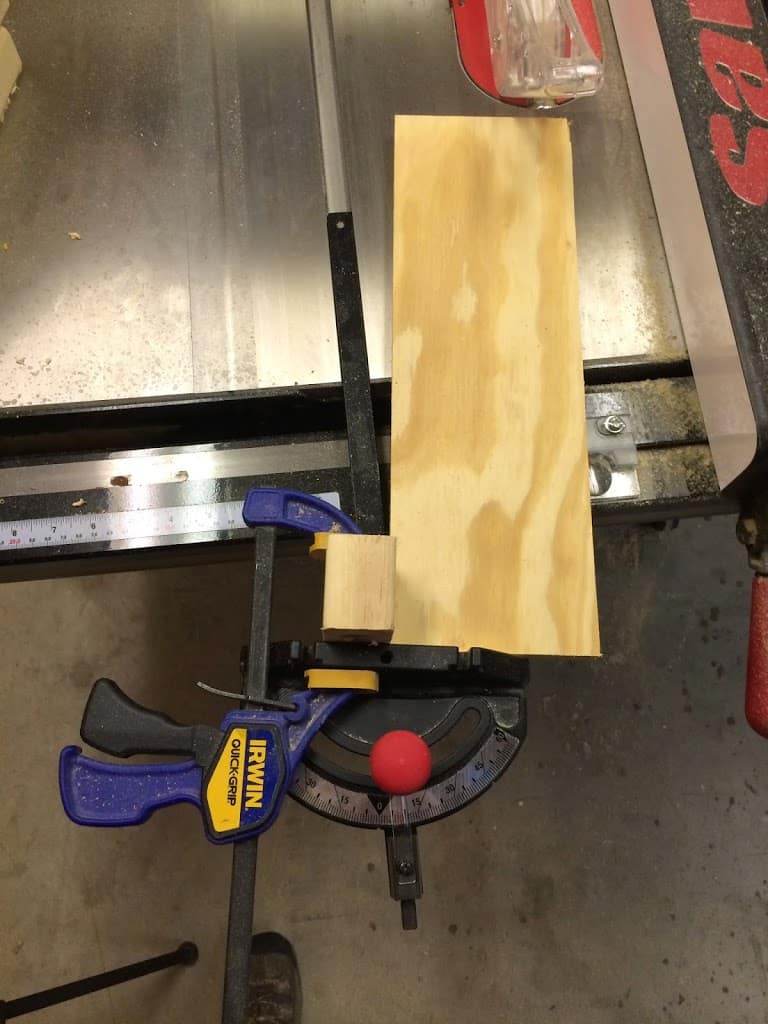
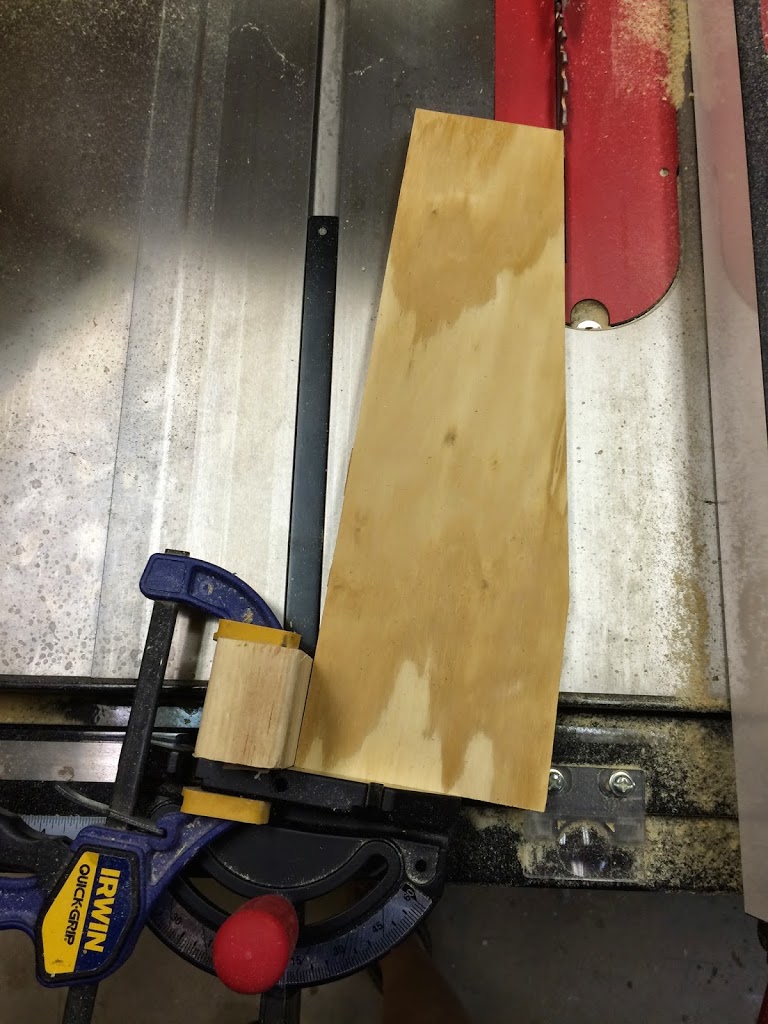
Note: The angle I used for my small boards was 8 degrees, then the longer boards, I used 5.5 degrees.
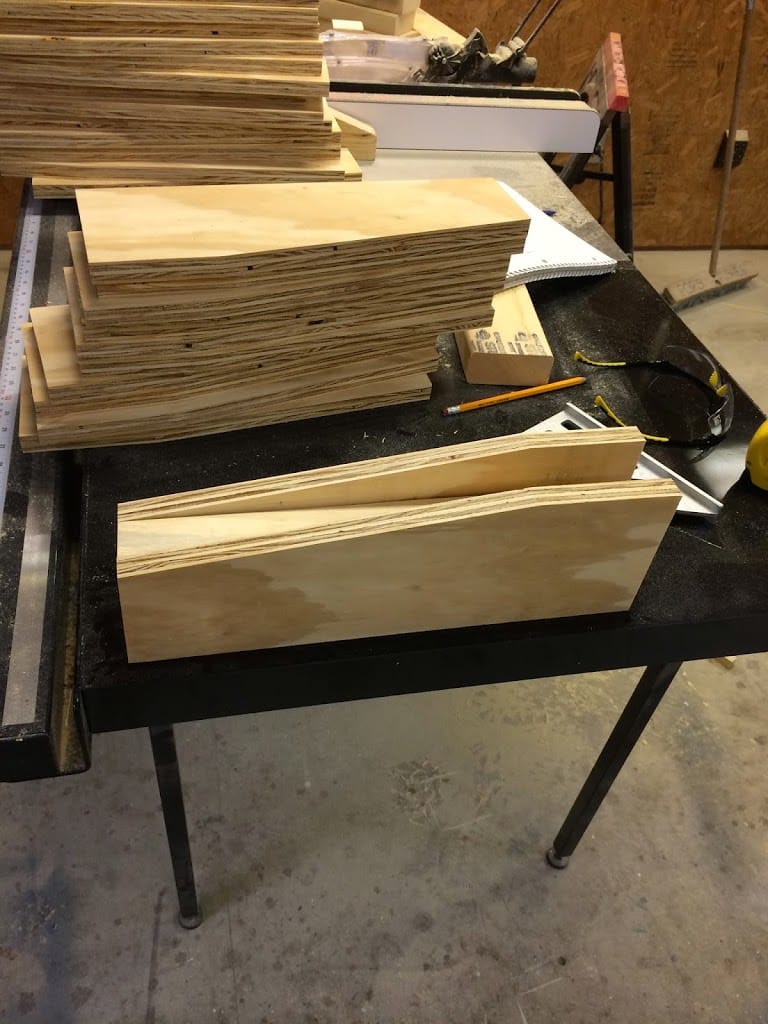
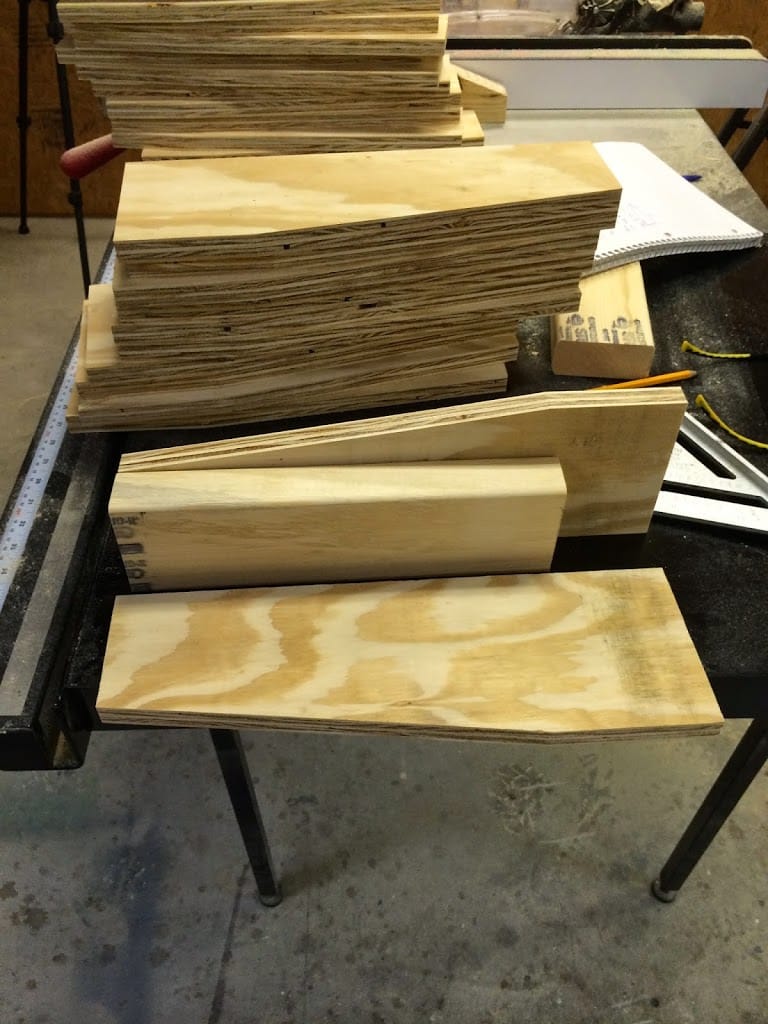
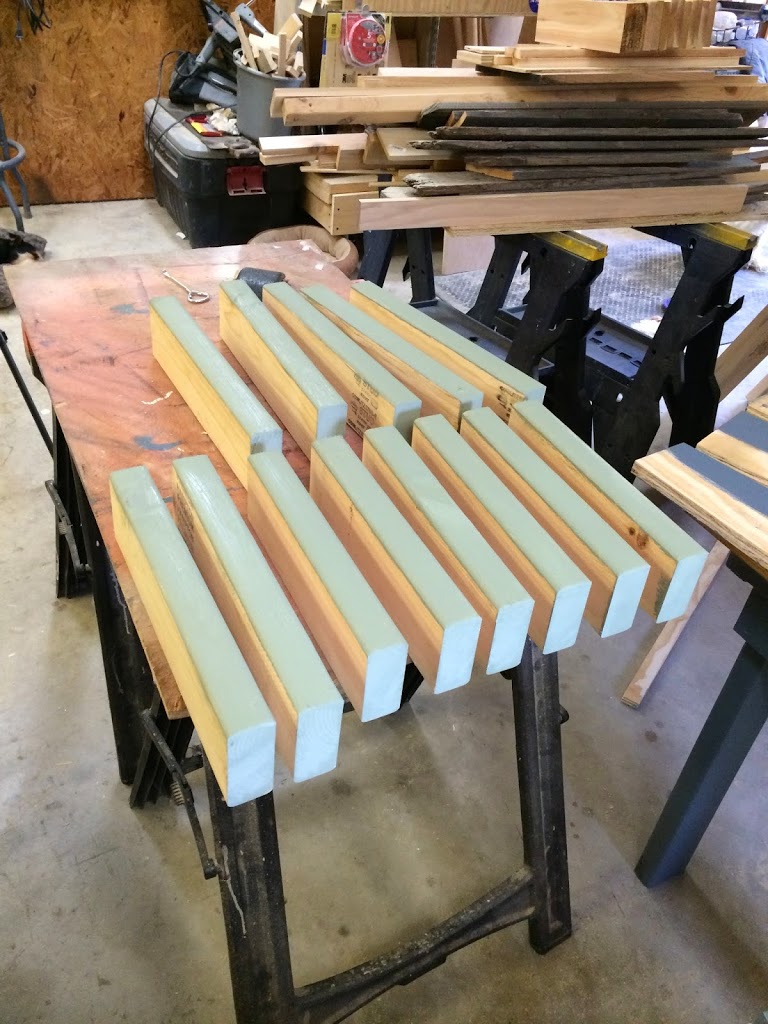
6) Since I knew painting these put together would be a pain, I went ahead and painted next. I painted one side of the outside boards completely….
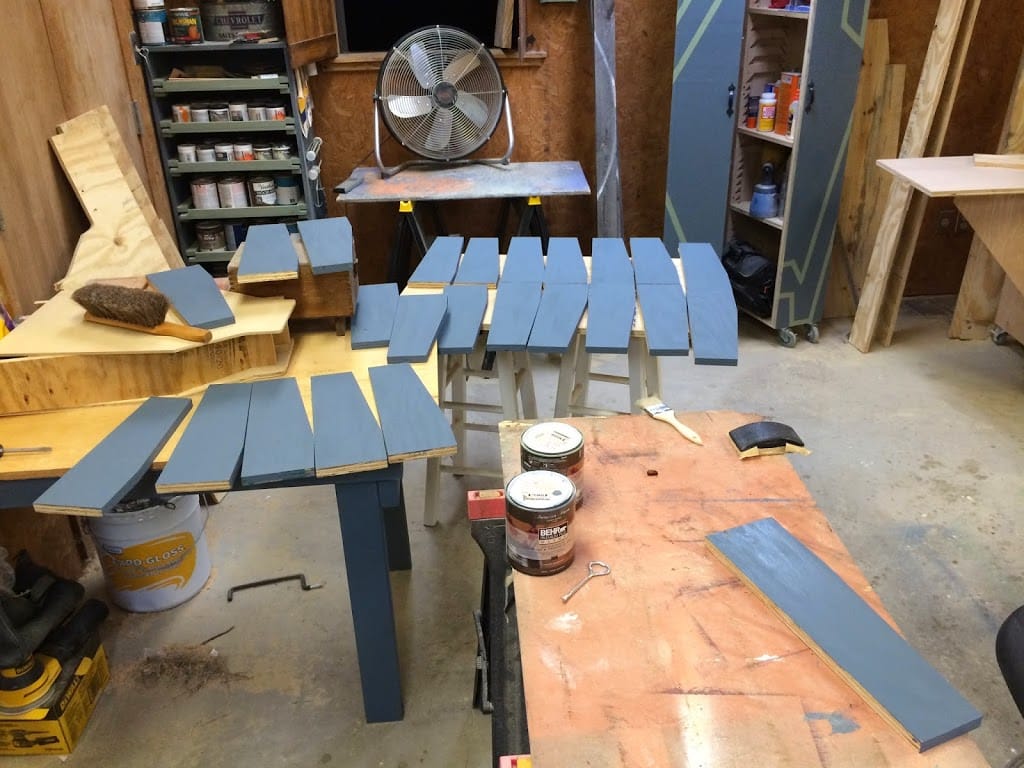
Note: For each horizontal member, you need a mirrored pair, so paint one side on half, then the other side on the other half.
Then flipped them over, and since this will be the inside with a 2×4 covering up most, I just painted the part that would be seen.
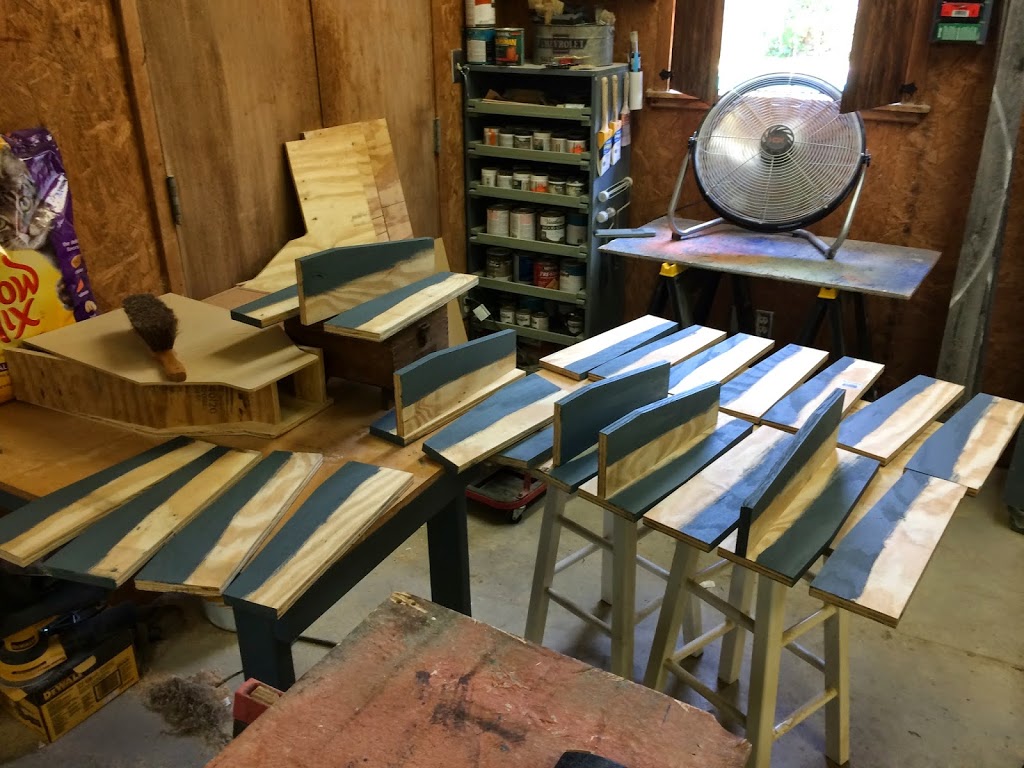
Then gave the 2x4s tops and front edges a painting in my shop green.
7) To put them together, I would lay one outside board down and place a 2×4 on it, then grab the mirrored outside piece to top it off. I put down some glue then used four 1 1/4″ drywall screws to attach it to the 2×4. Then flipped it over and repeated.
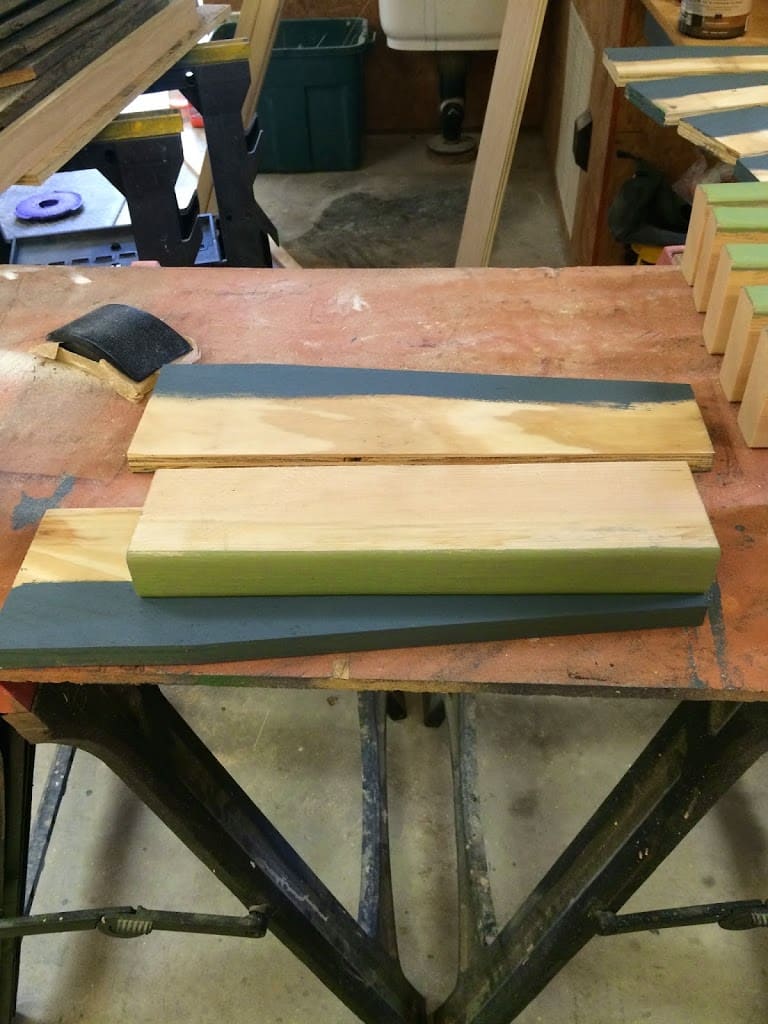
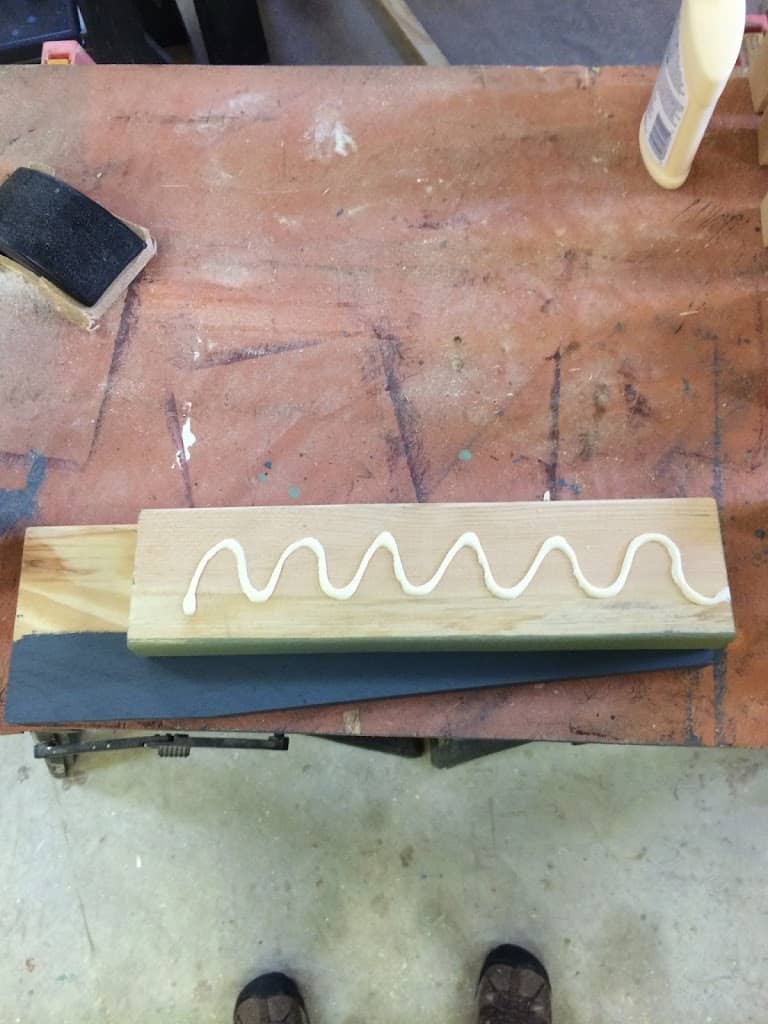
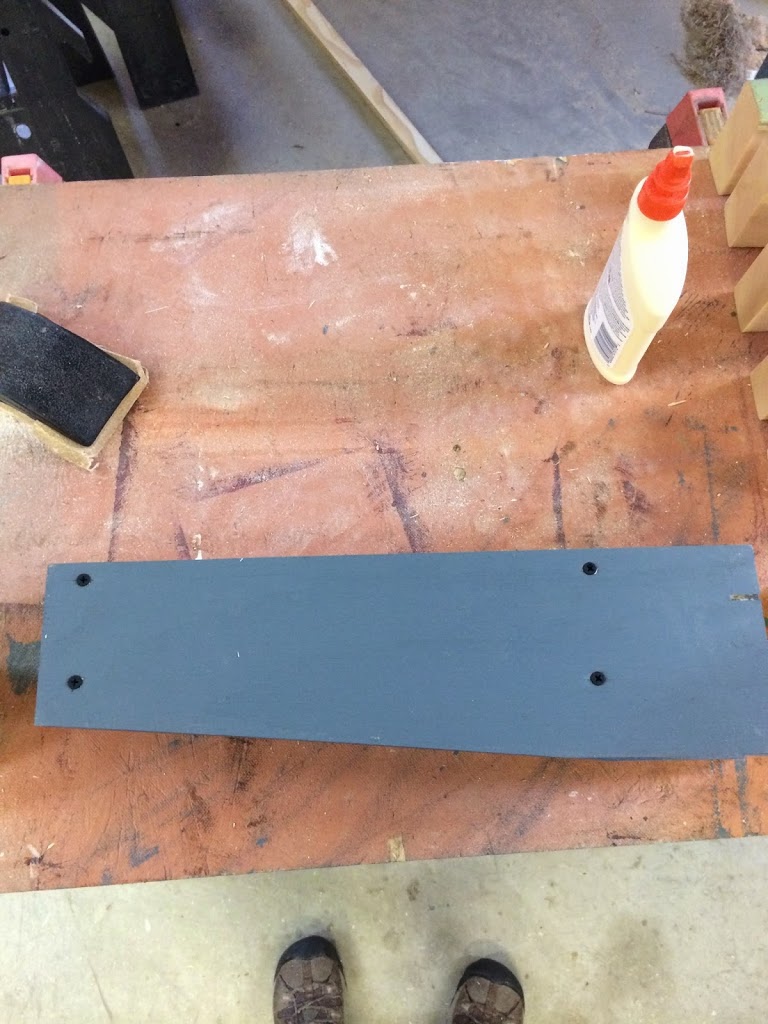
WilkerDon’t: Make sure when you are creating these sandwiches, to align the 2×4 up with the smaller end of the outside pieces. I did one with it aligned to the back edge and of course, that doesn’t work out well. : / so I had to take off the sides and move the 2×4 into the right position. ; )
Installing:
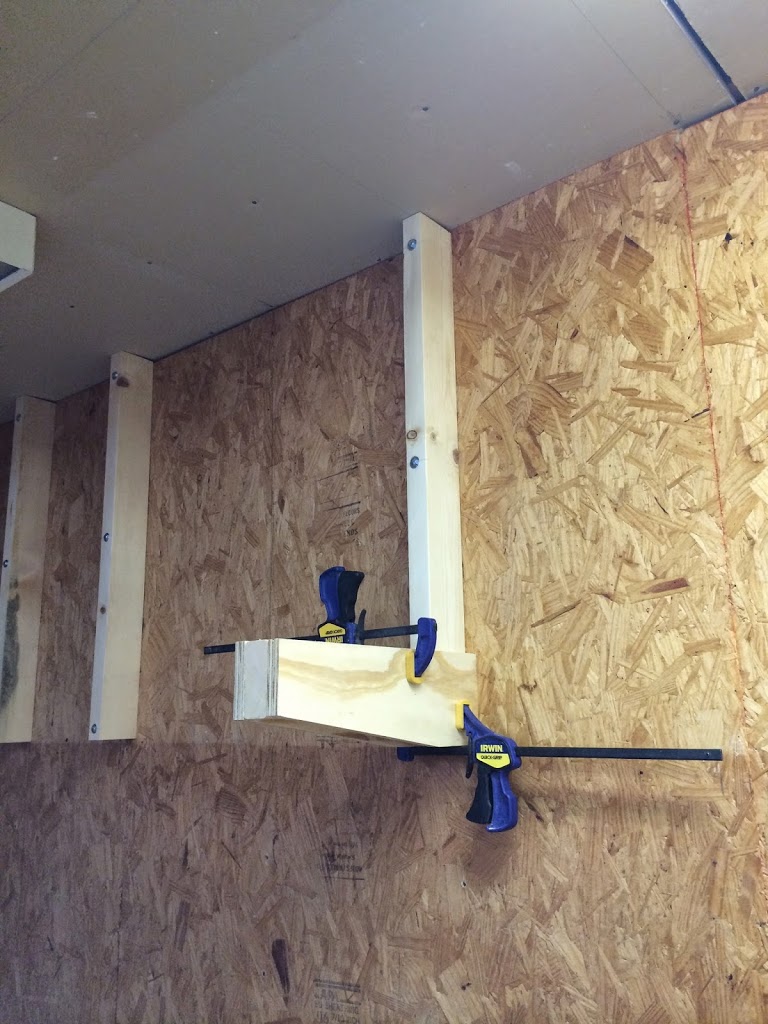
1) To install each arm, I was actually able to wiggle most of them on and they held themselves. (For the few that wouldn’t, I just used clamps) So I started off by dry fitting each one to make sure they were going to fit properly.
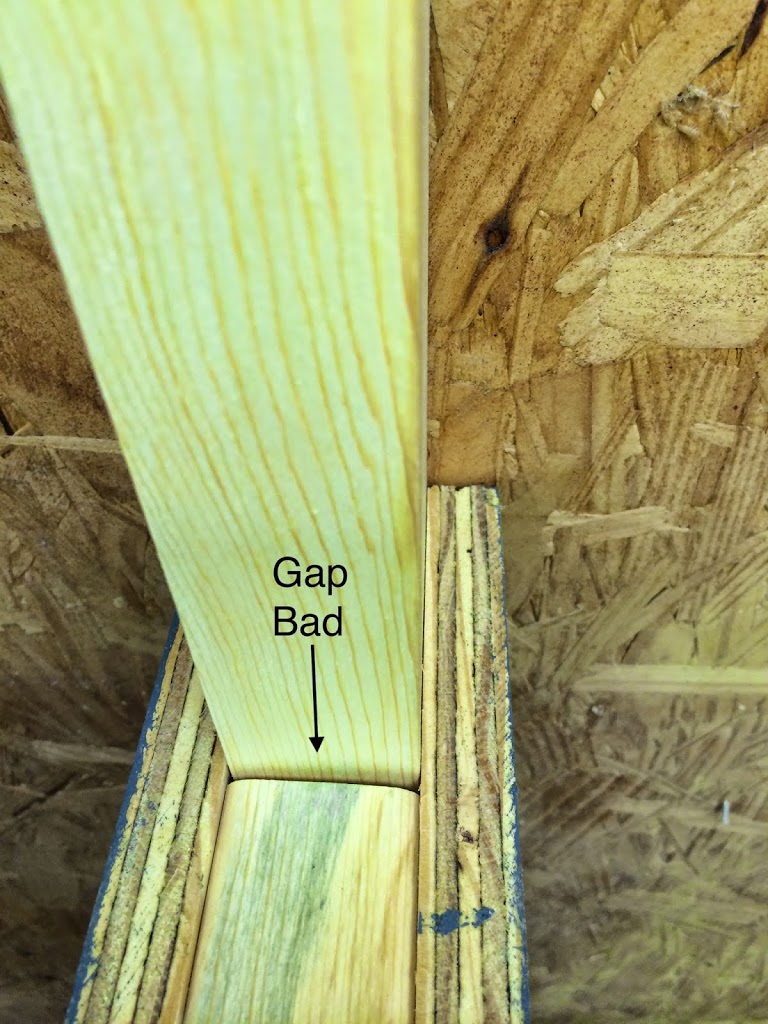
Note: You need to make sure that each 2×4 inside the arms is sitting flush against the 2×4 vertical on the wall. You don’t want any gap like the below photo.

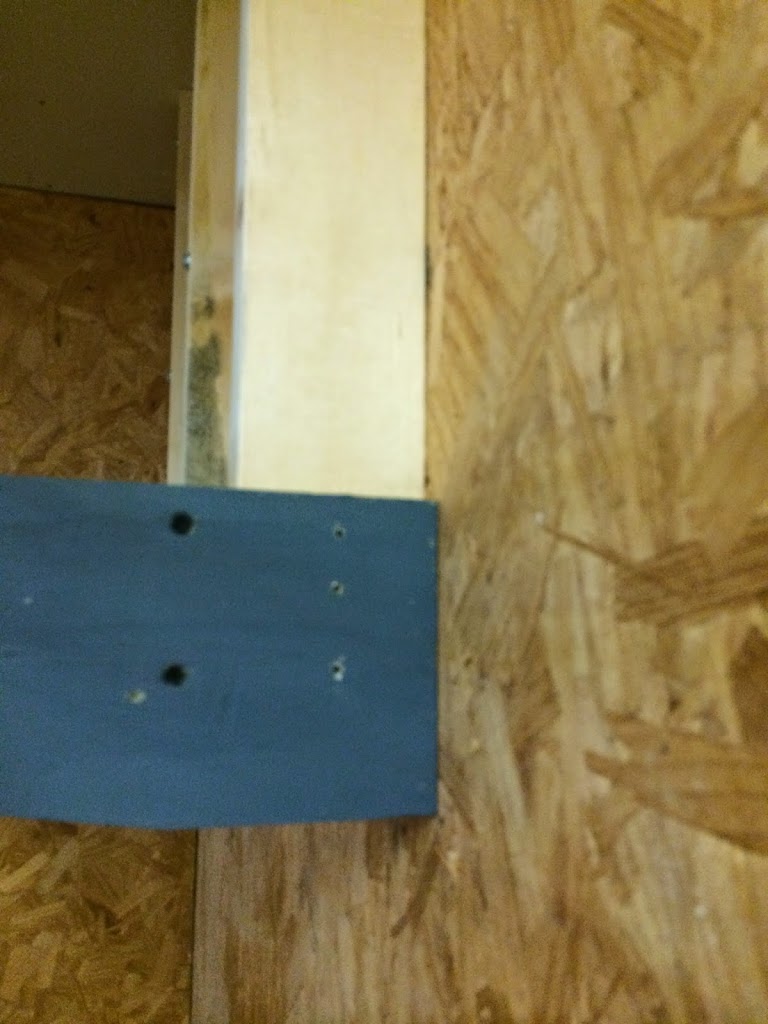
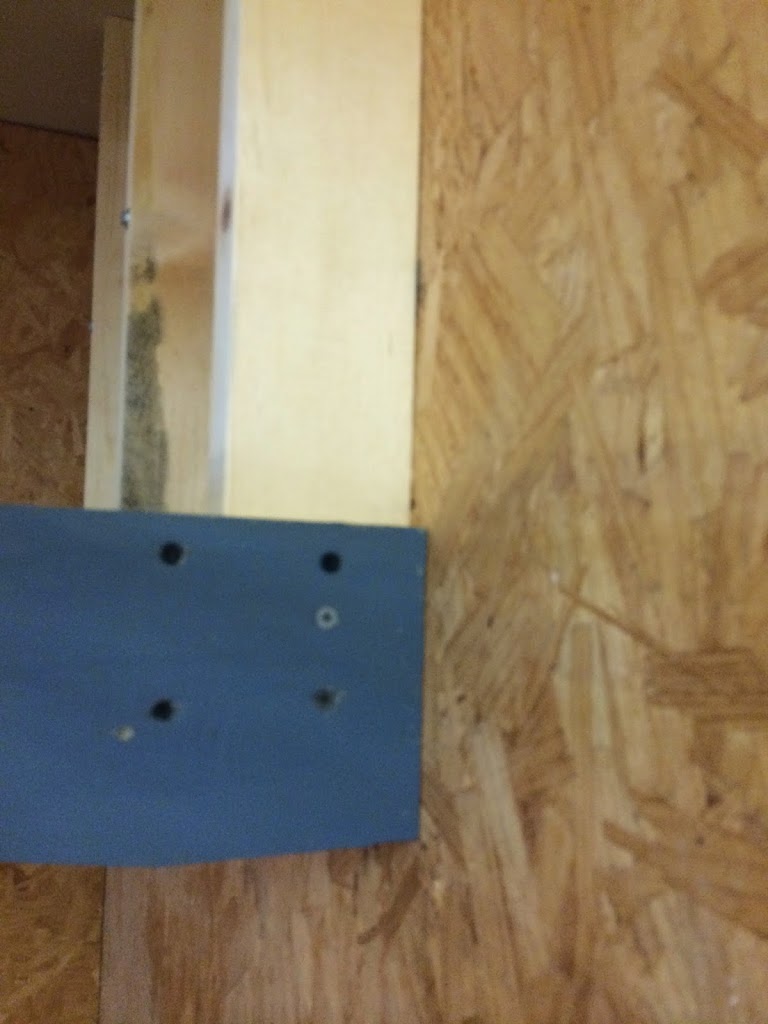
Notes: I placed my 2×4 directly above my bottom most lag bolt. Also, make sure you note where the lag bolt is and do not drive a screw into it. I staggered my two side’s holes for the same reason: One side, I put my three pilot holes in the center, and on the other side I would go slightly to the right.
3) Once the first one was installed, I grabbed my long level and just started to put in the other ones. I would put some of the level on the one I just finished installing, then the other half on the one I was trying to install. Note: It’s very important that all these arms are level and on the same plane or they will not be performing their job. So really take your time with getting the level perfect before attaching them.
4) Once the bottom row was put in, I repeated the steps and put in the top.
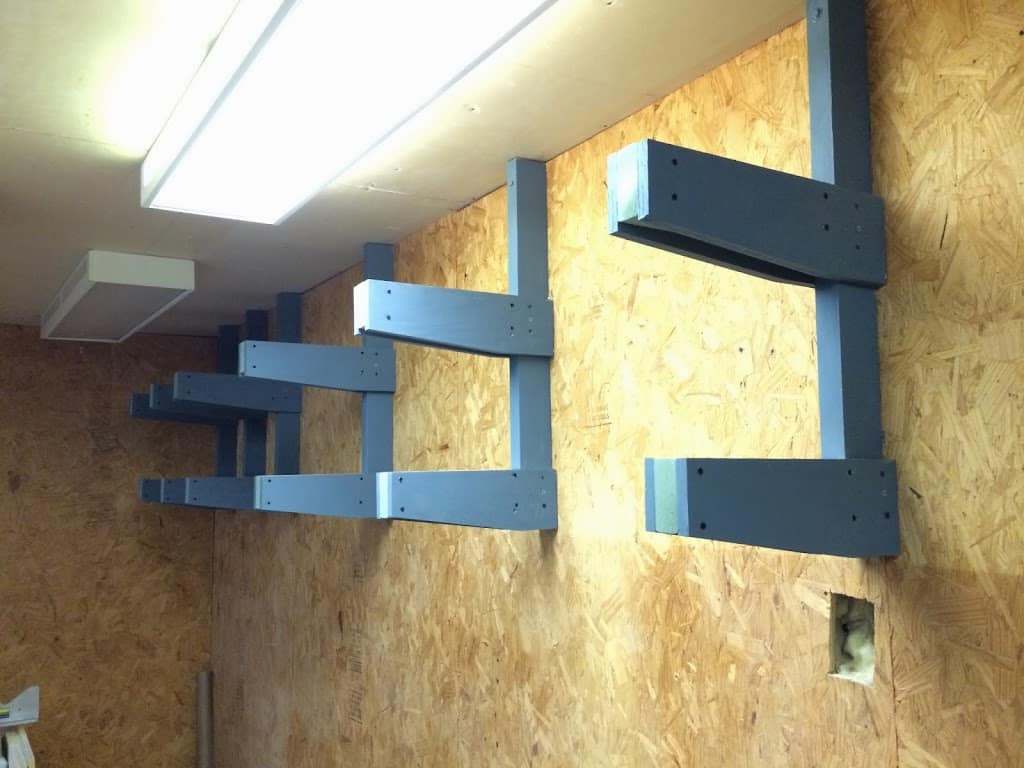
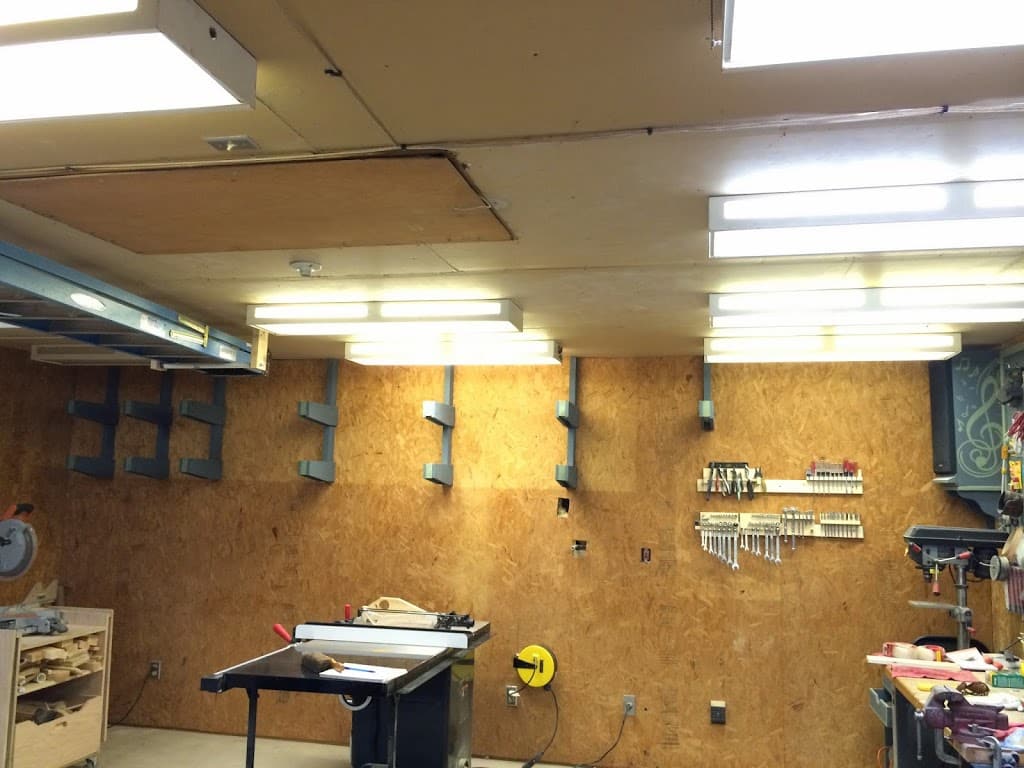
Only thing left is to load it down….
From the front, it doesn’t really look like it’s holding too much wood, so here is a profile:
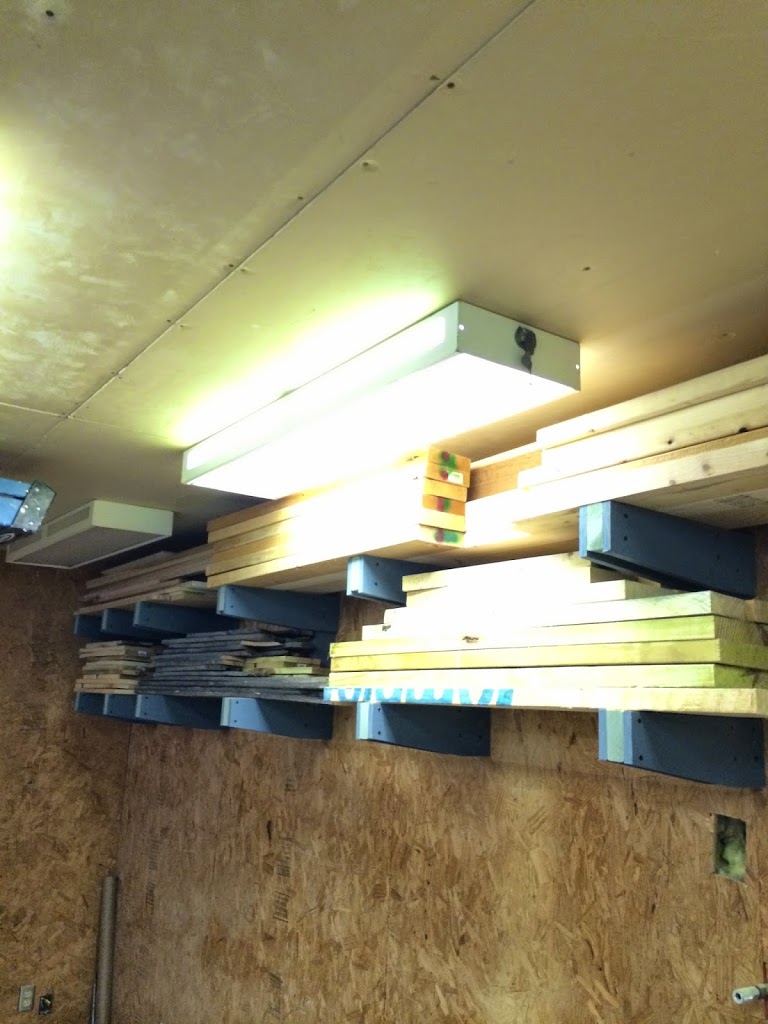
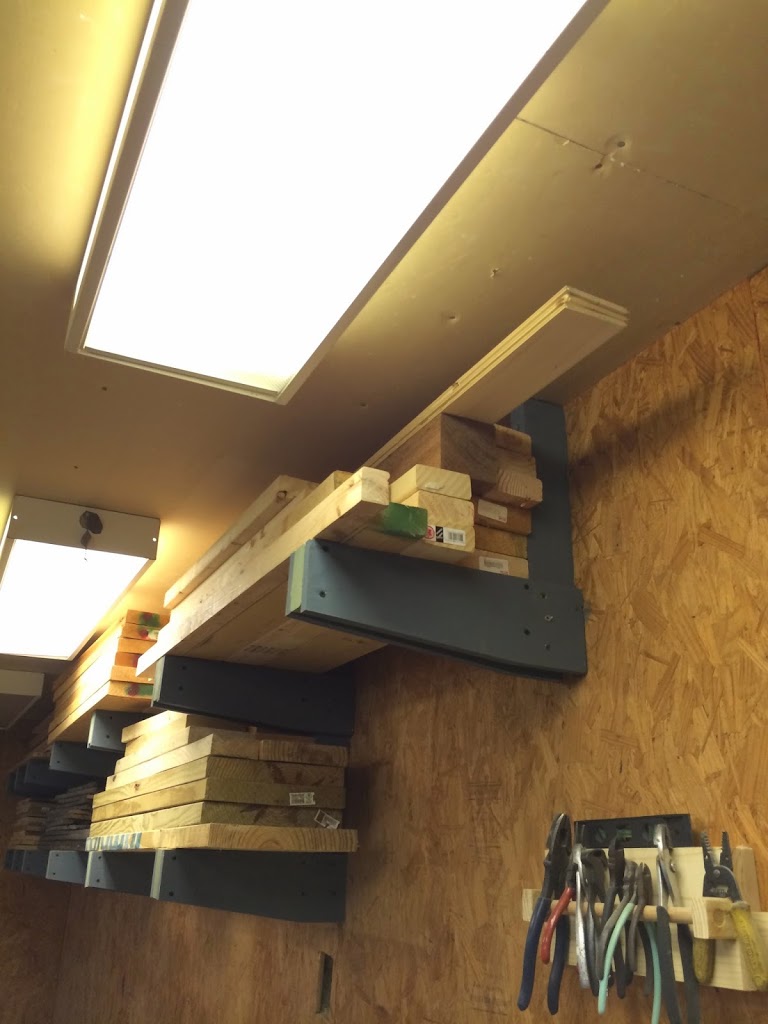
There we are…..:) That should do just fine.
Total Cost: $51