Quick & Easy DIY End Table
- Home Decor DIY Projects
- April Wilkerson
- Updated: March 8, 2023
Thinking about building your own DIY end table? Check out this DIY project where I built my own end table for an entryway!
Even though I just built a table for my entryway, I decided to build a second one for this corner because it was just too bare for my liking.
Check out a video of the build process here:
I actually have a table just like this up where I work, except it holds six baskets. I thought the basket idea was great because I would love a spot to store all my beanies/scarves/gloves in the winter time. So I took the dimensions of my particular corner then headed to my shop.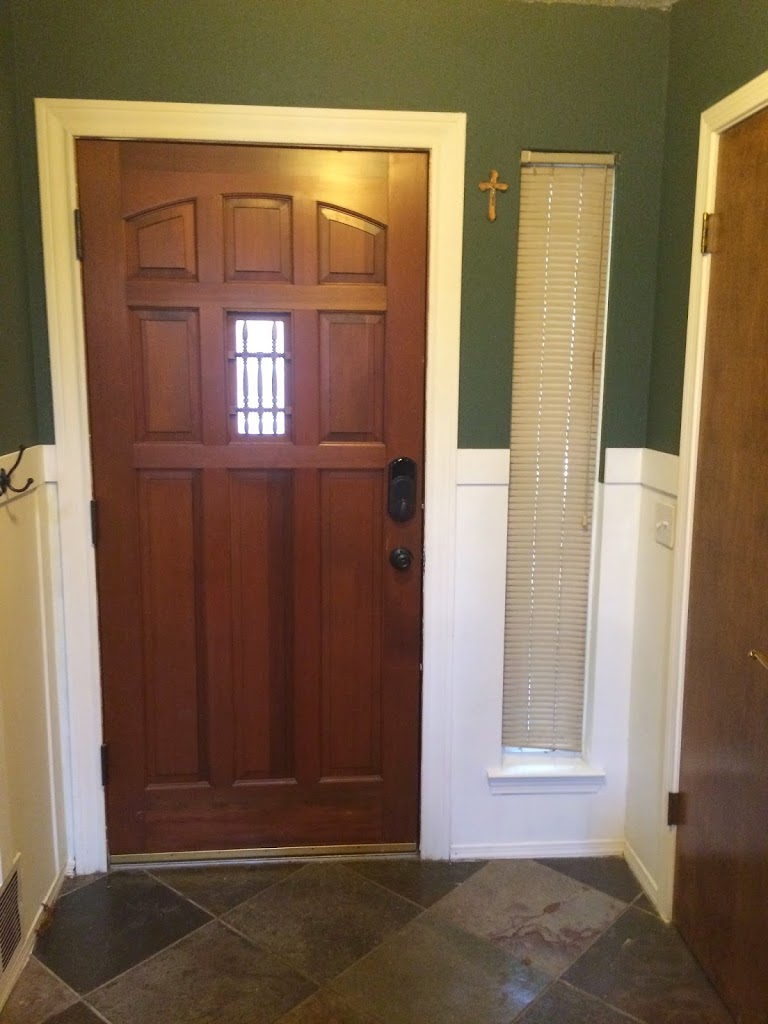
Note: My baskets are 13” wide, 6 5/8” tall, and 9 1/2” deep. Tip: Before buying your baskets, measure your space to get an idea of how deep and wide of a basket you should be looking to buy.
2) I got my baskets home and laid them out to start playing with the dimensions.
3) I grabbed some 1×2 pine boards I had and cut the legs. I first cut four pieces down to 28” then ripped them to be 1″ wide.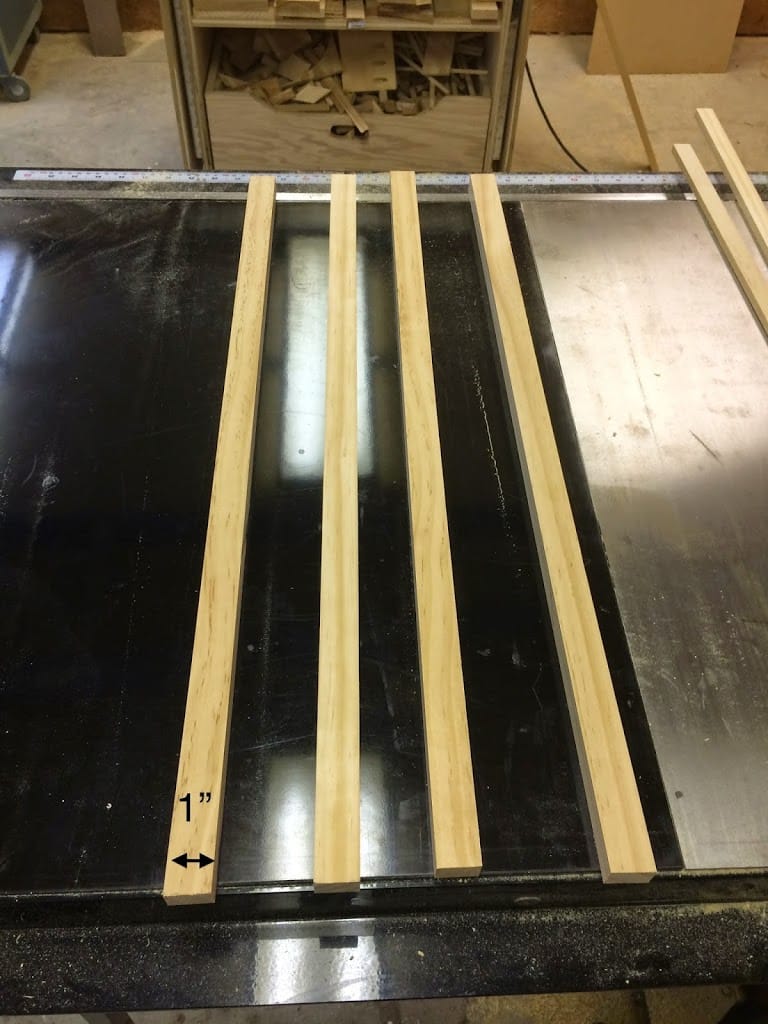
5) To make my table have ‘feet’ I came up 3/4” and made a mark, then spaced the other two out 7 1/2”. This will leave 1 1/4” between the bottom shelf of a basket and the top of the other, so I will have room to reach in and grab it. Once I had all three lined out, I then glued, then clamped, then nailed the side pieces into place. 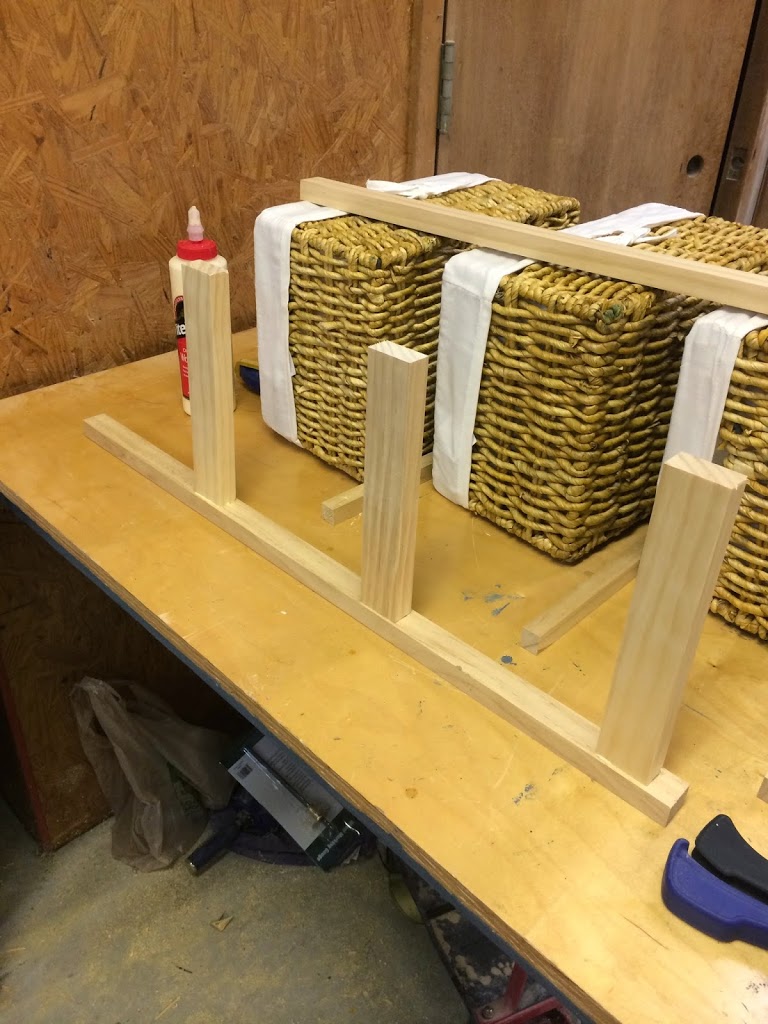
7) Then I repeated step 5 and 6 in order to make a second identical side.
8) Next was to cut a back from 1/4” plywood. I originally thought I would place the sides on top of the back, but since I am going to be staining this and not painting, I didn’t want the ugly plywood end to show. So I cut the back to 13 3/8“ wide and placed it inside the sides. Note: I picked 13 3/8” because my basket are 13” so this gives them a little wiggle room.
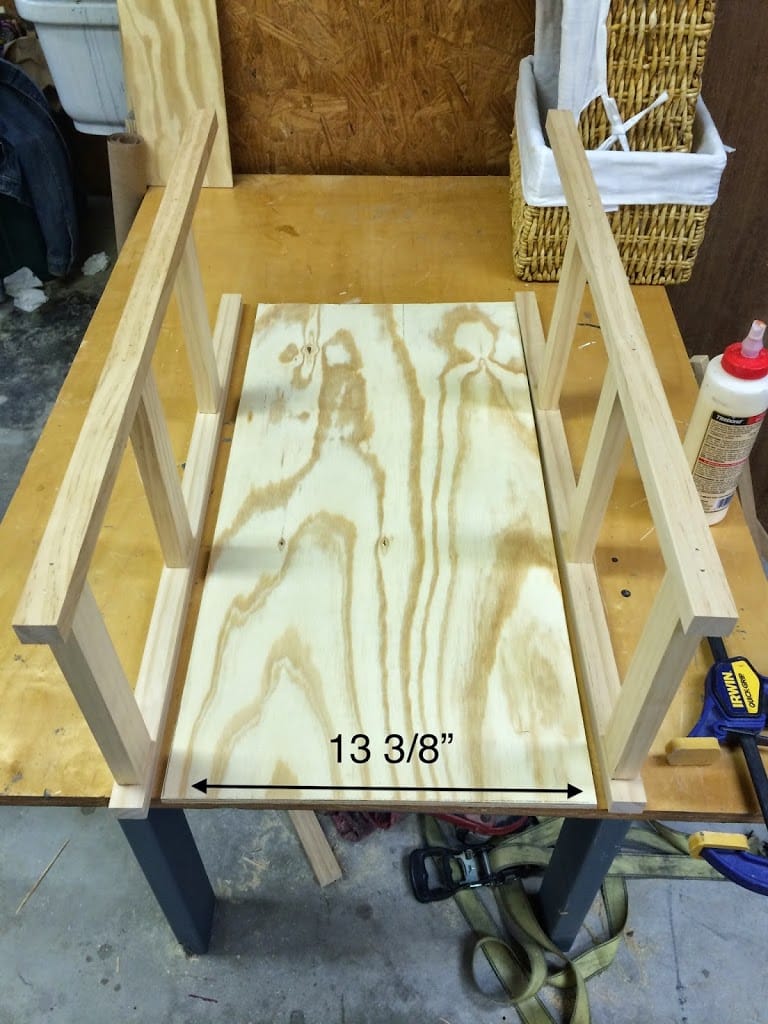
10) While the glue was drying, I moved forward with making the shelves to hold the baskets. I grabbed more 1x pine and ripped strips of 3/4” then cut 6 pieces to 13 3/8”. Then another 6 pieces to 8 1/8″
11) Now I started attaching them…..first with gluing on the back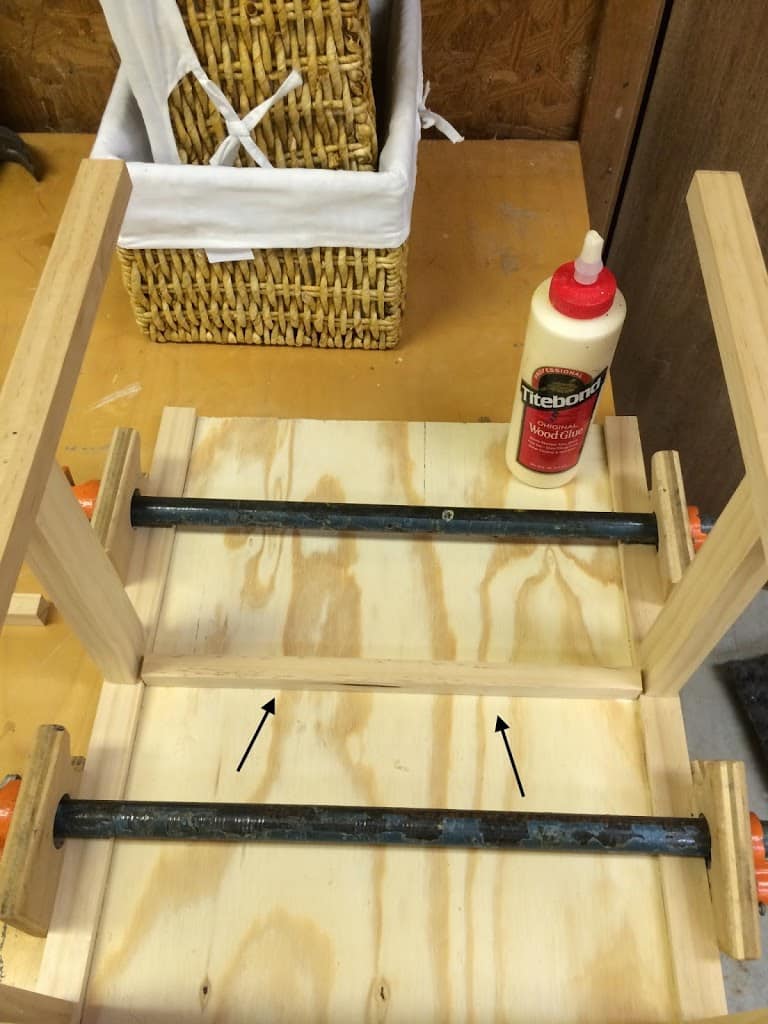
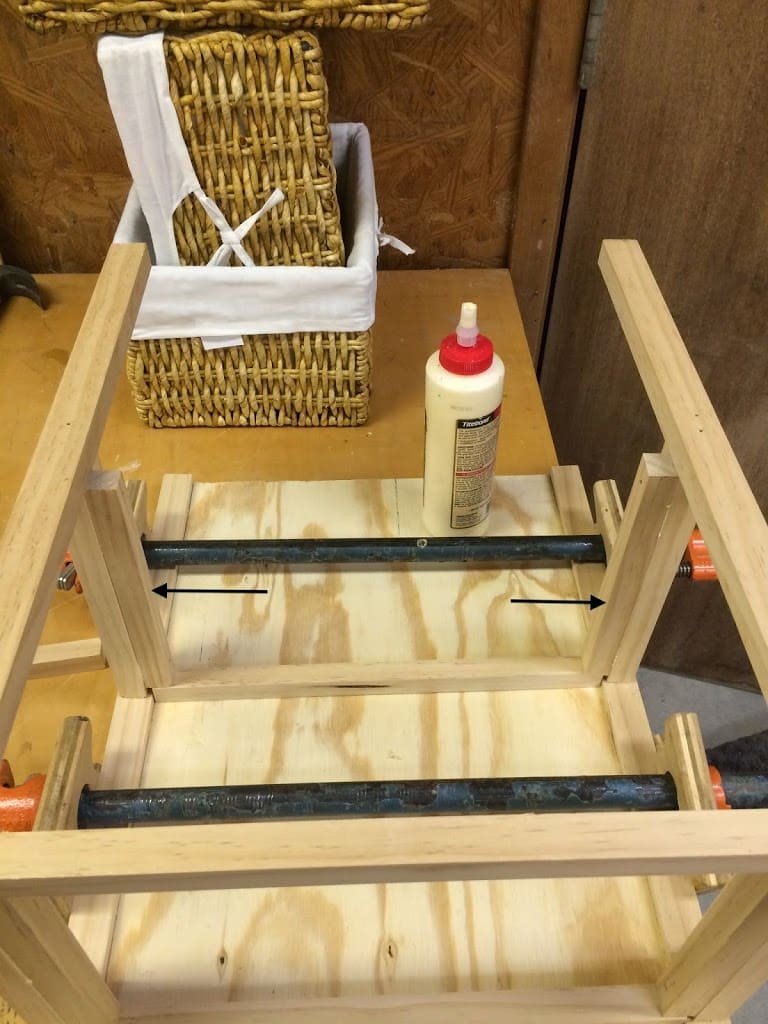
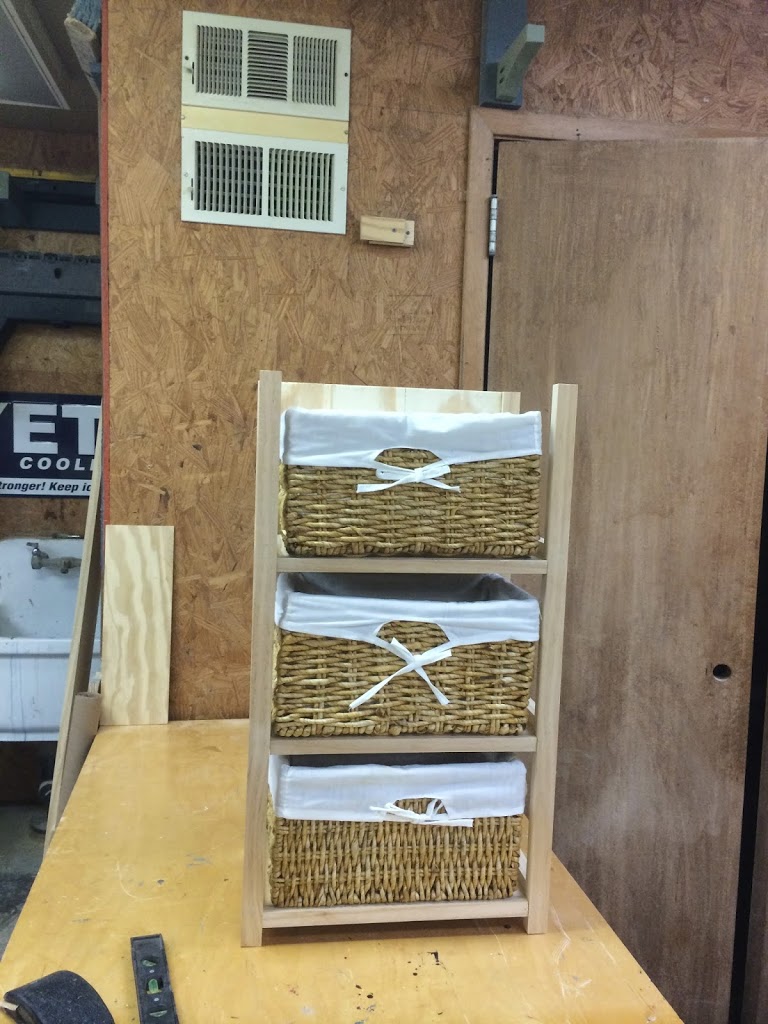
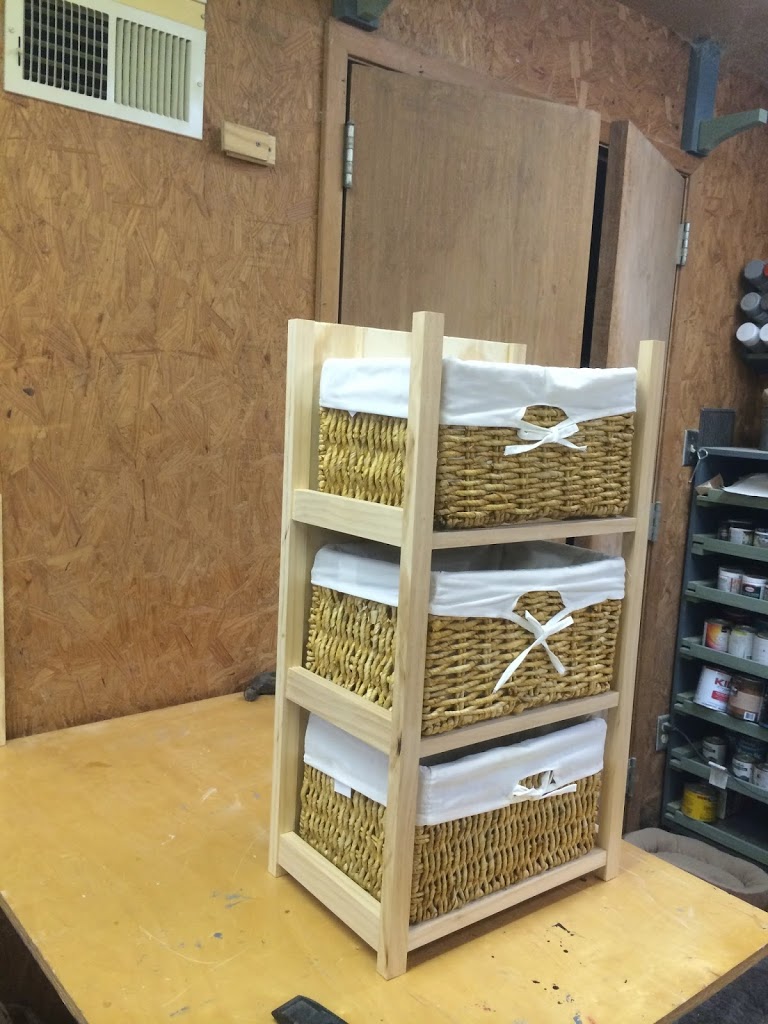
12) With the shelves in place, I made a top. I had a 1×12 (which is actually 11 1/4”) which leaves 1 1/4” hang over. I thought that was fine, so I cut the length to 17 1/2” which leaves a 1″ hang over on both sides.
13) Just to pretty it up some, I put a chamfer bit in my router and went over the two sides and the front edge, then used my nail gun to attach it in place.
14) Now that it was all built, I just had to stain it. I first filled in the nail holes with wood filler then applied Minwax wood conditioner then some Red Mahogany stain.
15) I let it sit over night then applied two coats of polyurethane.
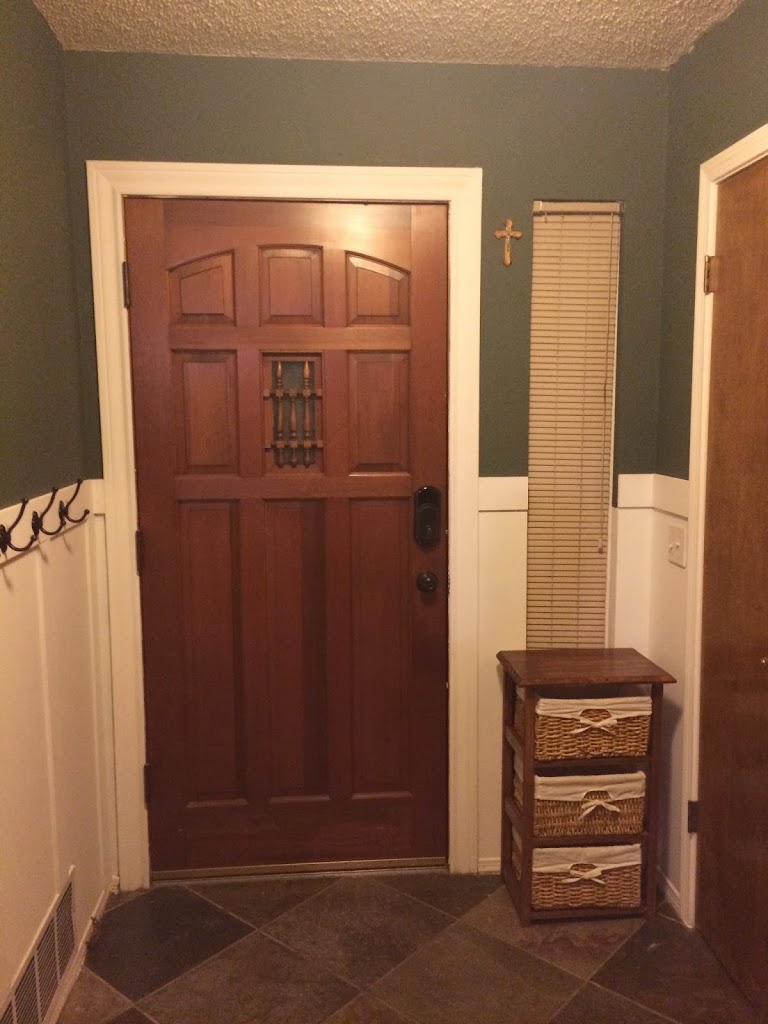
Hmmm….I do not like that blonde color.
16) Spray paint!
Ah yes, much better. : )
Total Cost: $26 for new baskets