Easy DIY Hanging Lanterns
- Home Decor DIY Projects
- April Wilkerson
- Updated: March 8, 2023
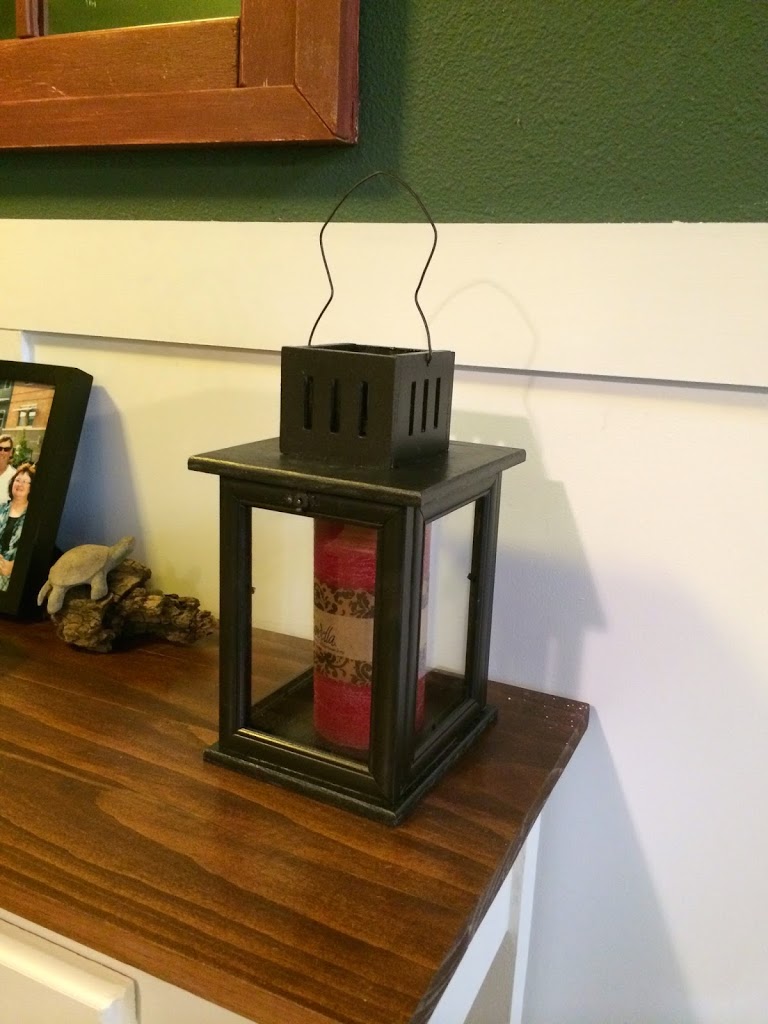

But here is a more detailed written tutorial.
Note: I built these one at a time because I was building it as I went and wanted to get one completed before starting the second…..just in case I hated it. : ) So my tutorial will be for one, but if you want to build two then just double everything.
1) I went to the Dollar Tree and picked out four picture frames. I chose 4×6 ones. Note: Be sure to buy real wood frames! Some are metal and this tutorial won’t work for them. If you want to check, just look at the back of the frame right where two of the mitered sides meet up and if you see staples holding the corners together, that means it’s wood.

2) I opened them all up and took the piece of glass out and set it aside then glued and clamped all four frames together.

3) While that was setting up I started to make a top and bottom. I used 3/8” plywood that I had laying around and cut a top that was 6 3/4″ x 6″ and a bottom that was 5 1/2″ x 6 1/4″. I also used 1/4″ plywood to cut the four pieces I will use to make a chimney. I made these pieces 2 1/2″ x 3″.

5) With that done I quickly gave both pieces a good sanding then a coat of primer.

With the body still clamped and the top and bottom drying I started to make the chimney.
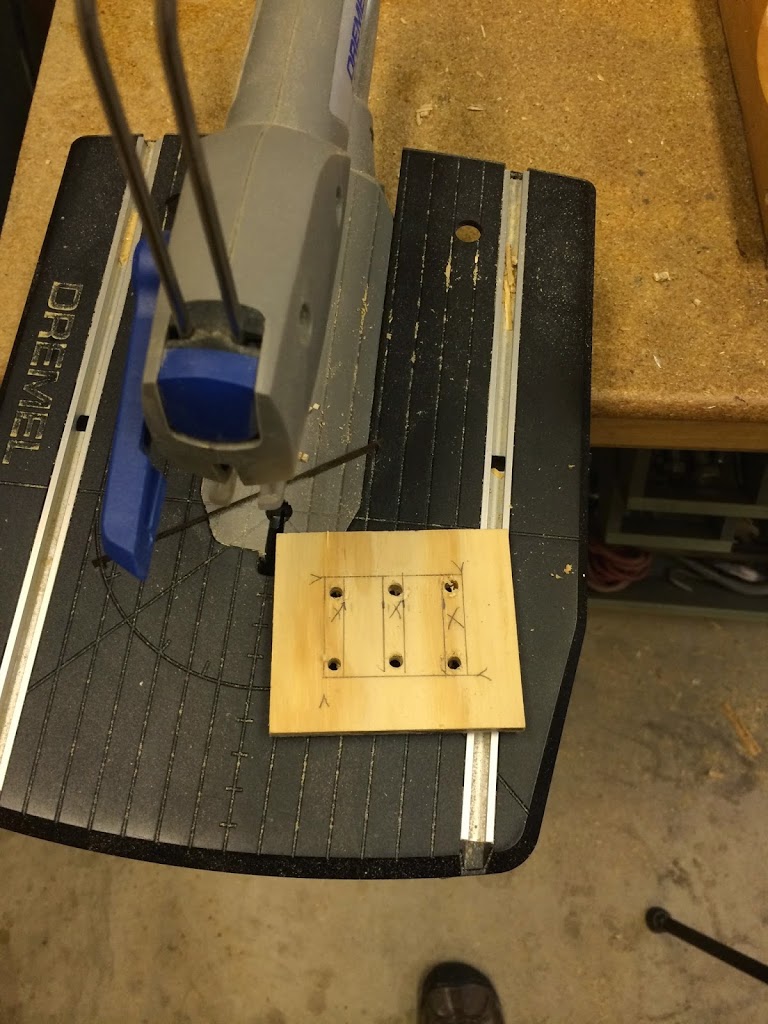
7) To make it look more like a chimney, I wanted to cut out some ‘vents’ in my four pieces so I came in 5/8” on each sides then made rectangles that are ¼” thick with ½” in between.

8) I used my Dremel Moto-Saw to cut them out. First using my drill to make relief holes. Once they were cut, I took some sandpaper to them until everything was smooth.
9) Next was a quick coat of primer.
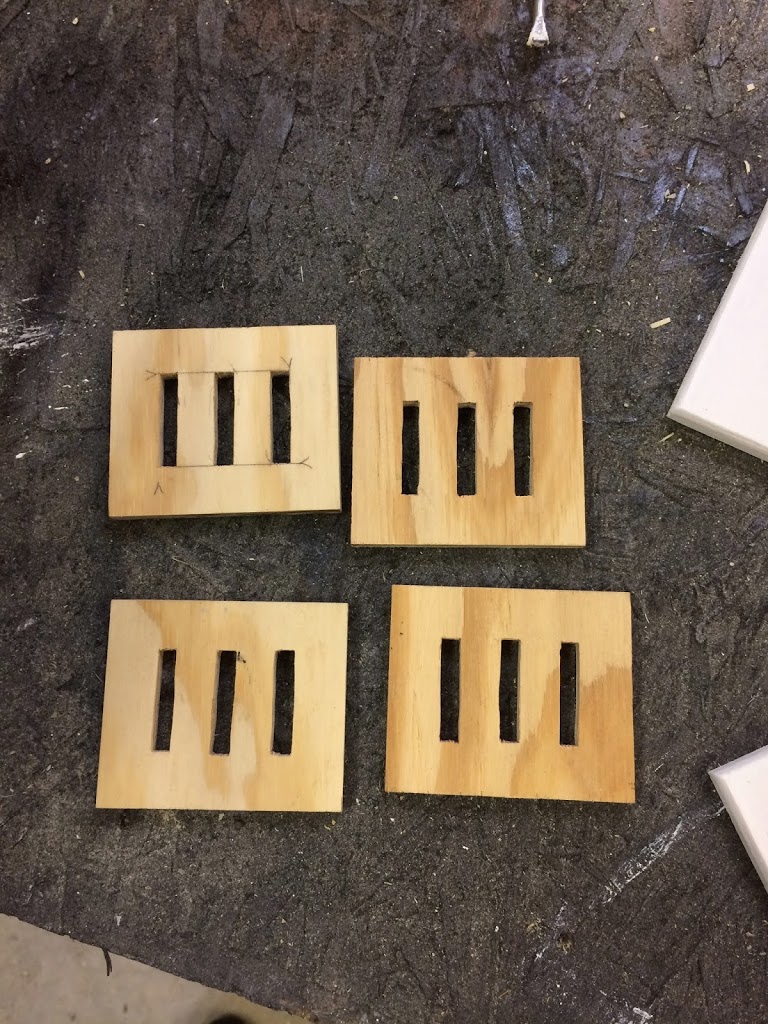
10) Then I glued and clamped these together as well.

I got to thinking about how I was going to hang this and realized if I just glued the ¼” bottoms onto the top of the lantern, there was a good chance that it would eventually come off. So instead I…..
11) ….found some ½” scrap (anything smaller than 5/8” will do) (so it doesn’t show through the vents) then I traced the bottom onto the scrap and made the cuts until my chimney could shimmy on. …: ) My chimney shimmys! Haha.
12) Next I attached the bottom. I put on some wood glue then lined it up and clamped it down. I actually just eye balled it, but you’ll have about a 1/4″ hangover.

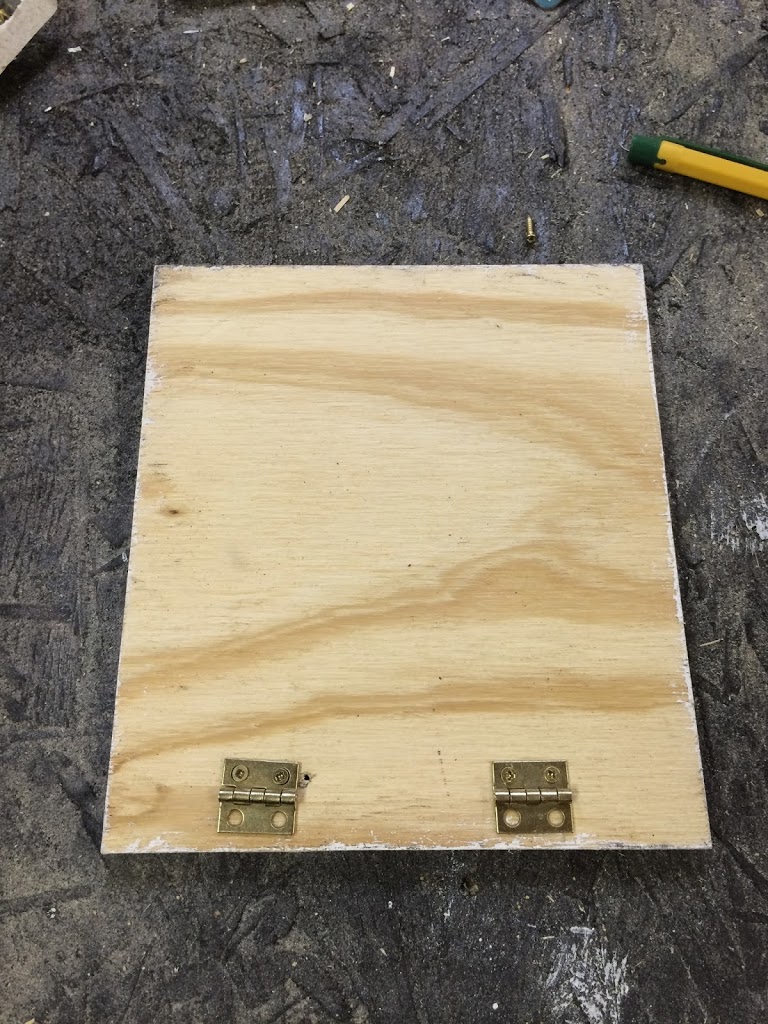
13) To attach the top I bought some small hinges from Home Depot. I came in 3/4″ from the edge and screwed it in place.


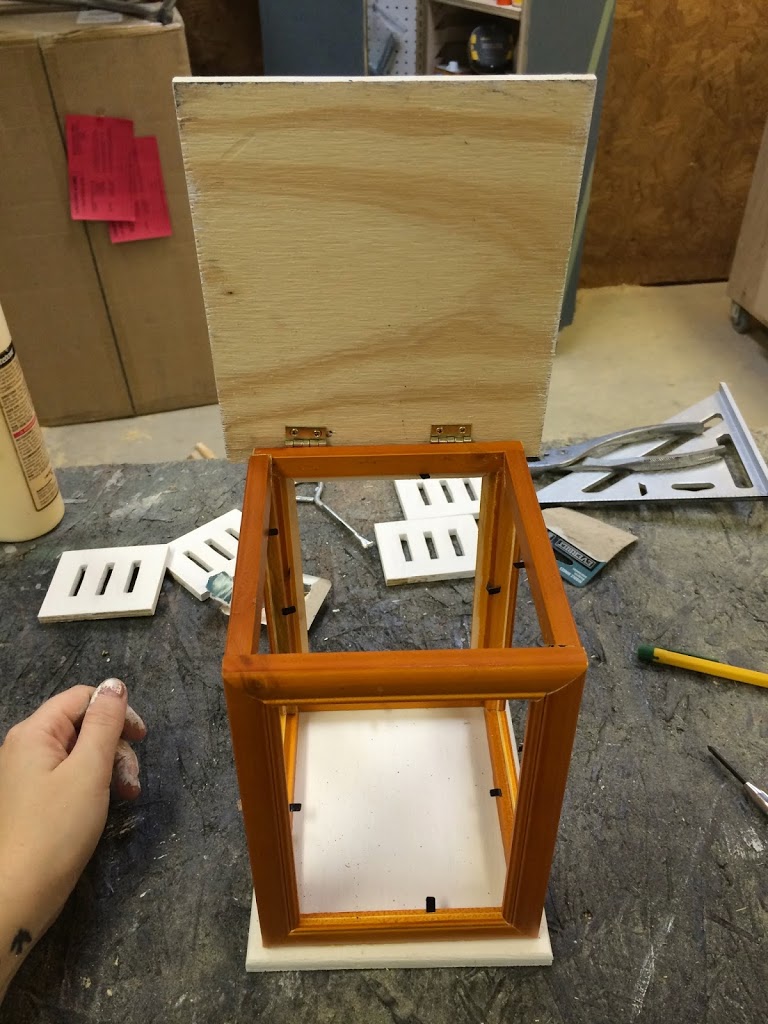

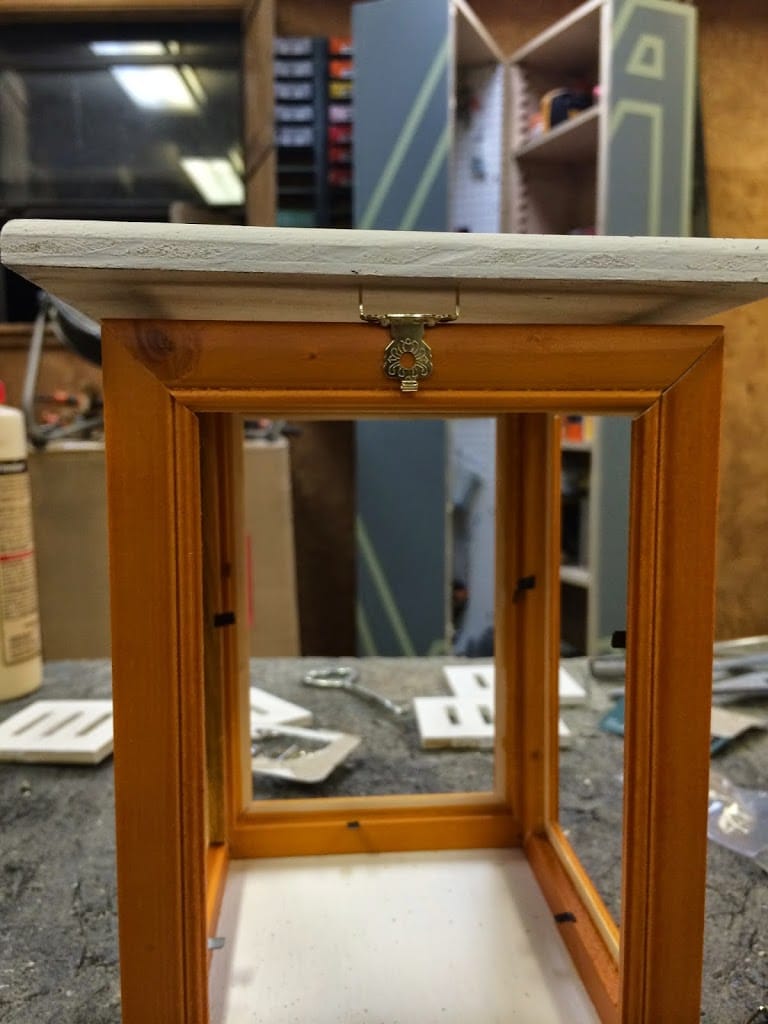
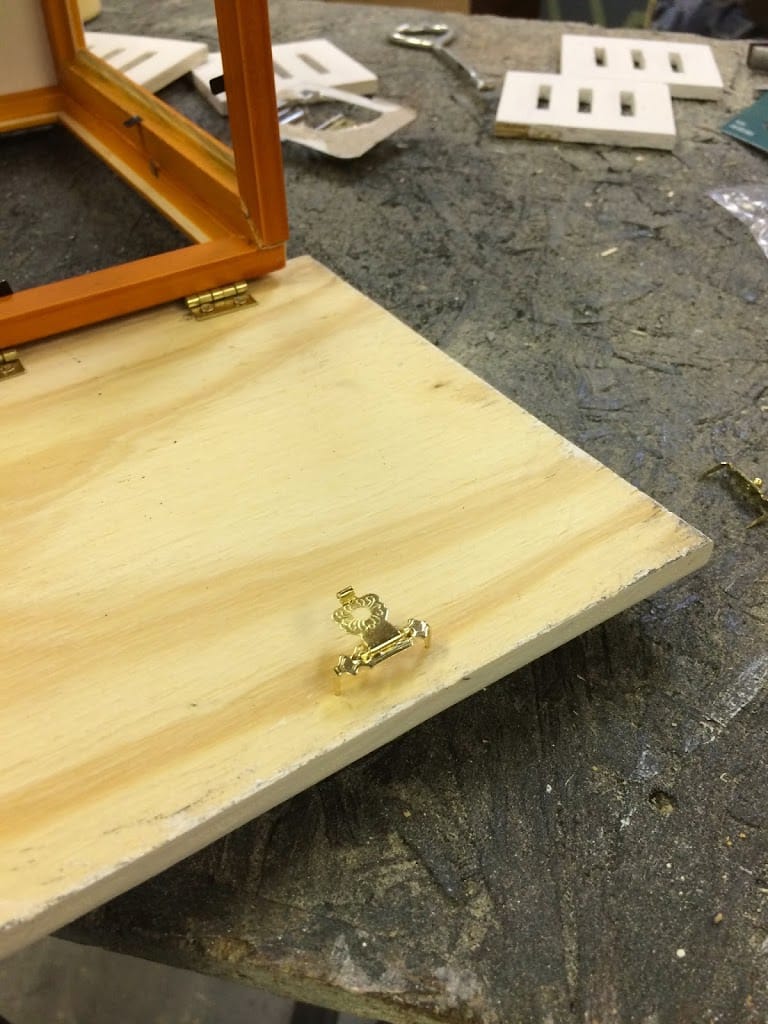
16) Then I grabbed the corresponding side and lined it up where it needed to be placed and did the same thing. Pushed it in slightly, then used a hammer to tap it in.

And now I have access to the inside. : )
17) With all the body done, I glued and nailed on the chimney.

18) Next I drilled two holes on opposite chimney walls to give me a place to thread in some wire.

19) I chose to use baling wire, but if you want something nicer then try a coat hanger. I threaded the wire through the holes then made a shape I was happy with.

20) Last thing! was to spray paint. : ) I used Oil Rubbed Bronze by Rustomleoum.
