DIY Toy Storage With Wooden Crates
- Home Decor DIY Projects
- April Wilkerson
- Updated: March 8, 2023
Thinking about building your own DIY toy storage bins? Check out this awesome DIY project where I built a toy storage solution with wooden slide-out crates!
For this project, the frame is made from 3/4” and the dividers are made from 1/2”.
A co-worker asked me if I would make him and his wife a toy storage cubby and this is how it turned out.
1) Unfortunately my truck is down so I had the hardware store cut the bottom, shelf, and top, to the measurements listed below. If you are going to make the cuts yourself, I would start with cutting these three pieces out.
Bottom and Shelf: 56 1/4″ x 15″
Top: 57 3/4″ x 15″
2) Then I took the left over piece and cut two sides from it. I made my sides 32 1/2″ X 15″
3) I grabbed the bottom piece and drilled five pocket holes on each end then laid it upside down (with the pocket holes facing up). Then to make attaching the sides easy, I placed 1” of scrap wood on the floor to act as a spacer. Then I set the side piece on the spacers and lined up the edges to be flush with the bottom piece. Once things were aligned, I clamped then screwed it together. After one side was done, I repeated the steps on the other end to attach the second side.
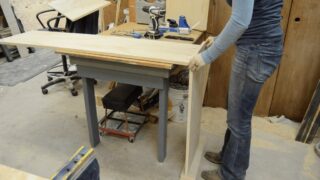
WilkerDon’t: Before attaching the sides, I should have drilled pocket holes in the sides pieces (along the top) to use later on, but I forgot. So learn from my mistake and drill about four/five pocket holes along one end, then make sure that end is the one you put closest to the ground when attaching it (since it’s upside down while being joined).
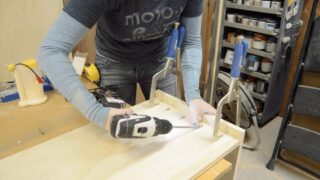
So when you turn it right side up, you get something that looks like this….
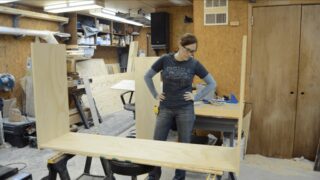
With most of the body complete, I started to work on building the shelf with dividers that would make up the individual cubbies.
4) The shelf was one of the pieces that I had the hardware store cut for me so that was already taken care of, but if yours isn’t cut, then go ahead and cut it now.
5) To make the pieces that would be the dividers, I grabbed my 1/2” plywood and set up a temporary fence at 15” and cut two strips. Then I took them over to my table saw and cut them into 15” squares. Note: you should be able to get three 15” squares from each strip. Also, once I made the first cut, I would rotate the square and run it through the table saw just to make sure that it was perfectly 15” square.
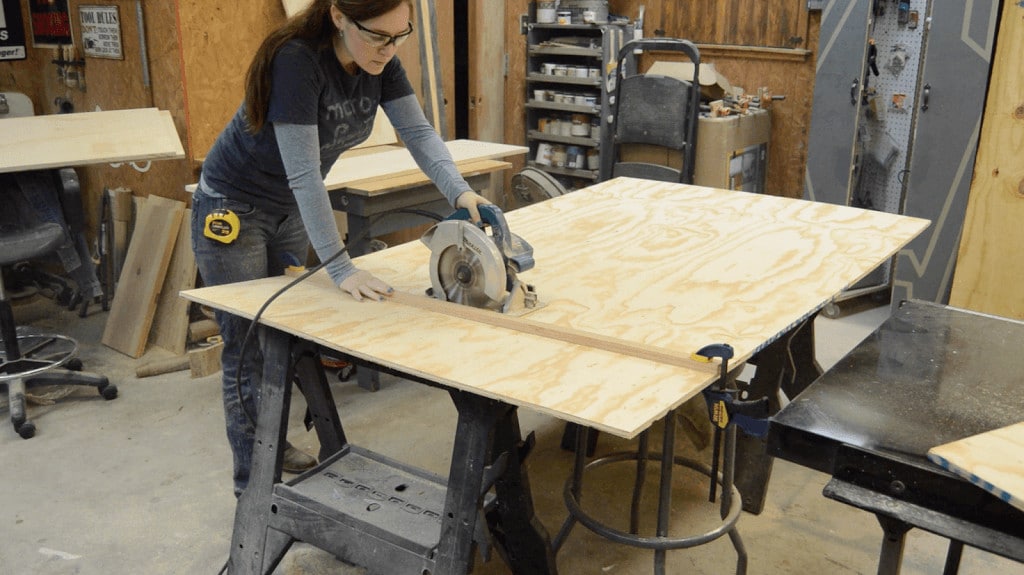
6) Then I put three pocket holes on each end of each divider.
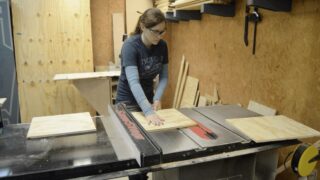
7) Now before attaching them to the shelf, I went ahead and cut a spacer to the exact length that I wanted the cubbies to be. This way I could just line up the spacer with the edge of the shelf (or the previous divider) and then screw on the divider. Once I attached three on one side, I flipped it around and repeated until I had three on the other.
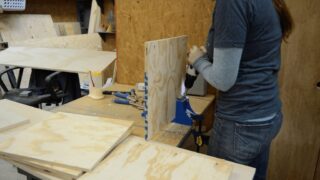
8) Next I painted everything. The partial body, the shelf/divider piece, as well as the top. Note: Again, the top is one of the pieces that the hardware store cut for me.

9) Once the first coat was dry, I came back and lightly sanded everything then put on a second coat.
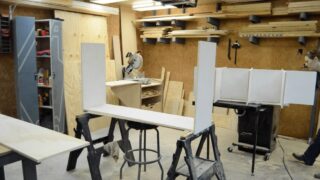
10) When that dried I started putting everything together. I started by placing the shelf/divider piece in place, clamped it down, then used the pocket holes on the underneath of the shelf to attach it to the body. After both ends of the shelf were attached, then I screwed down the dividers to the bottom. Then placed the top on and screwed the dividers to it.
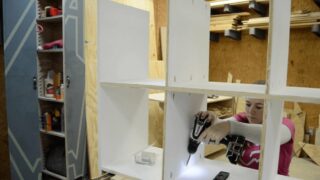
11) Now that everything was put together, I filled in the pocket holes with a putty knife and joint compound. Note: I used this method on the dress up cart I built and loved the results. It does take more than one coat though, so if you don’t want to mess with it, you could leave the pockets and just paint the inside so they blend a little better, or you can use the Kreg plugs and sand them flush. : )
Options options.
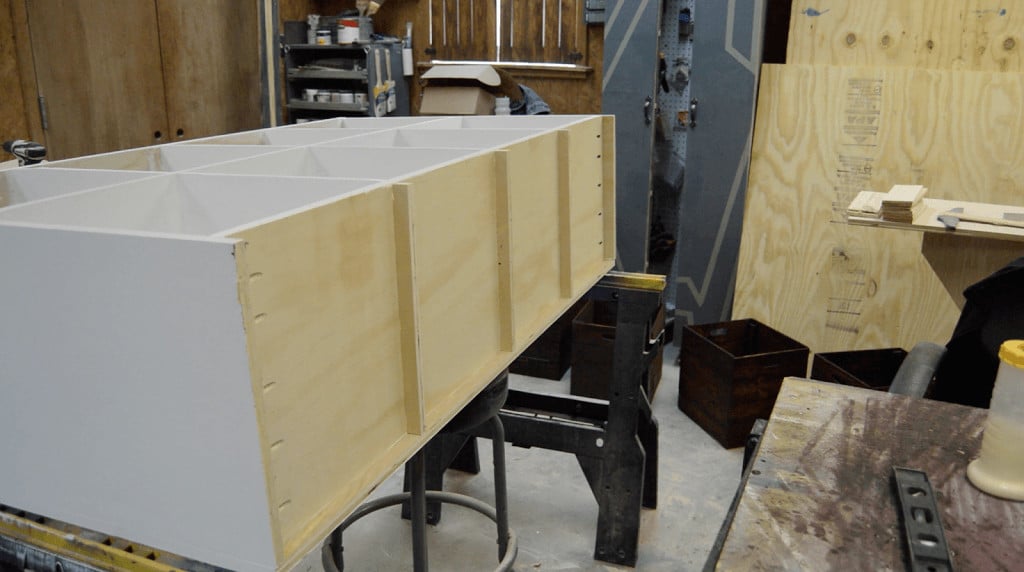
12) Once that was dry, I went over it a final time and applied some touch up paint
13) The last thing to do to the body was to put on some runners on the bottom to make sure it sits nice and even. So I cut some strips from 3/4″ plywood that measured 1″ x 15″ and first glued then nailed them on the bottom. I went ahead and placed mine right under where each divider fell.
Note: I had a lot of 2x4s hanging around so I decided to use them to make my crates. If you would like to make the same crates, but in a less time consuming way, then I would recommend just grabbing a sheet of 1/2″ plywood and cutting it up to use. I don’t mind the time spent, but I know a lot of people would find my process frustrating.
1) I grabbed some 2x4s from my lumber rack and first ran them through my table saw to cut off the rounded edges on both sides.

2) Then I set my fence to 1/2″ and my blade to half the height of a 2×4 and started to resaw. I would run the 2×4 through once, then flip it end over end (it’s important to flip it this way or your slats won’t come out the same) then ran it through the blade again. I repeated this until I used up the 2×4.
3) To make cutting up the slats easy, I set up a stop block on my miter saw. This way I could butt my piece up again the stop block and just cut without having to measure each time. I cut all the faces and backs first, then reset my stop block and cut all the sides and bottoms. Below are the dimensions I used.
Fronts/Backs: 12″
Sides/Bottoms: 13 1/2″

4) Before putting it all together I grabbed 16 front/back pieces and cut in handles. To make the shape, I grabbed a handle from a beer box and just traced. Once I had one cut then I used it to lay ontop of the other 15 and trace.

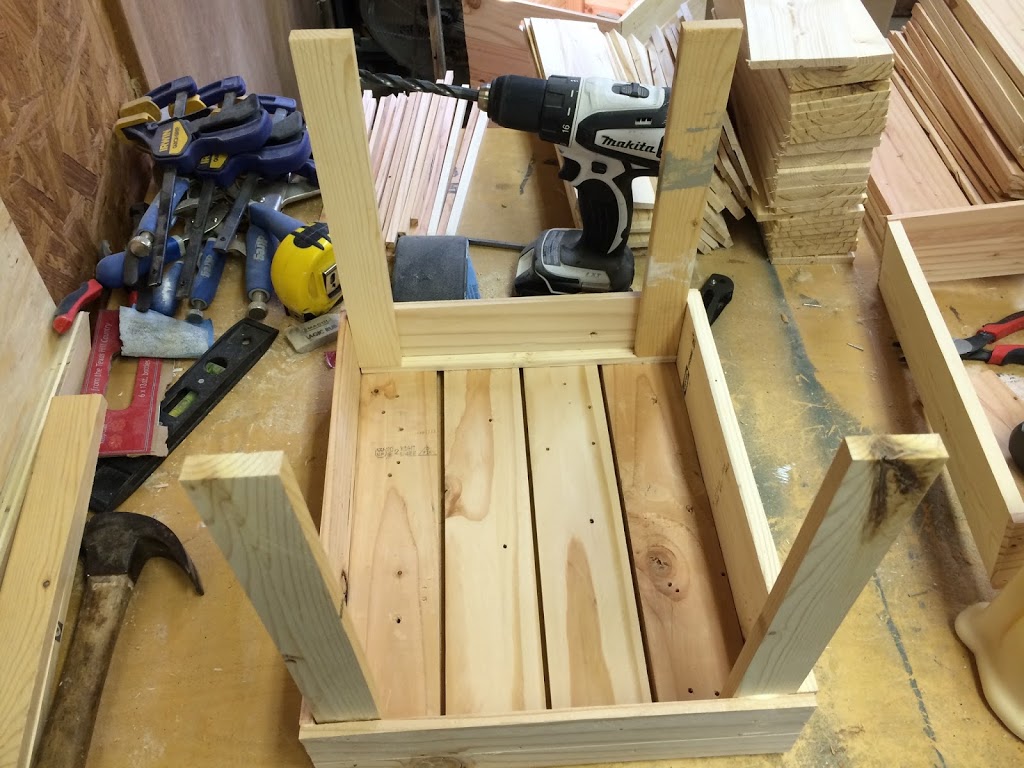
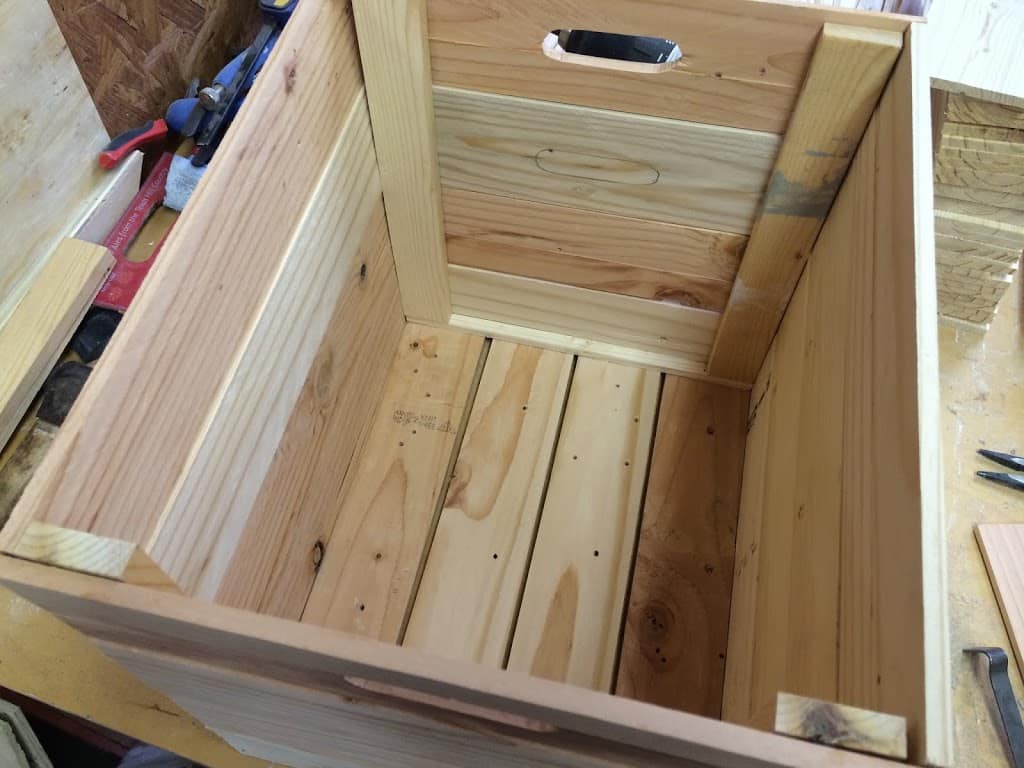
5) Alright, now to put them together. I would first glue and nail one box layer together using just a butt joint. Then I would take two bottom slats and lay it in the bottom in the corners. Then I would put in two 1/2″x 1/2″ pieces on top of the bottom slats just like the below picture. Note: At this point, they are just laying in place, they are not glued or nailed down.
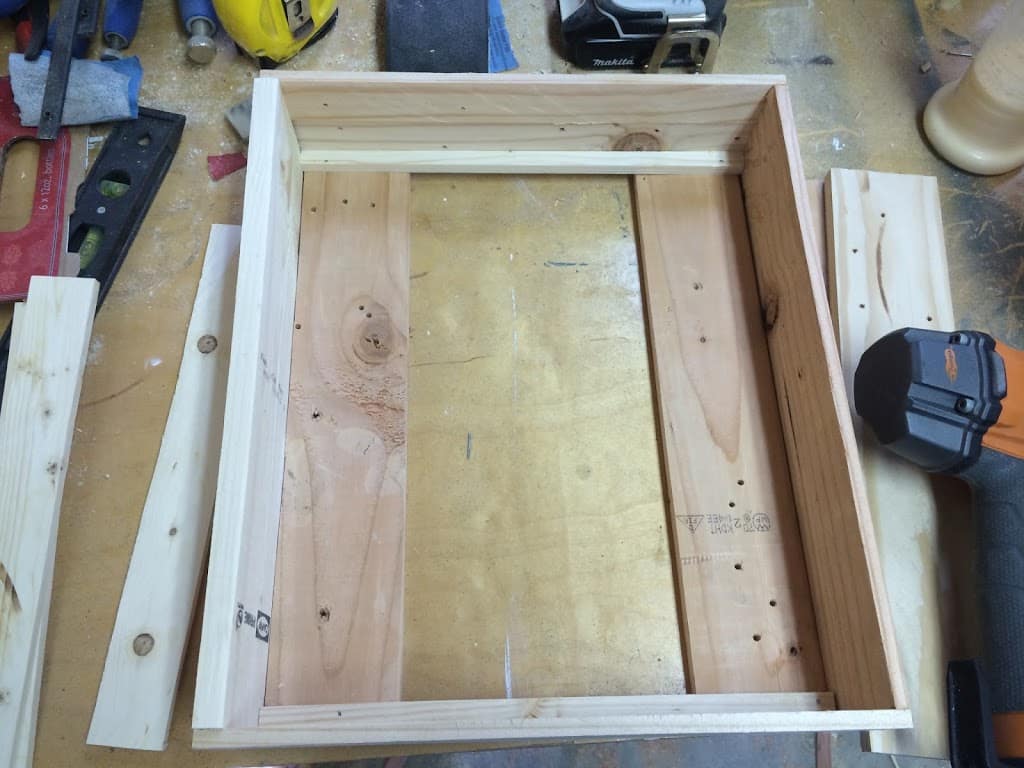
6) Then I would grab four vertical supports that are about 1/2″ x 12 and glue then nail them into the corners.
Note: They are placed on top of the slat and spacer set up.
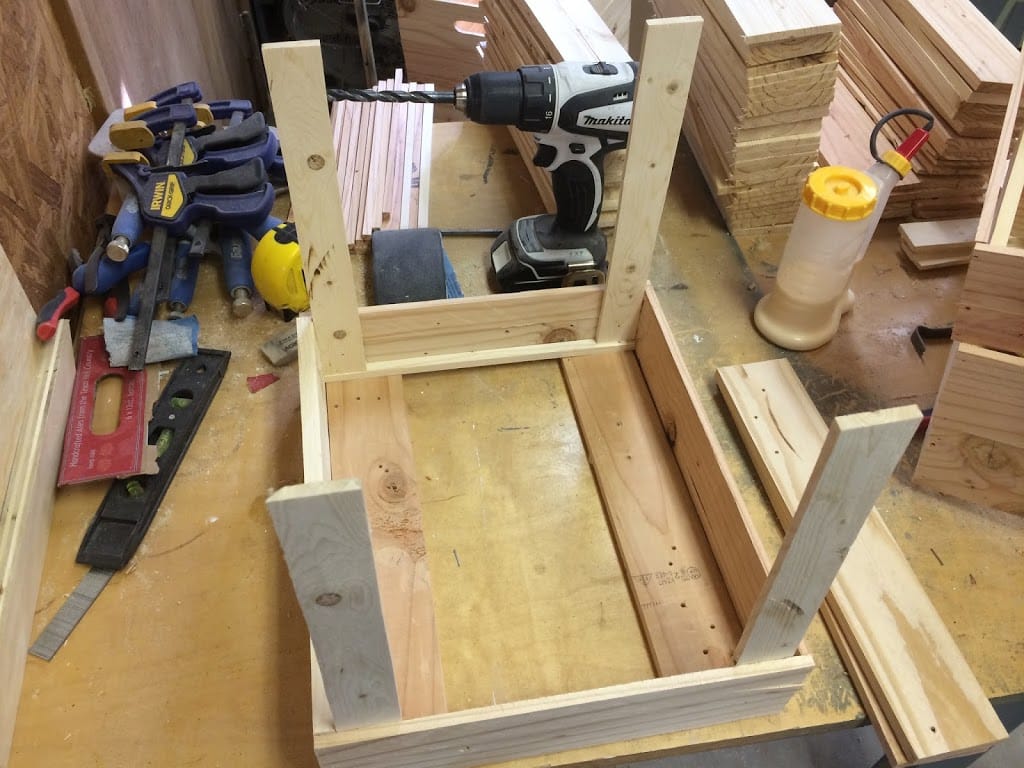
7) Next I was able to flip the crate upside down where it looks like a mini table, then first nail in the small horizontal support (into the bottom of the vertical supports), then nail in the bottom slates.
8) To finish, I went around and first laid down glue then nailed in the other pieces to complete the crate.
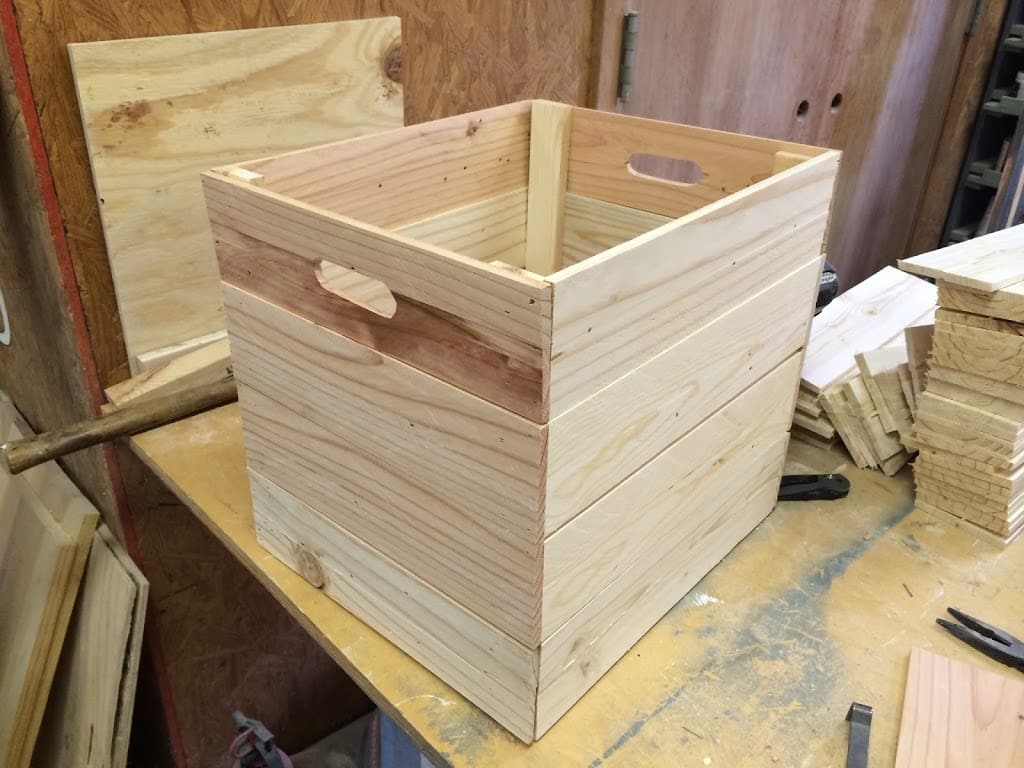
9) Once all the crates were made, I went over them all with a sander then I put on a coat of stain and let them dry.
10) Now before call it all finish, I applied two coats of polycrylic to the body.
Let everything dry completely, then put in your crates and see what you think. This thing should be able to hold quite a few toys huh? : )
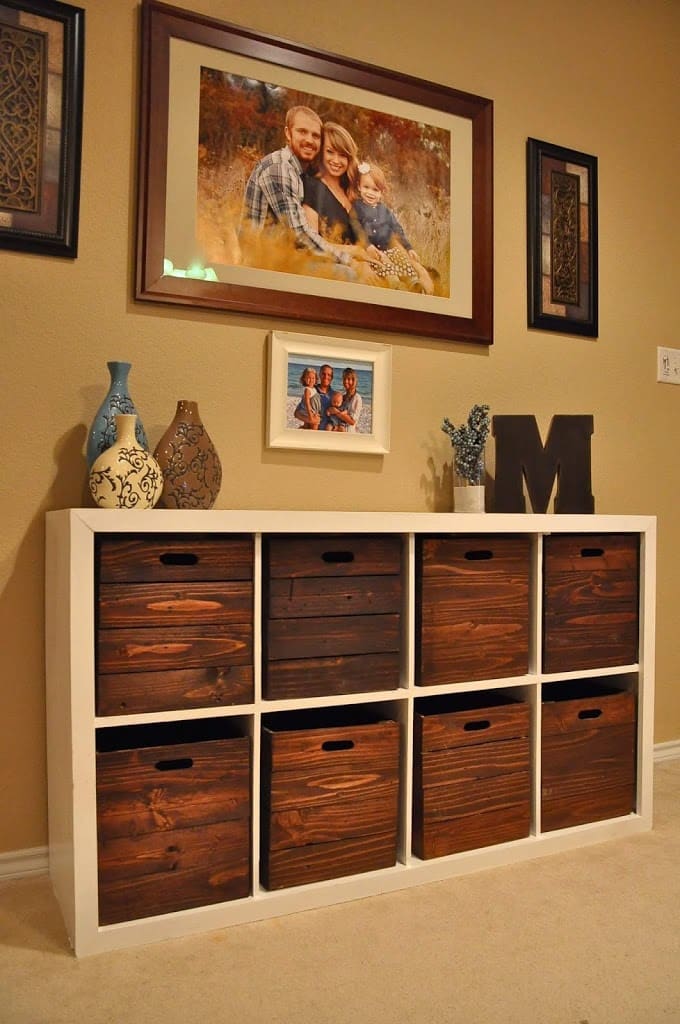
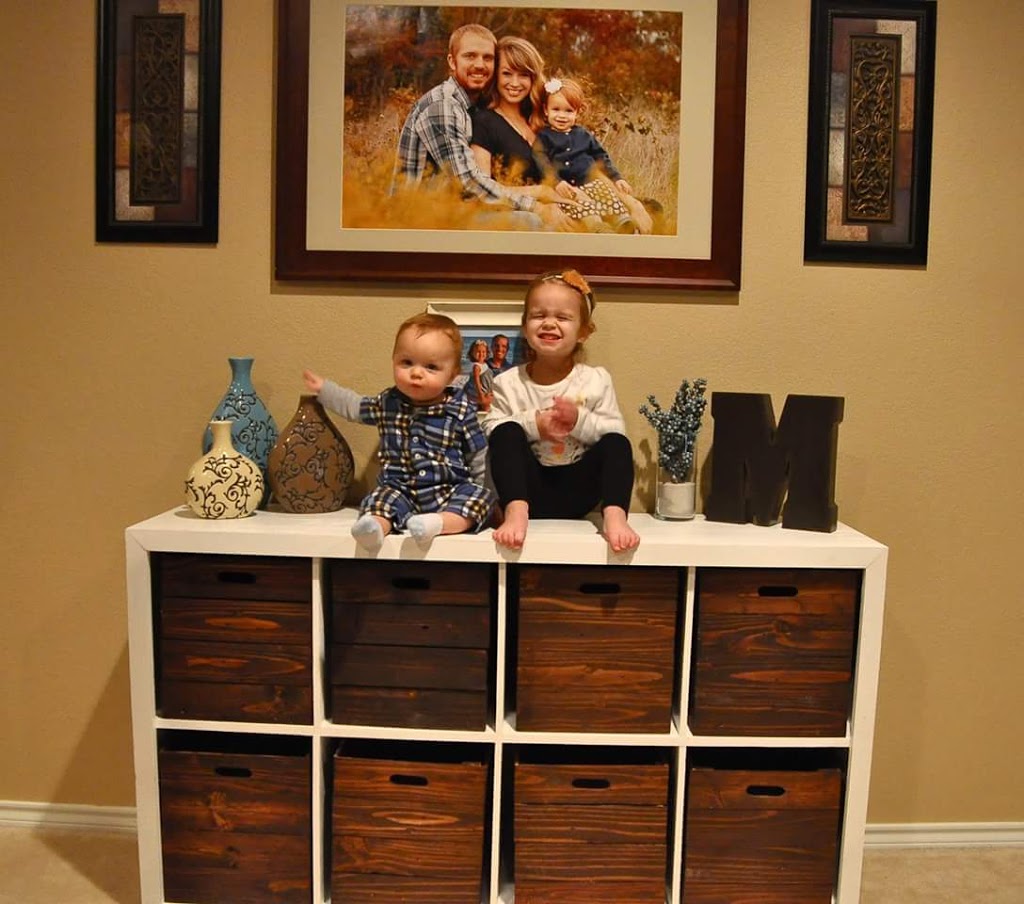
Here is it actually in their home. I just love it!!