DIY Nursery Wall Art
- Home Decor DIY Projects
- April Wilkerson
- Updated: March 8, 2023
Thinking about making some cool DIY nursery wall art? Check out this easy and nearly free DIY project where I built my friend a cute art piece for her nursery!
A good friend just had a baby and I wanted to make her a homemade gift for her nursery and this is what I came up with:
I know I’m bias but I just think this is stinkin cute.
I started this project when I found the below photo. It immediately jumped out at me and I thought it would look great being made from wood.

1) So I first grabbed some 1/2″ poplar that I had laying around and ripped the board into two 2 1/2″ strips.
Note: If you don’t have poplar than just use whatever you have.
2) Next I laid the photo down then would take a strip of wood and lay it on top in a diagonal fashion and make a mark on either side where it was past the photo. After I had the marks laid out, then I used the miter to cut the extra off. Once the entire photo was cover I moved on.
Note: You could very easily just make it vertical or horizontal.
3) I laid out the boards again but this time I placed the photo ontop. I moved the boards around until the entire photo page was on top of wood then made a mark where each board lined up with one another. I did this so I wouldn’t have to keep messing with the photo. I could just tell at a quick glance if all the boards were where they needed to be.
4) With the marks done, I came back with some wood glue then stuck it in a clamp to dry.
While that was drying I start making the stencils.

5) Before cutting out stencils I always use clear packing tape to laminate both sides. This makes the paper a little thicker and easier to trace without it getting torn. So I went to all three shapes that make up all the animals and taped both sides then used an exacto knife to cut them out.
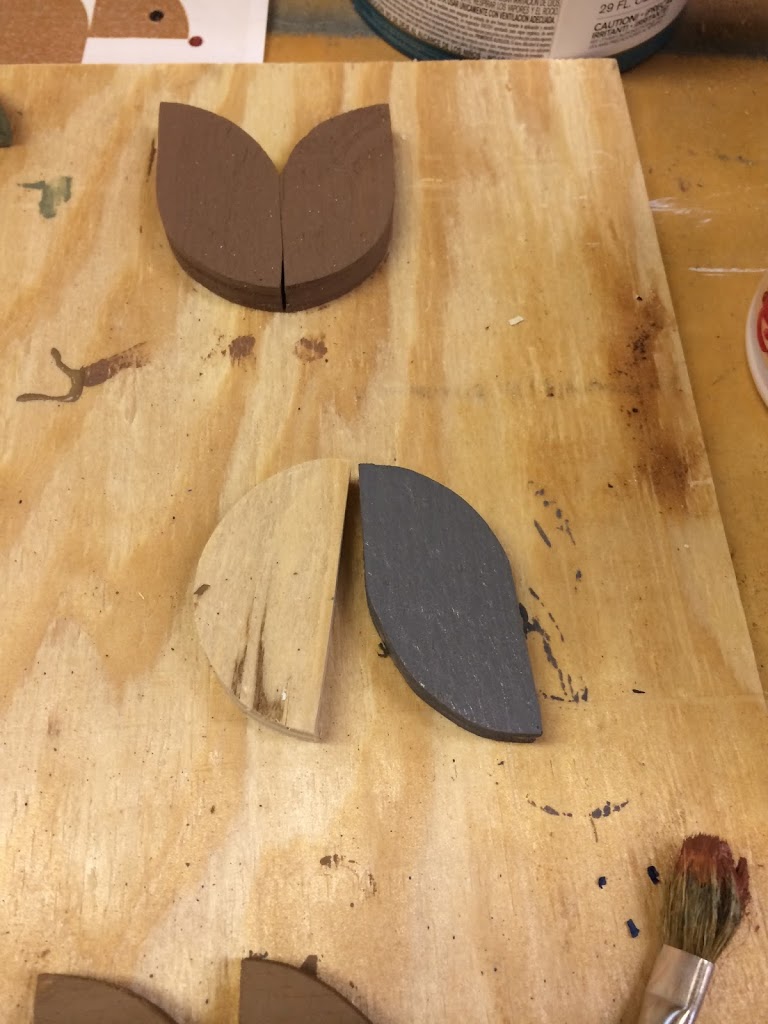
6) Next I grabbed some 1/4″ plywood and started tracing. You will need: 10 quarter turns, 7 of….whatever that weird shape is, and 4 half circles. Then I used my scroll saw to cut them all out.
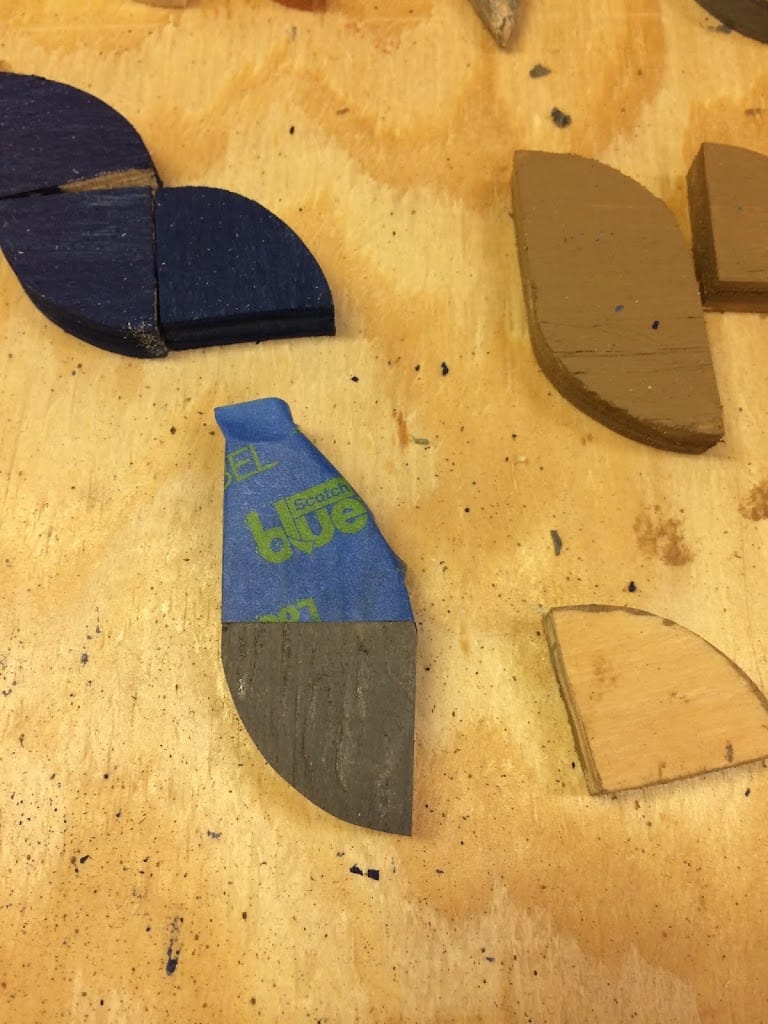
7) With everything cut, I started painting. Now I’m an addicted of paint so I had all the colors to do this already, however if you don’t then I would go buy the small little things of paint in the hobby section at Walmart.
Tip: When painting the pieces with the two colors I would first paint the entire piece. Then after it was dry I would lay down a spare quarter turn piece on the portion I needed to paint, then use painters tape to mask off the side that I didn’t want paint getting on.

8) While I was letting those dry I went back to the back piece. I took it out of the clamps then gave it a quick sanding, making sure to get all the squeezed out glue. Then I laid the original photo back on it and made pencil marks at every corner. Then I used a combination of my miter and my table saw to cut it down to a square.
9) Happy with the size, I put on a quick coat of stain using a foam brush. I went with the Sunbleach stain color since I didn’t want to use brown or grey (since it would make those same colored animals blend in too much).
10) Then I cut a few more strips on the table saw, from the scrap poplar, this time making them 5/8″ tall. Which just put it a little above the back piece. After making the four strips, I used the miter saw to cut in the miters then use Dark Walnut to stain them.
Note: If you don’t want to mess with mitered corners then just keep them at 90s and butt the ends up to each other.
11) I came back with glue and my nail gun to attach the frame.
12) Next I played with the placement of all my animals until I thought it was perfect then I also used my nail gun to attach them. Then I just came back with a little bit of wood filler and touch up paint.
13) Last thing I did was flip it over (after everything was dry) and hammer in a picture hanger so it could be hung on the wall.
😀 haha, I really love this thing. I can’t wait to give it to my friend.
I hope everybody has a great weekend
Total Cost: $0