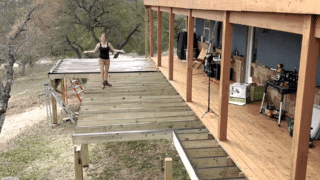
How To Grade Dirt | Grading 210 Yards of Dirt Around My Shop
- Outdoor DIY Projects
- April Wilkerson
- Updated: February 26, 2023
Wondering how to grade dirt efficiently? Check out this DIY project where I grade the dirt around my wood shop as efficiently as possible!
This project is all about the dirt for me! I had 210 yard of dirt delivered and over the course of two days, spread it and graded around my shop. Let me tell you more about the process and my plans.
If you watched me build my shop then you’ll remember it actually flooded when we got a toooon of rain very quickly.
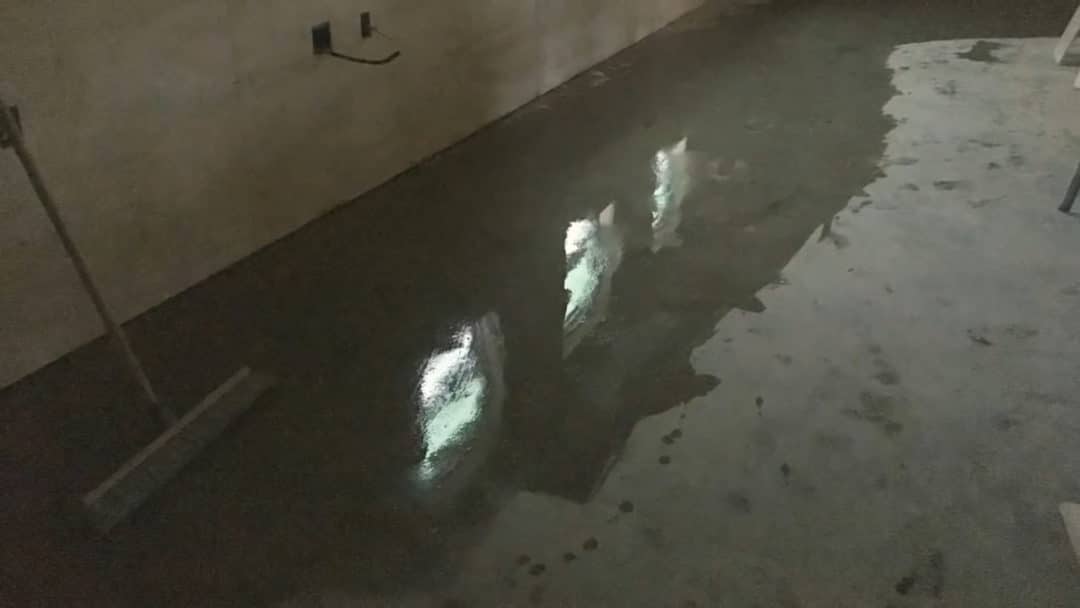
That’s because the south end of the shop has a berm build up then the level drops, creating a giant area that collects water.
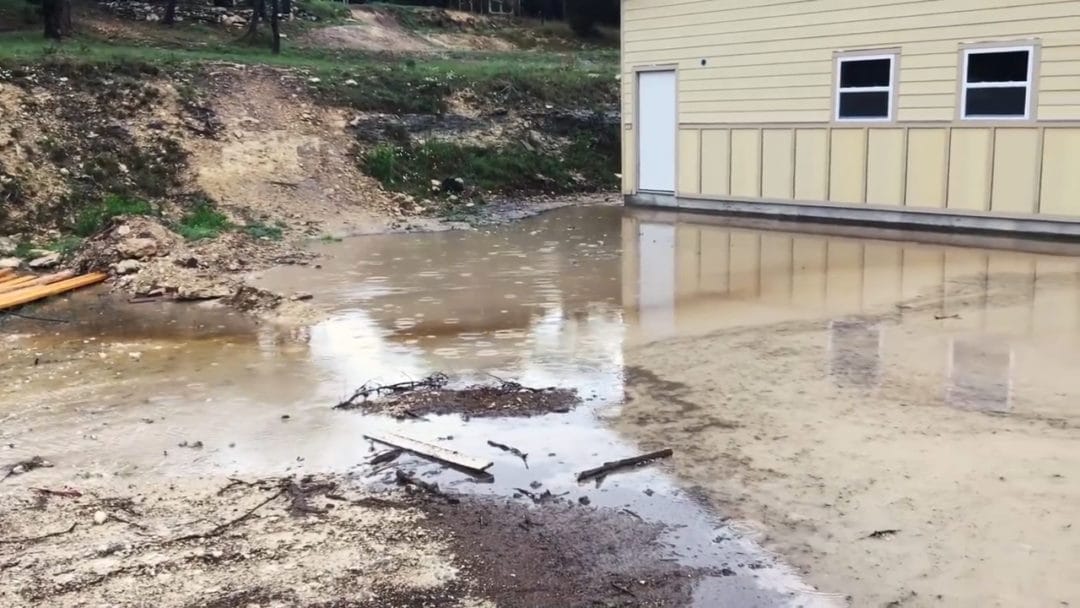
The only place for that water to run off is back behind the shop, then off to the North. If we get a lot, it will raise high enough to go under the sill plate of the walls’ and flood the shop. Not Cool.
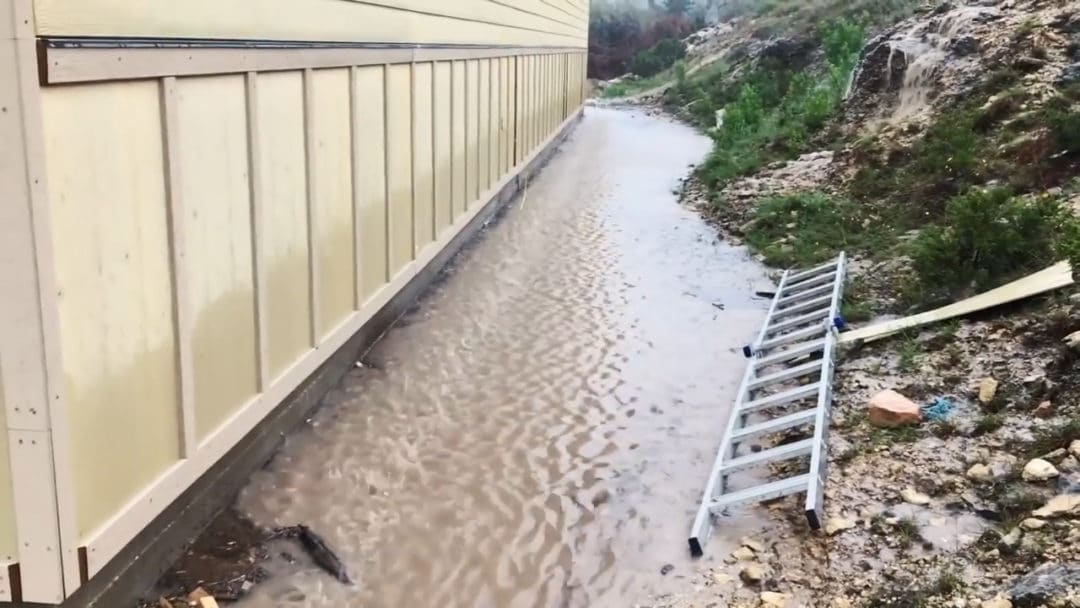
The solution: building up the south end of the shop to not only be level but then gradually slope off towards the wooded area and away from the shop.
So that’s where I started.
I called some local dirt guys and asked for 15 trucks of fill dirt. Each truck is a giant dump truck that holds around 14 yards. There are different classifications or quality levels of dirt, for my base layer I’m interested in whatever will be easy to spread and isn’t too expensive….that’s fill. It has dirt clots in it, some rock, and sometimes some clay.
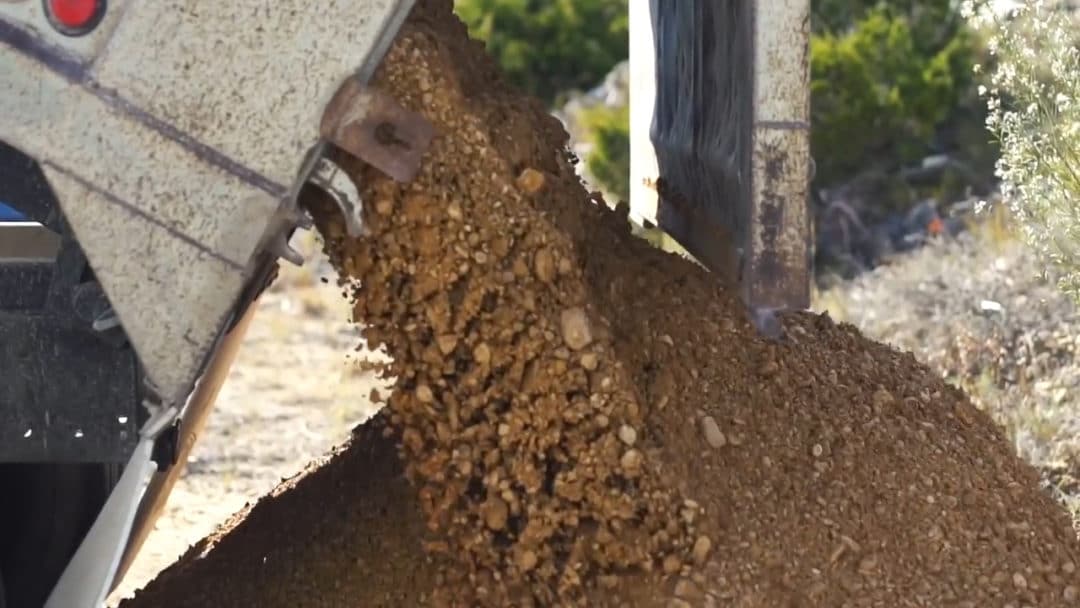
You can see they are also different colors. That’s because I had four guys delivering them from different parts of the area, each getting them from different pits. It doesn’t matter though because after the base level goes down, the top soil will come in and that will be the only thing left seen.
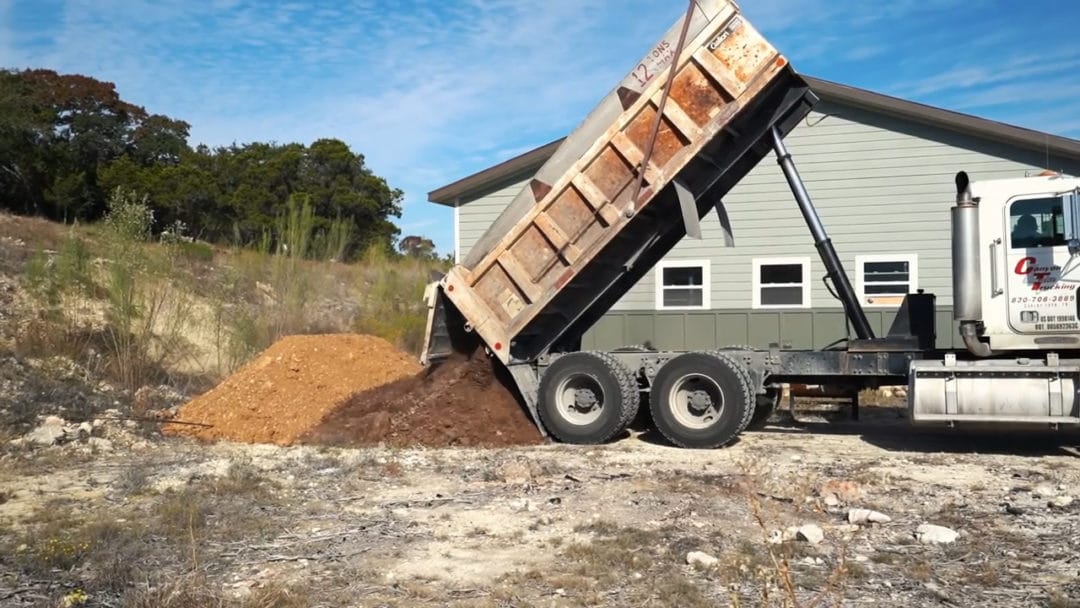
Now, people love to criticize me or my technique when I tackle new things like this…..just remember I’m not a dirt worker, I’m just highly motivated and found this sort of job fun. So I’ll tell you my approach and if you are a dirt mover and have a better way, then please feel free to suggest it *tactfully* down below, because it could help future viewers who might have their own job to tackle.
If you don’t know, dirt is expensive! That’s one reason I’ve waited until now to do this project. With that, I didn’t want to rent any equipment and managed with only using my tractor. Well later you’ll see I switch to my neighbor’s tractor (the orange one) that because it has a hydrostatic transmission. Which means it has a peddle on the floor board that handles forward and reverse of the machine by simply pressing the front or back. This drastically saves time switching gears and messing with a clutch.
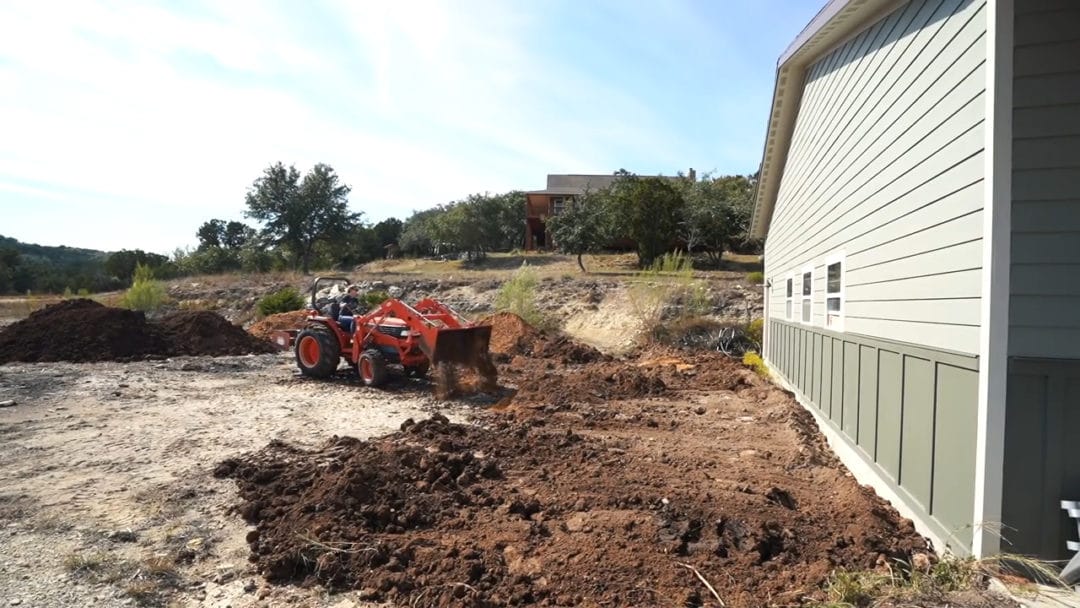
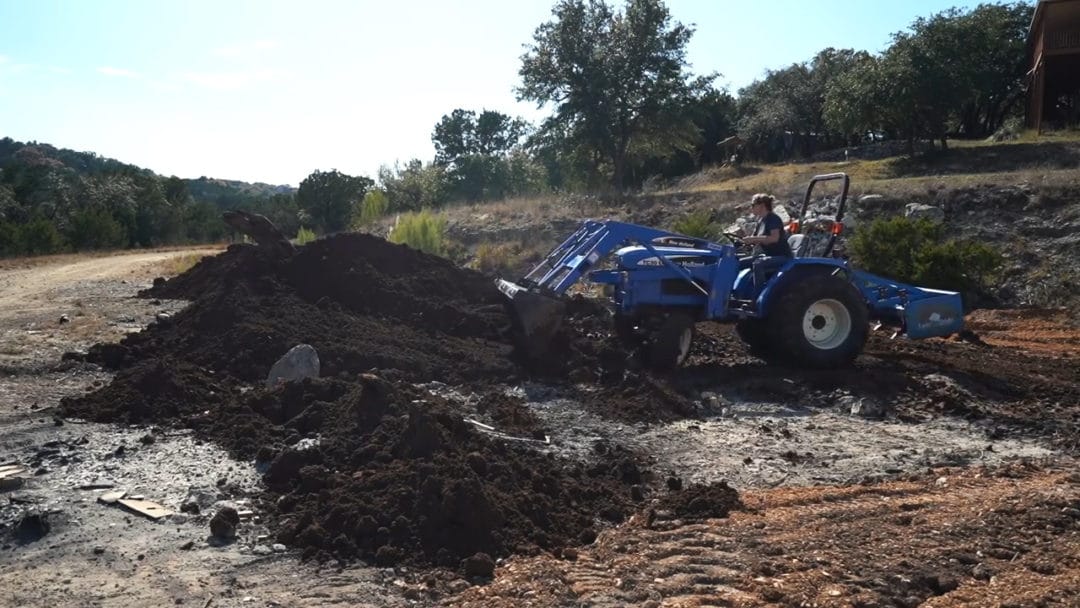
I would start off by dumping piles up close to the building, maybe about two or three deep. Then I would come back and use my bucket to flatten them out and drag them backwards to spread.
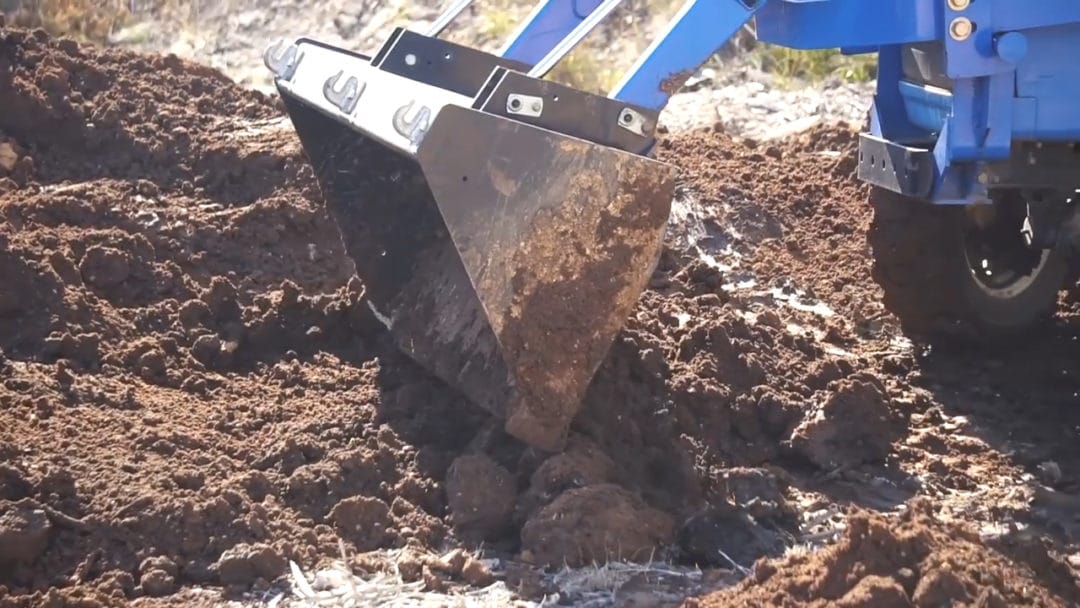
You can play with the angle of the bucket as well as the height of it but think of it like a knife spreading mustard on a piece of bread.
Either way, it doesn’t have to be perfect right now, it’s just a rough grading that will get cleaned up later on. After getting it to a point that is somewhat uniform, I repeated by dumping in more loads. If you’re new to using a tractor then here is my technique for picking up dirt from the pile (This could also be used if you’re using a skid steer): I place the tractor in low, when in medium my little guy will bog down, then I start with the bucket either flat or slightly tilted forward.
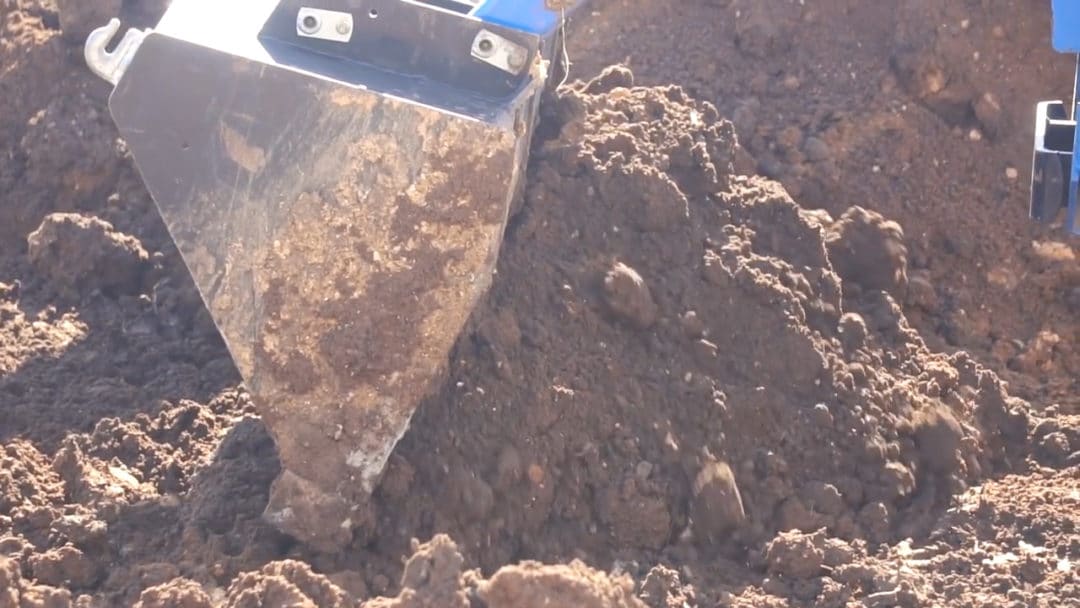
I accelerate into the pile and when I start making contact with the dirt, I start twitching my bucket nose up while also twitching the entire bucket up. If the machine bogs down while you’re lifting then just back off slightly with the gas and continue the controls.
The more you can pick up with each trip of course the faster the job will go. On that notion, be mindful where you place your dirt. I spaced mine out in rows on the side I would be grading to kill the amount of time I have to travel to pick up a new bucket full. I left enough room in between for my tractor to fit. You’ll see that I also would sometimes use my bucket to push a part of the pile over, or even the box blade on the back. My main goal was to get the pile broken up and spread out quickly then handle the more roughed in grading from there.
Another reason I’ve waited this long to tackle this project (and the main reason actually), is because I first wanted to figure out an irrigation system. This dirt will have a hard time sticking to the ground and not getting washed away if there isn’t any grass growing in it. Getting grass to grow without an irrigation system simply doesn’t happen here.
Well I am very excited to tell y’all that I will soon be starting a rain water collection system to collect then redistribute all the rain that falls on my shop roof. Ahhh, I’ve dreamed of doing this project while shingling the roof of the shop actually, so I’m beyond ready to get started. Once it’s in place, then I’ll have a way to plumb in water to my shop sink, grow grass around my building, water the wild life and also a large garden I have planned. : ) Exciting stuff!!
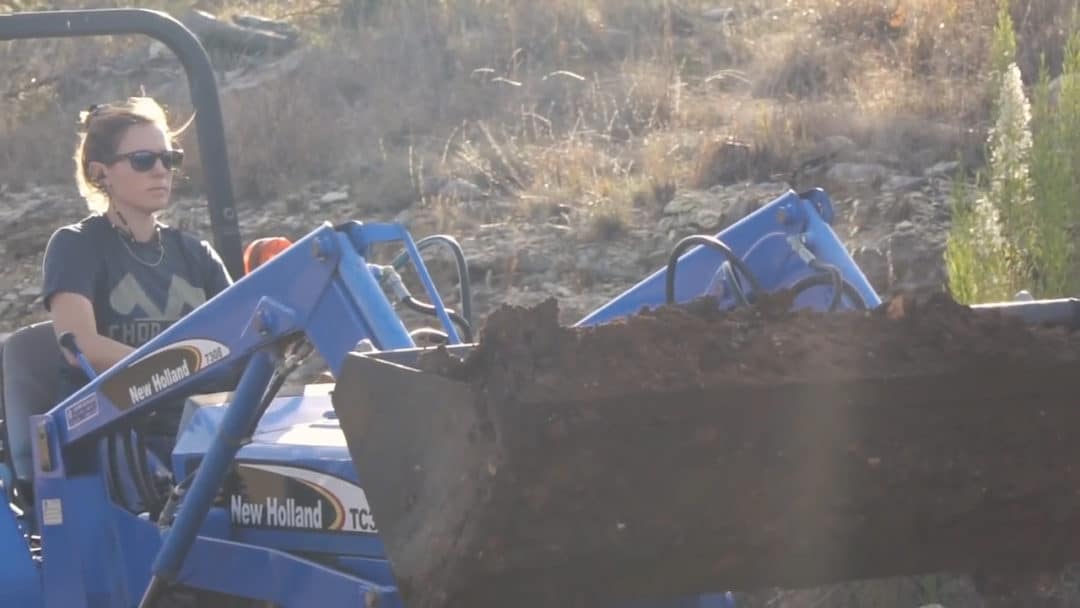
On the first day I think I spent a solid 7 hours straight on the tractor. I just love this sort of stuff. The last few loads were really hard to spread smooth because they had a lot of moisture in them. I did get them pretty flat but I decided to let this entire area sit for a bit to dry out some then I’ll try re working it. Remember that I’ll be coming back with a few inches of top soil over this entire area and that is where I’ll really be able to make things nice and flat and tapered off towards the wooded area.
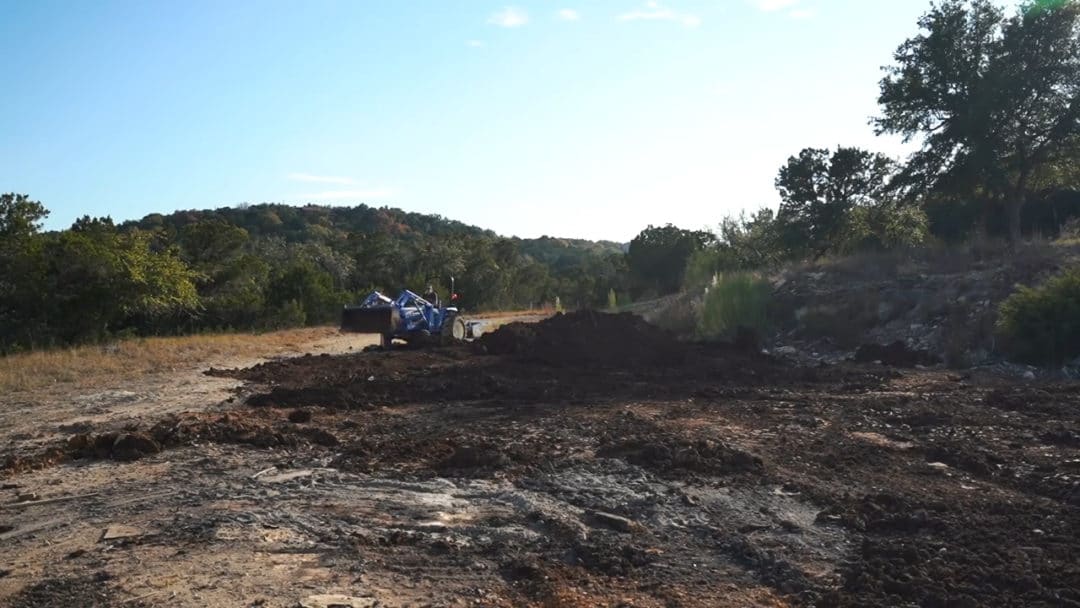
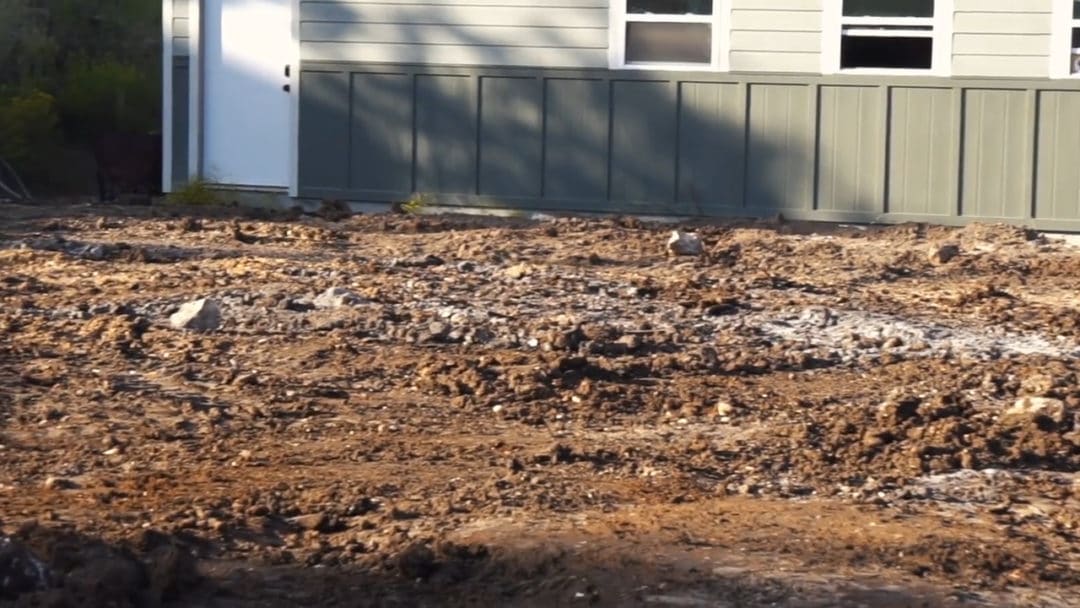
So that is the South end of the shop. Over on the east side I actually did this fill dirt step almost right after the completion of the building because I wanted to drive my motorcycle up on the porch. You can see just how rocky this entire area is and while some weeds are growing in it, not much grass at all is able to take to it.
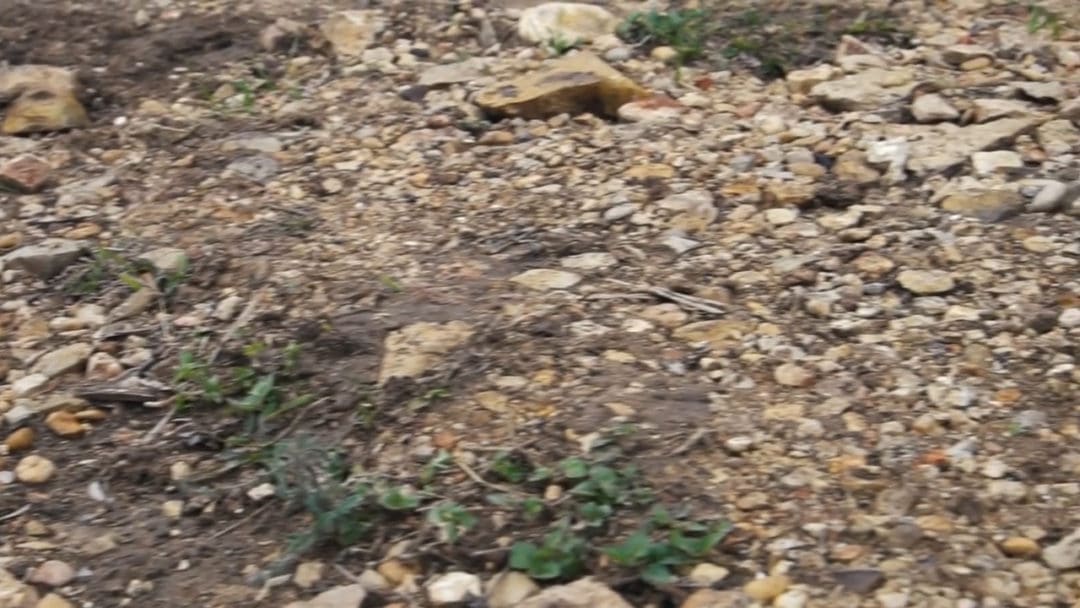
Not a problem though, because now that this has sit and has been compacted I could start on the top soil step.
For this I only had one load delivered but then repeated the same process that I did with the fill. I would dump multiple buckets up towards the porches edge, then use the bucket to drag them backwards. A few things to know about top soil….there are two kinds when you are ordering it, screened and unscreened.
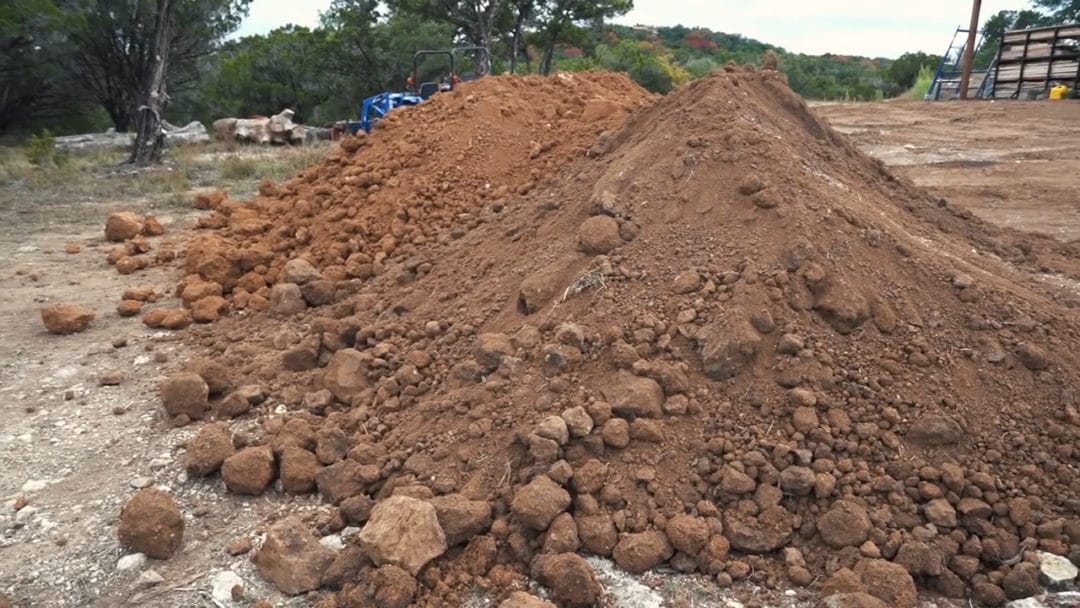
Screened is typically $70-80 more, but they filter out all the huge dirt clots so you only end up with the smaller stuff. This stuff is waaaaay easier to spread.
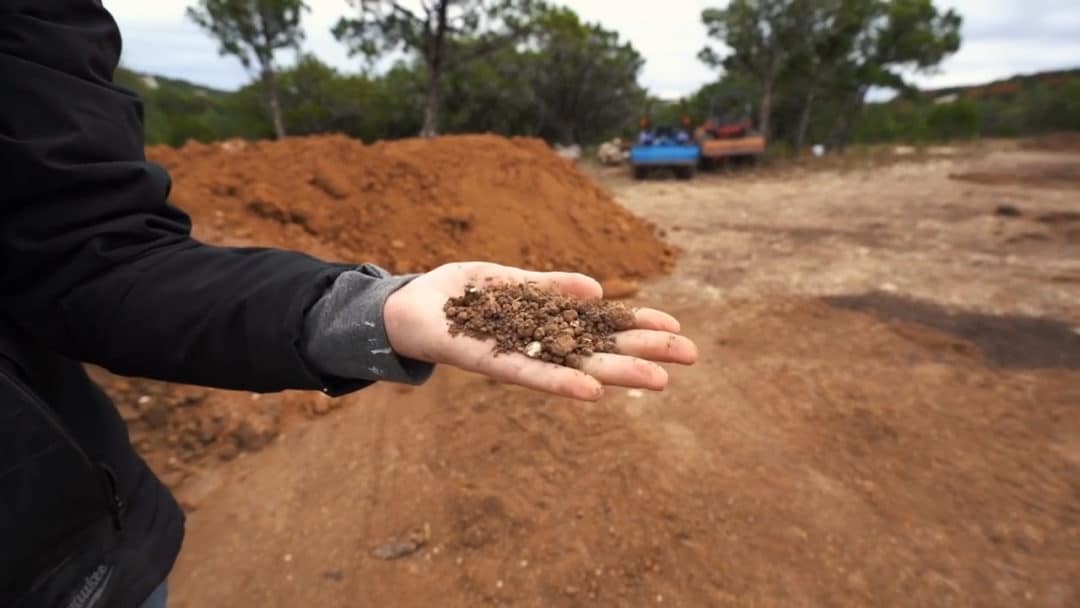
If you’re only doing a small area or a load at a time, it is 100% worth the money, in my opinion, to get the screened stuff. But if you’re doing a large area like I will be, then $70 additional will quickly add up. Hmmm, maybe I’ll make my own screen in the future!
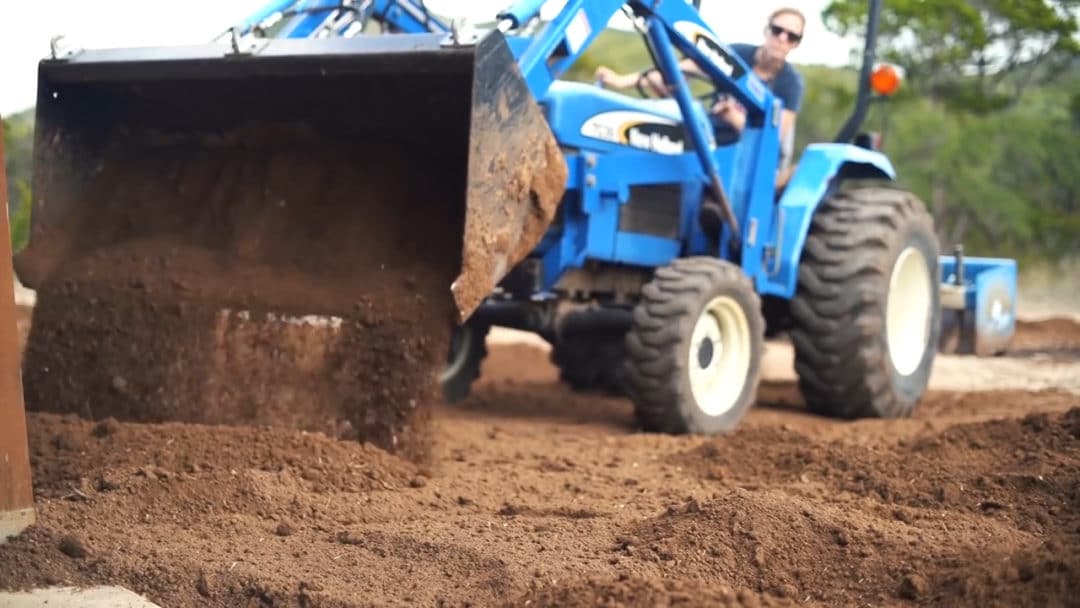
So that you can see the difference, here is the non screened
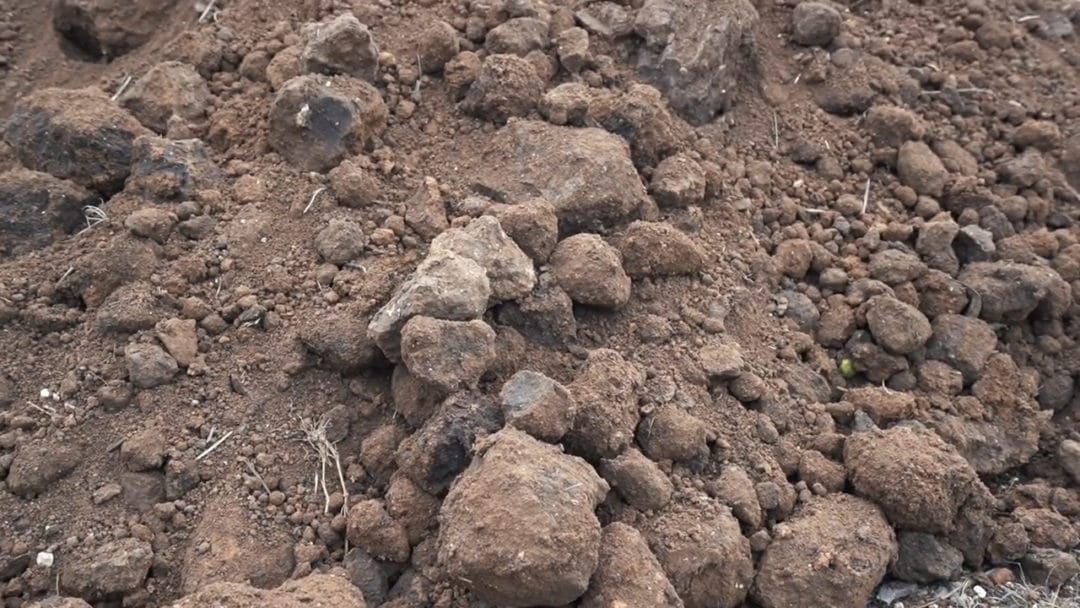
The dirt clots wouldn’t be a huge pain if I were better at doing the final grading work with the tractor, but I’m not. After I get the roughed in grading work done then I move to a rake and do all the final finessing by hand.
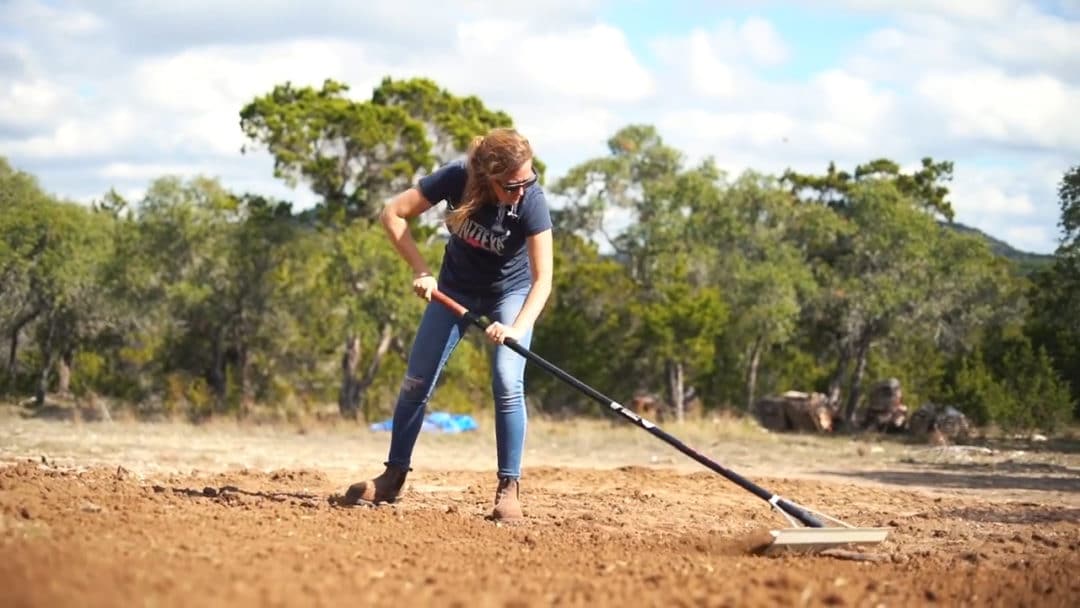
When you have huge clots to deal with, this part of the job becomes eight times harder. I use the rake to work out any high spots and fill in the low spots. It might seem like a lot of work, and actually, it is, but remember that the work you put into it now will affect the lay of the land when grass is growing and you are mowing or walking over it.
If it were the right time of the year, I next throw down some grass seed but I’ll wait a few months for better weather. To prevent all my new hard work from just washing away in the mean time, I next compacted it. I did this by hoping n the tractor and driving back and forth, back and forth, and back and forth. I would try and move my tires over to a new spot each time and after about 20 mins the ground looked nice and tamped down.
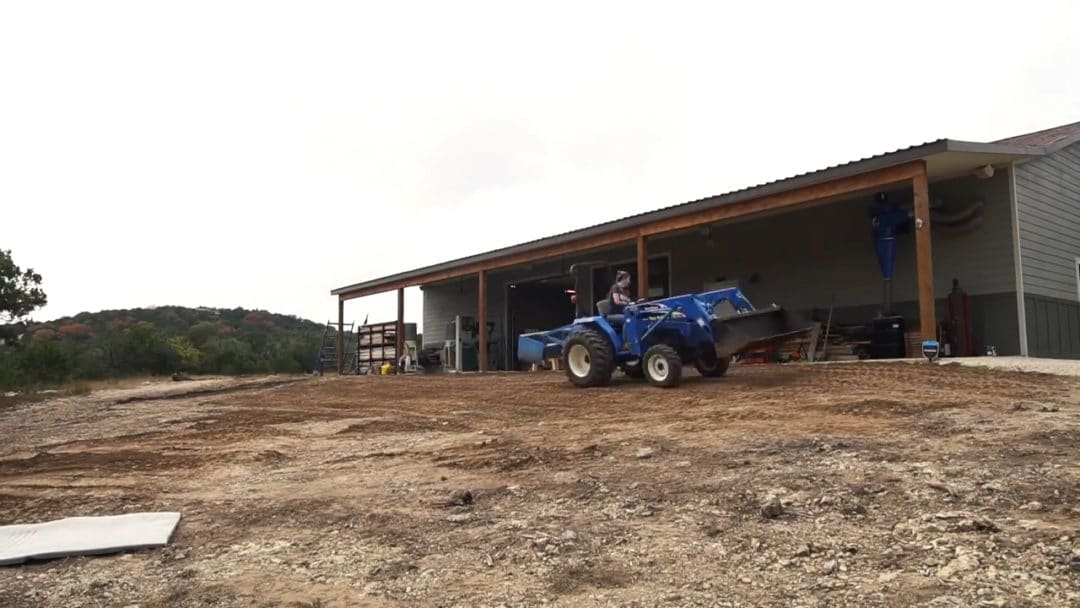
Over the next year I’ll continue to give those of you that are interested, an update on how the land around the shop is coming along. I still have plenty of plans of course. I’ll need to finish the south end of the shop by laying down the top soil, carrying out the top on the east side, then repeating the entire process on the north side and extending it out to the main entrance. I eventually want to cover up the entire pad site that isn’t my gravel road and also plant trees, hopefully fruit trees.
Stay turned if you’re interested in some big projects I have coming up which include the rain water collection, a large walk in garden area, and an irrigation system.
If you’d like to follow along in real time then be sure to check out my Instagram feed as that’s where I’m really active day to day.
If you haven’t already, don’t forget to sign up at the top of this page for my newsletter so you don’t miss new projects!
Thanks for stopping by and I’ll see you on my next project.
One Response
????????????????????????
Comments are closed.