
Easy DIY Dog Food Dispenser
- Pet DIY Projects
- April Wilkerson
- Updated: March 8, 2023
Thinking about building a DIY dog food dispenser? Check out this DIY project where I easily built a dog food dispenser for my pups!
Having four dogs, I am having to fill up their dog food container about once a week. Well, that’s a huge pain considering every time I have to hold a giant bag of dog food, while at the same time, try and aim/pour it into a container.
With this dispenser, I will be able to dump the entire bag of dog food into the top, then fill up my container from the chute I made at the bottom, in just a few seconds.

Here is a video showing the build process:
1) I grabbed some scrap pine 1xs and cut them all to 6 1/2″ wide, then to the below lengths. I also beveled the tops of the middle lengths, as well as the tops of the bottom lengths, to 60 degrees.
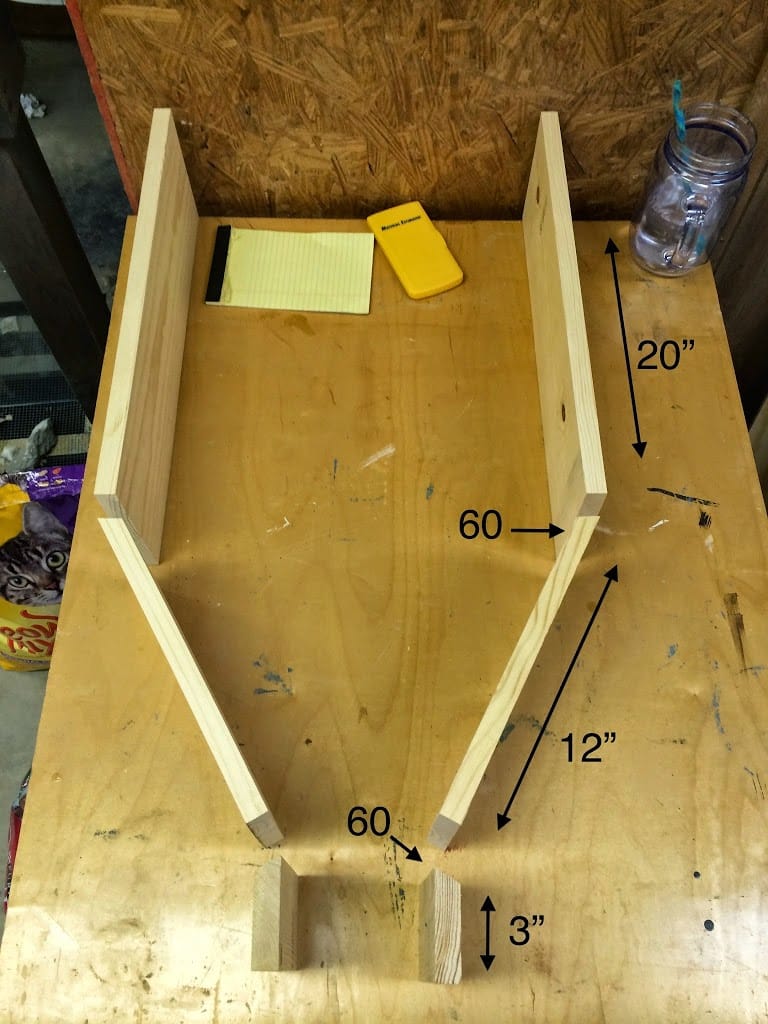
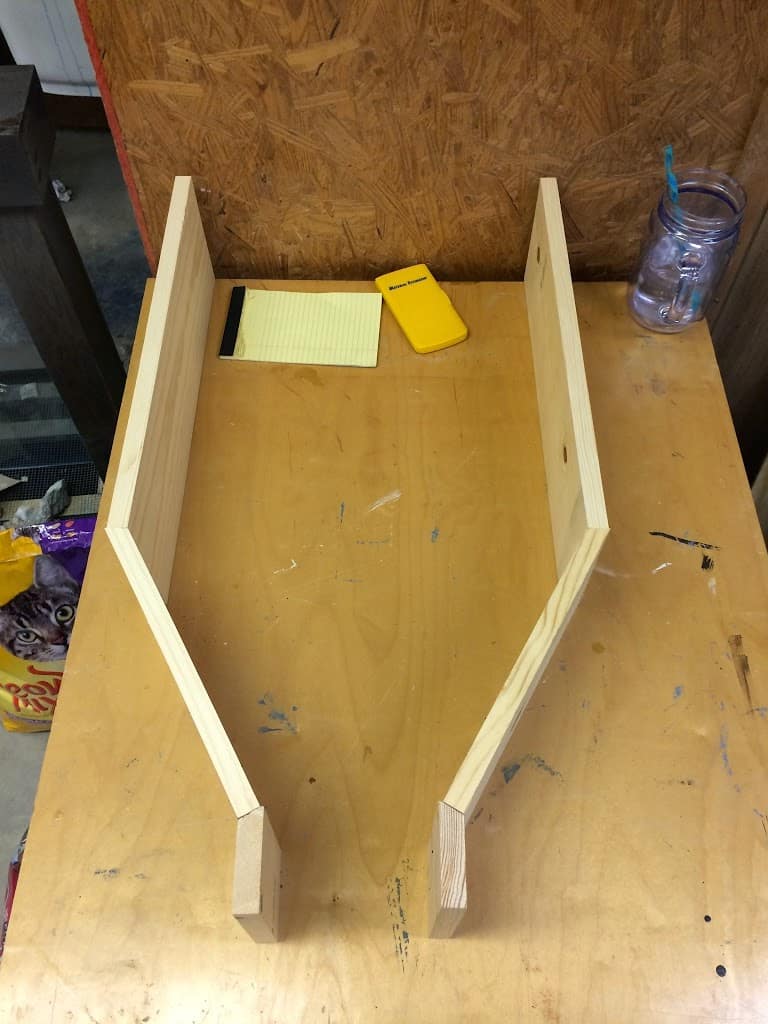
3) To make a back, I set my two sides on some 1/2″ plywood and traced around them. Then I used my jigsaw to make a rough cut and cut it out. Note: I wanted my bottom chute to have a 5 1/2″ opening. Be sure to figure out how big would work for you before making your back.
4) Then I used my Kreg pocket jig to attach the sides to the back.
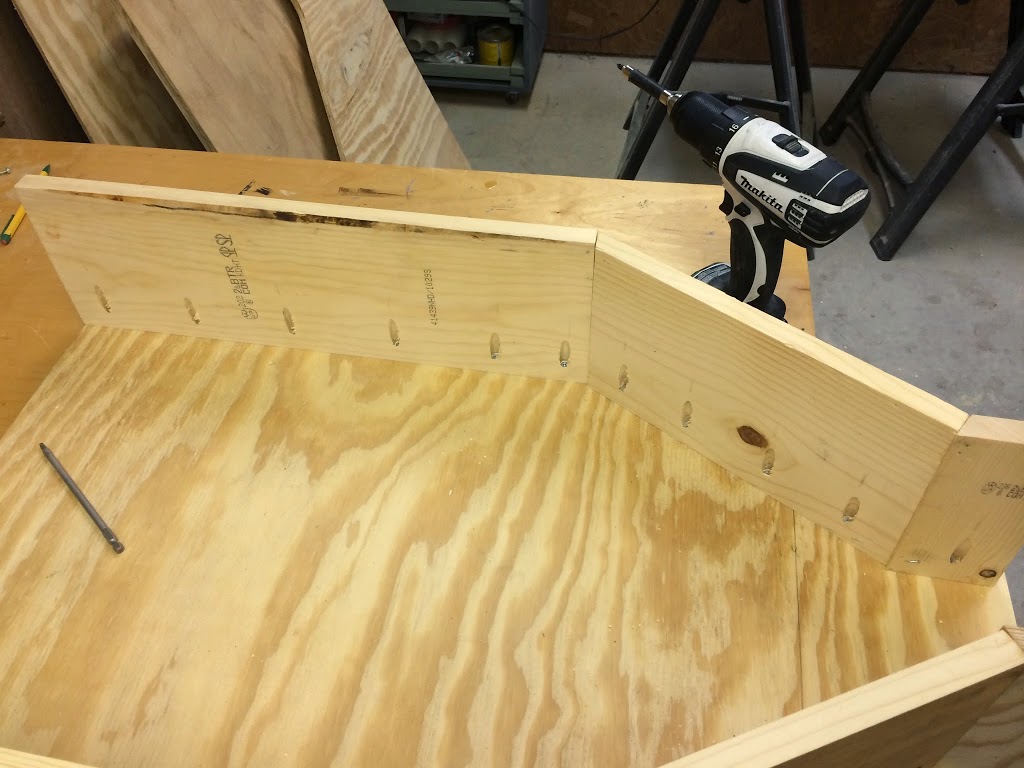
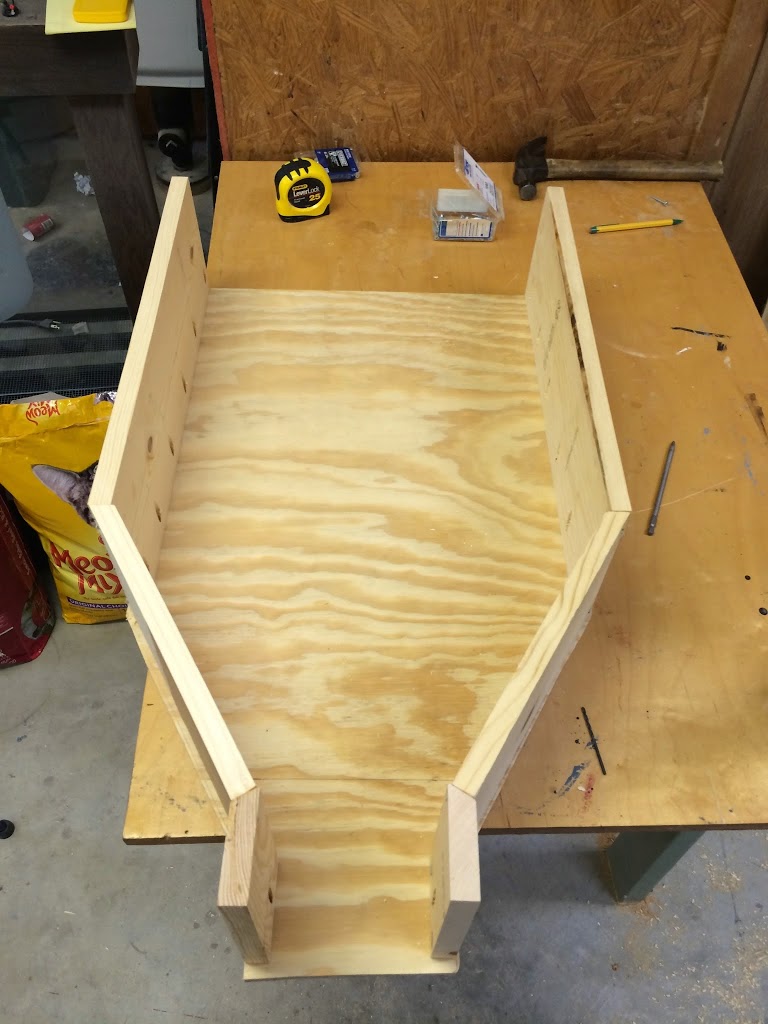
5) With the back attached, I used my flush trim bit in my router to make it flush.
6) Now I used some 1/4″ plywood to make a front. I flipped the unit over and traced it out once again, and made another rough cut. I used my nail gun to attach it.
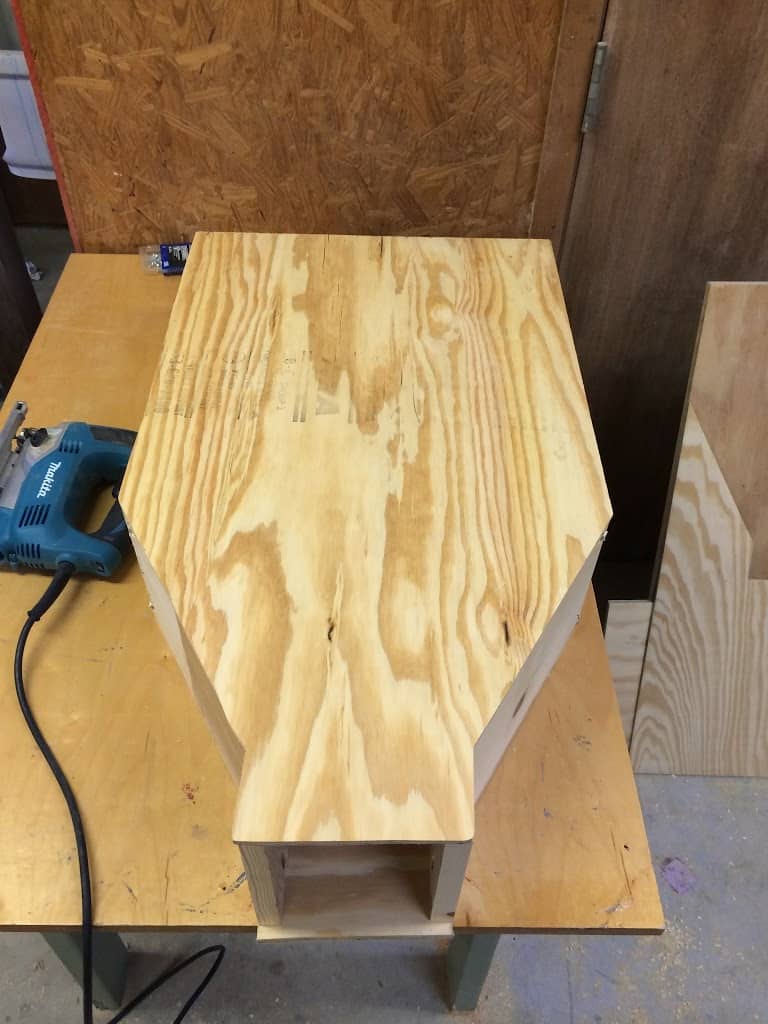
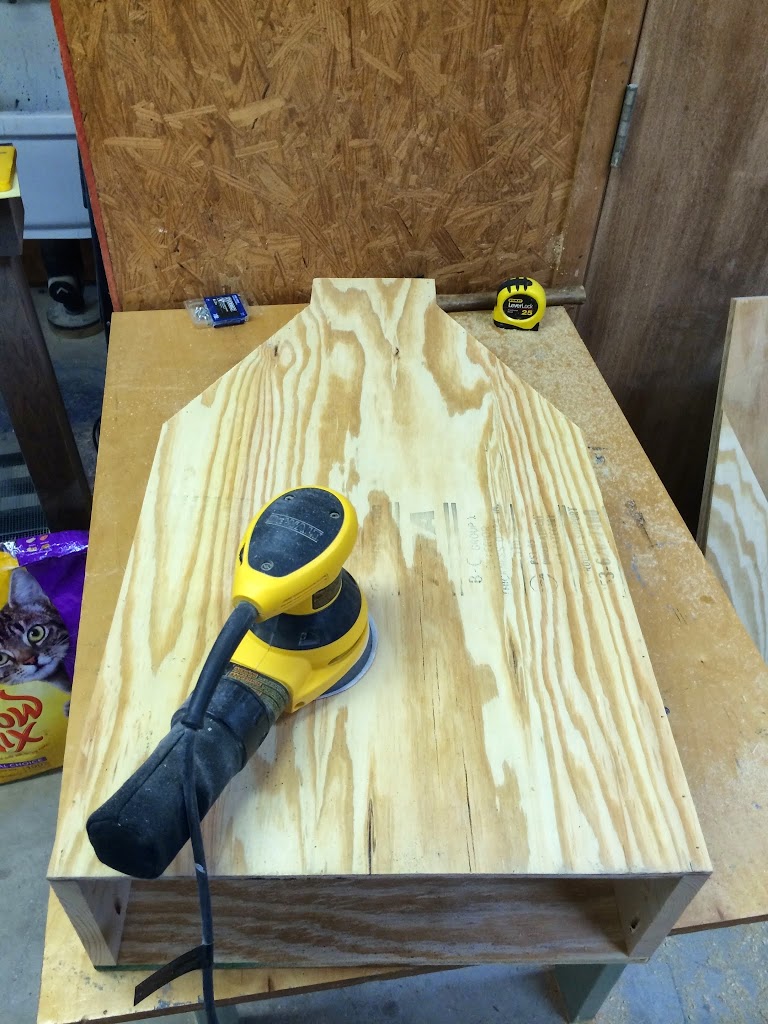
8) I grabbed this scrap piece of wood and cut in a 3/8″ dado, by running it through my table saw three times.
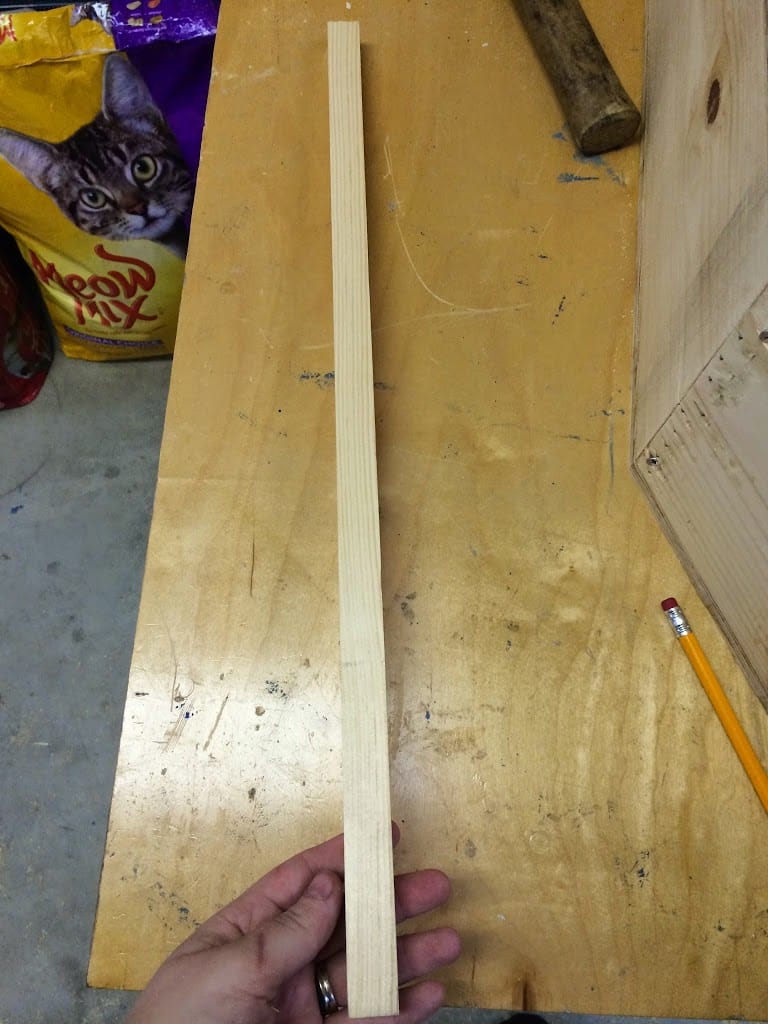
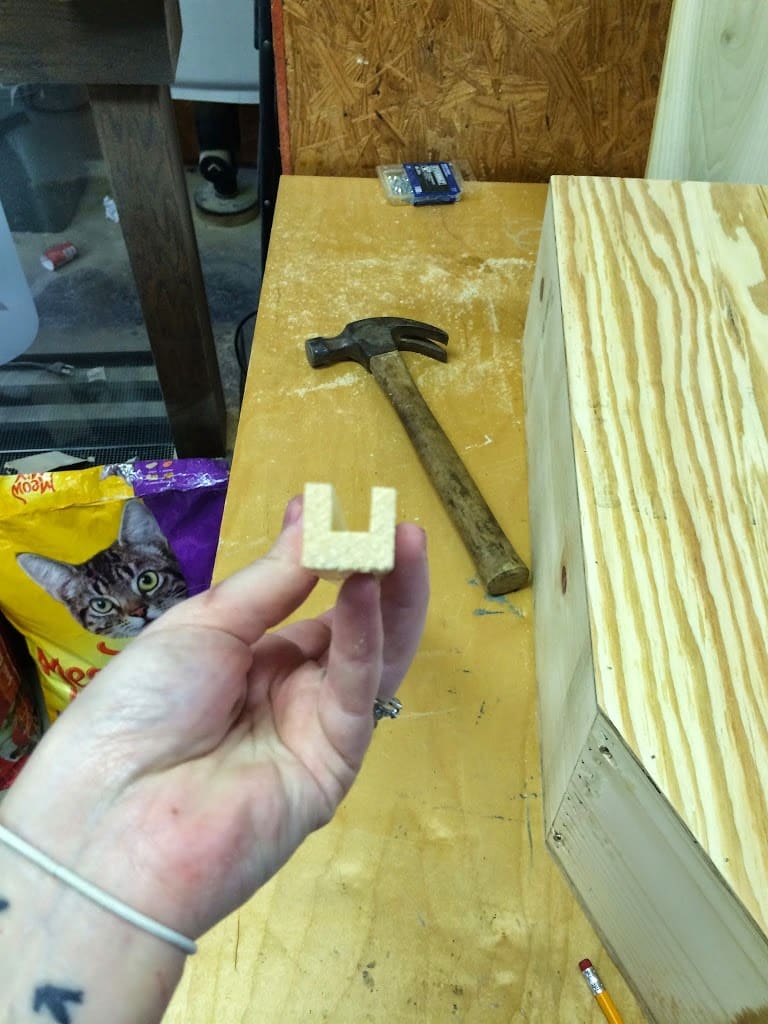
9) Then cut it up and glued/nailed it in place to create a ‘track’.
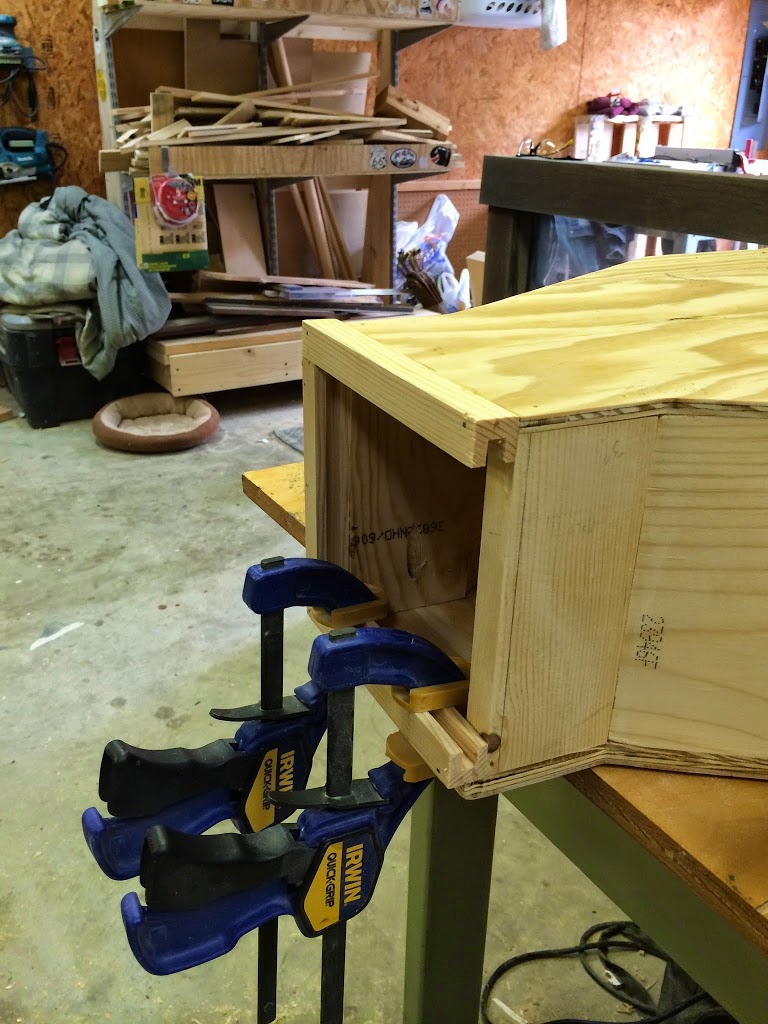
10) Next, I cut some 1/4″ plywood to size and slipped it in place.
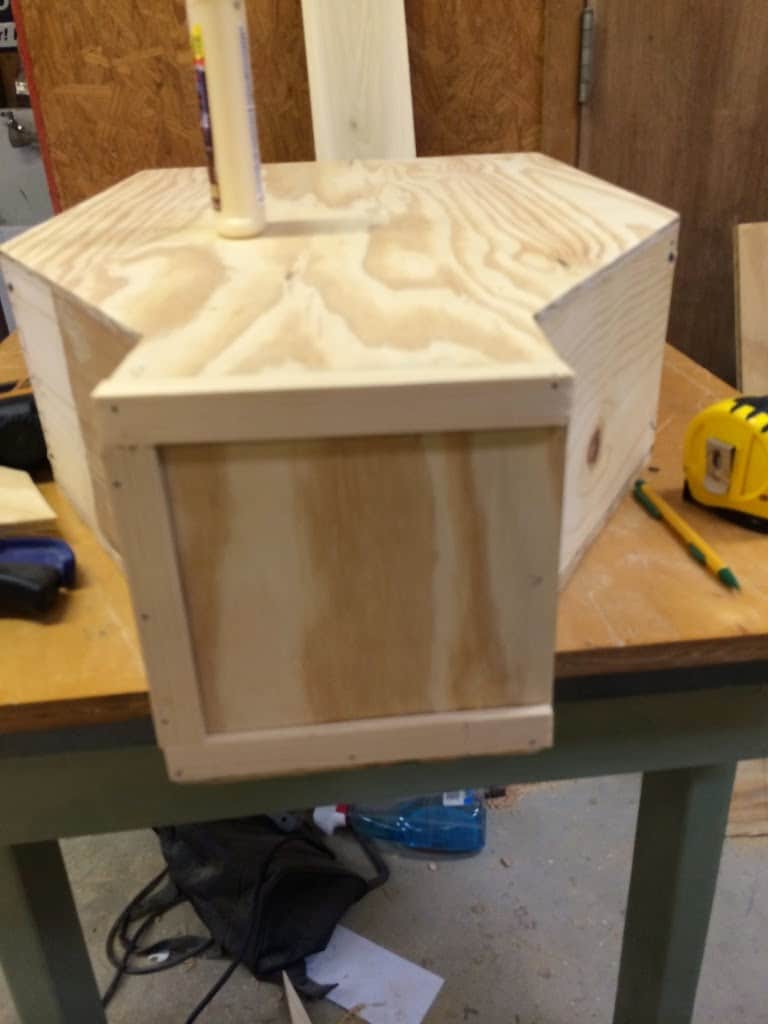
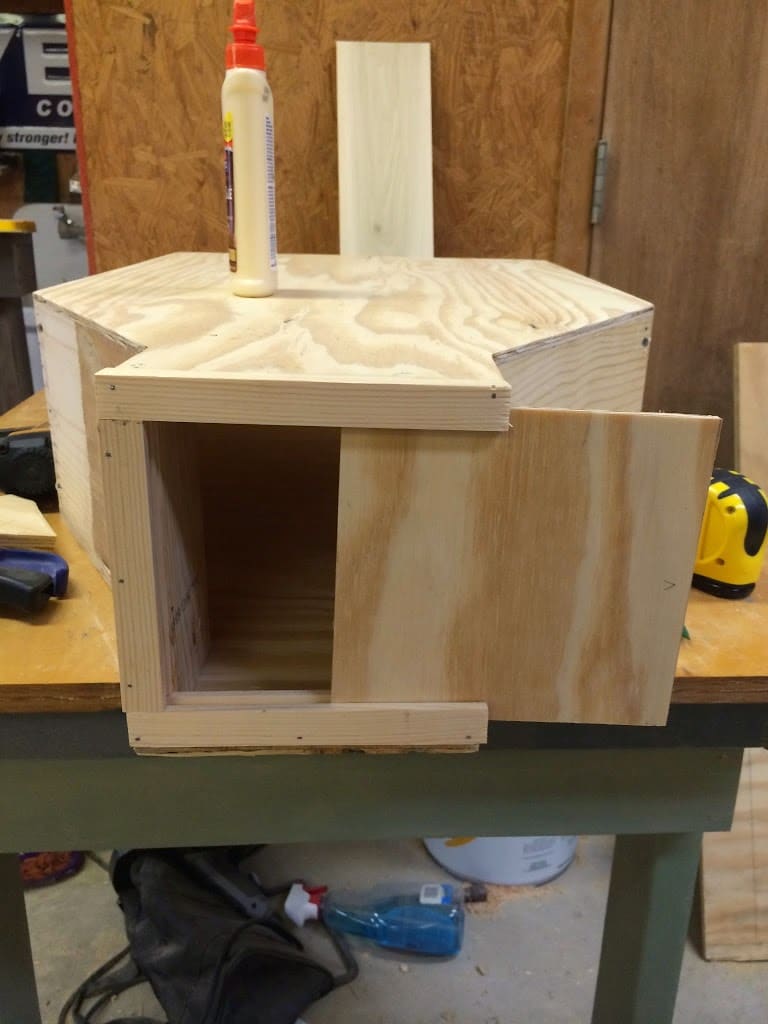
11) To create a handle, I dug through my scrap box, found a triangle shape, and cut off the end to get the shape below. : )
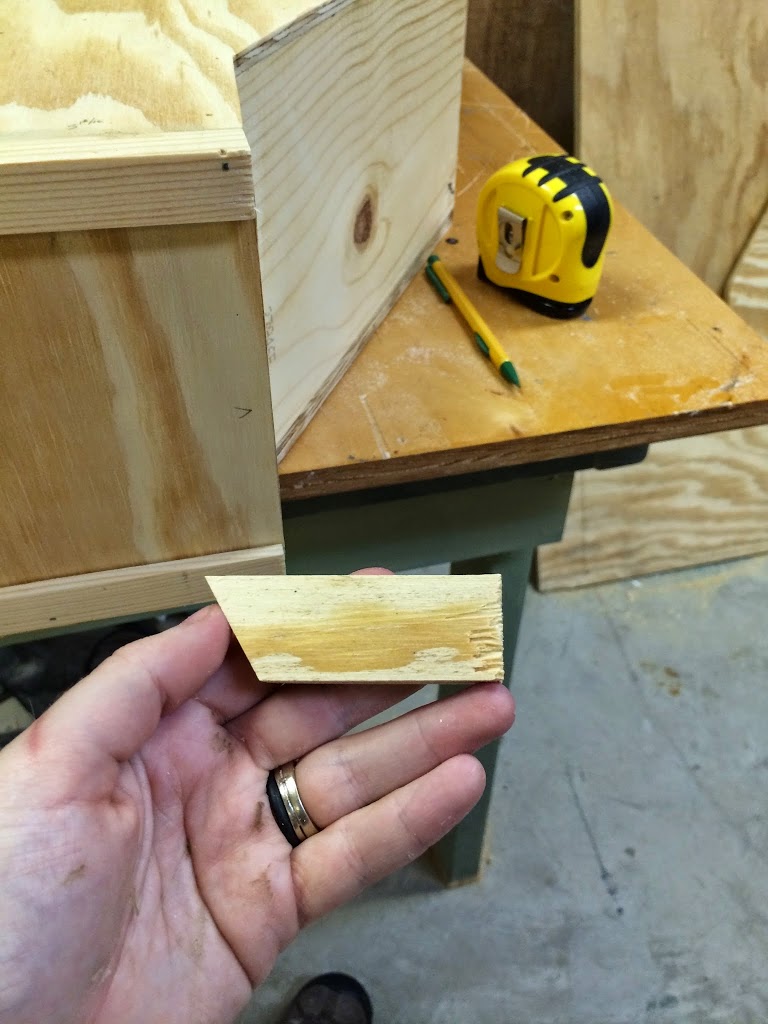
12) Stuck it in place with glue and a clamp then had a functioning chute.
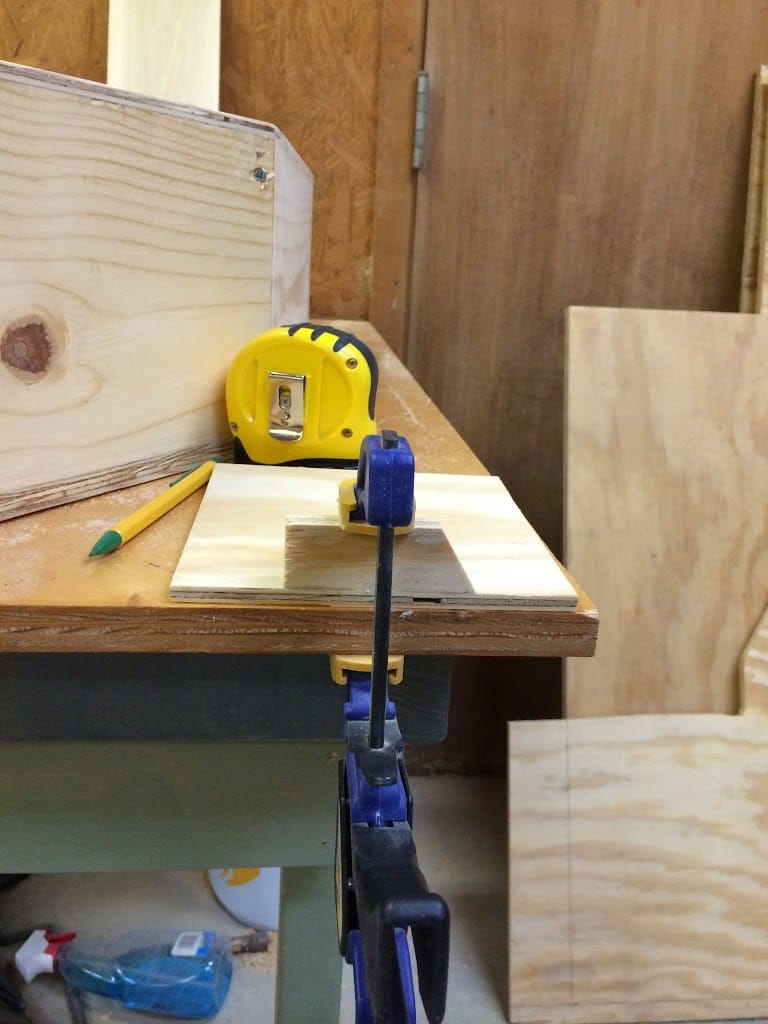
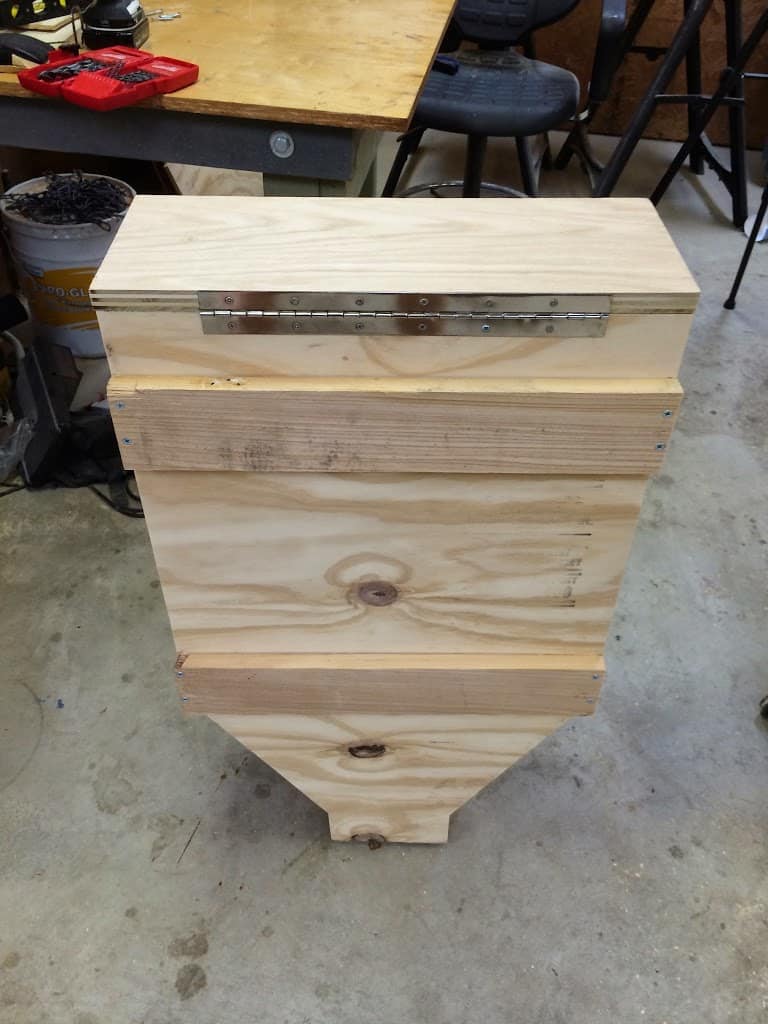
13) Next I cut a top to size from 3/4″ wood.
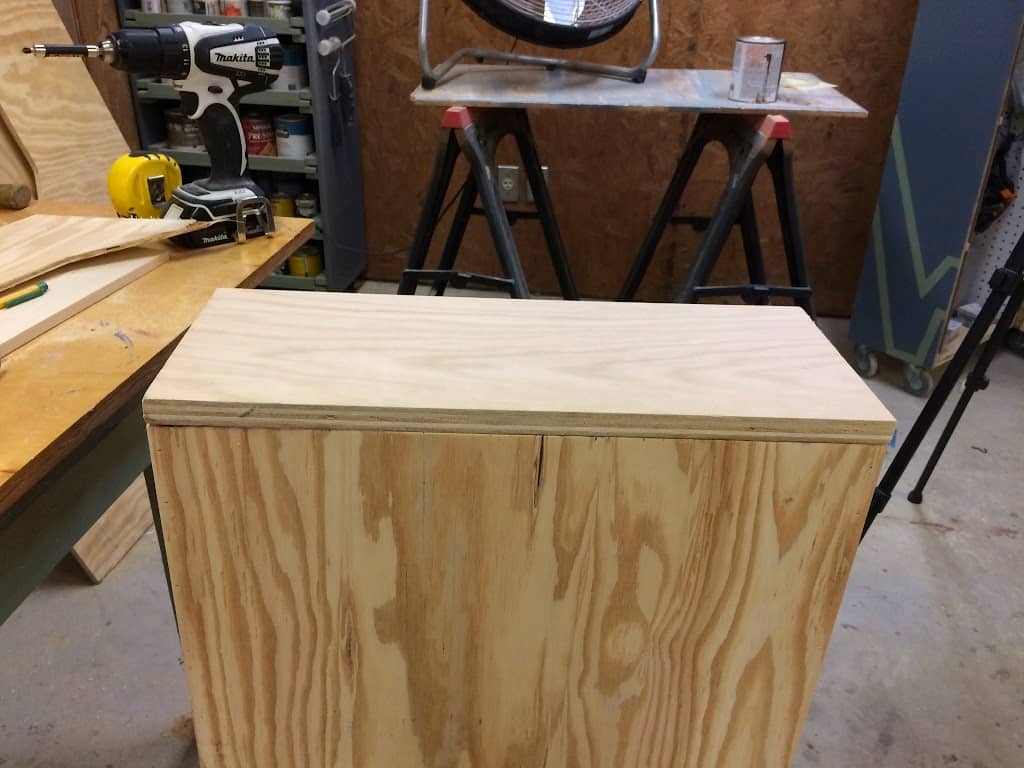
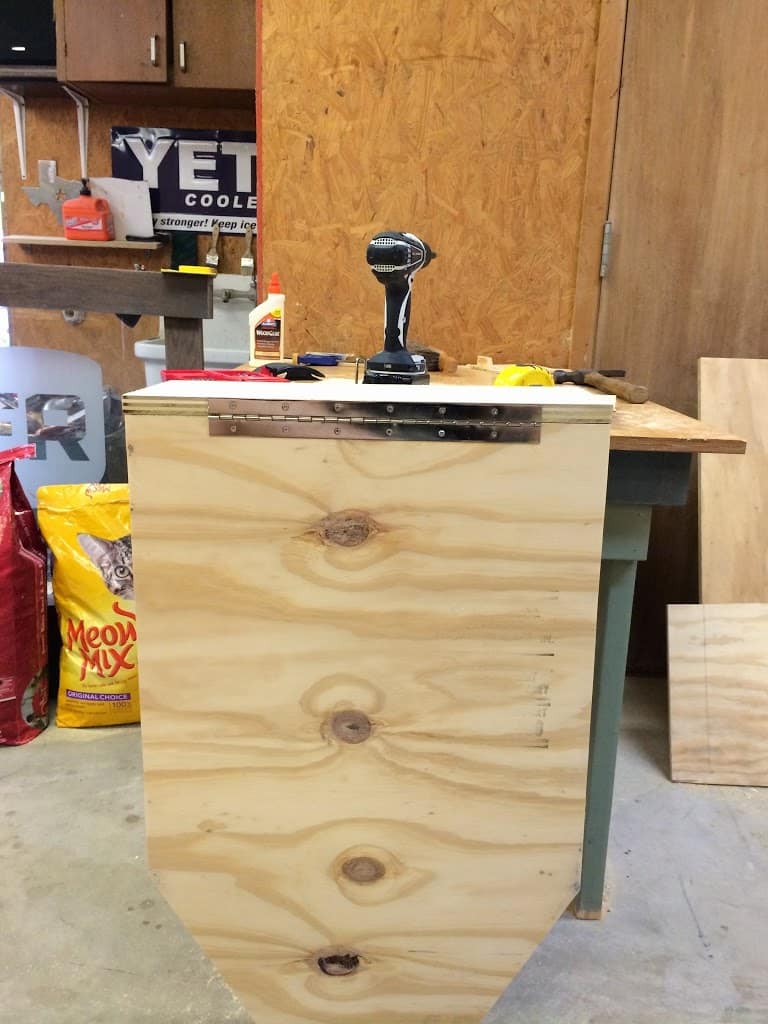
14) Then I threw on a part of a piano hinge left over from another project….
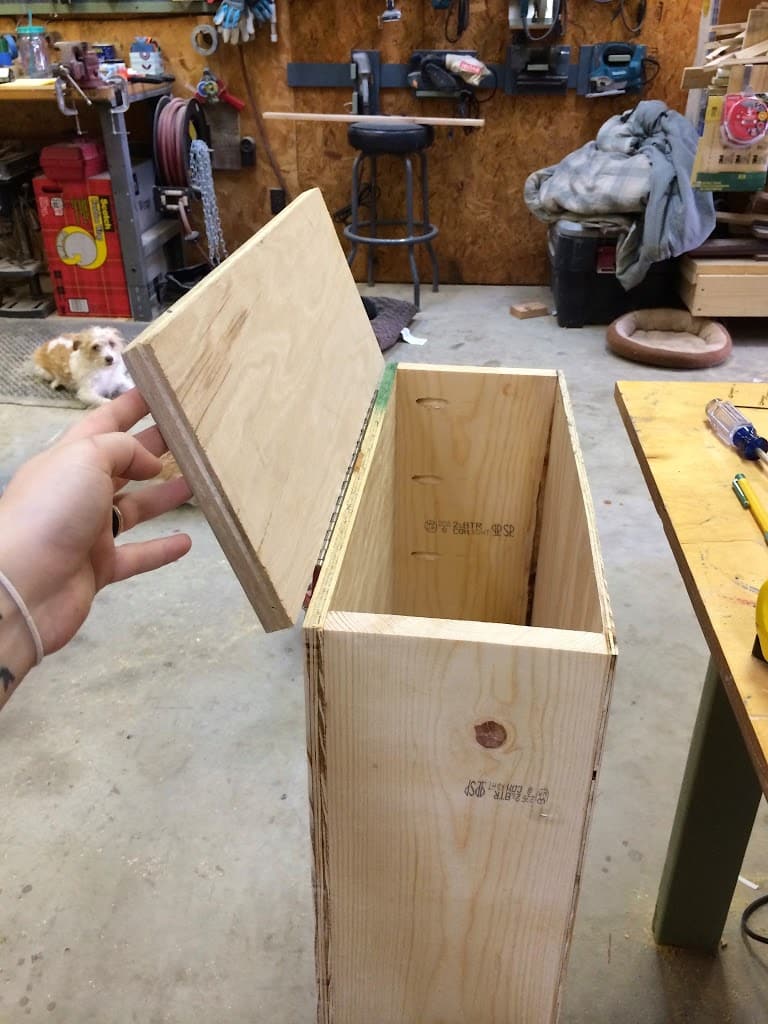
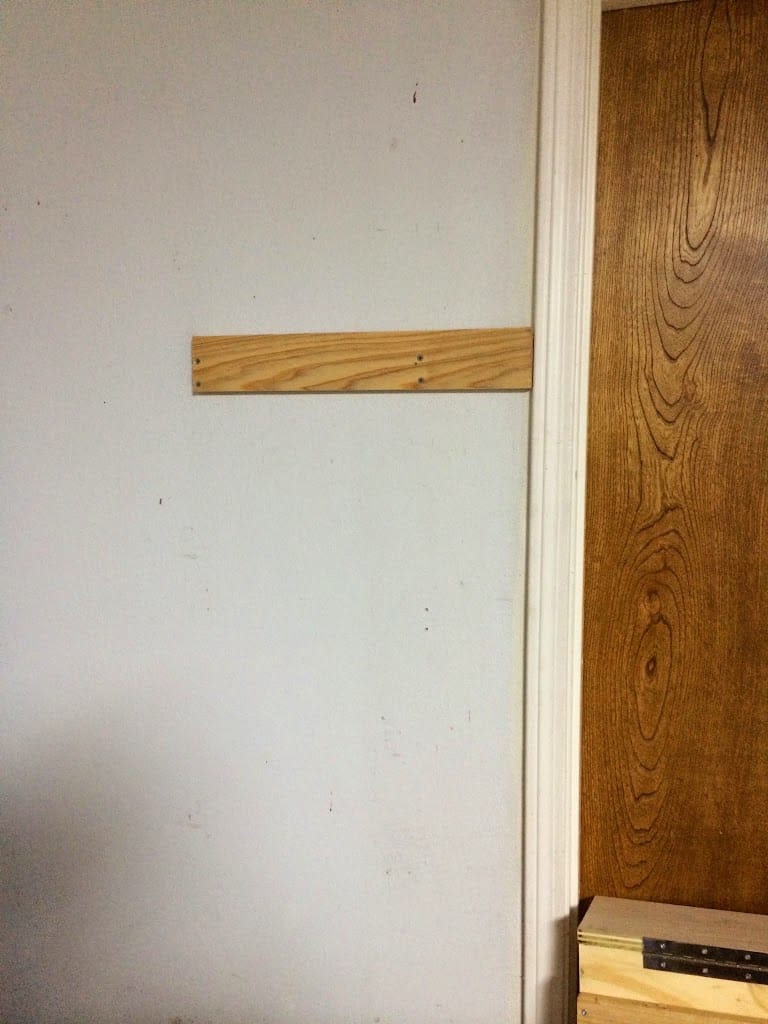
15) I decided to use the french cleat system to hang it (see my post here if you aren’t familiar with it) I first found the studs with my Franklin Sensor and then used 3″ screws to attach the cleat on the wall.
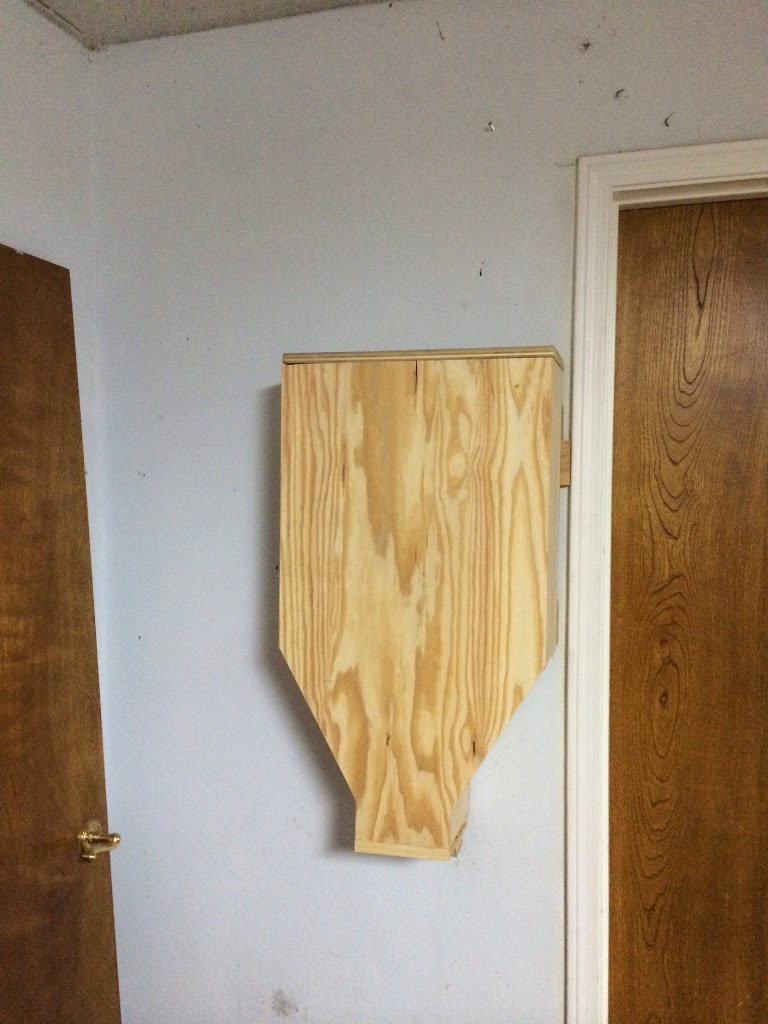
16) Last thing was to throw on some primer and paint.

It isn’t perfect, but it will save me from having to hold a 25 lb bag of dog food while trying to pour it into a small container. : ) I’ll be making a cat food dispenser next, but I am going to try out a different design for the bottom chute. I’ll post it when I’m done.
I hope everybody has a great weekend!
Total Cost: $0