
Building A Three Legged Shop Stool | With Greg Pennington
- Workshop DIY Projects
- April Wilkerson
- Updated: February 26, 2023
Thinking about building a three legged shop stool? Check out this cool project where I worked with other woodworking folks to build a unique wooden stool!
This week’s video is something special and also unexpected for me. See, I went to Nashville TN recently for an event and was only supposed to be in and out. However, two of my girlfriends (Jenny Bower who is a custom engraver out of Michigan and Anne Briggs) were in Nashville for a chair making course with the amazing chair maker, Greg Pennington. I couldn’t extend my trip to stay the entire week like them, but I was able to stay one extra day in order to make a perch.
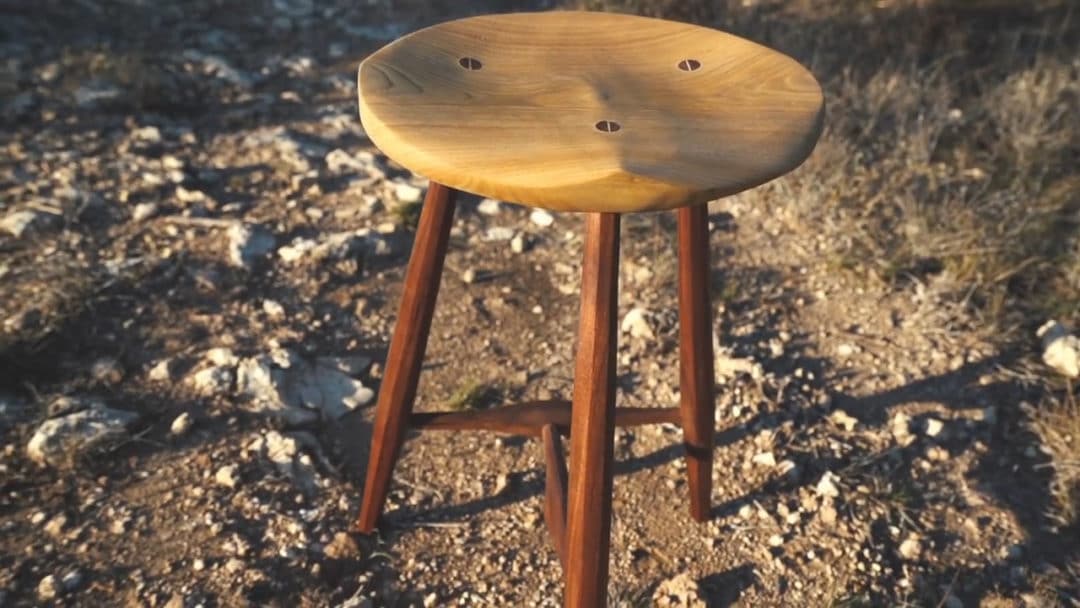
I started by picking out the wood for the seat and the legs. Greg had a beautiful piece of Sassafras (ha I love that word). I’ve never heard of it before this project. Then walnut for the legs.
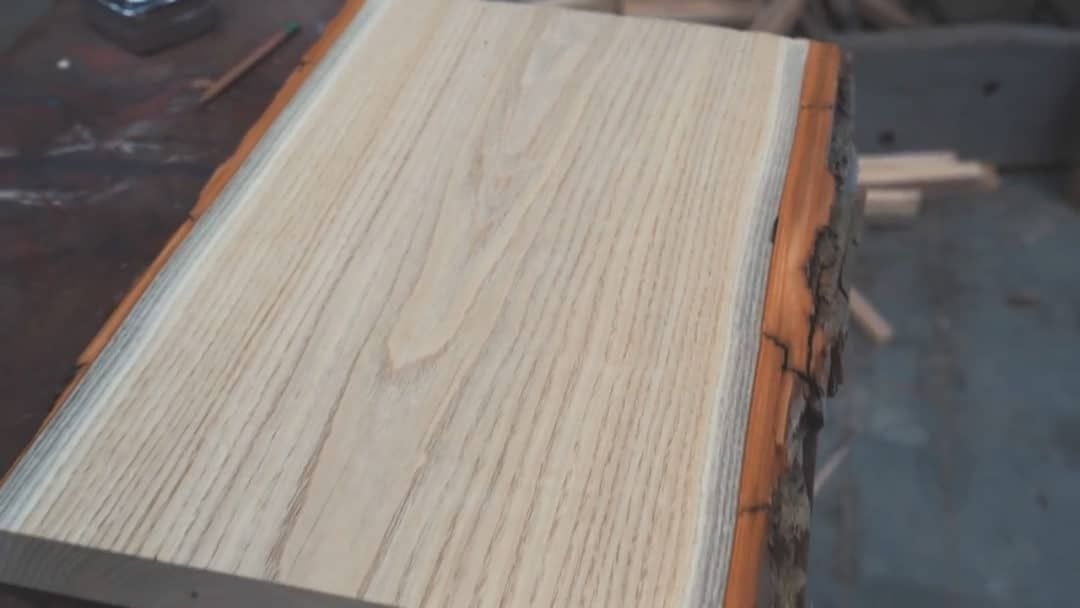
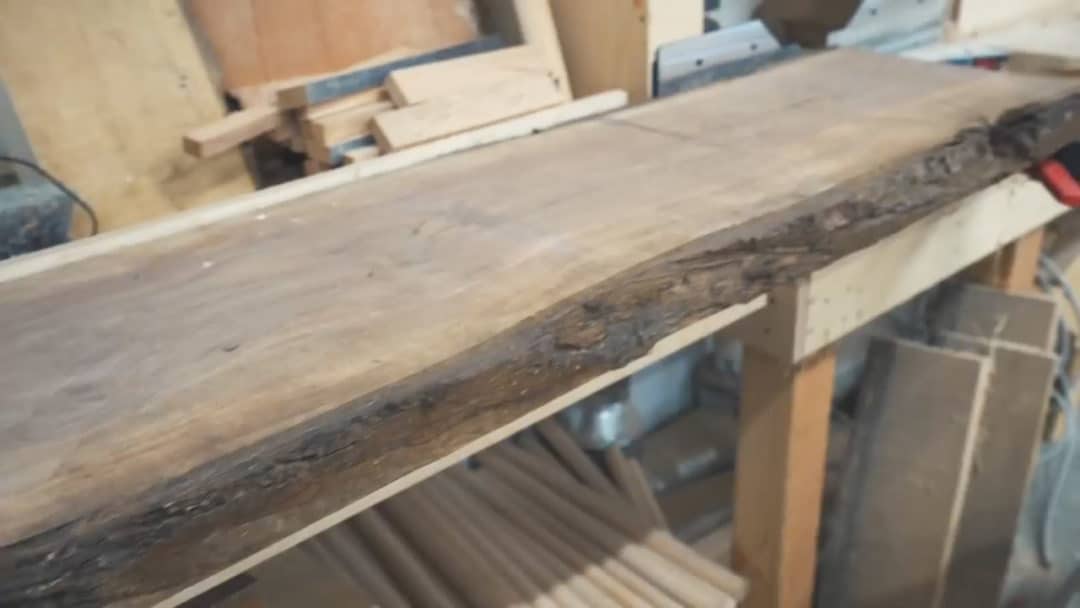
We started off at the lathe, turning the spindles for the legs and stretchers. I’ve only turned a handful of times so Greg gave me a run down by making one part then I tried my best to replicate it twice more.
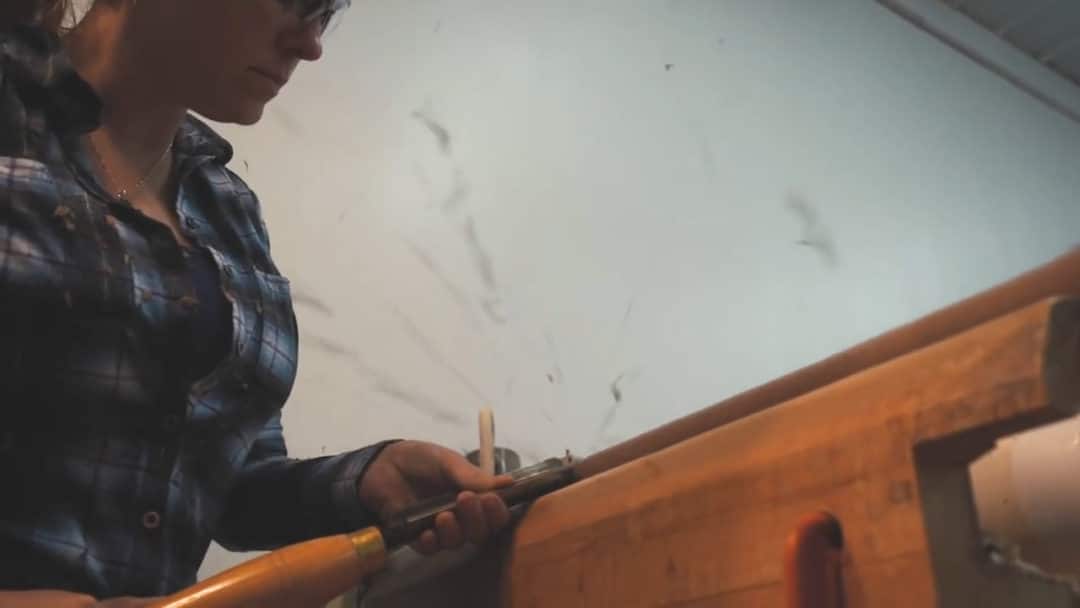
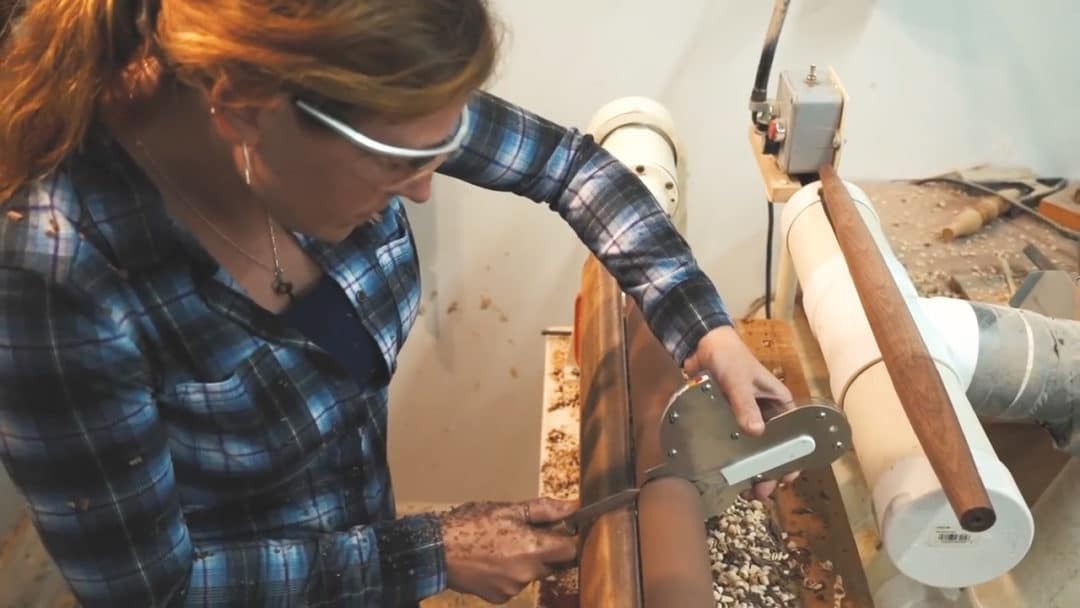
While I was working on my perch, Jenny was working on her build which was a continuous arm chair.
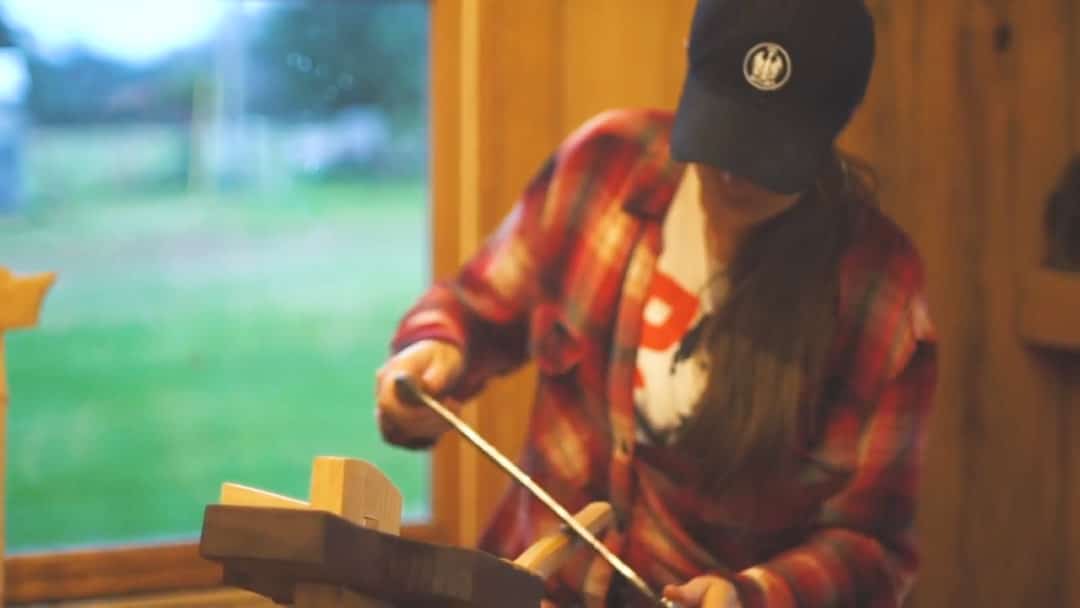
And Anne started hers, which is a miniature continuous arm chair.
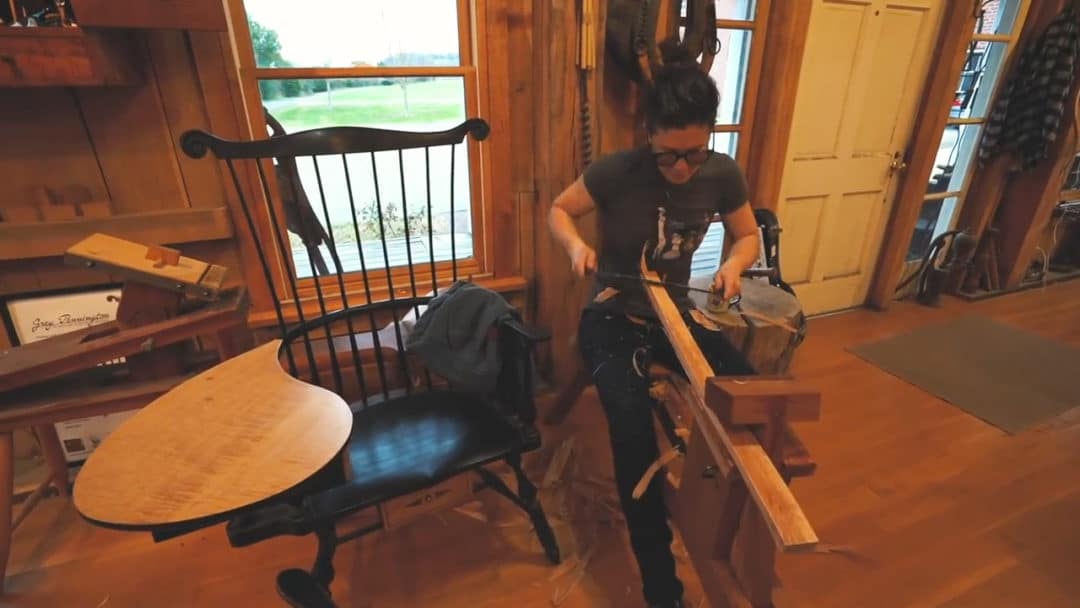
Greg has a neat set up here (neat is actually an understatement). He has the best shop I’ve set foot in so far. It’s one of those spaces where you walk in and you don’t want to leave. He built the entire thing himself over the course of a summer by ordering a trailer full of trees, milling them up, and now he gives classes on building a wide variety of chairs.
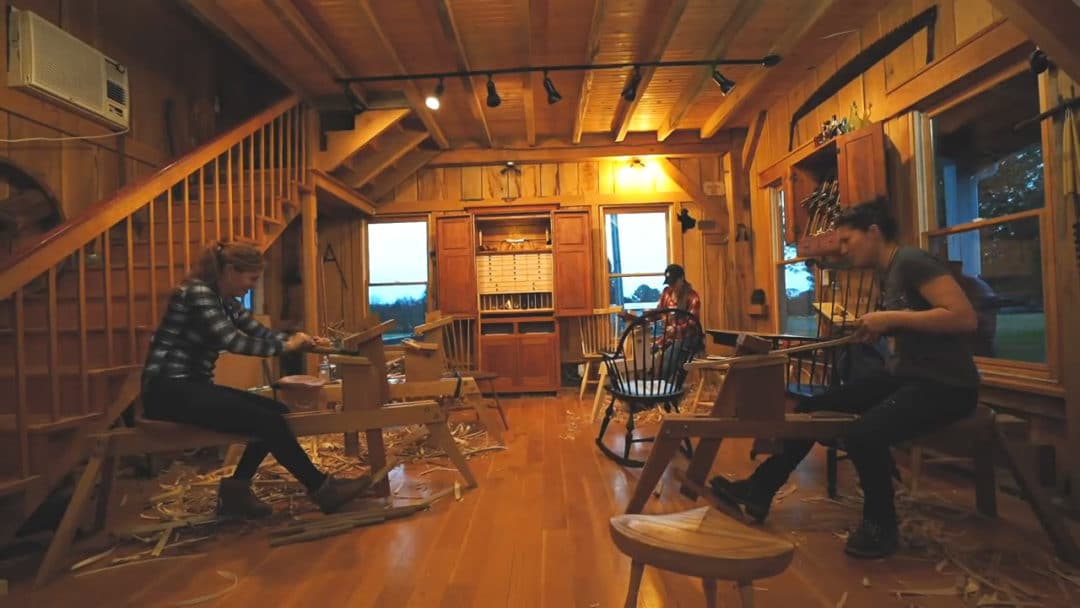
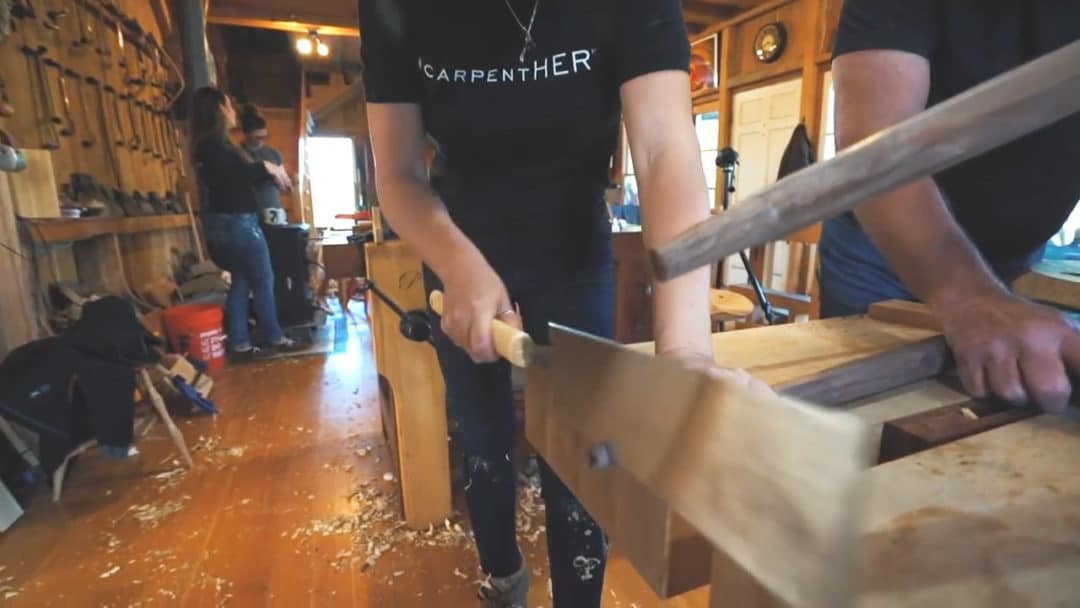
Once I had my spindles turned I moved to the main work area and joined the ladies on the shave horses where I could start adding facets to my spindles.
One chair I absolutely loved in Greg’s shop is called the Democrat chair.
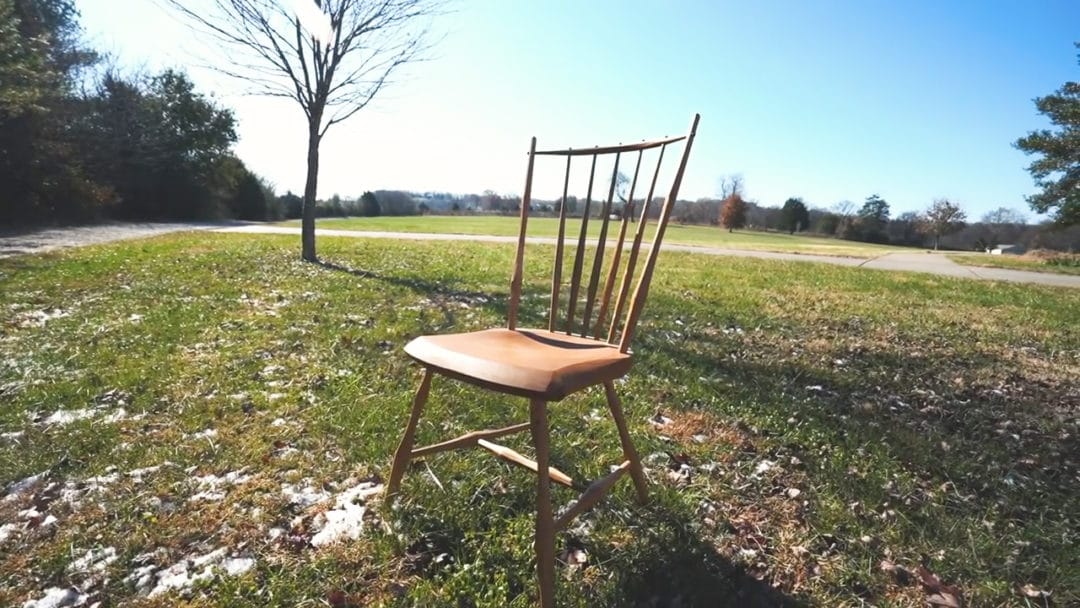
It caught my eye because instead of smooth turned surfaces, every part was faceted and the overall competed look is stunning in my opinion.
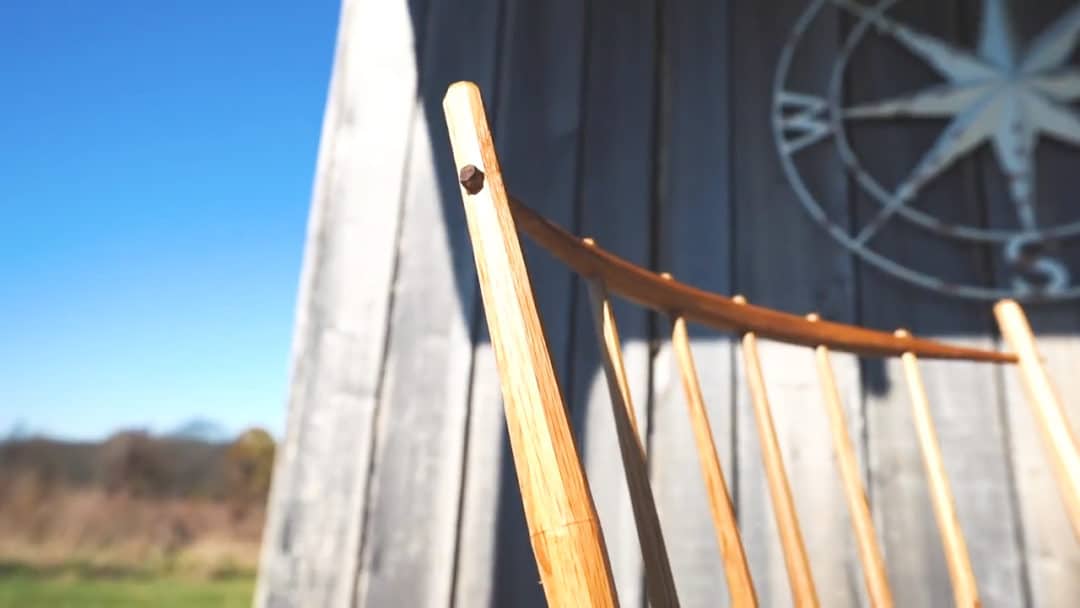
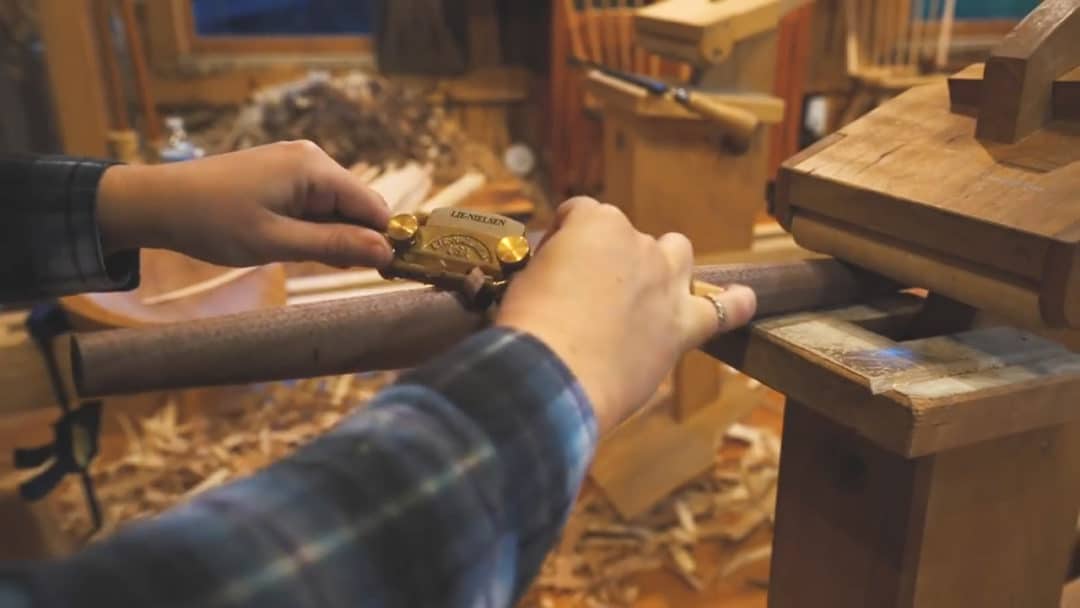
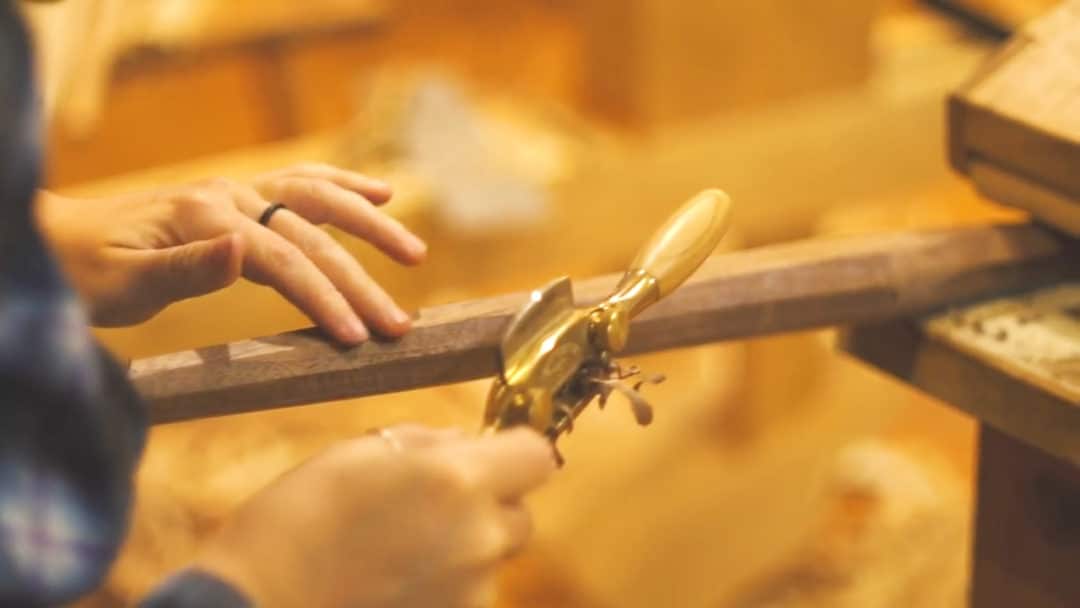
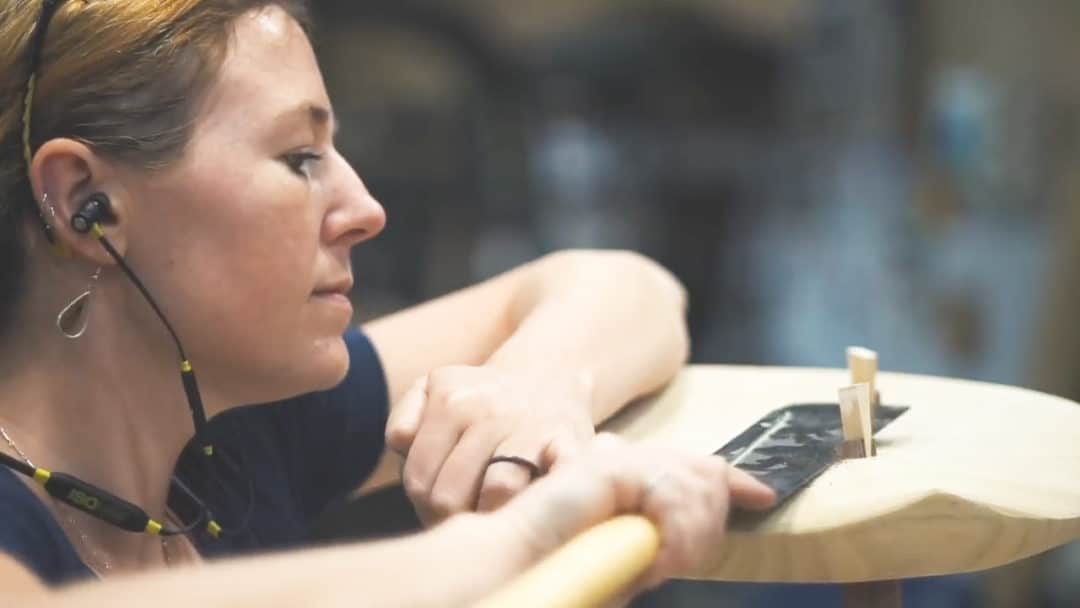
So I asked Greg if we could do the perch with a Democrated twist. This meant taking each spindle and cutting in 8 flat sides on them with a spokeshave.
With those done, next I moved on to the seat…… the Sassafras seat. We first started out by drilling holes that the legs will later be inserted into. And this is so cool! These holes are drilled at a compound angle and Greg has come up with this genius way of making sure the drill is cocked correctly where he made two stands that holds lasers.
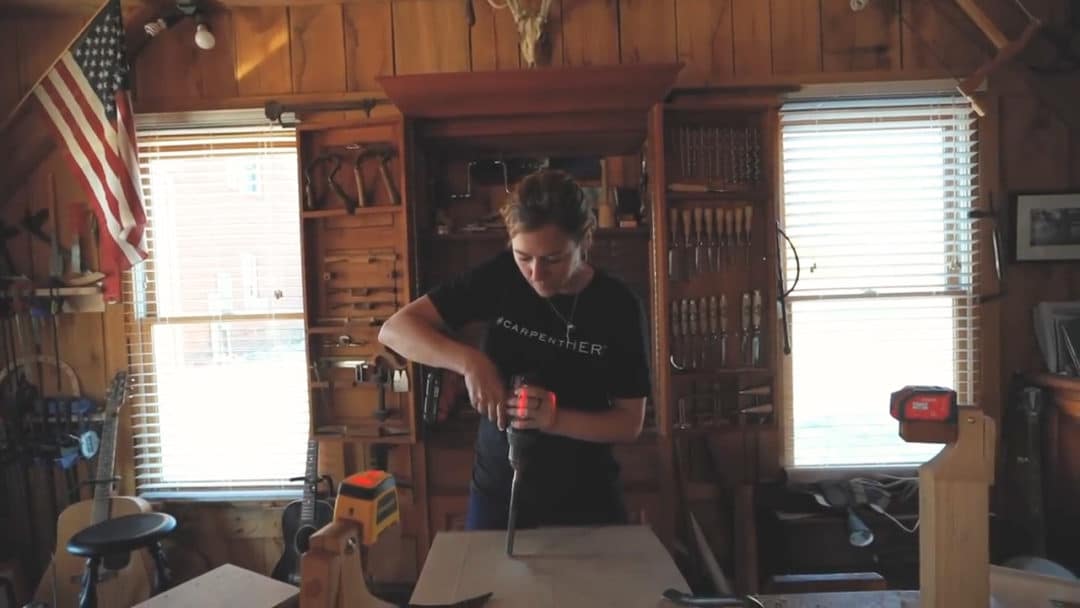
The lasers can be set to the needed angles, then once lined up to the hole properly, it creates crosshairs which you can watch as you are punching the hole. Tell me that’s not cool.
With the holes drilled, Greg showed me another cool tool that cuts the end of the tenon on the spindle to be the exact size and angle needed for the hole in the seat.
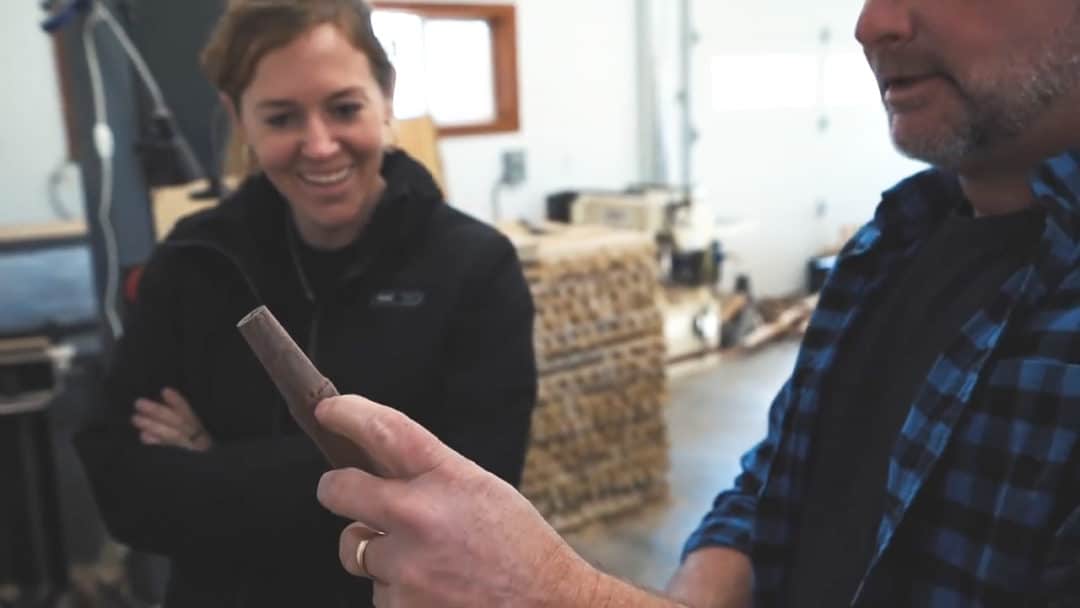
It’s basically an oversize pencil sharpener.
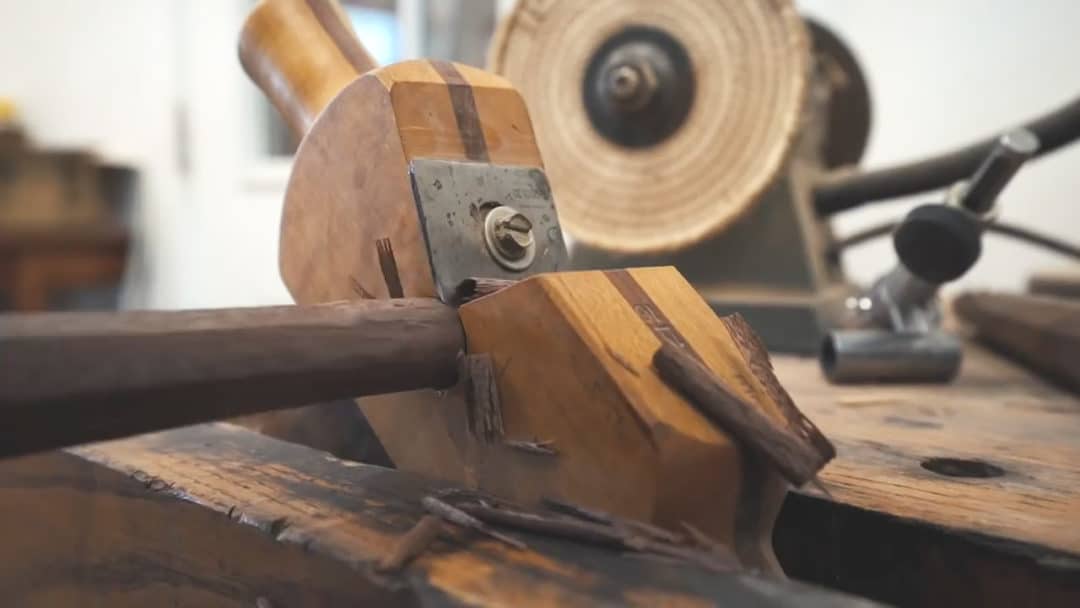
Then it was back inside to ream out the drilled holes in the seat to be the perfect angle and size as well. This is done with the two laser set up again so you know you’re maintaining the right compound angle.
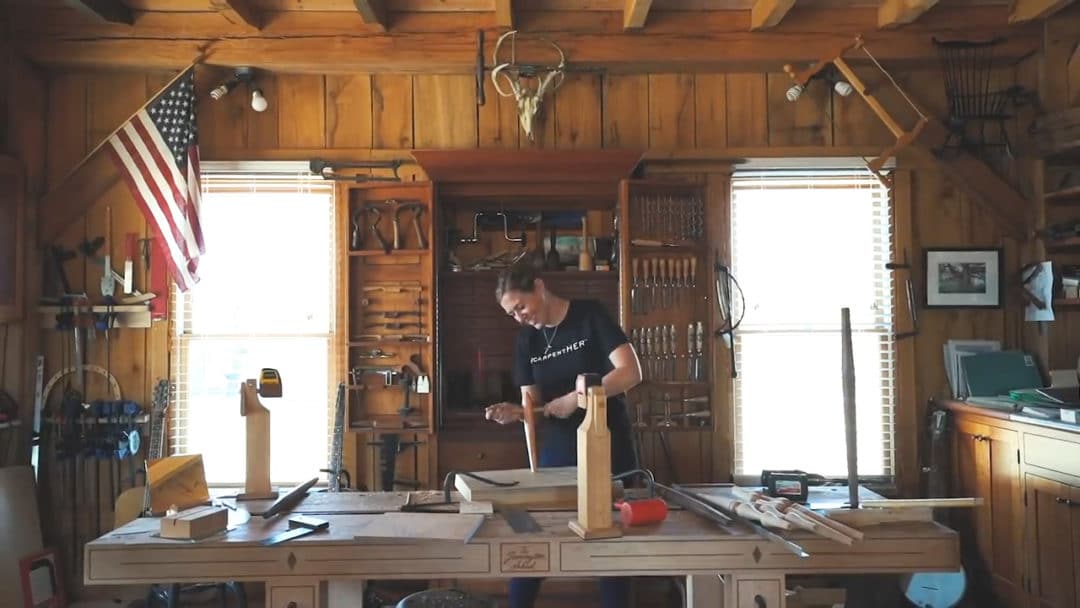
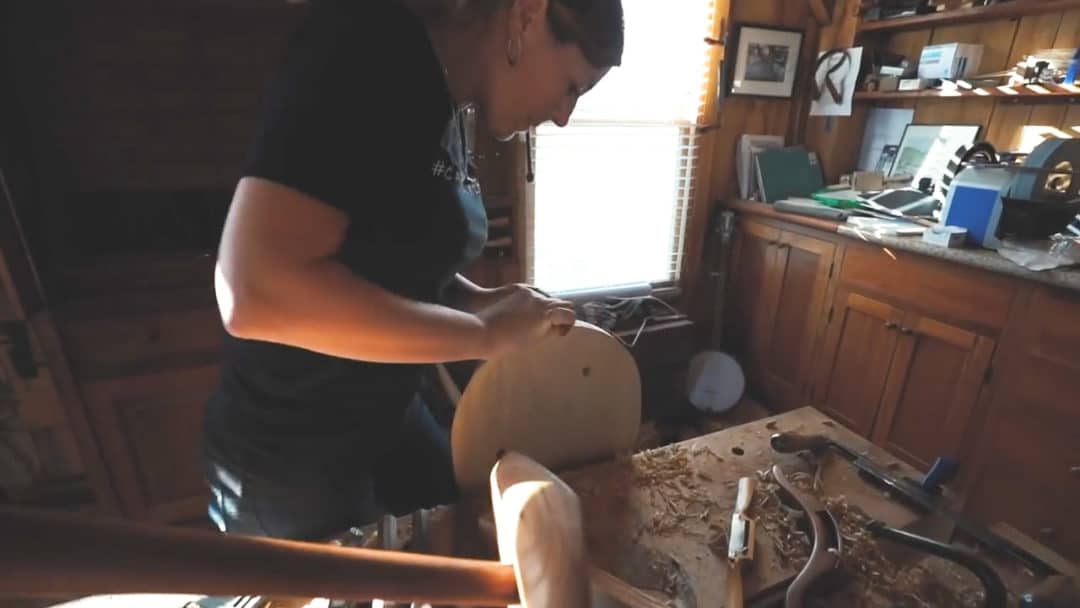
Next was to start carving the seat which was my favorite part of the entire process. It’s just so neat watching the shape take place. My love for sassafras did wane a tad bit here because it turns out, even green, it’s pretty darn hard. So I was really giving my forearms a workout.
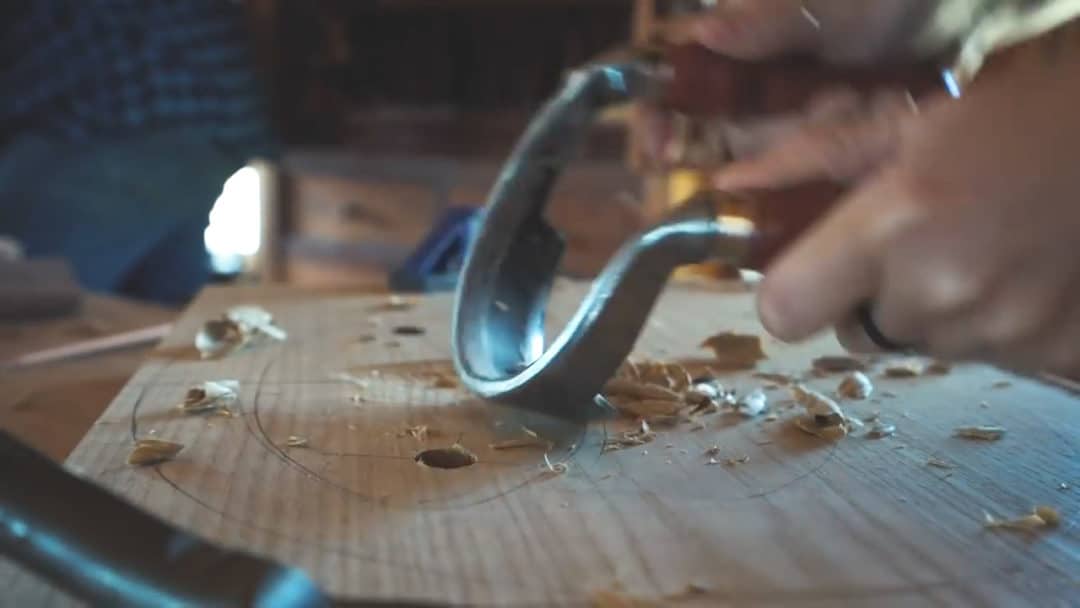
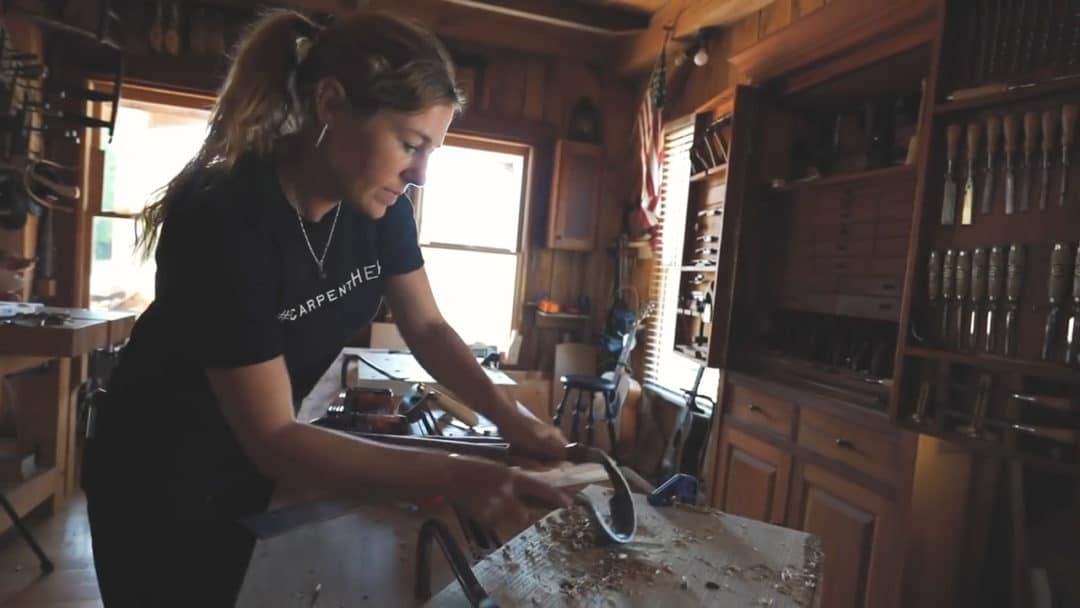
I used a large assortment of Greg’s tools, a lot of them for the first time, and slowly but surely started getting a seat shape.
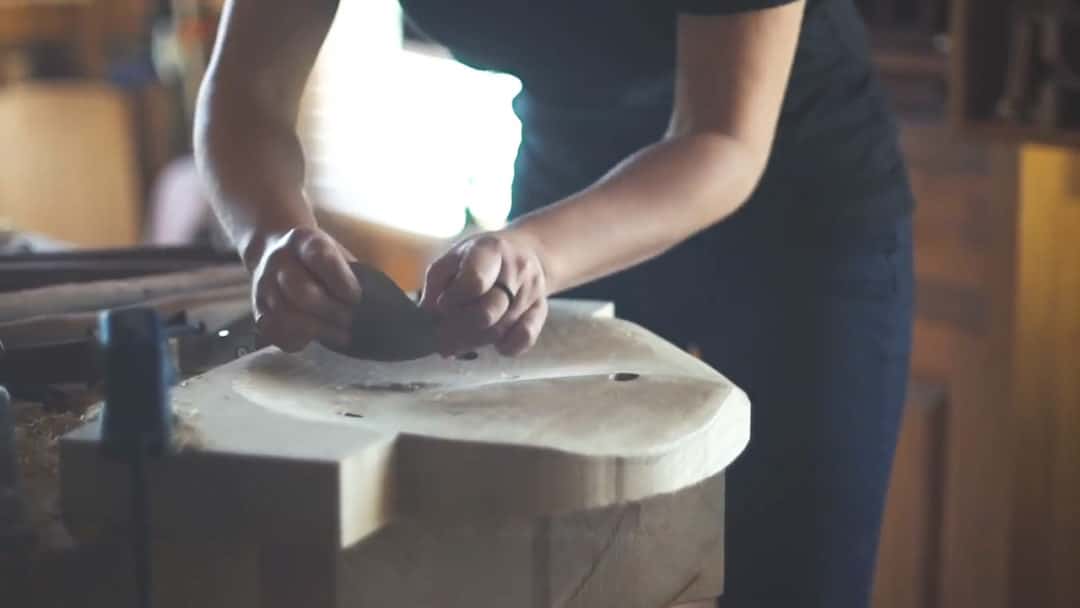
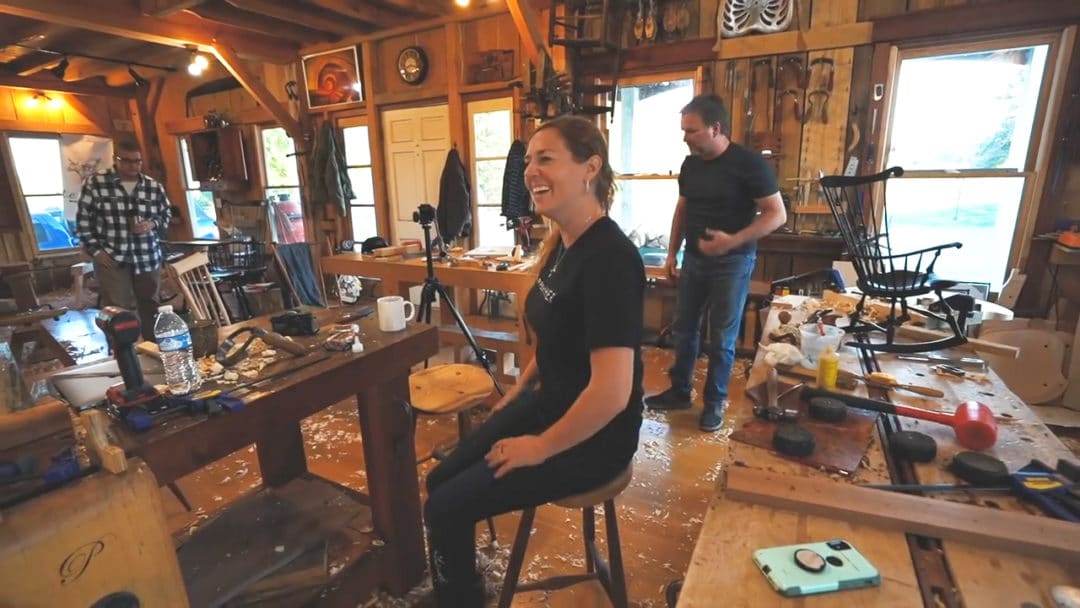
I honestly didn’t mind the time it took though. I was not only enjoying learning all the new tools and technique from Greg, but also the constant chatting and laughing with Anne and Jenny as they were making progress on their own chairs.
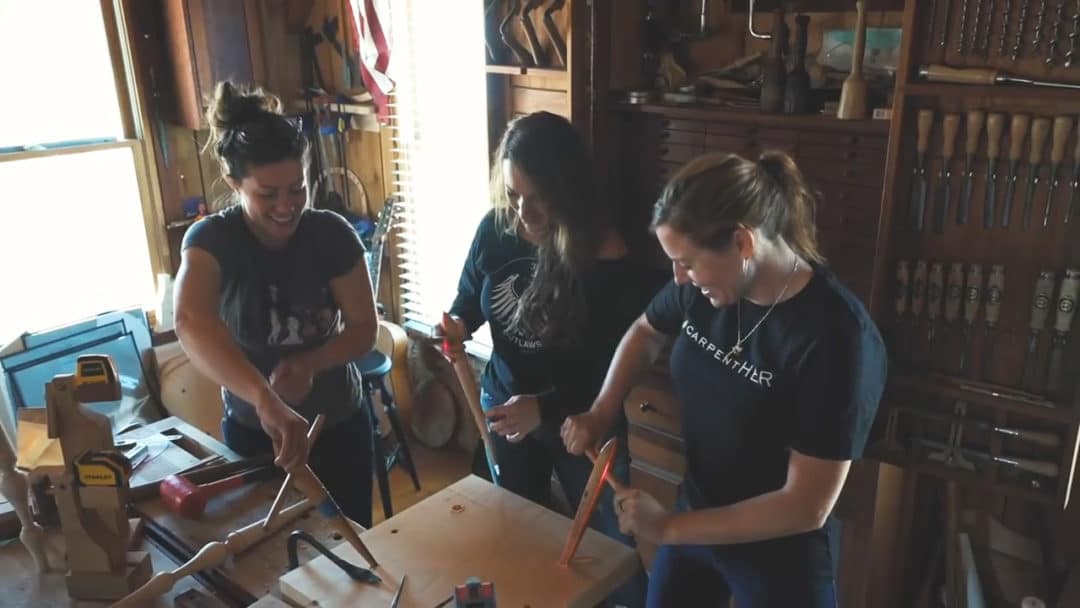
Thats the great thing about making things with only handtools, we can all work in the same room but also be talking.
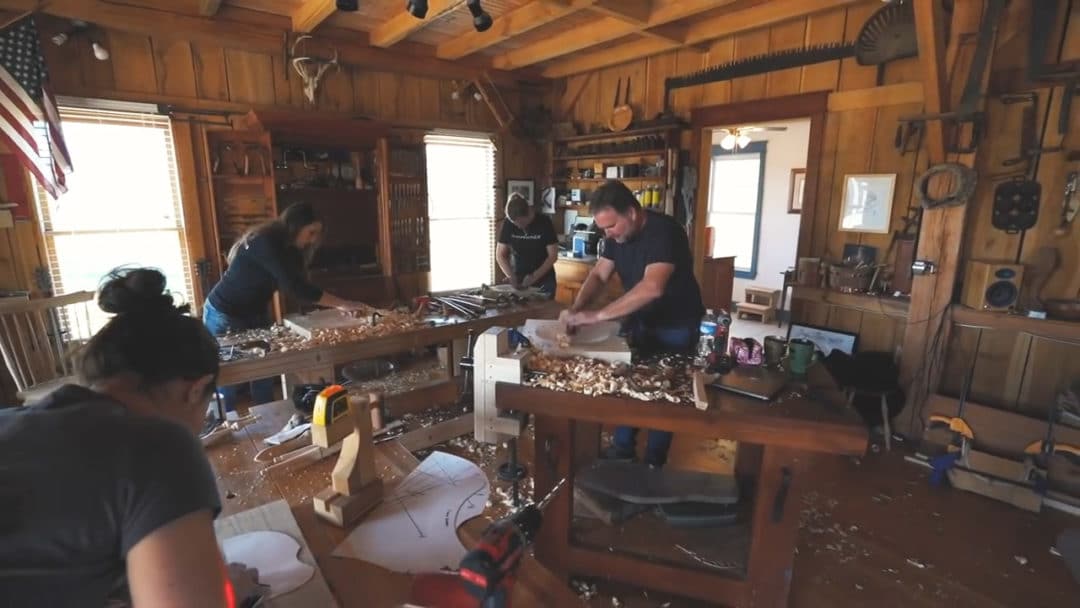
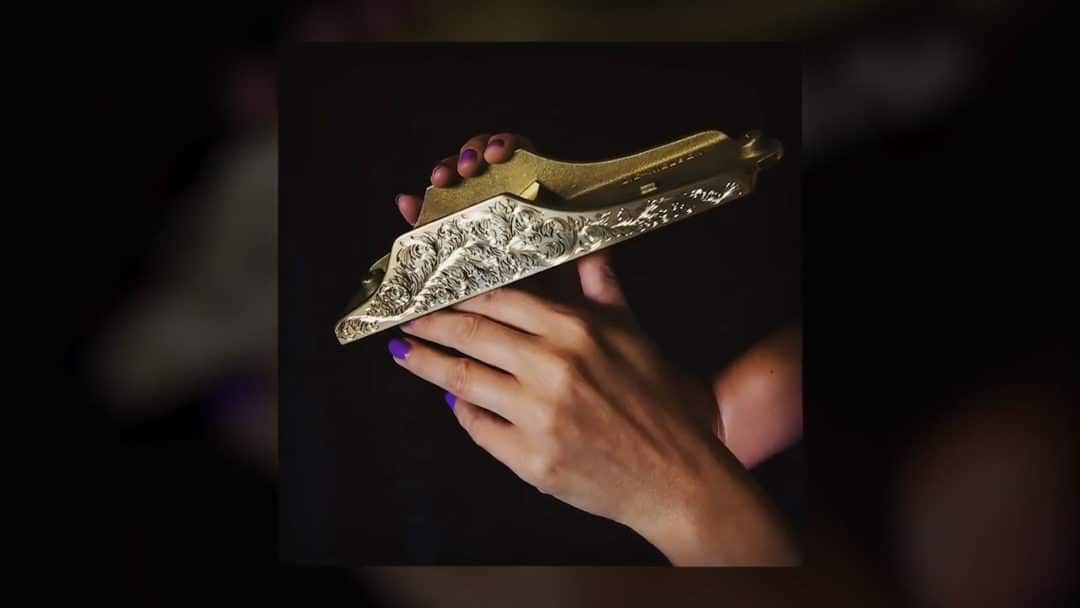
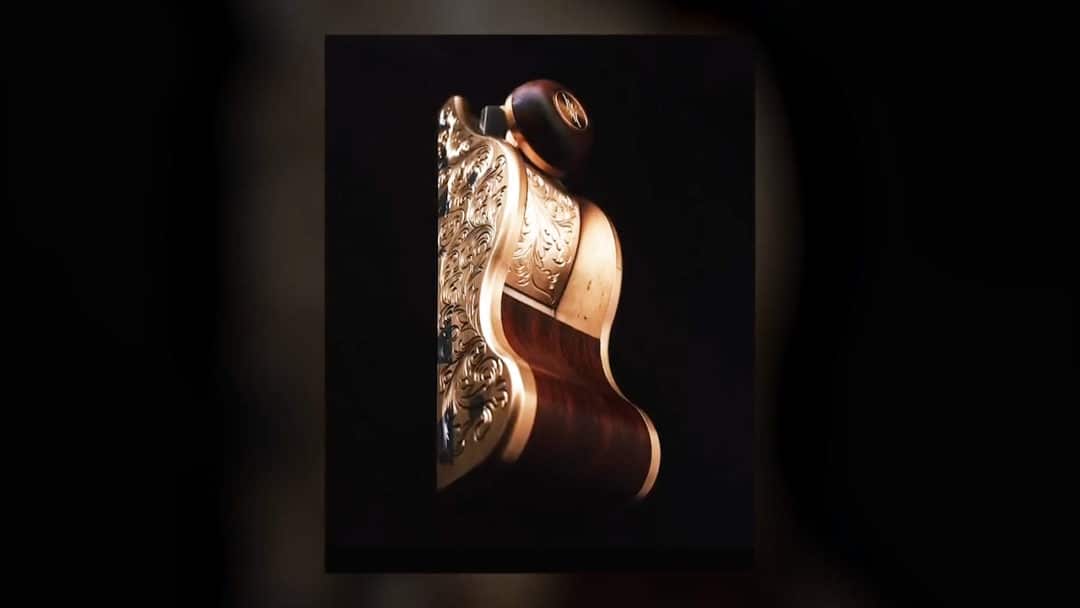
Jenny was on the same bench as me, working on her own seat and doing great. Especially considering this was a little bit outside of her comfort zone as she focuses on being an engraver and not a woodworker. As I mentioned earlier, she is a fabulous hand engraver who takes all sorts of custom items and puts them on a new level with her artwork.
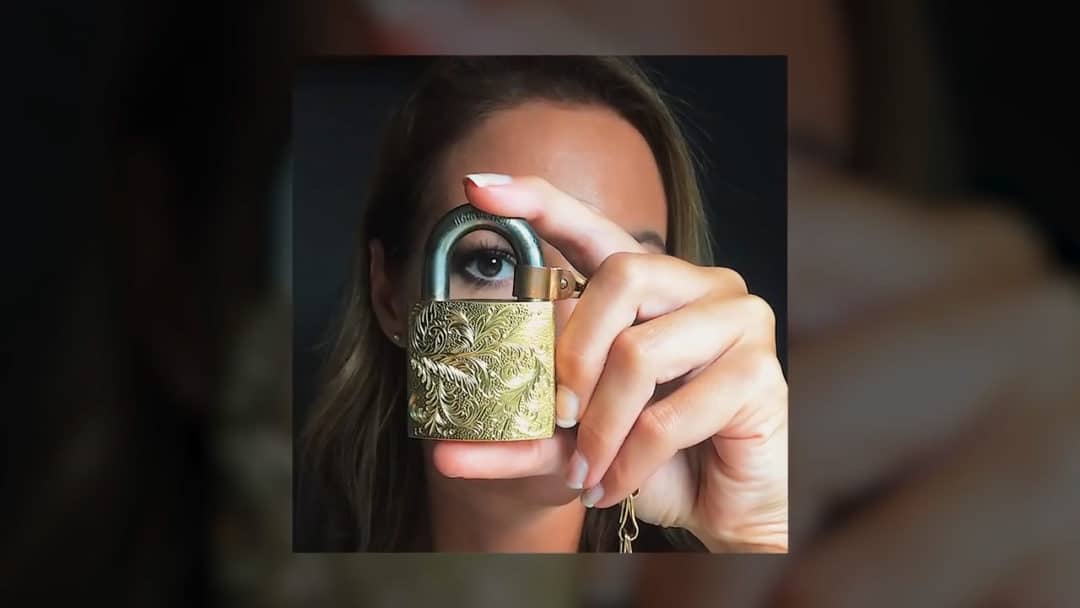
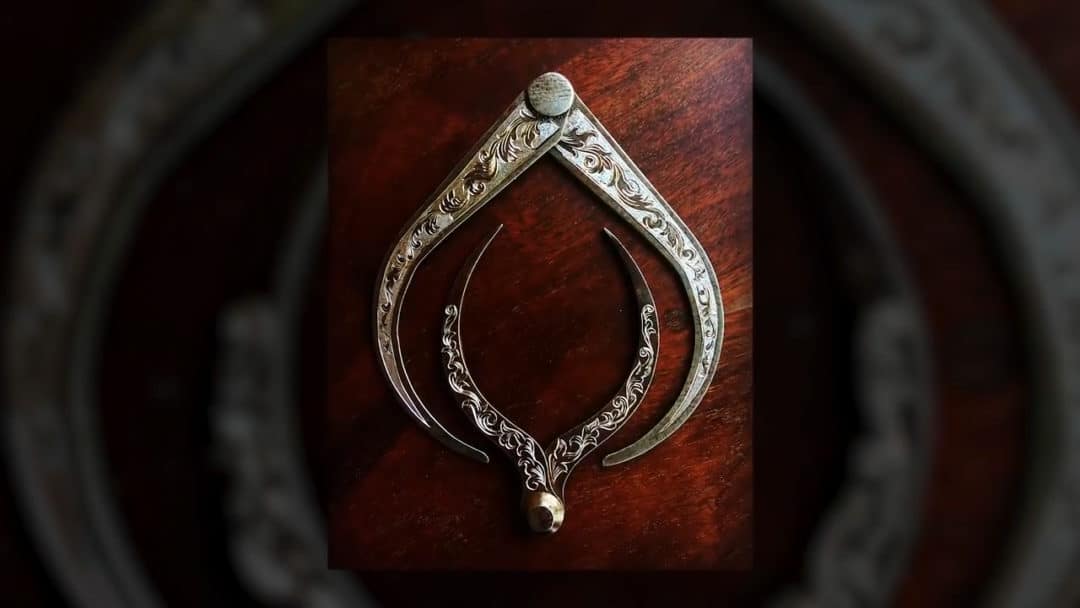
In fact, she did a hand plane for Greg and actually got to use it during the making of her own chair.
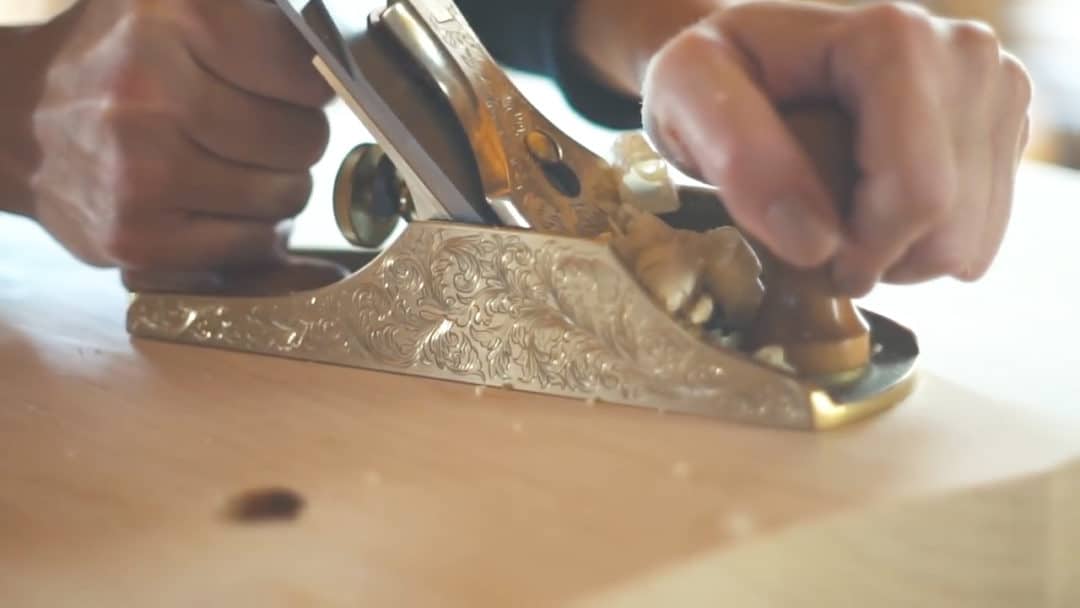
Then Anne. Her miniature is so fun. You might think it’s less work because of it’s size but it isn’t. All the same steps are still required, it’s just at a different scale. If you don’t know, Anne has a farm and a ton of animals and she can’t wait to put one of her baby rabbits in her adorable chair, although I personally think a chicken would also be cute.
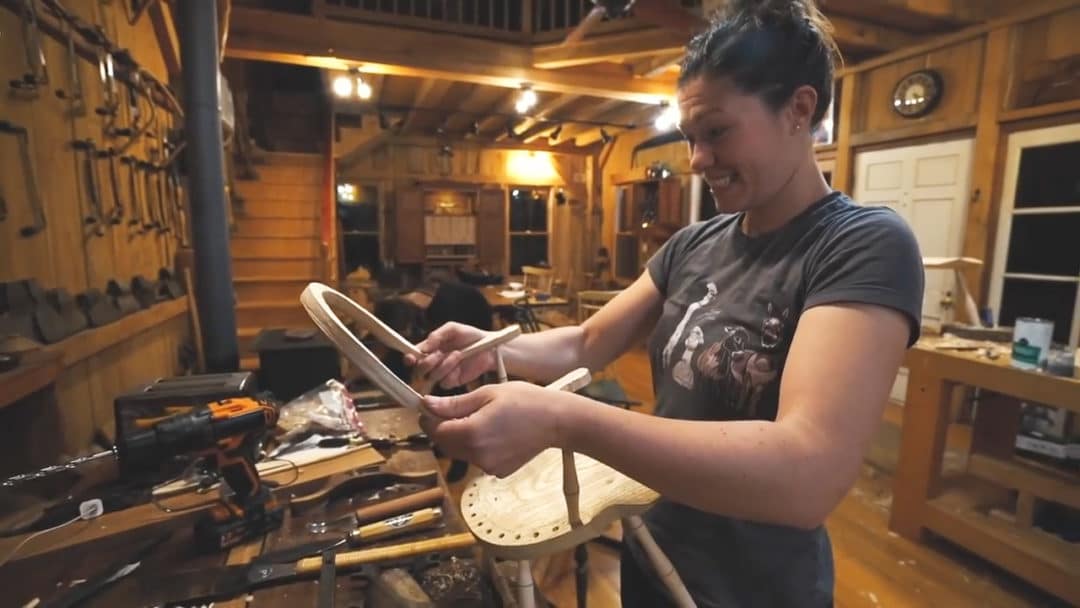
I’ll tell you this much, whether you’re as experienced as Anne, intermediate like me, or sort of new like Jenny, this is a wonderful class to take and shop to be in. Greg teaches people from the ground up if needed and checks in to make sure you will come away with a treasure. It was not only relaxing and so fun but I was learning things left and right, little tricks that to me are little gold nuggets.
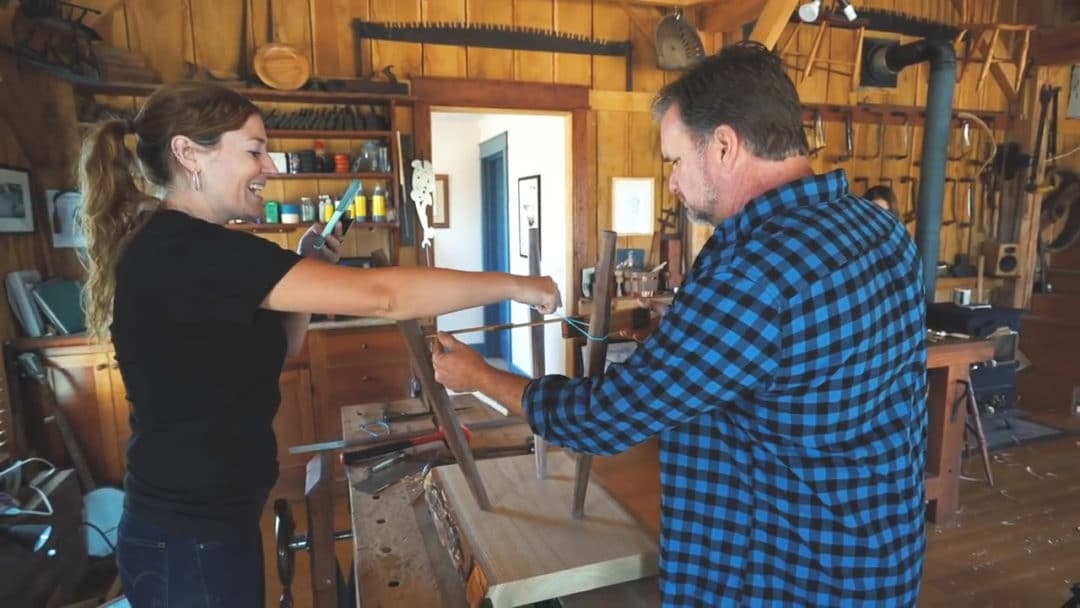
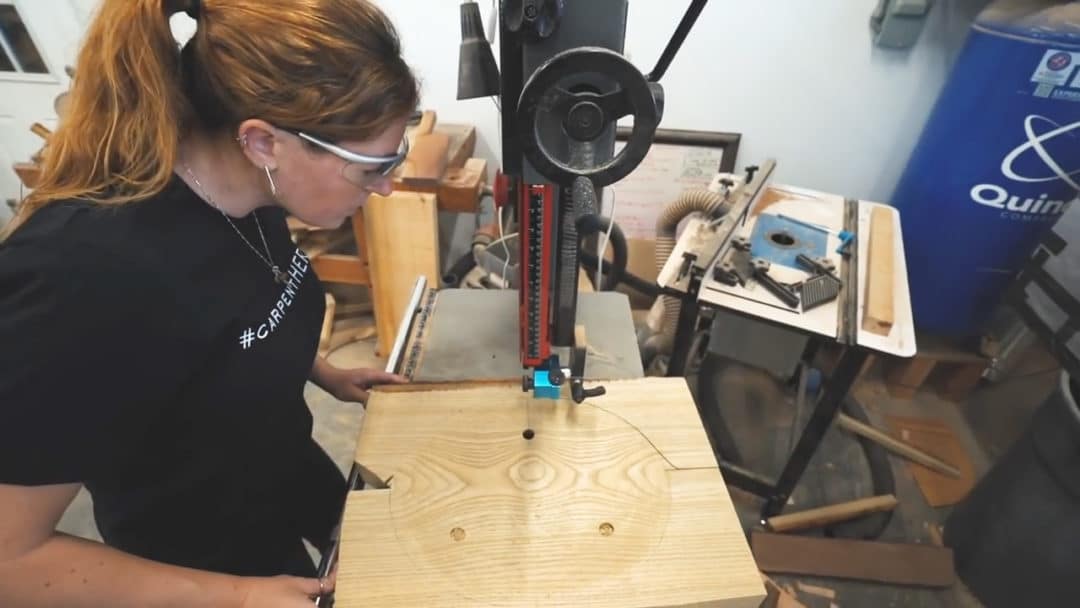
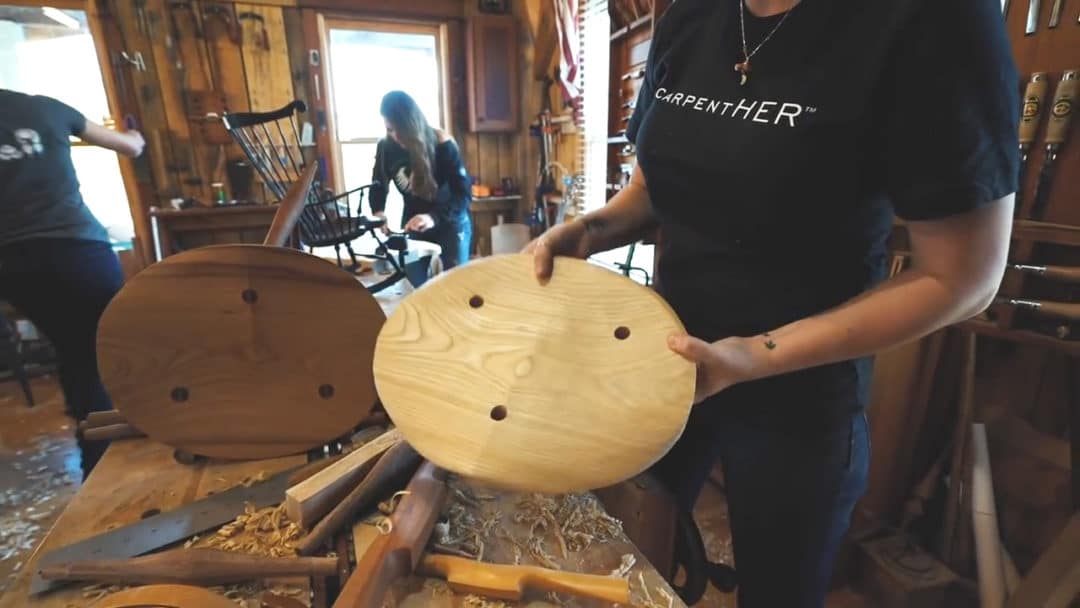
Ok with the seat done, I was apparently on to drilling holes in the legs for the stretchers. Little bit of a nerve wracking step, hence my look of concentration…but it went off without a hitch.
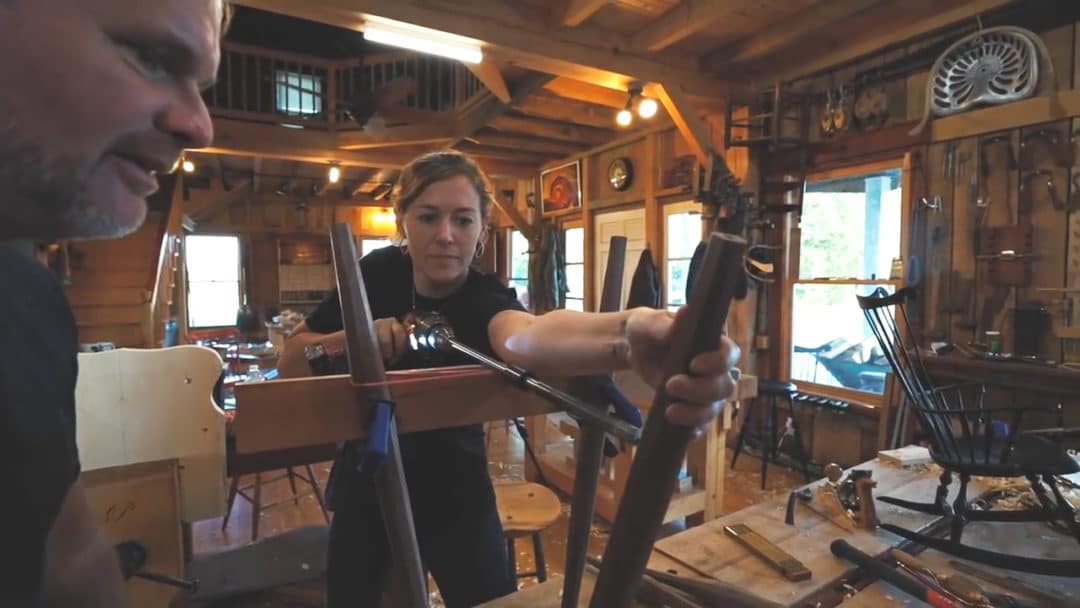
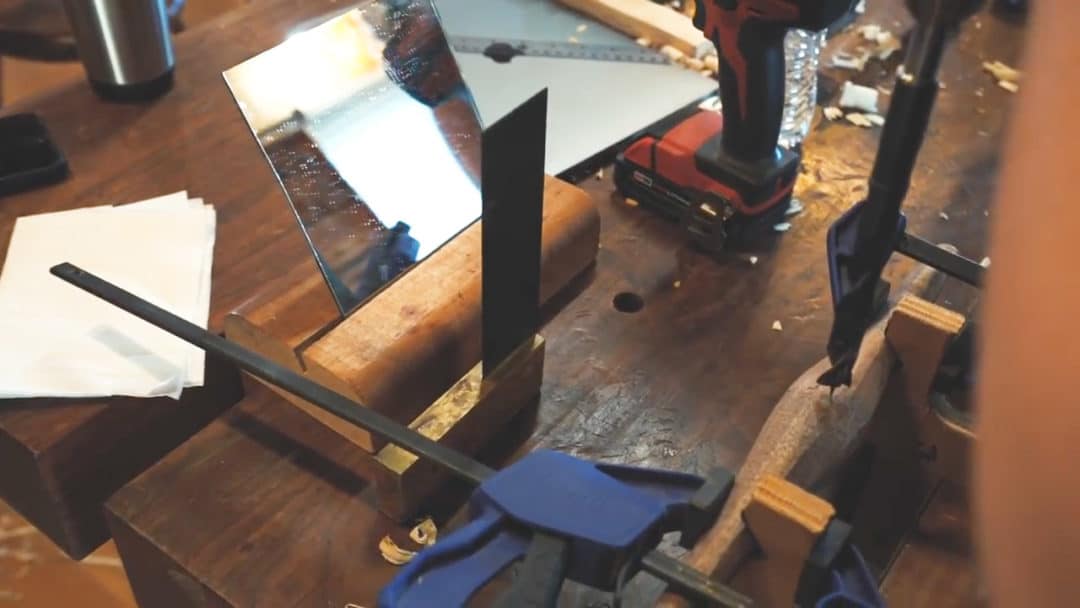
When it came time to drill the hole in the spindle, Greg set up this really genius jig to hold the spindle, as well as utilize mirrors to make sure the drill was going in straight. That man is so awesome.
So now it was time for assembly but I had about two hours before I had to jet off to the airport and fly back to Texas. So Greg suggested we only glue up two legs to a stretcher, dry fit the rest, and that way I could flat pack it enough for me to carry on the plane. So that’s what we did.
I applied hide glue, which is able to be cleaned up with water but is also reversible should you ever need to take the piece of furniture apart and repair it or refinish it.
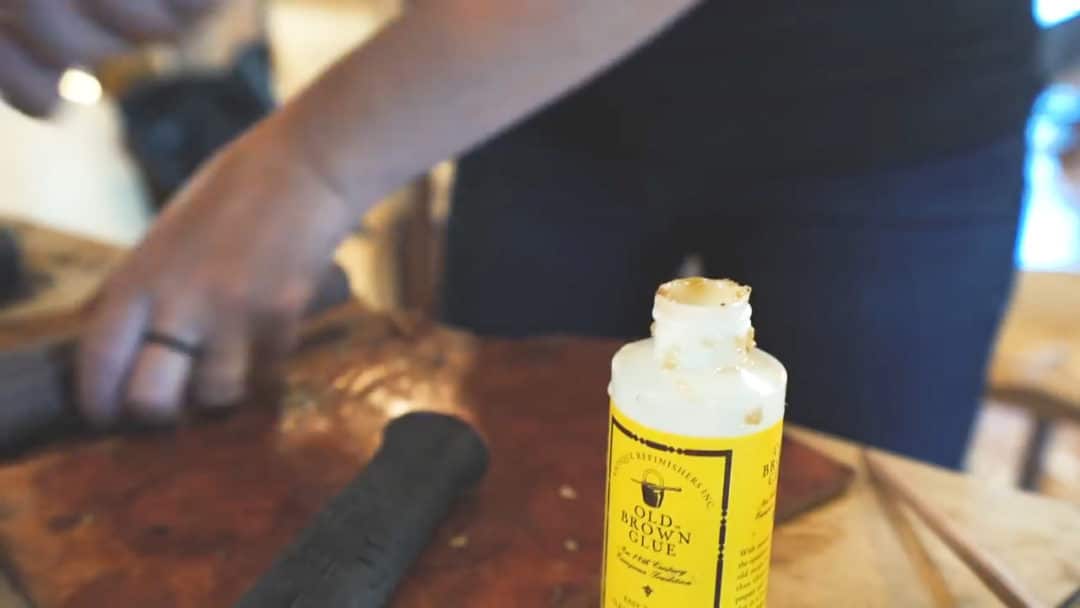
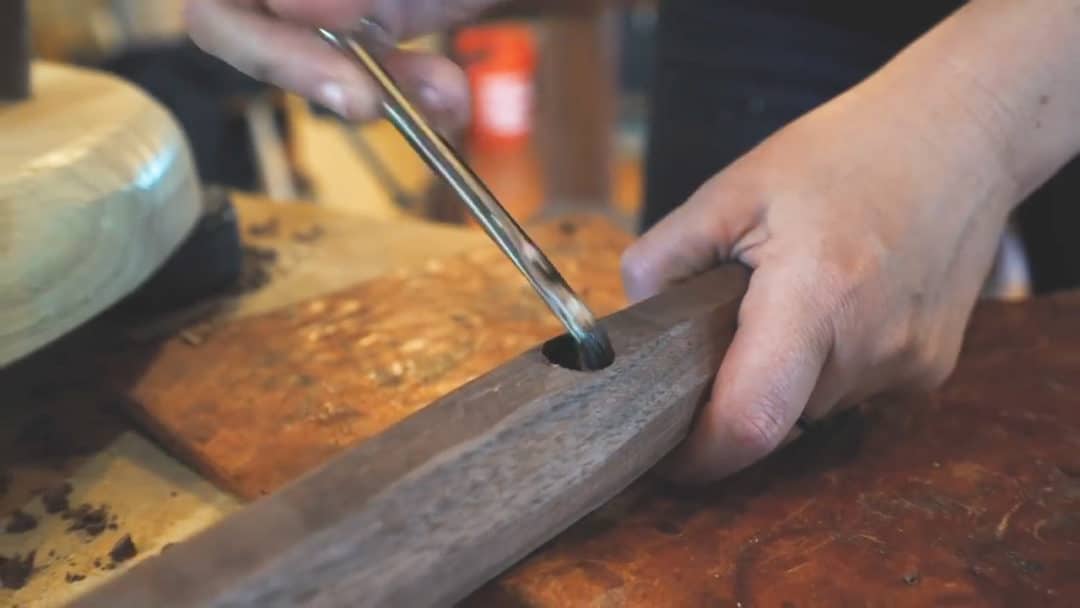
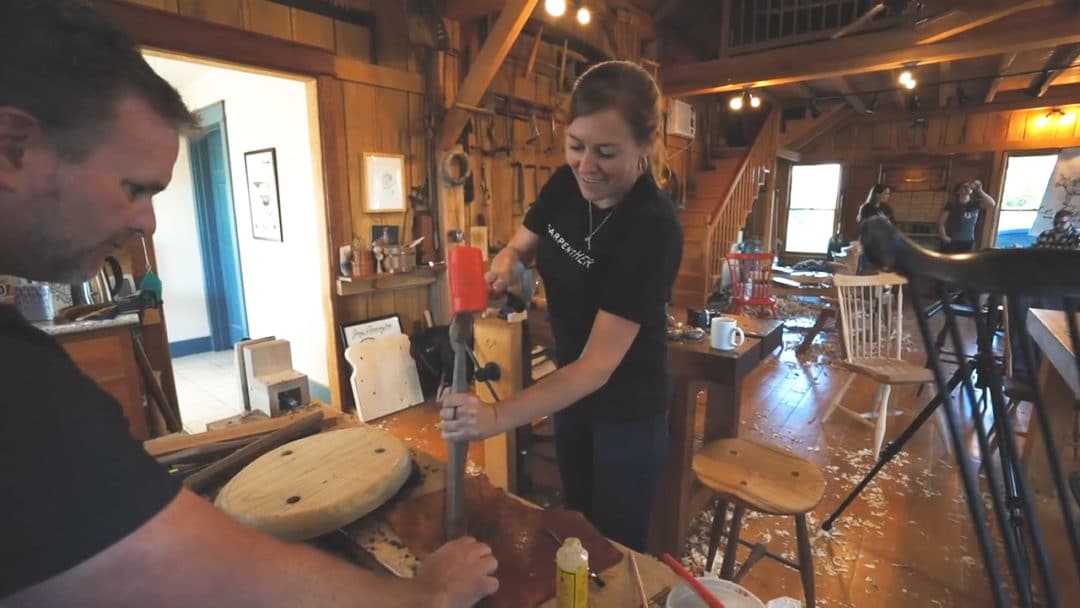
Then everything else was a simple dry fit.
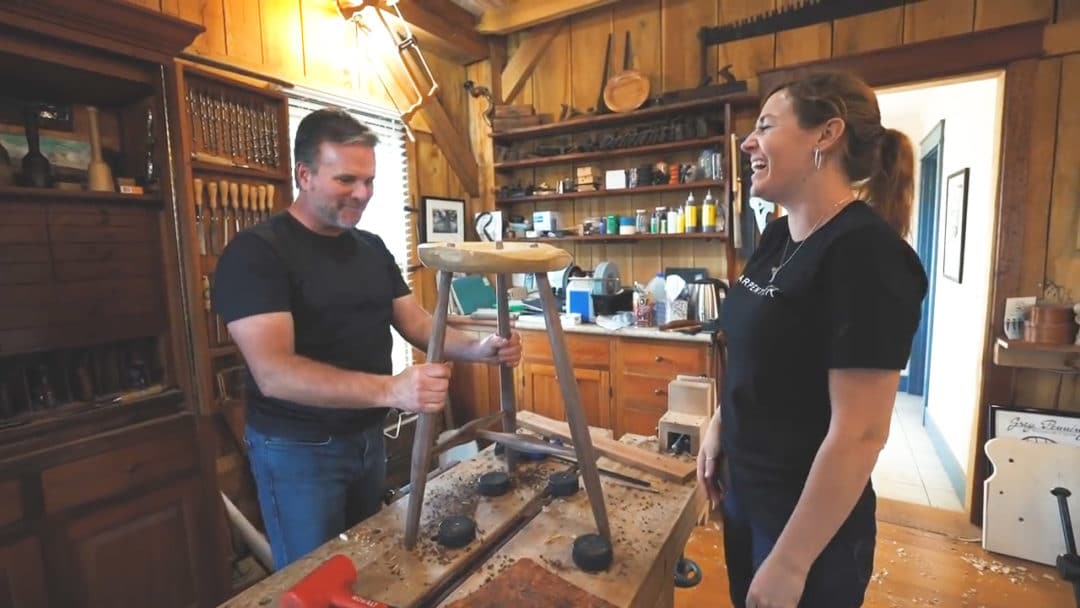
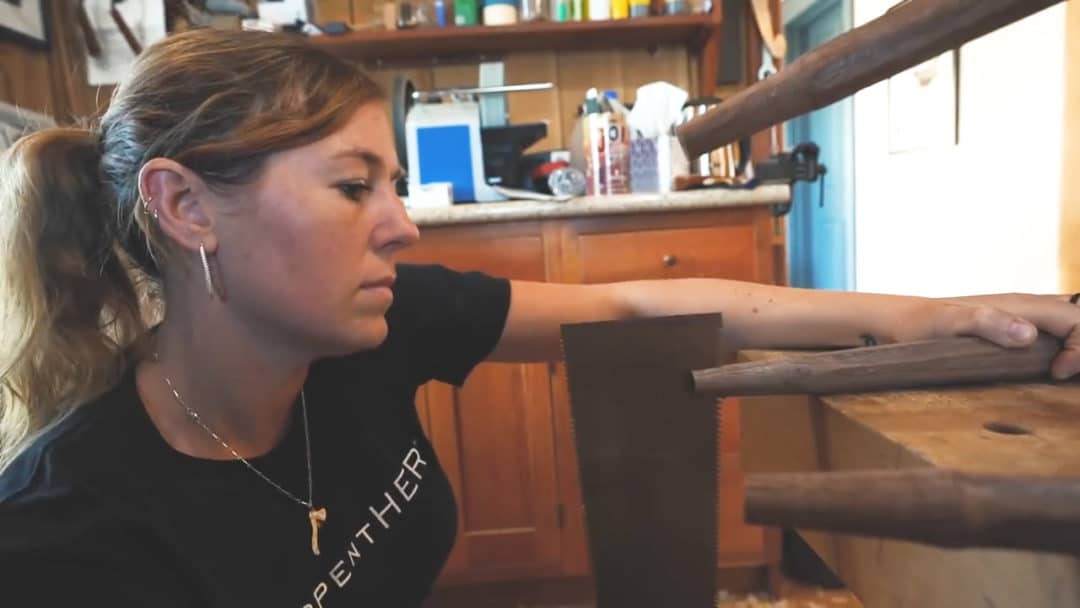
This allowed us to not only see the stool complete but also allowed me to cut in the wedge slots in each one of the tenons, as well as level out the feet. Which meant finding a flat surface, marking each leg, and trimming off the excess.
Ahhh, and now that it was as done as it could get, we all took turns sitting in it. : )
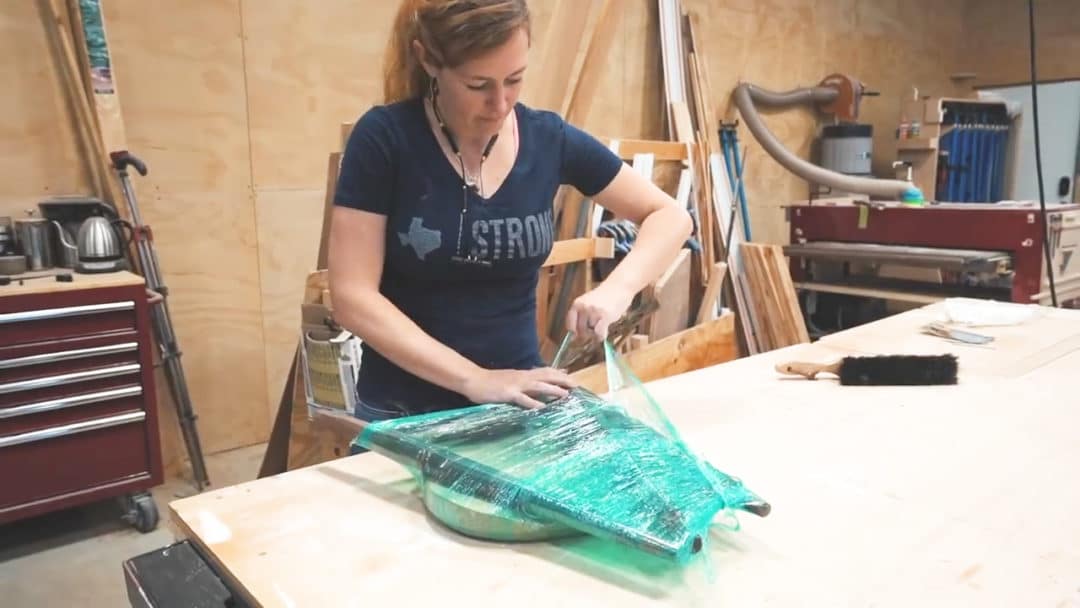
Greg helped me wrap up my parts to be a flat packed, then I tucked it under my arm and went off to the airport. If you want an interesting conversation starter, tote a stool around the airport. TSA and the flight attendants had a few questions for me, but there were no problems with getting it back home.
Once there, I was able to unpackaged it then glue the wedges into the top of the legs.
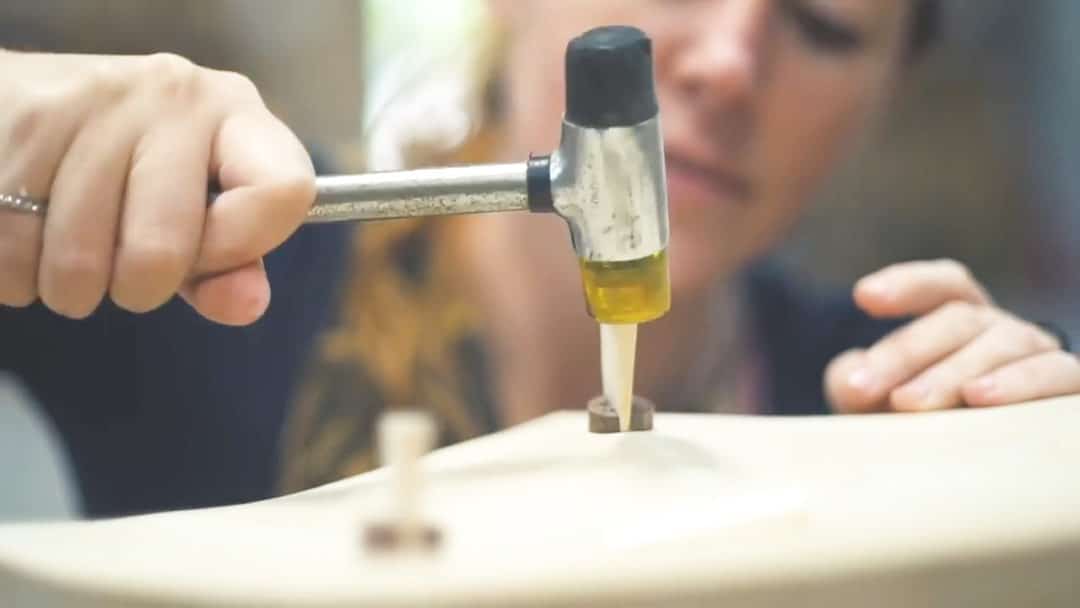
This is interesting to me, because the leg itself isn’t glued into the hole, that’s just a really nice snug fit. This wedge is actually the holding power. When driven in, it spreads the tenon out to expand in the hole even further and keep it in place. After letting the glue set up for a bit, I came back to trim the excess off flush with the seat.
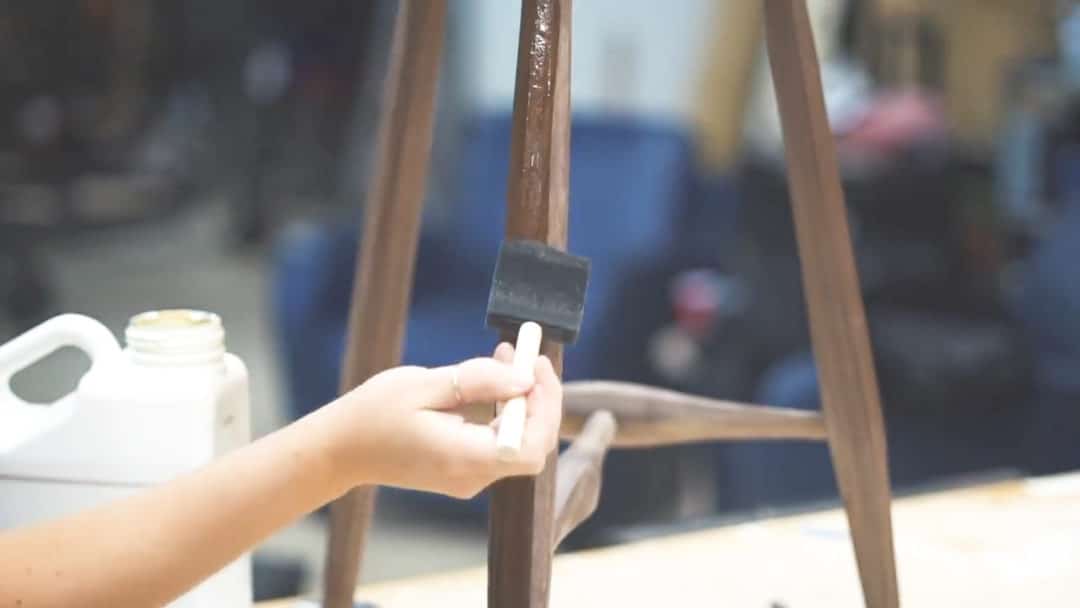
Last thing: applying a finish. Lets start with the walnut because watching it come to life is always the best.
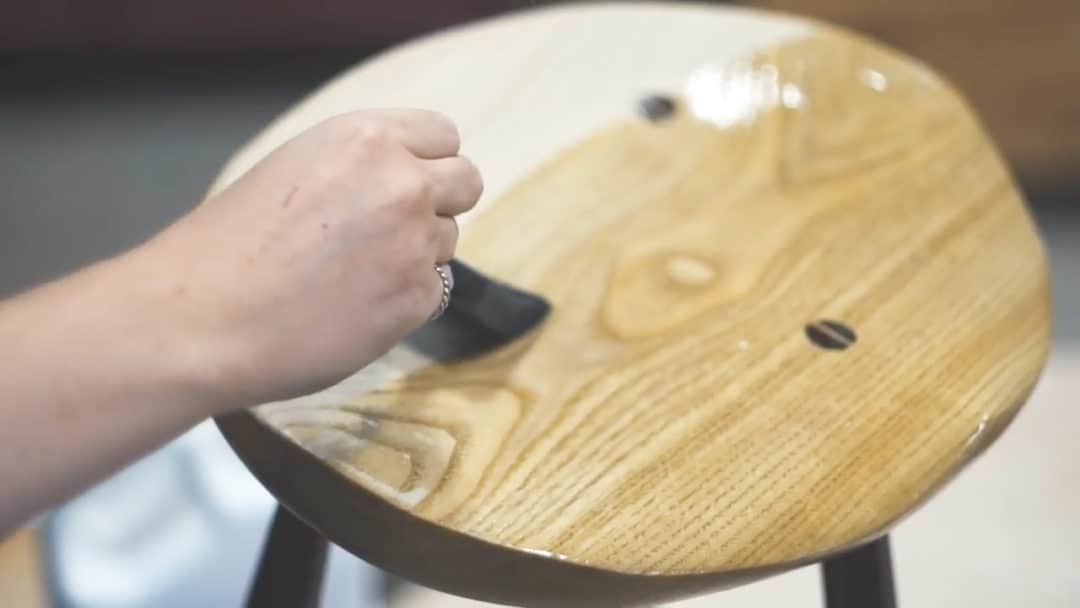
Alright and now Sassafras. For a blonde wood, it sure is pretty. It has an interesting smell to it too….carving it, I was having trouble putting a name to the smell but Greg nailed it when he said Spicy…..it smells spicy. Whew, I love that combination with Walnut. What do y’all think?
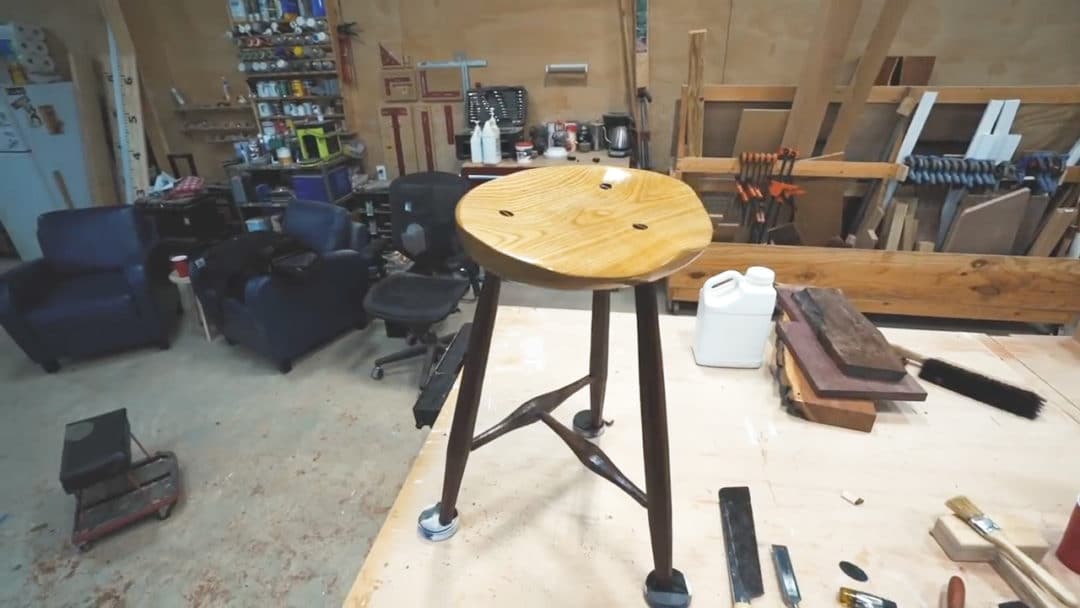
I plan to keep it as a shop stool. I love it so much, I’m thinking I need to start a hand tool collection so that I can make a few more. There was something so satisfying and relaxing cutting in the facets on the spindles and also carving out that seat. I would also like to run through the process again before I forget everything I learned.
Jenny does not make videos but you can find her and her work over on Instagram. Engravers are even more of an endangered species than woodworkers so go support her if you need something amazing engraved.
Anne obviously makes YouTube videos and actually published one on her experience so check out her channel for that.
If you have been wanting to learn how to make a chair but find the process intimidating, I can’t recommend Greg’s classes enough. He is a phenomenal person and an outstanding teacher. I’ve linked to his upcoming class schedule HERE for you to check out.
If you haven’t already, don’t forget to sign up at the top of this page for my newsletter so you don’t miss new projects!
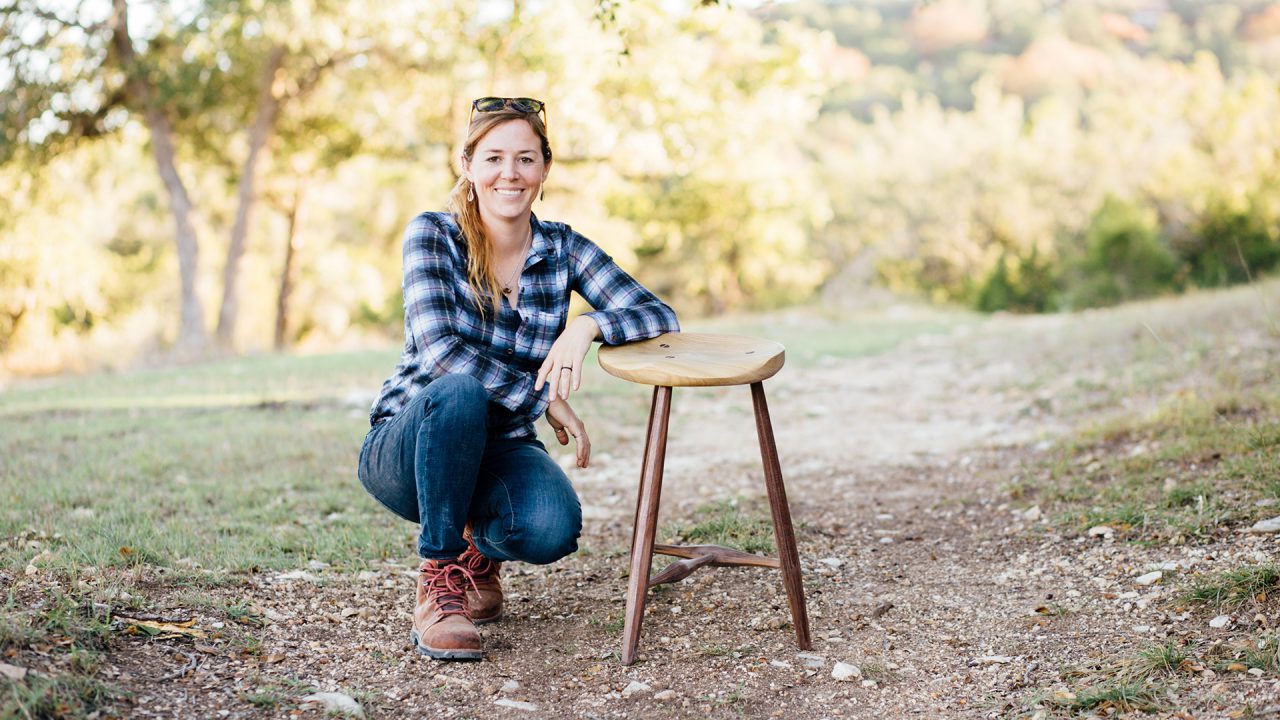
That’s it for this one, I’ll see you soon!