Easy DIY Entryway Table
- Home Decor DIY Projects
- April Wilkerson
- Updated: March 8, 2023
Here is a video showing the build process:
1) I started with making the legs. I grabbed two 2x4s and first ran them through my table saw to cut off the rounded over edges. By doing this, I end up with a 2×4 that has sharp 90 degrees on the edges.
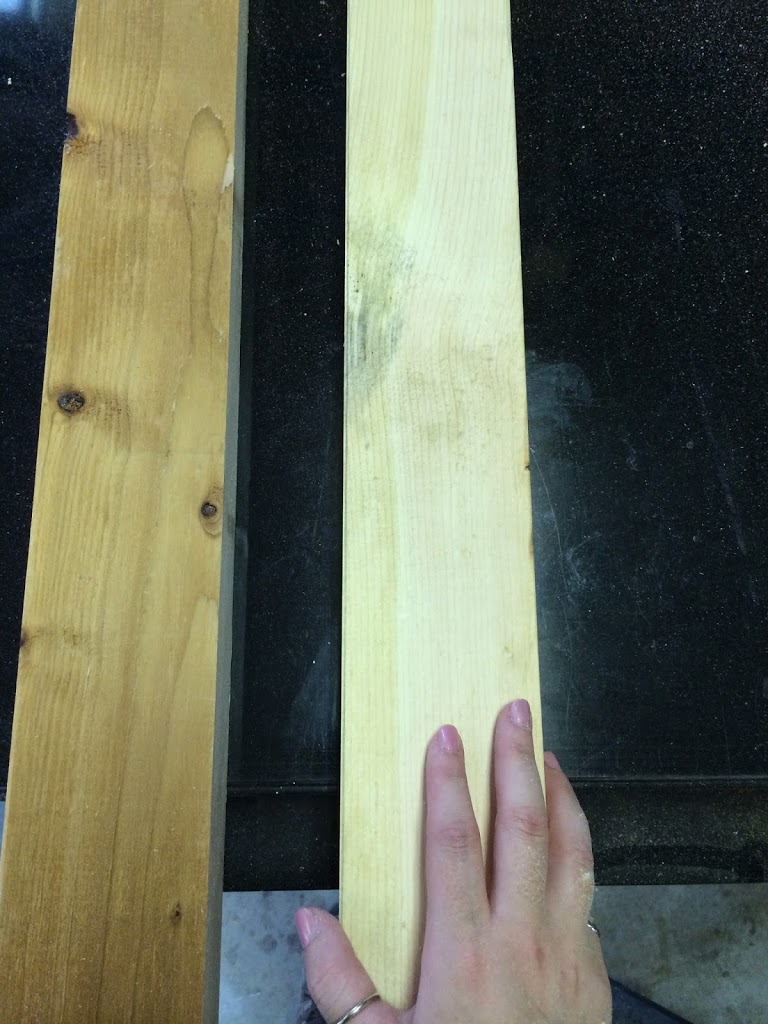
2) Then I once again ran the 2x4s through my table saw to cut the boards directly in half.
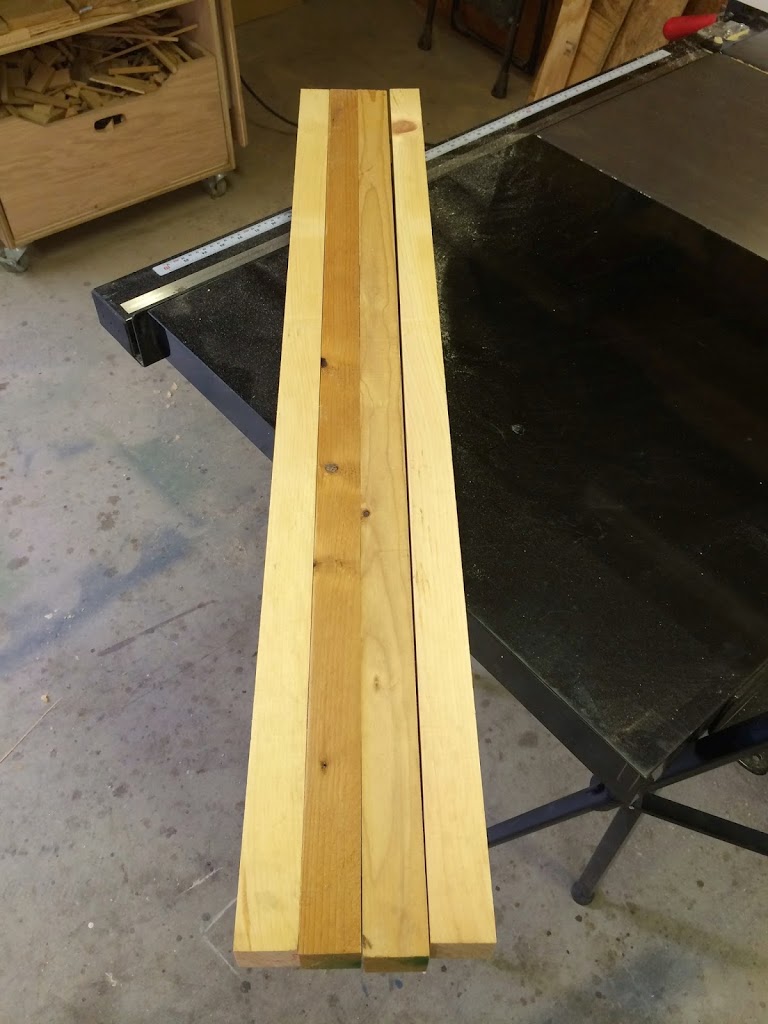
3) I used my miter saw to cut all four legs to length.
4) Next I grabbed a sheet of 3/4″ construction grade plywood that I had, and cut three strips. One of these will be the front, one will be the back, and the third will be cut up to make the sides.
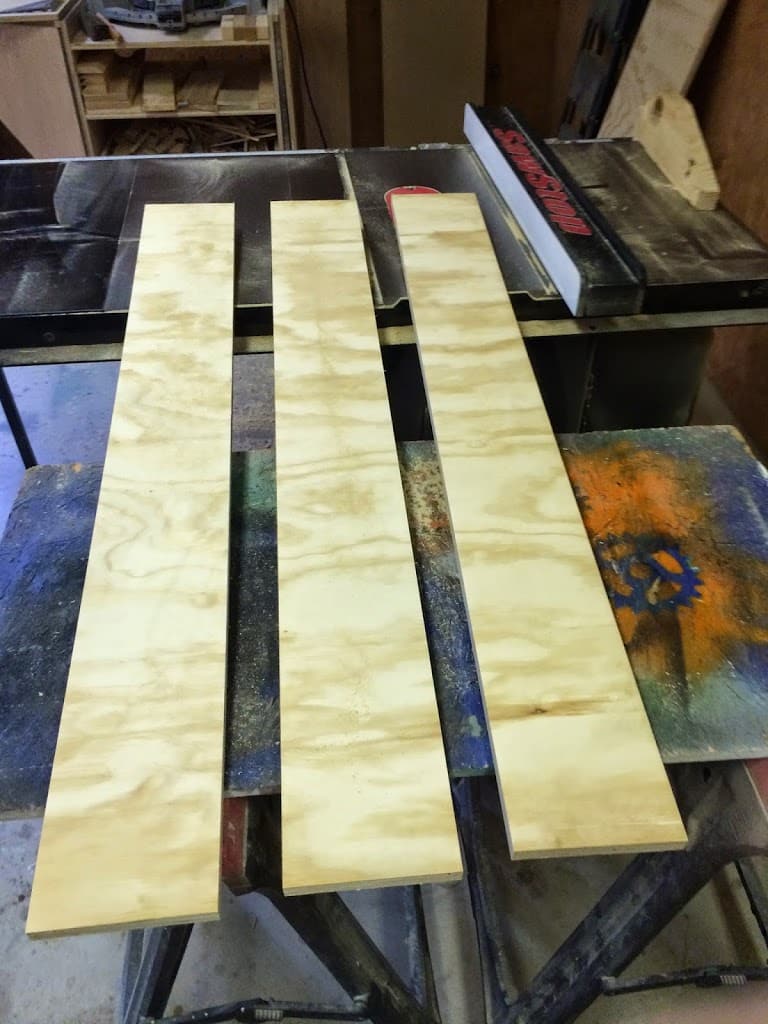
Tip: Any time I go to the hardware store I go and see if they have any cull wood. This is wood that is either a cut off from another customer, or stuff that has a chip in the veneer, or wood that is bowed or warped. Most of the time it’s just junk, but there are plenty of times that I run into great pieces that are sold at a 70% discount so I take them home and just store for future projects. That is where I got this plywood I’m using for this project.
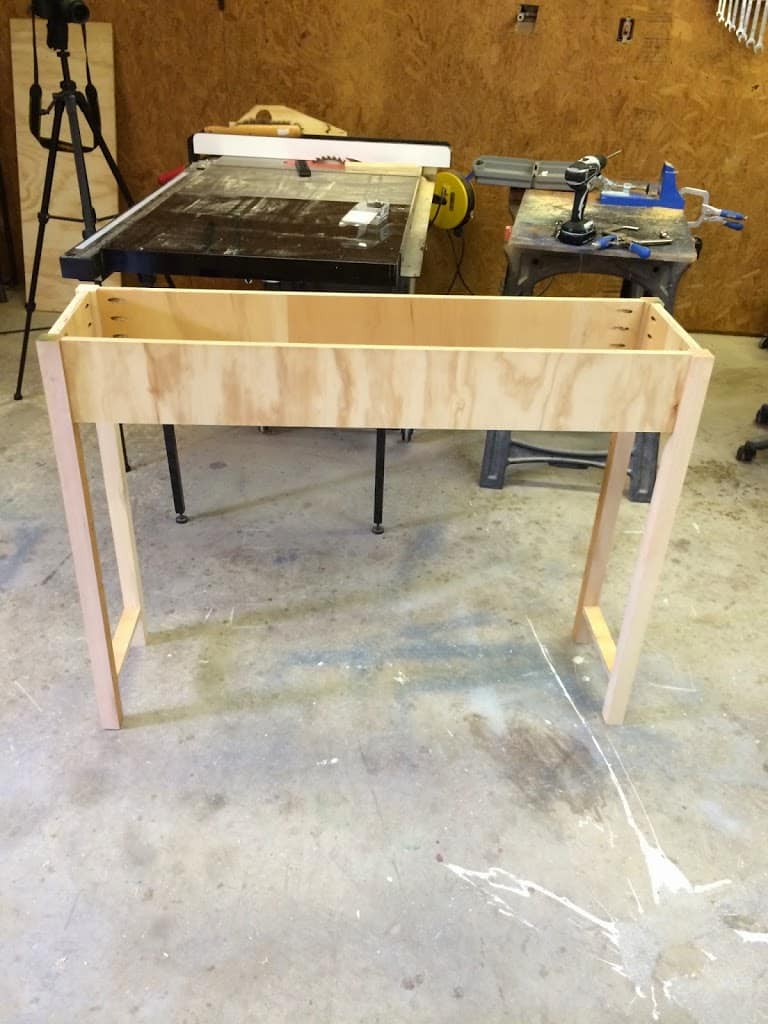
5) I started with making the sides. So I grabbed one of the strips and cut two pieces using my miter saw. Then I brought out my Kreg Pocket Jig and made four pocket holes on each side. Note: Four is really over kill, I would recommend only using two on each side.
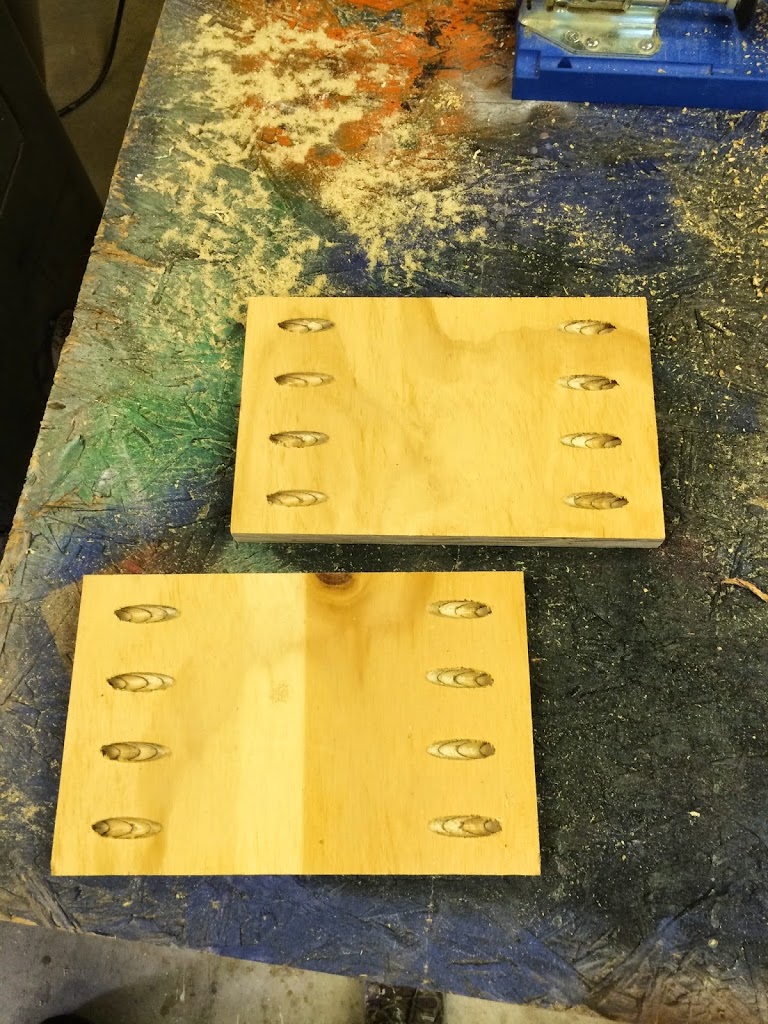
6) Then I took my side piece and used my pocket hole clamps to hold it in place while I screwed it down. Then repeated with my second one.
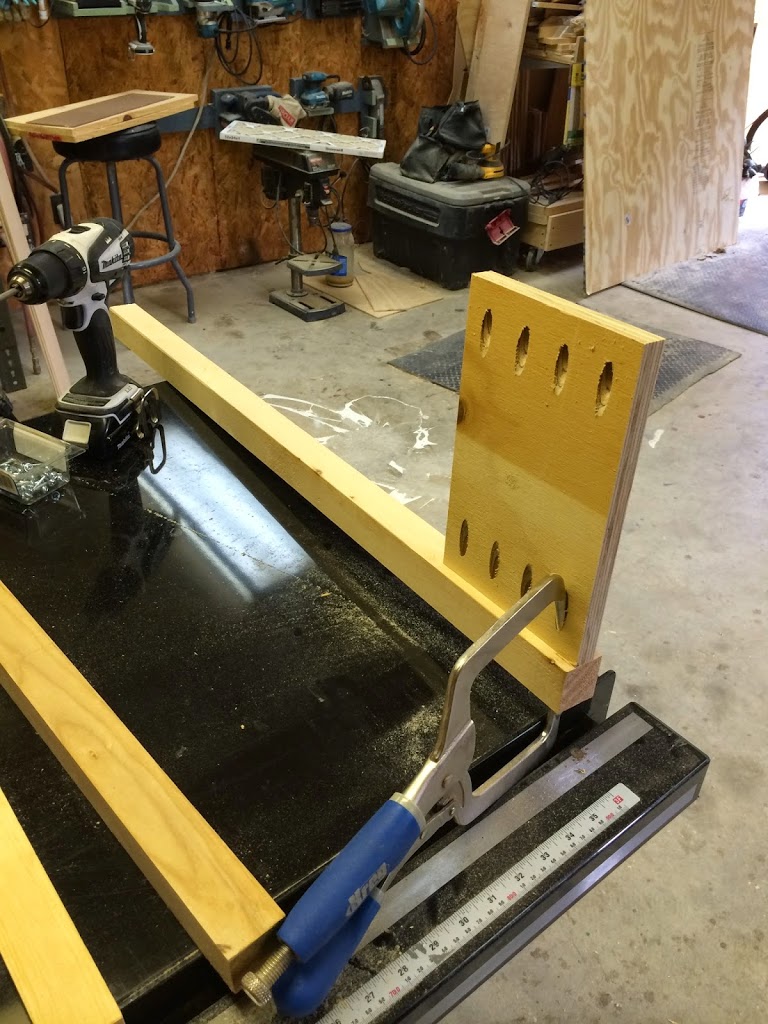
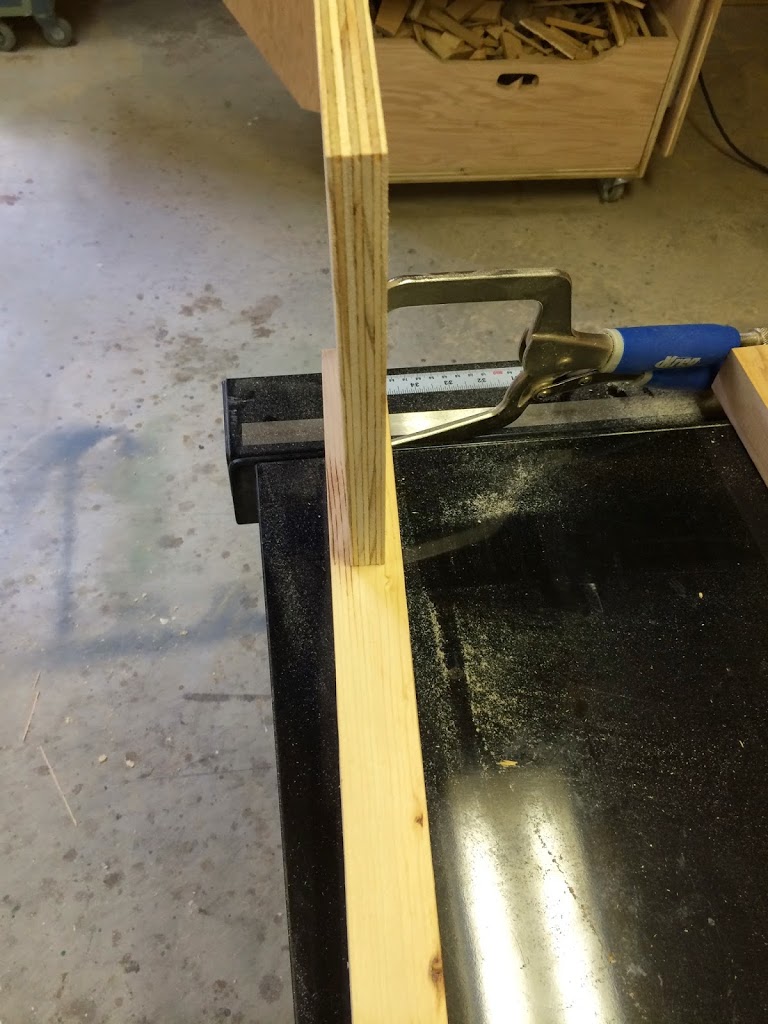
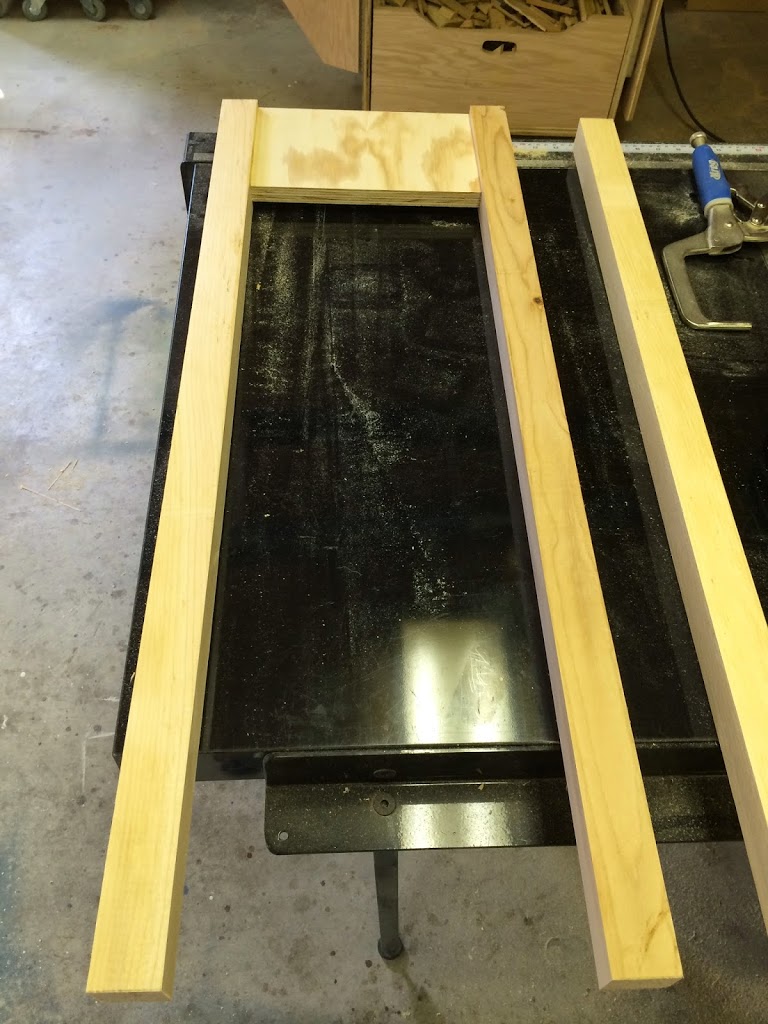
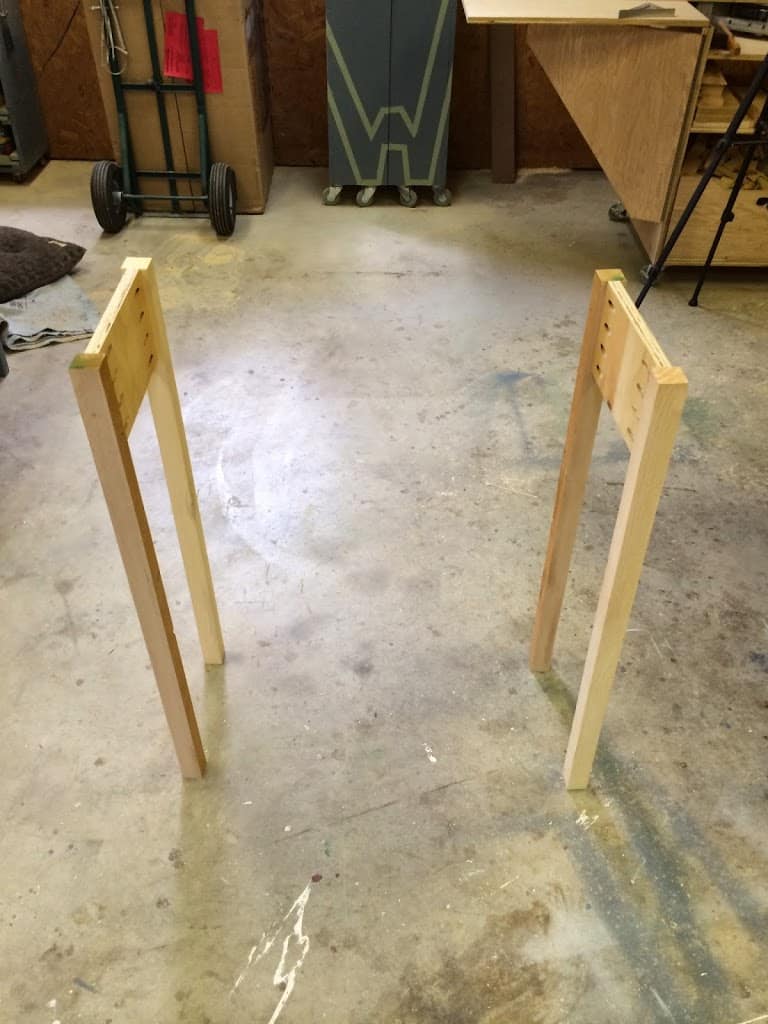
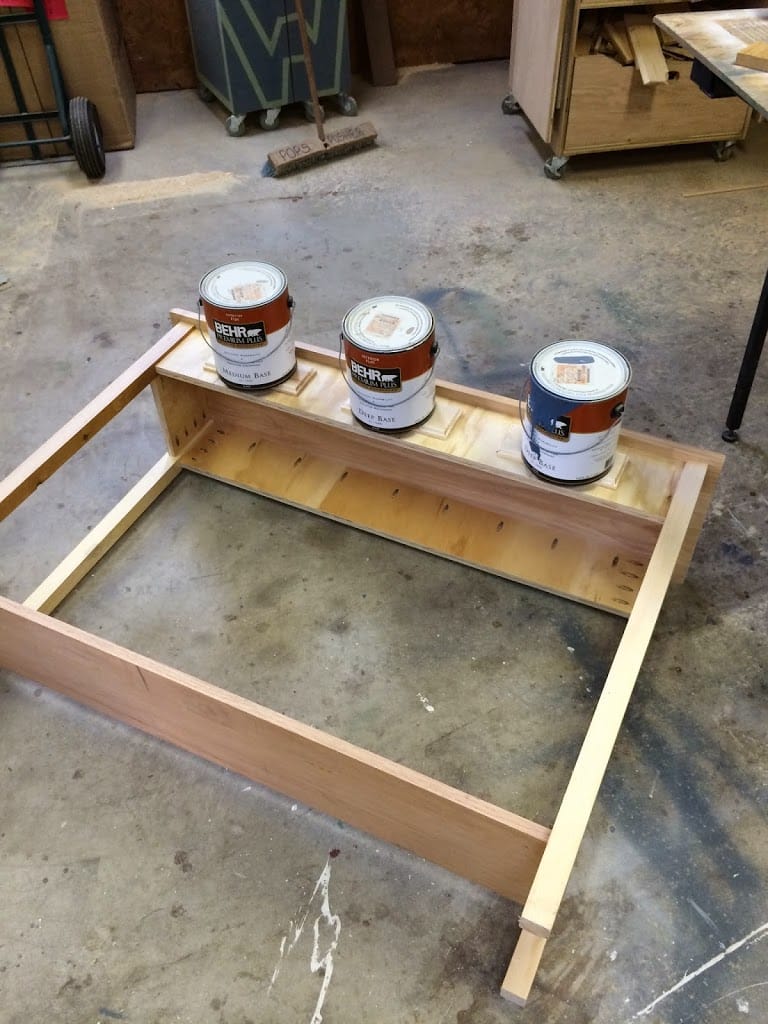
7) To create a way to have a bottom shelf, I cut two pieces from 3/4″ plywood then drilled a pocket hole on either end. I measured up on each leg and then screwed them in place.
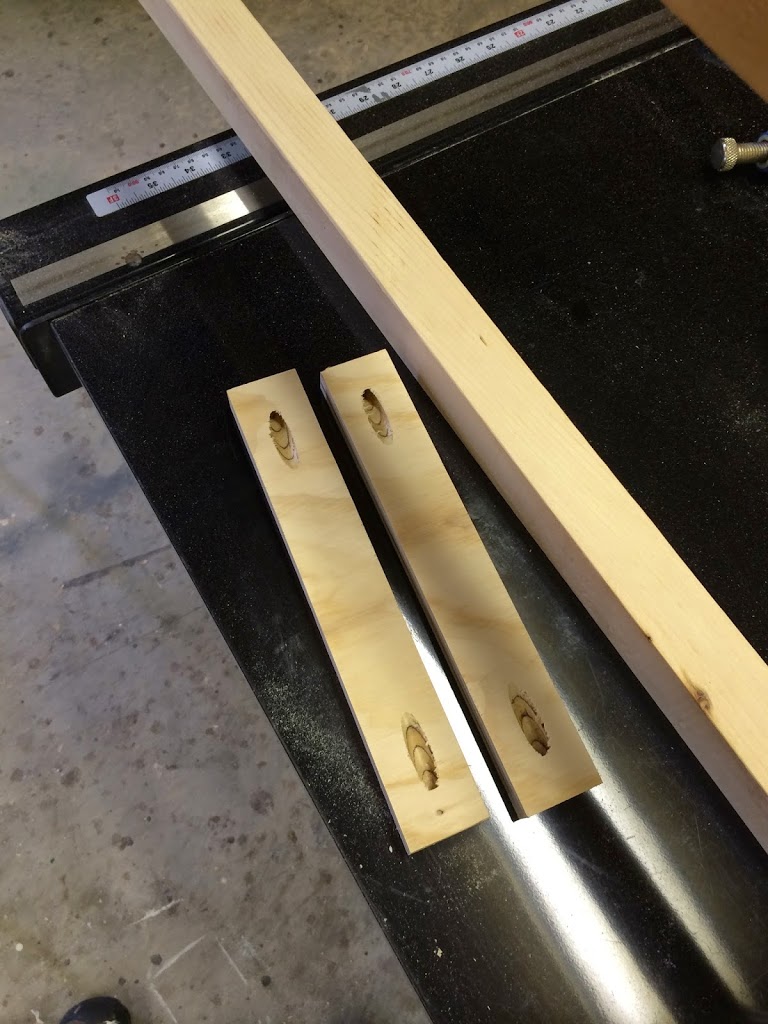
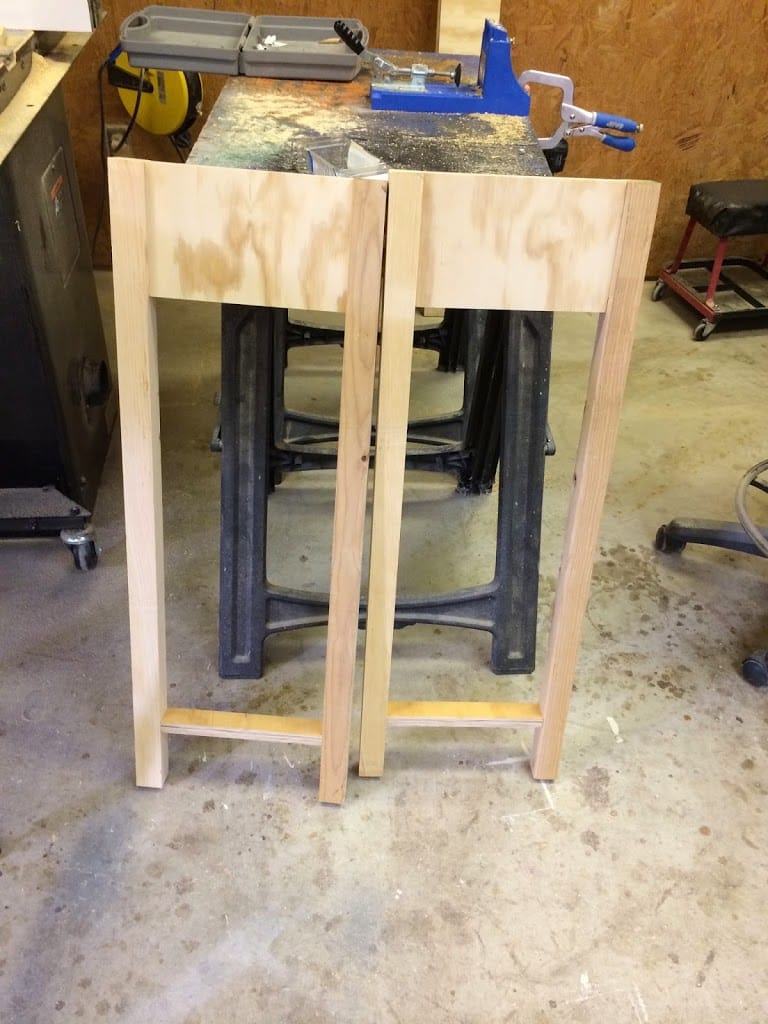
8) I grabbed the two other strips that I cut earlier and used my miter saw to cut them to length. Then drilled four pocket holes in both ends. Note: Again, four is overkill, I would recommend two on each end.
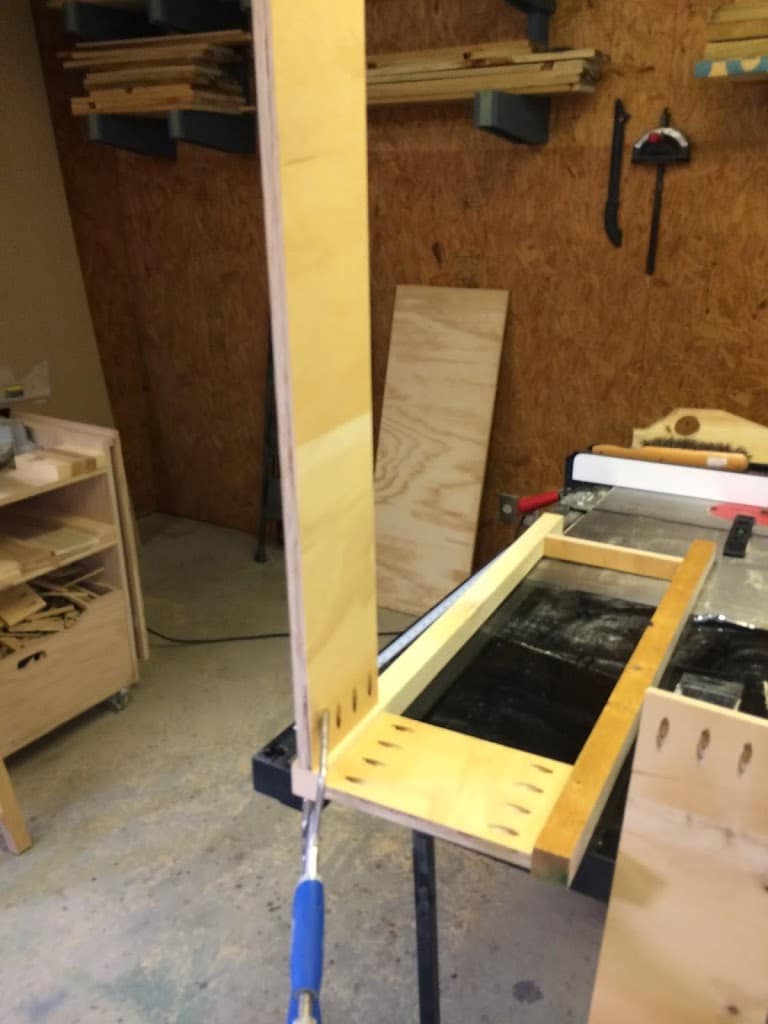
9) Next I clamped the sides in place and screwed them on.
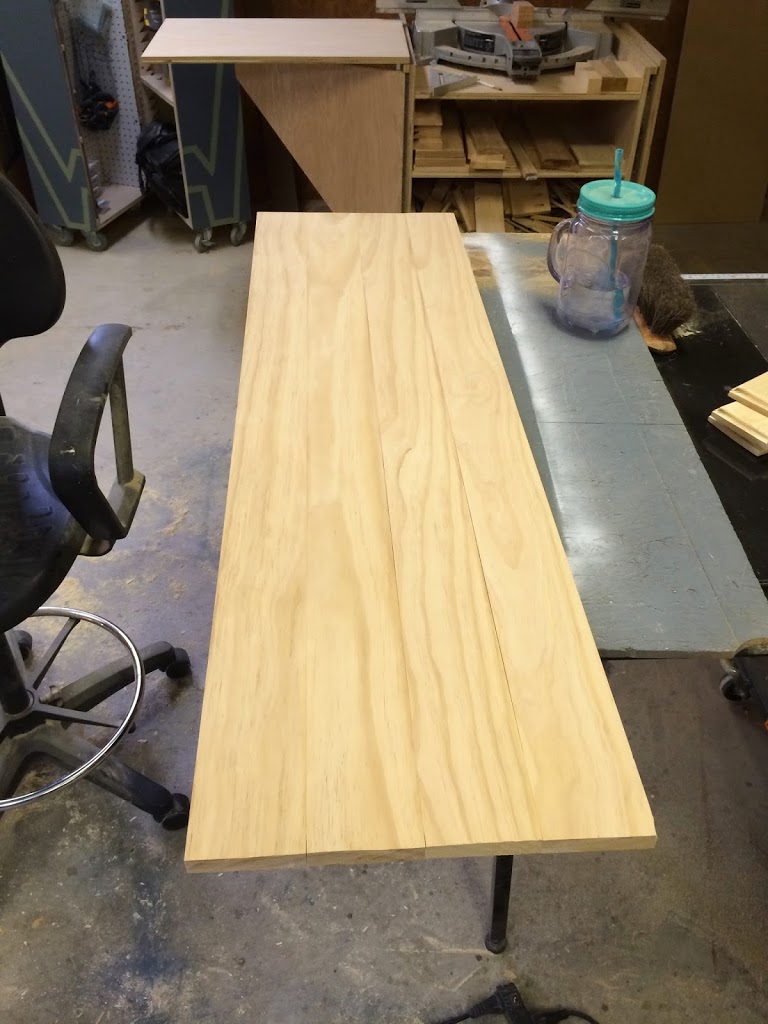
Now to make the top, I had two 1×8 boards that were around 6′ long and I wanted to use them so I wouldn’t have to buy any wood for this project. However, you can just buy a single 1×12 board to make your top and skip this next step! The boards I had were select pine boards which means they don’t have any knots in them, this creates a very clean looking surface but they are a little more expensive. If you are at the hardware store looking for select pine then I believe they are in the trim aisle.
Since my boards were 8″ wide, I could have just cut them to length and glued them together to make the top, but I wasn’t a fan of just a single line running down the middle, so I decided to make the top four pieces first, then glue them together. This was just for aesthetics.
10) I cut four strips using the table saw, then cut each board to length. I glued and clamped them together and let them set up for about an hour.
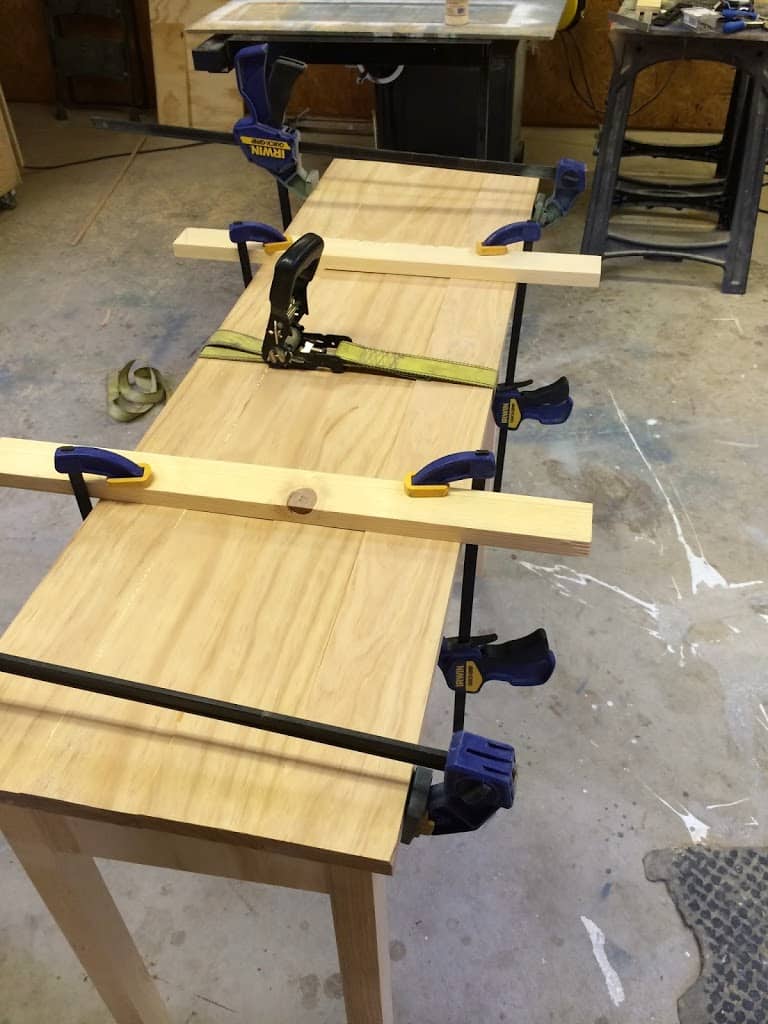
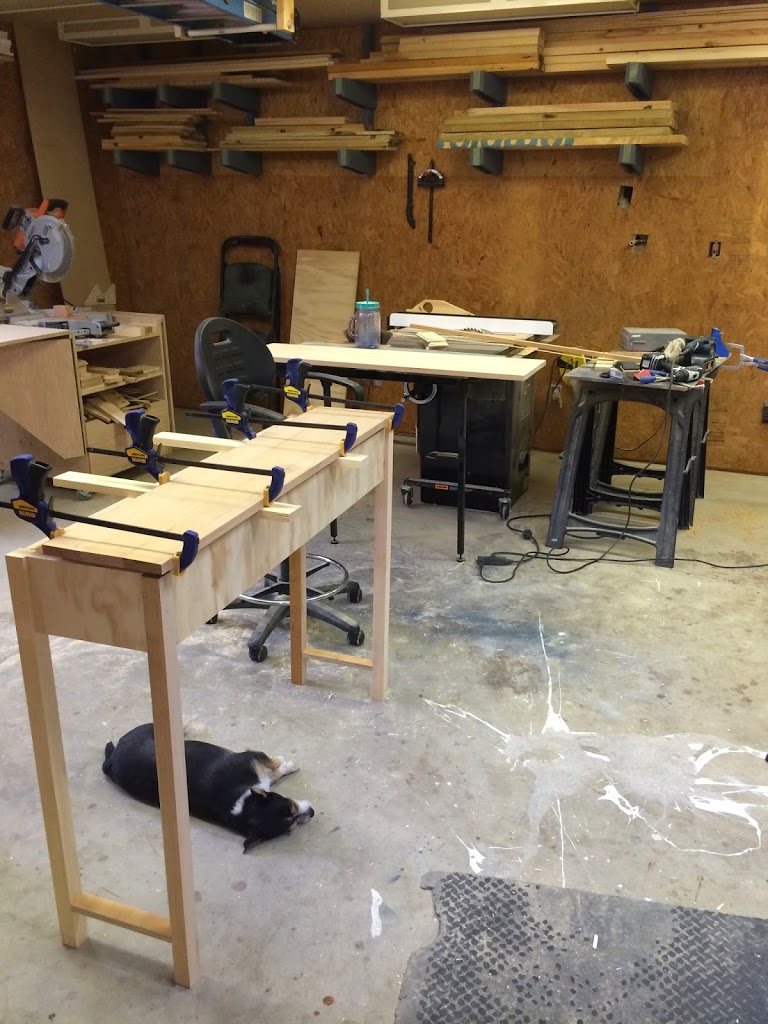
Now to attach the two surfaces!
WilkerDon’t: It was at this point that I realized I forgot to drill the pocket holes in the front and back pieces that will allow me to attach the top. To fix this I flipped the body upside down and drilled in pocket holes. : ) So learn from my mistake and drill these pocket holes at the same time you drill the side ones. 
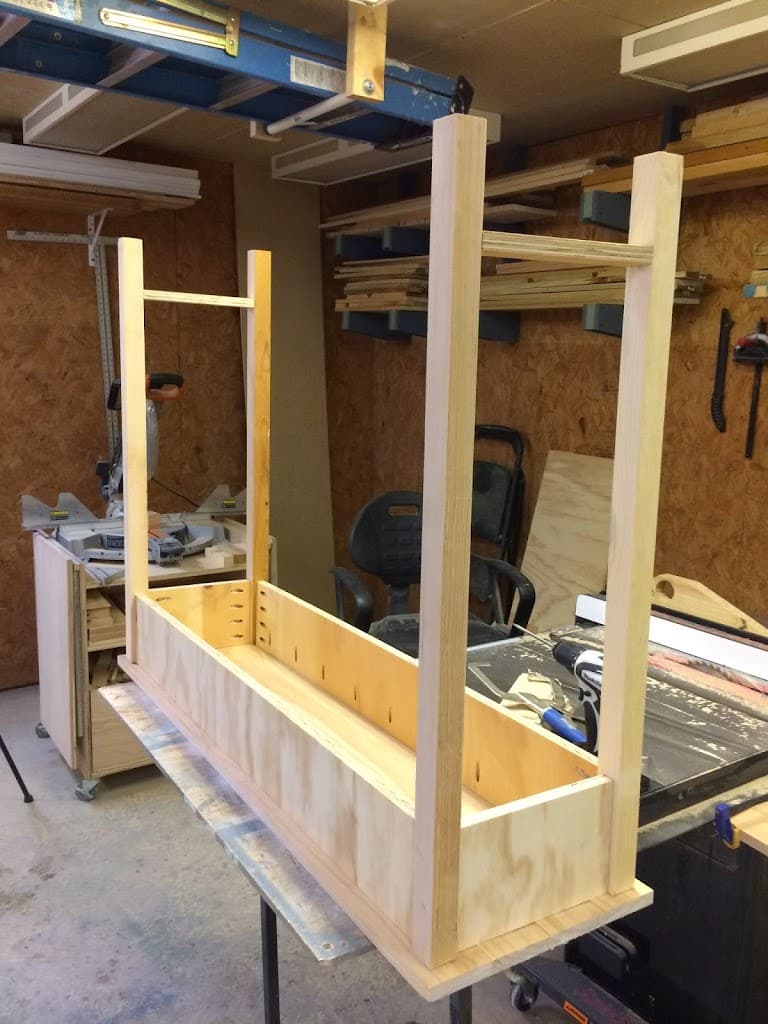
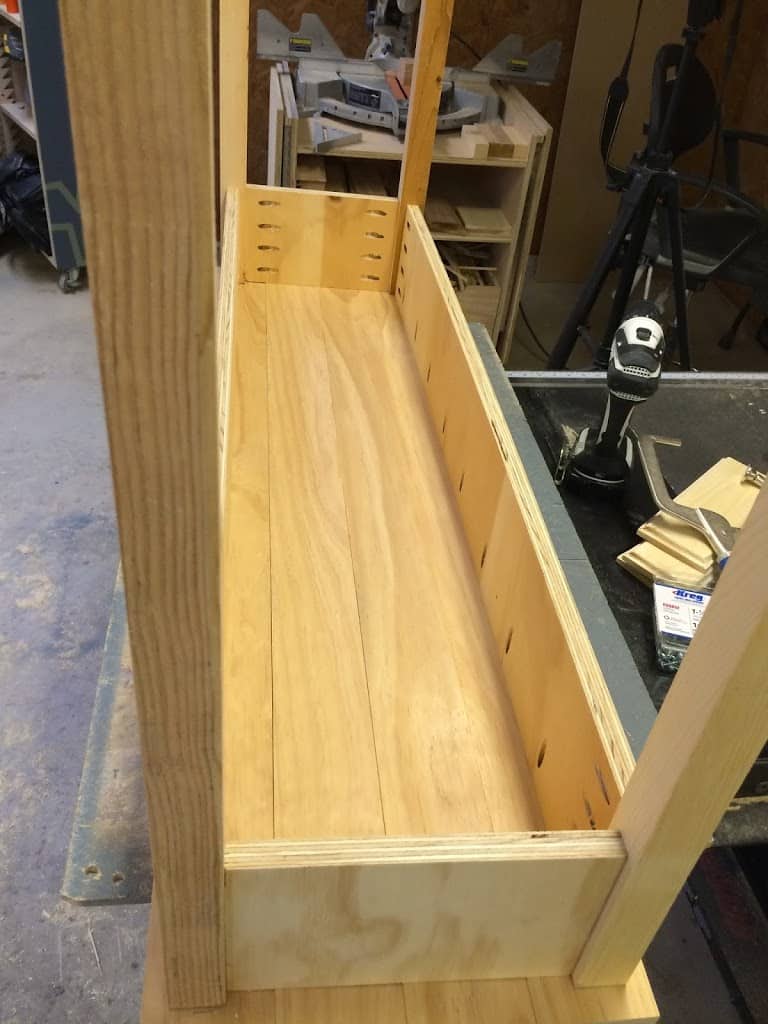
14) I couldn’t attach the bottom shelf by way of pocket holes, so I put the shelf in place and clamped it down. Then I laid the entire unit on it’s back and first drilled a pilot hole and then used two screws.
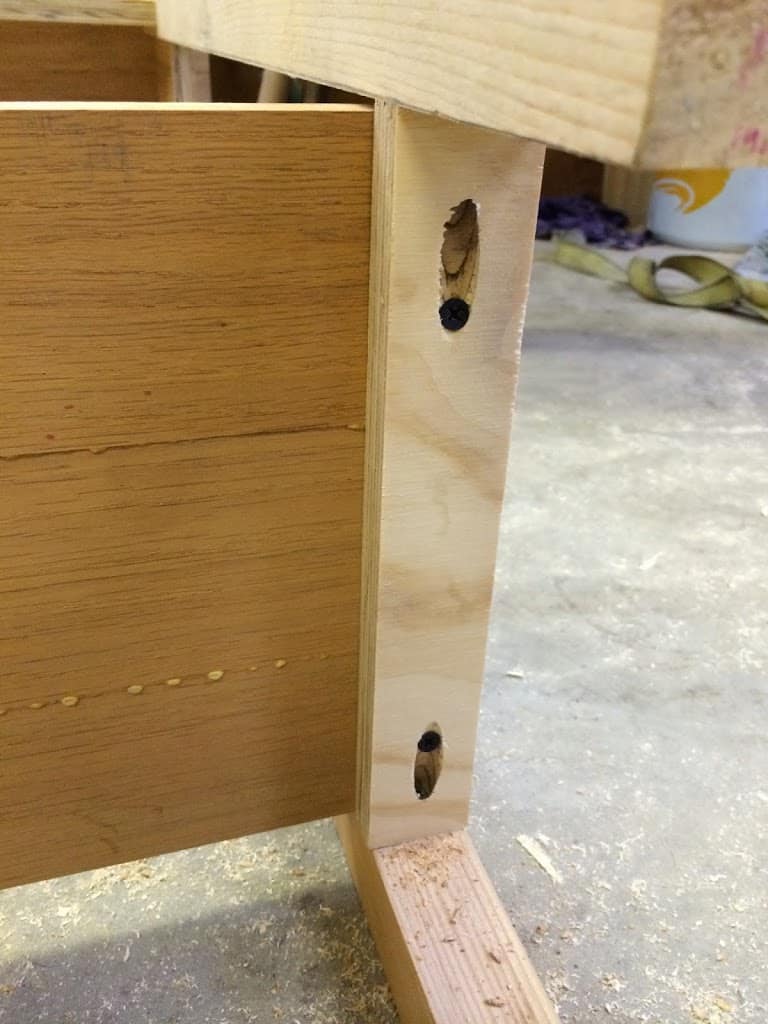
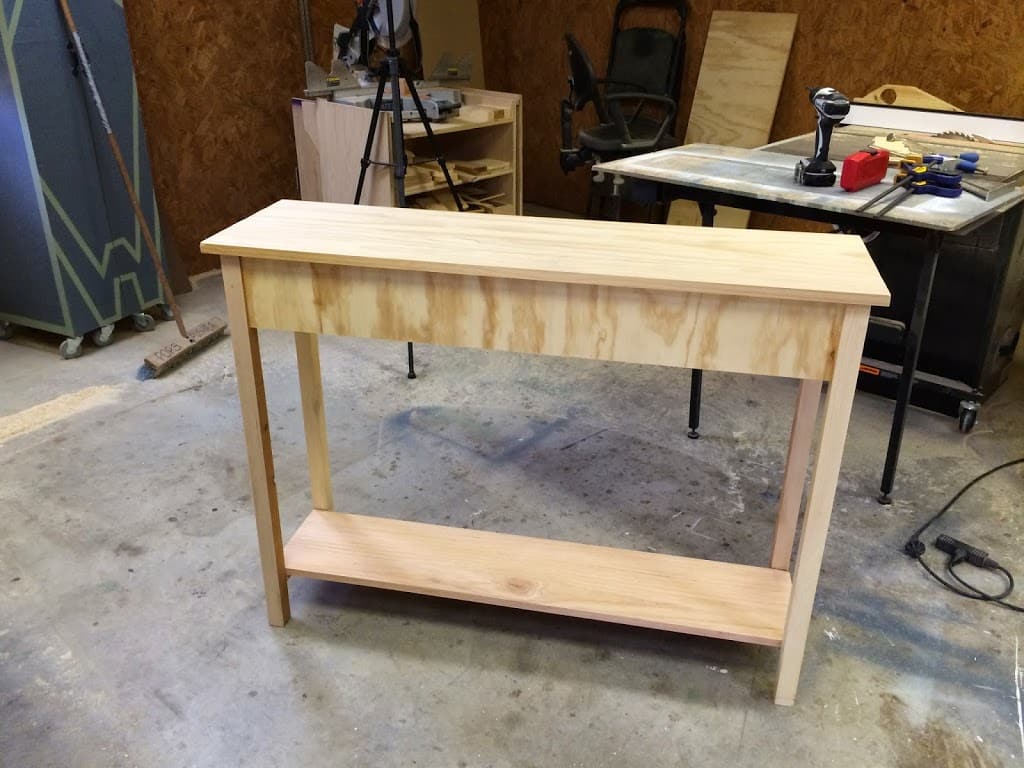
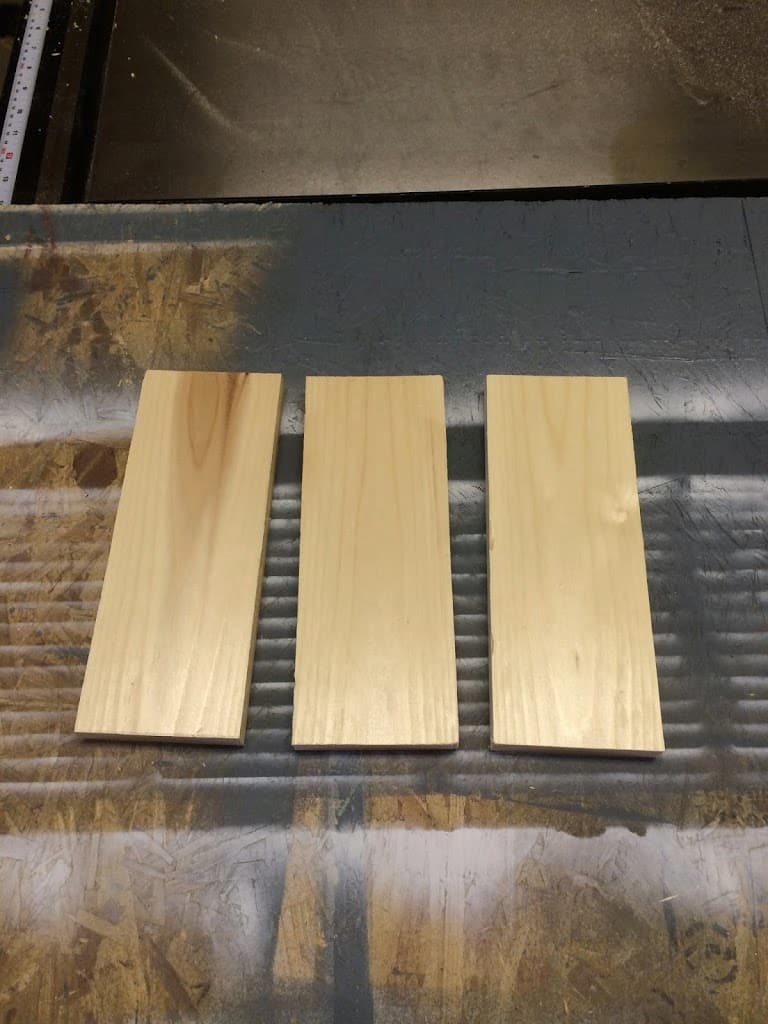
16) Then I put a roman ogee router bit in my router and quickly went over the edges. Note: If you don’t have a router, then just leave them square. You could also take some sand paper and go over the edges to take off some of the sharpness.
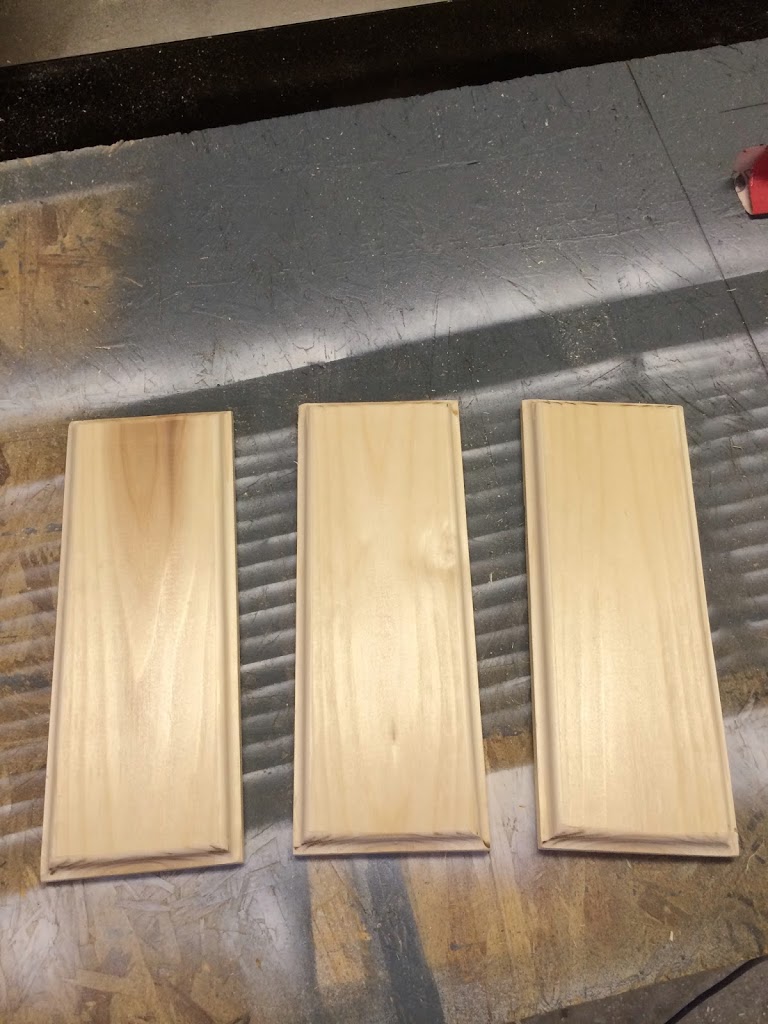
I grabbed my cut offs and tested out a few colors of stain and decided on Red Mahogany by Varathane for mine.
18) I first used a foam brush and brushed on a thin coat of pre-stain wood conditioner by mixwax. This makes the stain come out a little more even and not as blotchy. I put down a coat then came back with a rag and wiped off the excess. Then I immediately came back with a different foam brush and put on a coat of my stain. I waited five mins then wiped it off.
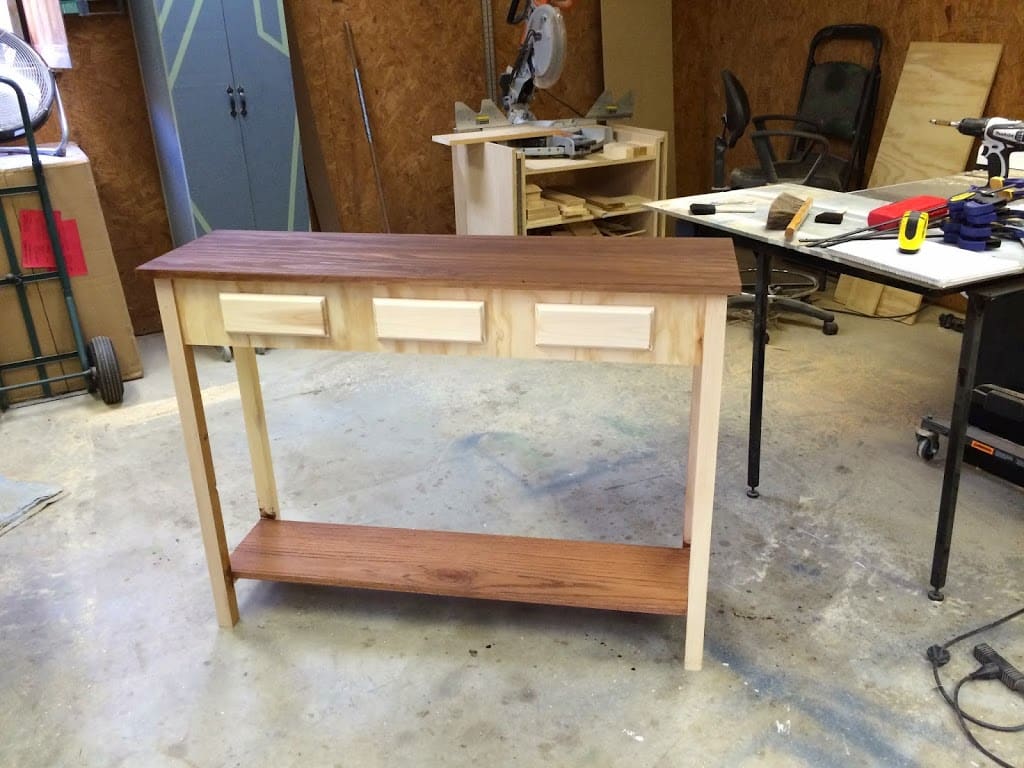
19) For the body, I came in with a brush and first put on a coat of primer. Then once that was dry, I put on two coats of Antique White by Behr.

Home Stretch!!
20) Only thing left to do was put on some hardware. I went and picked up some simple knobs and first drilled a hole in the center of my faux faces then shoved the long bolt that comes with the knobs through the back and then turned on the knob.
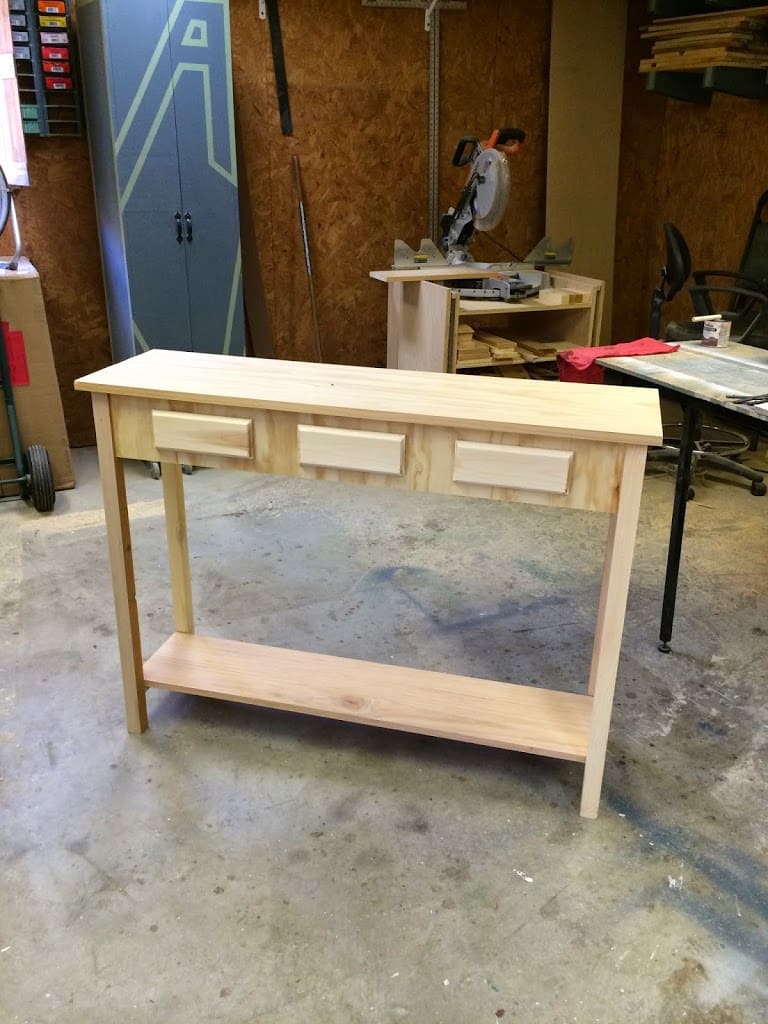
And now we have an entryway table.
Building stuff is amazing.
This is a very simple project and I really encourage you to take it on if you are wanting one. If you are new to DIYing/woodworking, then I would simplify this project by using a half sheet of plywood and one 2×4.
I’ve put together a set of entryway table plans that are 8 pages long, that walk you through all the steps to build a table. The plans include a material list, a cut list, and all the dimensions I used.
If you liked this project and want to stay up to date with what I’m building, then be sure to sign up for my email newsletter and you’ll get an email when I post something new. See you soon!