DIY Hardware Storage | Organize Your Hardware
- Workshop DIY Projects
- April Wilkerson
- Updated: March 7, 2023
FREE DIY PLANS! For hardware storage bins of three different sizes to hold and organize a large variety of shop hardware. Scrap wood project.
No matter what sort of shop you have, you are going to have hardware to store. I’m a woodworking shop so most of the hardware I keep around are an assortment of screws. Around this time last year I made a rolling hardware storage caddy to store and organize all my hardware and it worked out perfect for my shop setup at the time because it fit right under my workbench.
However, since then I’ve gotten rid of the workbench and I no longer have a great spot in my shop to store the floor based solution. So this week I decided to redesign it slightly, still keeping the main concept of individual wooden bins that are on a french cleat but placing them on the inside of a shop door instead. If you do not have a door to utilize then placing the same system on a portion of a wall would be a good alternative.
I put together a free diagram of all three bin sizes that I used for this project. If you want to make your own storage bins then you can find that here.
Material for this project is all cut off scraps from previous projects. I’ve been saving any and all 1/2″ plywood scraps for this project. If you do not have scraps laying around then I would suggest either waiting until you do, or purchasing one sheet of 1/2″ plywood. You would be able to get tons of bins from one full sheet.
The first thing I did was measure my shop door. I wanted to utilize as much as the door as possible so I made the bins so that I could fit 5 bins across with only a small space between. You might think you need a large space between the bins but it isn’t necessary since the bins lift up and out. My door is 23 5/8″ wide.
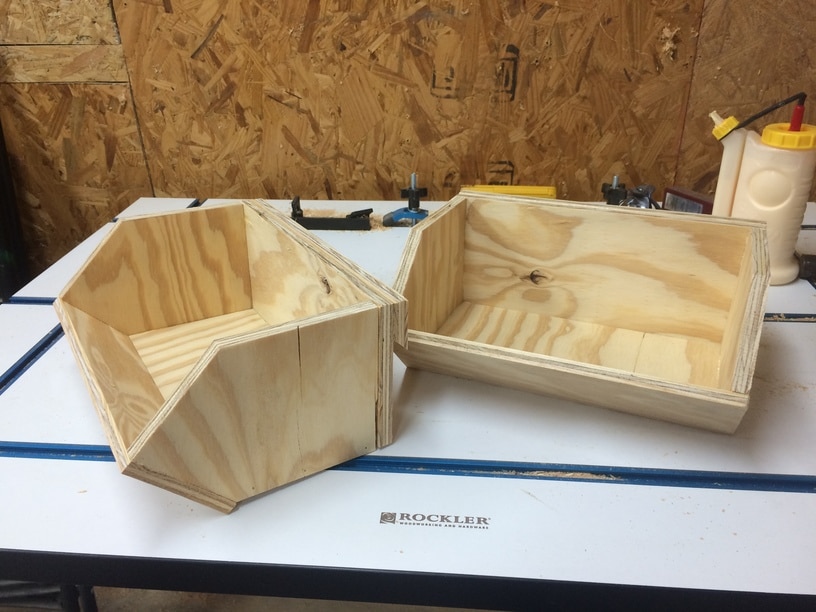
Since all the bins are made the same, there is a ton of repetition in this project. It’s an easy project, but a tedious one. I would first cut strips of wood at my table saw to make up the bottoms. One side of the bottom needs to be cut at a 45 degree angle, so once the strips are cut then tilt your blade to 45 degrees and run them through once again to cut one edge.
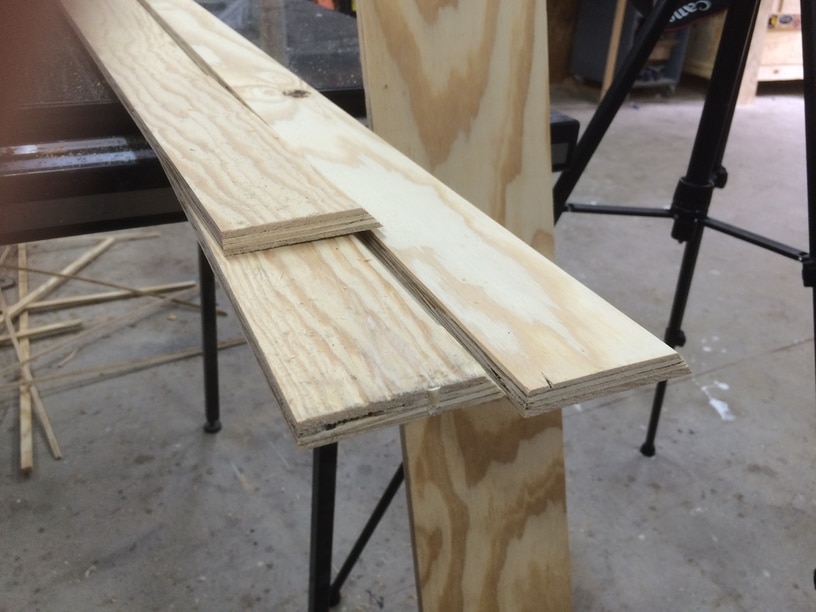
Now I cut the pieces to length from a long piece of material using the miter saw and miter saw stand. (if your interested in building your own miter saw stand, I have a set of plans here). I used a stop block setup on the saw so I could move my board into place and cut my pieces of wood to the same size every time. Note: when using a stop block at the miter saw you need to make sure you are securing the portion that is being placed between the blade and the stop block. If the wood binds then this is the portion that will come flying at you. Since these pieces are so small, this makes your hand closer to the blade than some might be comfortable with so if you are uncomfortable making these cuts, I would recommend using another method like a jigsaw, bandsaw, or circular saw.
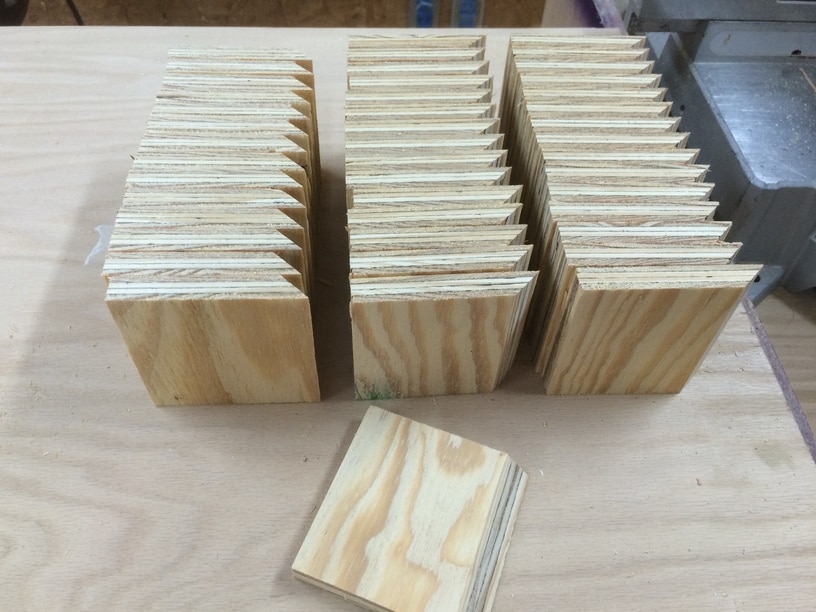
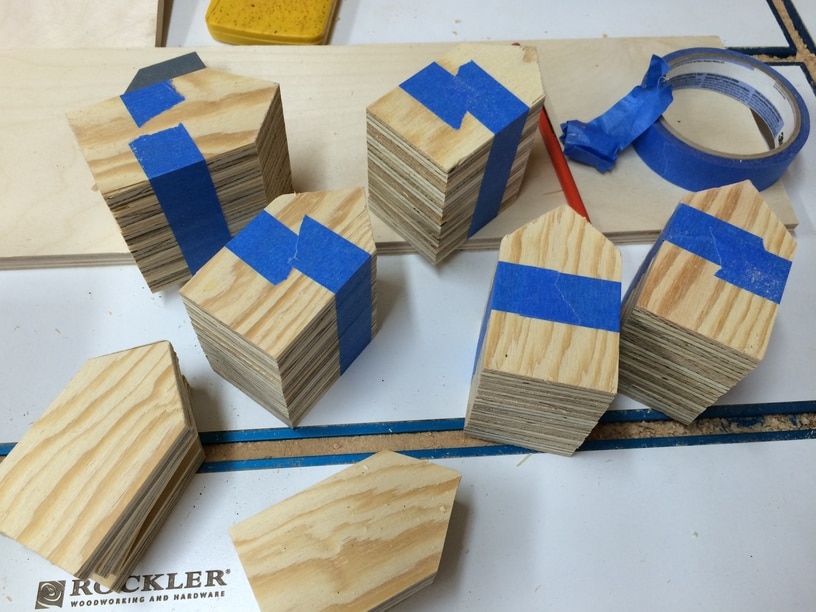
Next I made the sides. I once again cut strips at the table saw, then set up a stop block at the miter to cut them to length. The sides have two 45 degree angles on them to create a point. To make these lines you need to find the middle of the piece (1″) and make a mark, then take a speed square and mark the 45 degree angles.
To make cutting all of these sides easier I first taped together 6 pieces so I could cut them all at once. Then I unwrapped them and used these to make more bundles of 6 to cut, using these as the template to follow. Note: Since I have a bandsaw that is what I used, but if you don’t then skip taping them together and cut them at the miter saw or with a jigsaw. The first time I made these bins I didn’t have a bandsaw so I set up a stop block at the miter and went to town on cutting.
Next I cut the front, back, and cleats by repeating the process. I would cut strips at the table saw then take those to the miter and cut them to the needed length with a stop block in place. For the cleat, you will need to tilt your blade to a 45 degree angle to cut one side.
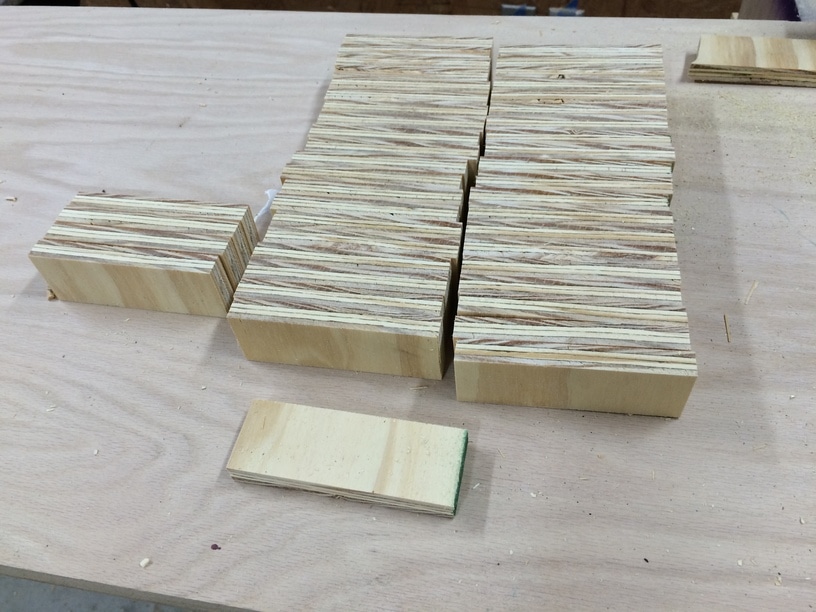
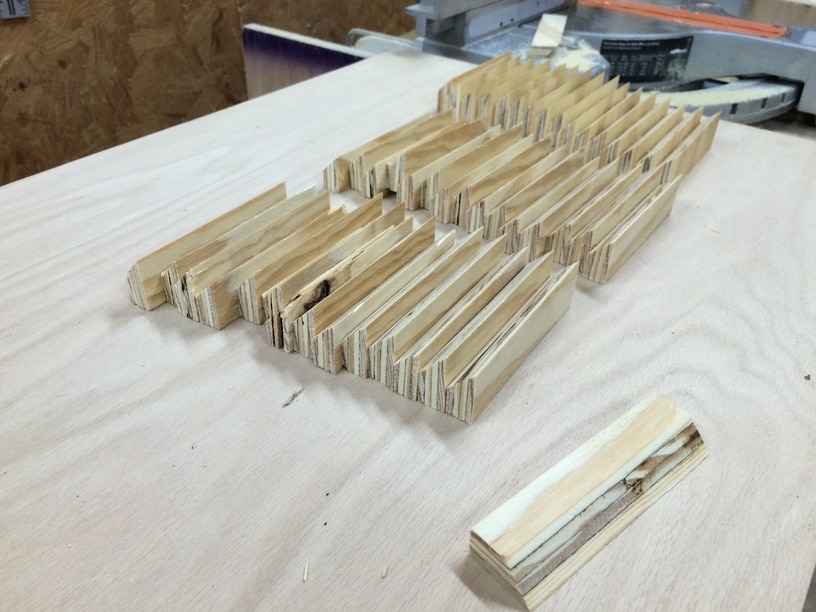
With all the parts cut now it was time to start joining everything together! This is the tedious part so be patient (or pay your children to do it). ; )
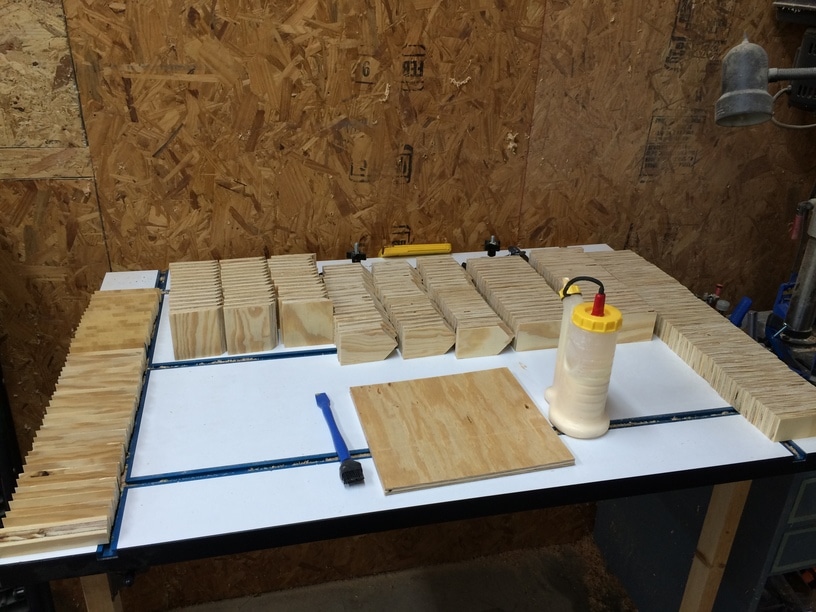
I used glue and 1″ brad nails on everything except attaching the cleat to the back, for that I used glue and 5/8″ brad nails so they wouldn’t go though the material.
I started by attaching the two sides to the bottom
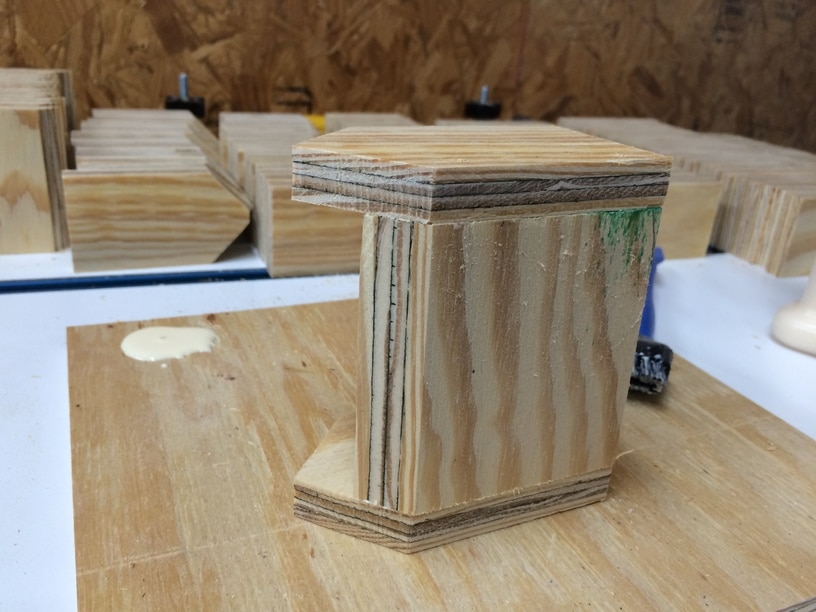
Then attaching the back
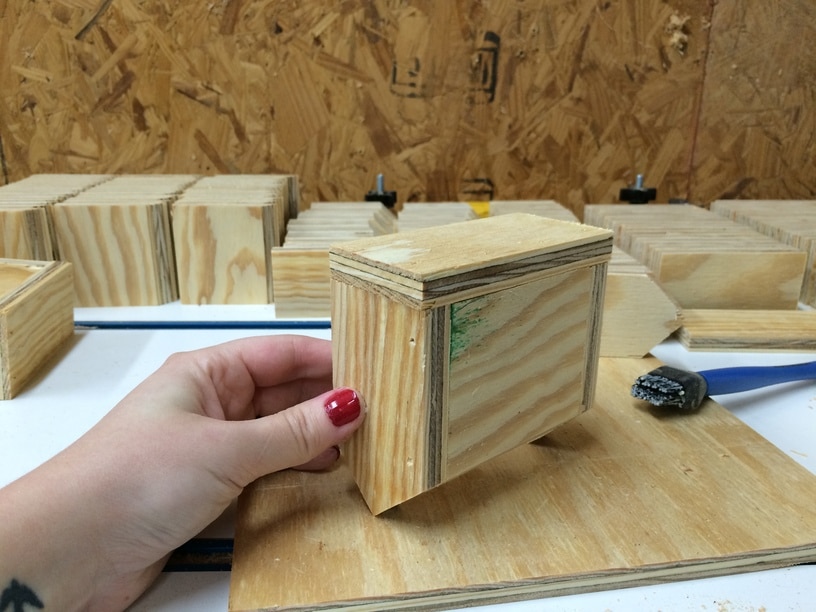
Then attaching the front:
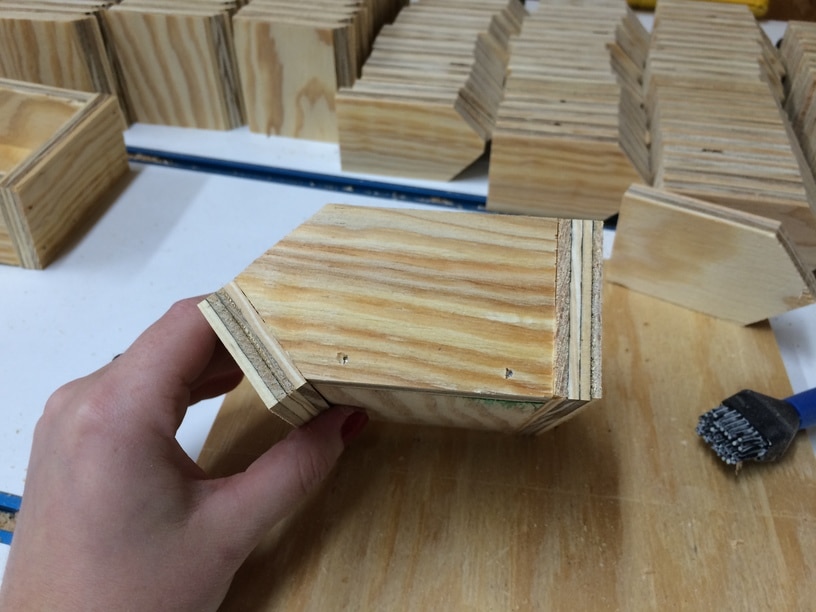
I would go through and build a bunch of these then I would switch out my nail size to 5/8″ to glue and attach the cleat to the back.
Next I attached the cleats to the door. For the smaller bins my cleats are spaced apart 1 1/2″. To make them quick to install I cut a scrap board to 1 1/2″ and used it as a spacer to place between cleats. This allowed me to very quickly glue and nail them to the door.
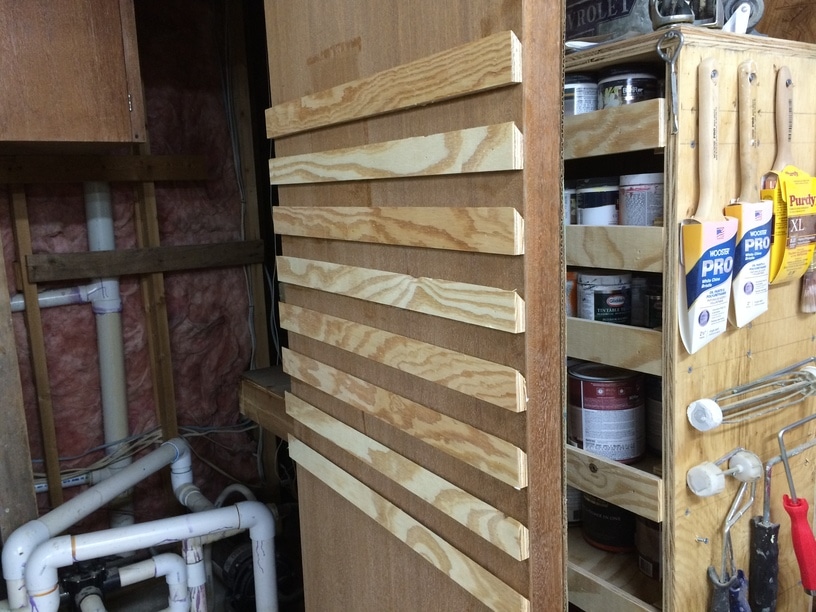
I made a mistake here and forgot to compensate for the door jam so learn from me and remember to set your door cleats (if you mount your to a door) off the back edge by 1/2″ – 3/4″. I ended up having to use a multi tool to cut off the ends of the cleats.
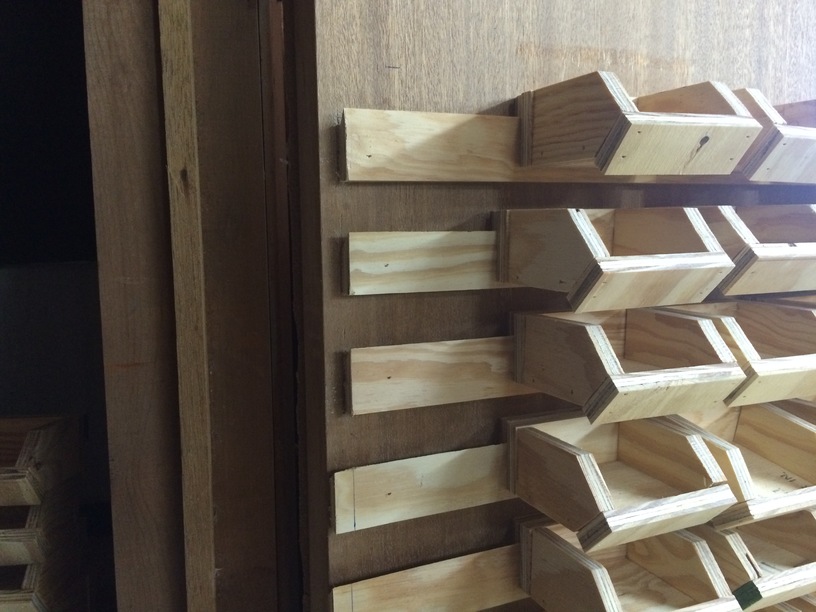
Note: Before I hung the bins I made sure that there wasn’t a lot of glue squeeze out from attaching the cleat onto the back. I didn’t want the glue to dry and glue the bins to the door cleat!
You can repeat the process for the rest of the door (or wall) space or to make other sized bins. I find that these smaller bins fit the best for 99% of the hardware I want to store and organize however I did use a few medium sized bins for lag bolts and such. Regardless…the process is the same only larger. : )
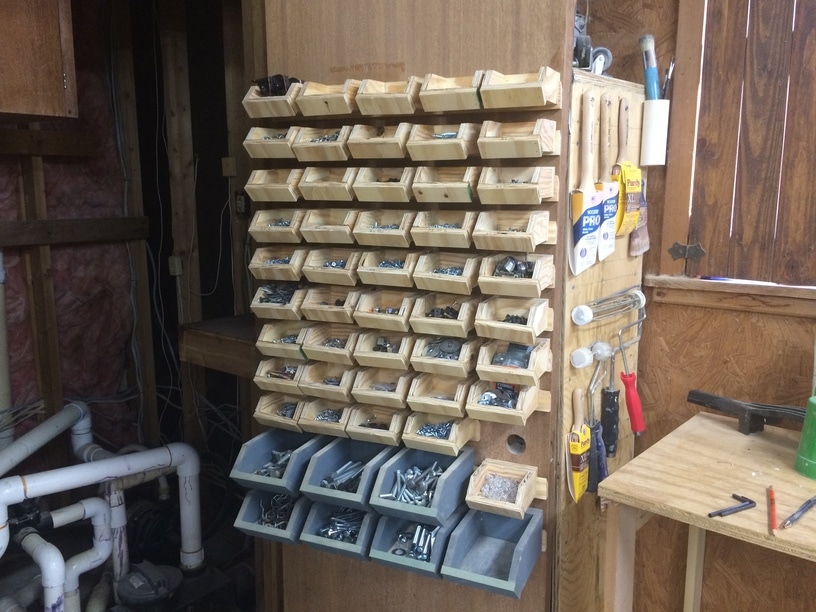
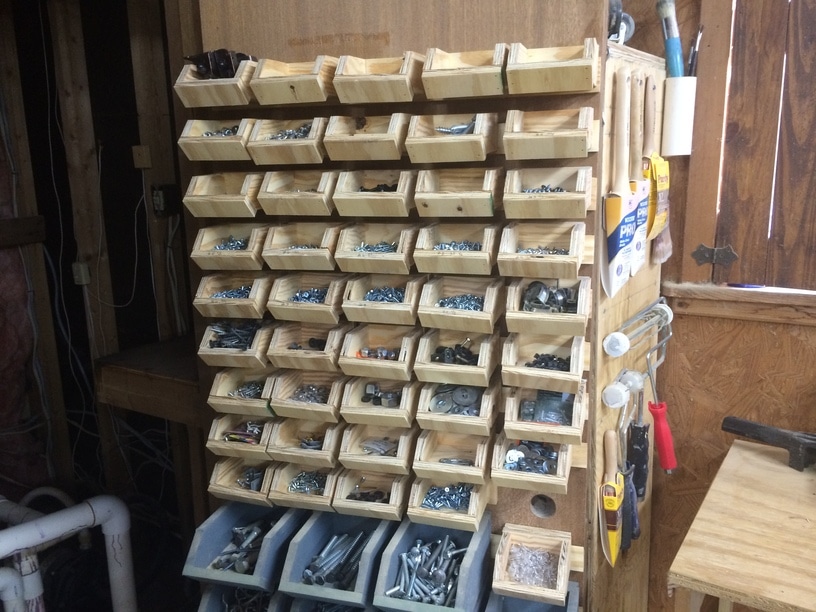
: ) The shop is a little more organized! Even though I placed my system on a door you could place yours on the wall or even on a mobile shop caddy like I had before. I also think this would be a good project for a kids room to store little things. You could paint them and make them fit the room decor.
Since I used scraps for this project, the total cost was $0!
If you liked this project and want to stay up to date with what I’m building, then be sure to sign up for my email newsletter and you’ll get an email when I post something new. See you soon!
*Disclosure: Some links in this email are affiliate links meaning, I may get a commission if you make a purchase. Thanks for your support in this way!