How to Build a Firewood Holder in 7 Quick Easy Steps!
- Random DIY Projects, Storage DIY Projects
- April Wilkerson
- Updated: March 21, 2023
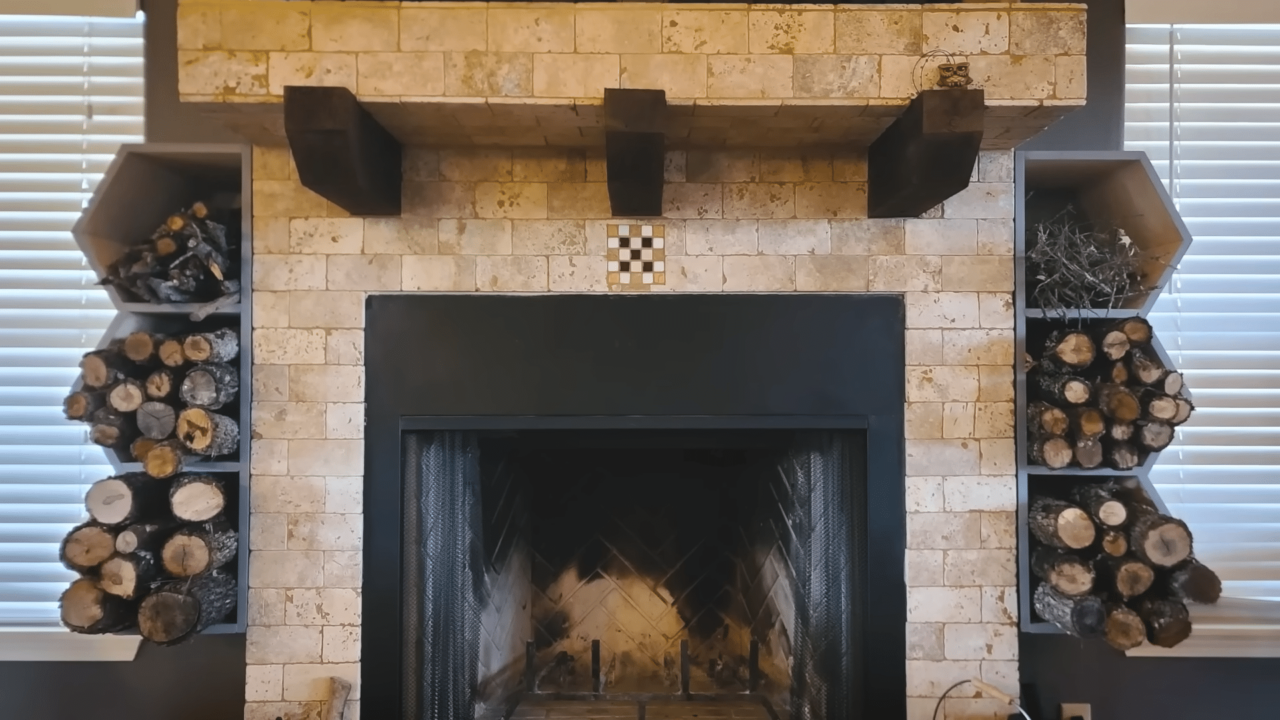
If you’re looking for a place to store your firewood that also is super cool to look at, check out this firewood holder DIY. Before, I would just have my different sizes piled up in containers around the hearth, which was really unattractive. So on a whim I threw these together. The three compartments allow me to separate small, from medium, to large pieces of wood. Grab a set of plans and let me show you how I build them.
I’ve created a set of plans to make building this firewood holder quick and easy!
I did design and build these on a whim so when selecting material, I just looked around my shop to see what I had already that would fit the sizes. I found this stack of 3/4” cut off from some shelves I tore a part that I’ll make the body from. Then for the back, I have some 1/2” plywood from who knows what.
I started off by ripping the sheets down to width needed. If you want exact dimensions, I have a set of plans available over on my website. I tilted the blade over to then cut in the angles needed to created the pointed miters. Since there are a lot of repeated parts, I set up a stop block so that I could make them all the same. When you do this, you want to make sure to set the stop block back far enough so the board won’t be touching it when it contacts the blade. As this is what can cause kick back.
To save from switching the blade back and forth, after cutting one side with the needed angle, I would flip the board and cut the other side since it still had a 90 on one end. This will leave the remaining board with angles on both end, that I can chop up for the mitered parts. I personally like to always do a test first and a dry fit to make sure things are going to work as I have them planned. That looks good though.
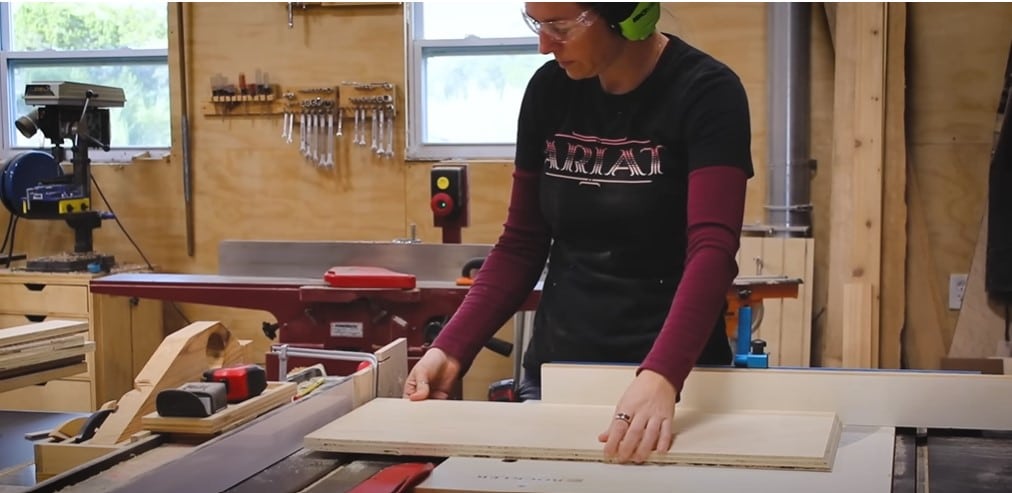
Now I just needed 12 of them total so I locked in the new distance for the fence for this part and chopped up the remaining bit into pieces.
This project only consist of four different parts. What I’ll call the side, the tops which are slightly longer than anything else, the horizontal shelves, then the mitered points. Keep in mind that it would be simple to add more to subtract the number of cubbies, depending on your spaces needs.
Alrighty, now I’ll edge band the edges that will be facing the front. Actually, on second thought, I like the idea of painting them instead. Note: that if you edge band you’ll need to do that before joining the parts together, but if you want to paint, then you can go straight into assembling.
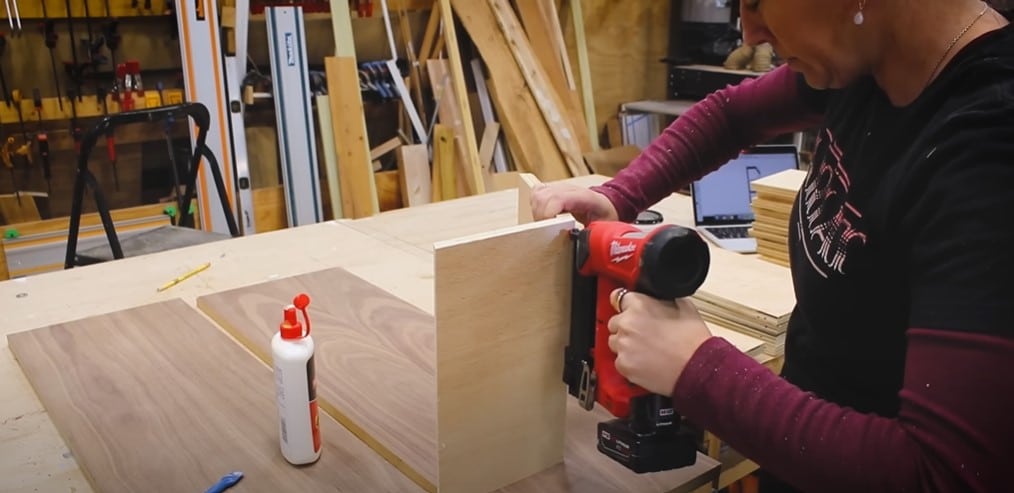
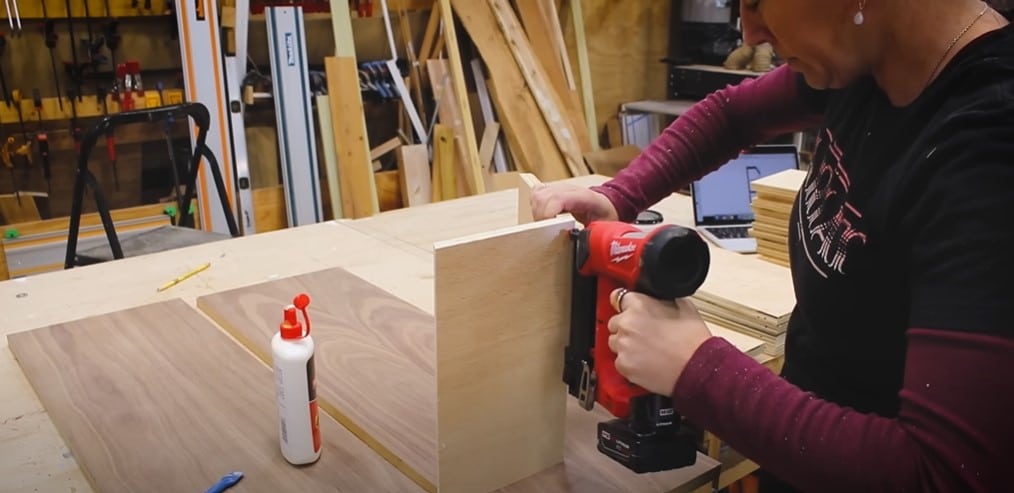
For assembling, I started off on top of my workbench and what I did is apply some wood glue, I’m using DAPs weldwood here, to every joint, then pin nailed things together using my 23 gauge nailer. This is a pretty weak joint until the wood glue has time to set up, so I was being careful as I was moving it around to attach the next leg. If I didn’t have a 23 gauge, I would have used a 18 gauge instead.
After getting a few attached, I thought it would make things easier to do it on the ground so I could see everything clearly as I was attaching legs. So I moved it down to the floor and continued. I would juke and jive to create the points of the cubbies, then attach the horizontal that will create the separation between.
I paused when I got to the very top because the way I have it designed, the top edge will actually be seen. With that, I edge banded both of these parts before adding them on. This is as simple as heating up an iron and warming up the glue on the back of the banding until it sticks to the plywood edge. This will be slightly different than the ply, but it doesn’t bother me.
I left that where it sat to give that glue time to set up and dry. While it was, I grabbed pieces that will make up the back from my 1/2” plywood scraps. I also grabbed the pieces that will make up the sides. I want both of these to be painted the same color as my wall which means I need to give them a few coats before attaching the cubbies.
Since I have the paint out, I also wanted to paint that front edge of the cubbies. I first give them both a good sanding to get them smooth. Now when working with plywood, there are typically voids on every single edge. In order to get a smooth looking paint surface, I apply some wood filler on a putty knife. I’m using DAP Premium wood filler. This stuff not only dries fast but is easy to sand and is great to color match if you are staining something.
After letting it dry for about 30 mins, I came back with a sanding sponge to knock it down flat so that I could roll on the paint onto the pieces of the firewood holder.
With finishing out of the way, let me just push this button here to raise my finishing shelf up and locate the hardware I’ll need to attach the cubbies to the back.
I started with a back slightly larger than what I needed, then plopped the cubbies down onto it and lined it up so that the bottom cubby was flush to the end of the plywood. I used my pin nailer to just tack things in place to start. The end is easy as it should be flush, but to make sure the rest weren’t crocked, I pulled a tape to get the spacing perfect before tacking the rest. With it not able to fall off now, I tilted the entire unit on it’s face so that I would have access to the underside to throw in screws. Here, I made sure to pre drill to prevent splitting.
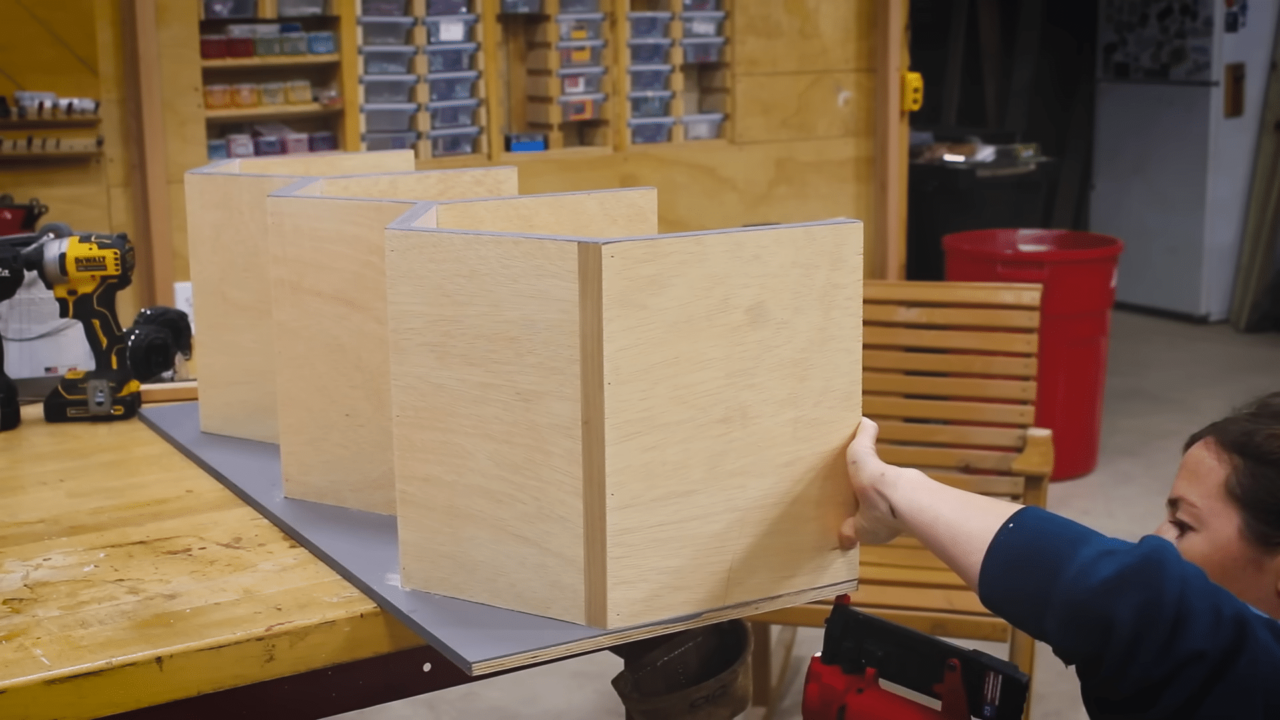
The top location is easy to locate because you have a visual on where the shelf is located. However, the second one is tricky because it’s in the middle of nowhere. What I do is grab a speed square, this Crescent one has an additional 6” flip out rule so that I can position it in the center of the shelf, go down to the dimension needed, and pre drill. If you don’t have this speed square or another long one, then a level would also do the trick.
For the angled portion of the shelves, the speed square wouldn’t work, so I grabbed a scrap and cut in an angle at the tip. This way I could rest it on the shelf and allow me to mark the height. Making sure to keep it in the same location, I moved the scrap to the face closest to me to now drop it down back to the line I made which gives me the location of the angled shelf to pre drill and attach a screw.
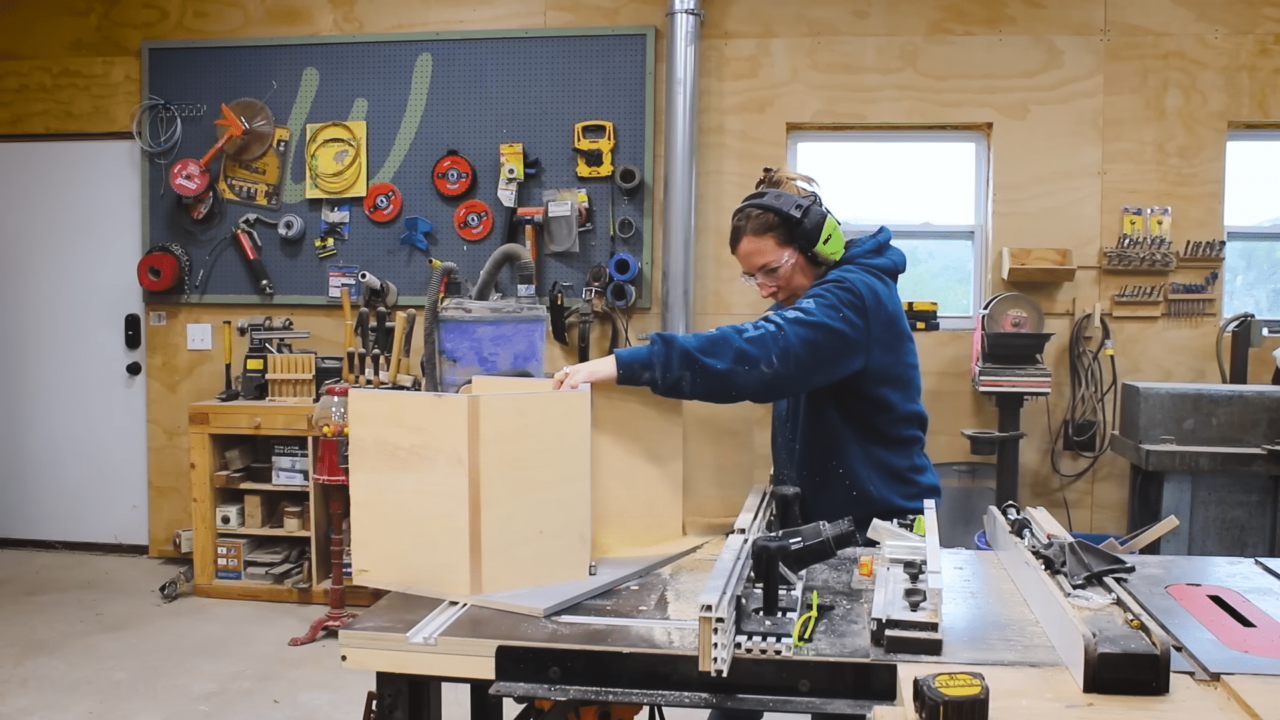
With the back on, this thing now feels really secure and strong. I flipped it up to take a look. I actually think it looks pretty good with a square back on it and was considering leaving it as is but then I decided to stick to my original plan and make the back flush to the geometric shape. I wasn’t able to locate my palm router, which is actually the ideal tool to trim the back off, so instead I put a flush trim bit in my router table and trim it off that way. The key here is to keep the unit nice and flush on the table as you move it along.
I laid the unit over and attached the side. This will help support the horizontal shelves that will actually be supporting the load of the firewood.
Last thing to do was install them. Now I personally wanted mine up off the ground so I wouldn’t block an outlet I have over on the right hand side. Then I also like to use this area for storing my games and puzzles. With that, I propped the units up, found the studs, then drove a few screws into the back of the unit to attach them.
Ok lets load it down and see how much it can hold. Now that, is much better than before. Instead of ugly boxes and totes, I now have a nice firewood holder with dedicated space for the wood. This will allow me room to store and separate all different sizes of firewood during winter. Then I personally like the look of wood enough to keep it full year round, but I could also store other kinds of nicknacks during spring and summer should I want to.
What do y’all think about them? Remember how easy it is to make larger or smaller. I even think they would look good horizontal, depending on your space. I have a set of plans for this project as well as many other over on my website. In fact, if you want firewood storage ideas, I have a few of them.
I’ll see you next time.