
How To Make A Dog Food Dispenser
- Pet DIY Projects
- April Wilkerson
- Updated: February 26, 2023
Thinking about building your own dog food dispenser? Check out this project where I built a dog food dispenser for my own dogs, to make feeding time more fun!
Man, it’s crazy how fast time flies. It was five years ago that I started making videos and showing people how I was figuring out how to build things I needed. And one of those things was a dog food dispenser. It was a simple shape and at the bottom I placed a blast gate to release food into a pouring container. It worked great but there was no way to regulate how much food was being dispensed.
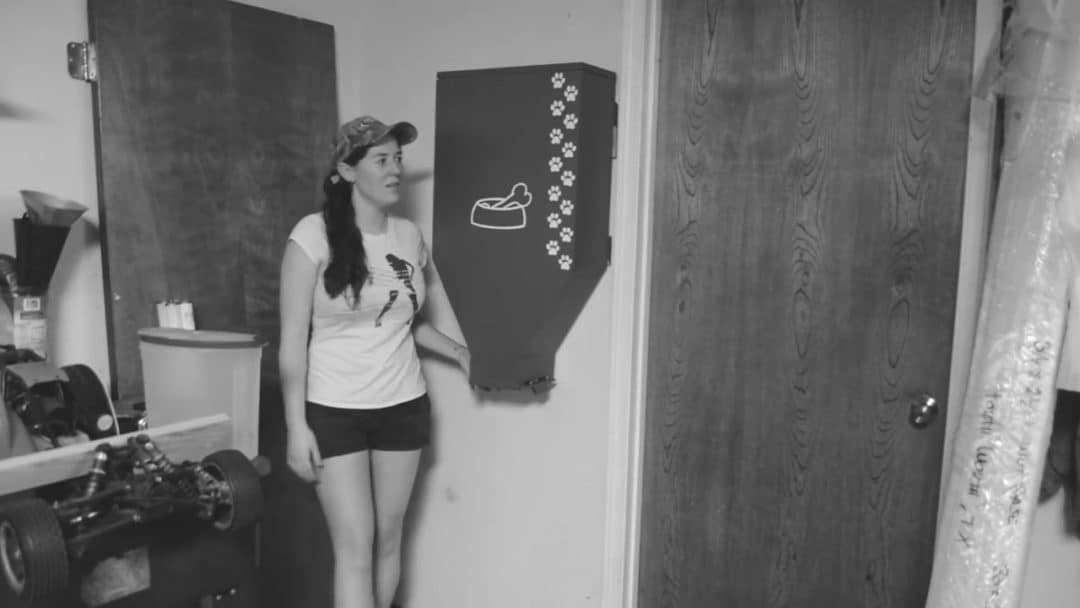
Well, in this project, I’ll show you how I remade the dispenser with a mechanism inside that releases a set amount of food per pull of a lever. Pretty cool huh?
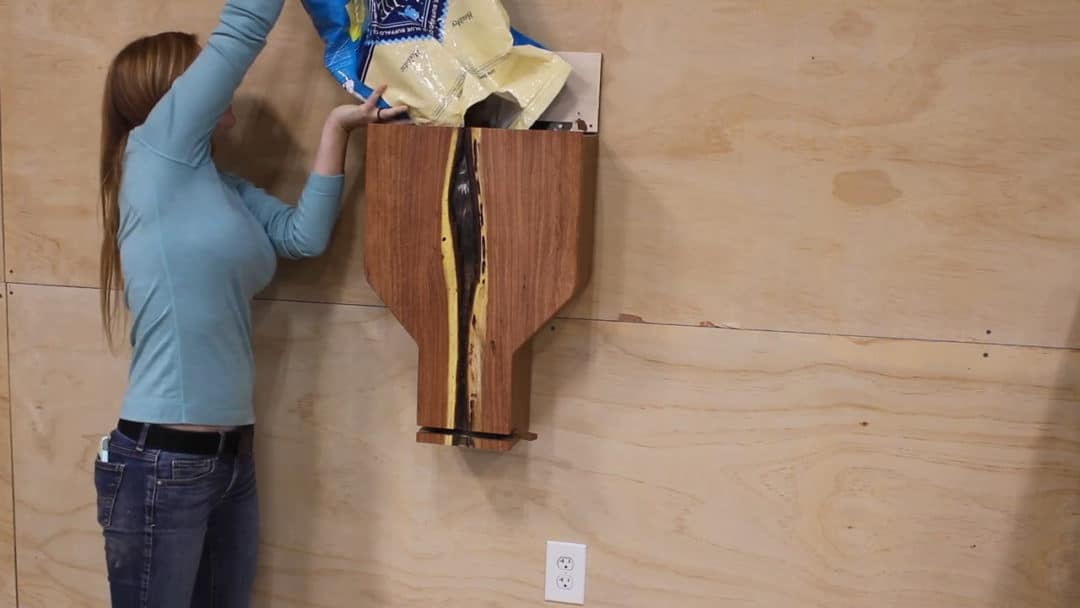
Let me start at the beginning and show you how I did it.
ISOtunes Bluetooth Hearing Protection
Armor Mobile Workbench
Armor Hold Down Clamps
Triton Circular Saw
Triton Jigsaw
Miter Saw
Wilker Do’s Miter Saw Stand
Wilker Do’s Ultimate Workbench
Armor Pocket Hole Jig
Bessey Quick Clamps
Triton Large ROS
Triton Router
Infinity Round Over Bit
Wilker Do’s DIY Drill Press Stand
Titebond II
Titebond Instant Bond
Titebond Quick and Thick
Router Table
Wilker Do’s DIY Plywood Workbench Modifications
Infinity Mega Flush Trim Bits
Bessey Clamps
Bessey KlikClamps
Cross Cut Sled
Trim Router
Track Saw
Plug Cutter
Ok, lets start with making the body.
I kept the overall shape of it the same as before, because honestly the shape is the best for the application I think, but this time I wanted to soften the shape some by adding in some curves. Instead of messing with bending wood, I cut out a template on my CNC then traced it onto a sheet of plywood wood, then cut it out.
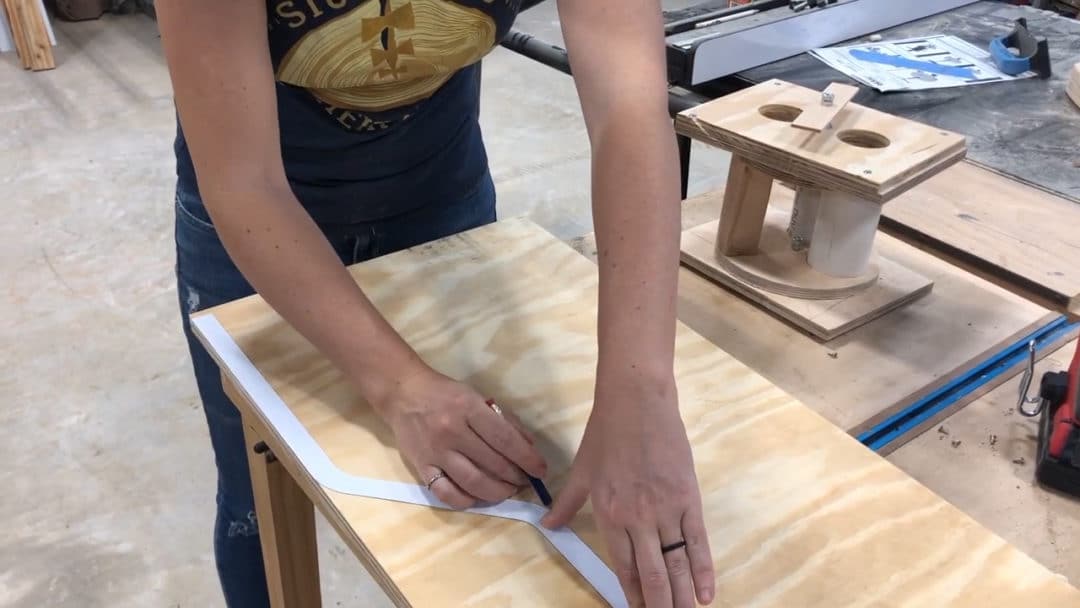
What I’m doing is building up the sides to the height needed by stacking identical parts on top of each other. Once I had the needed amount of parts cut and shaped, I started gluing them together. I’m using Titebonds fast drying Quick and Thick here and also using a brad nailer to hold the parts to the previous one.
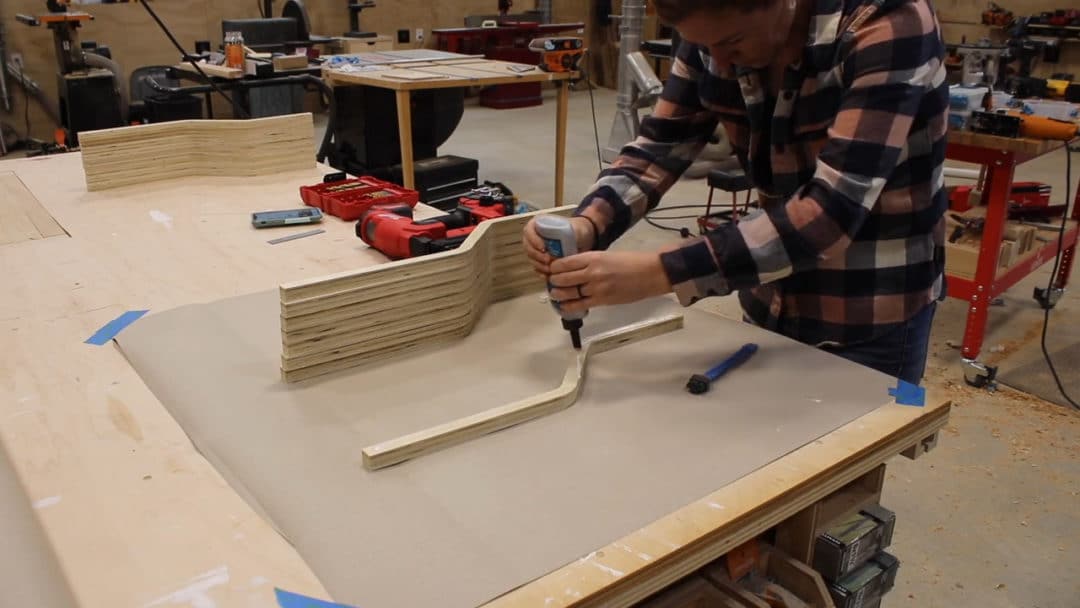
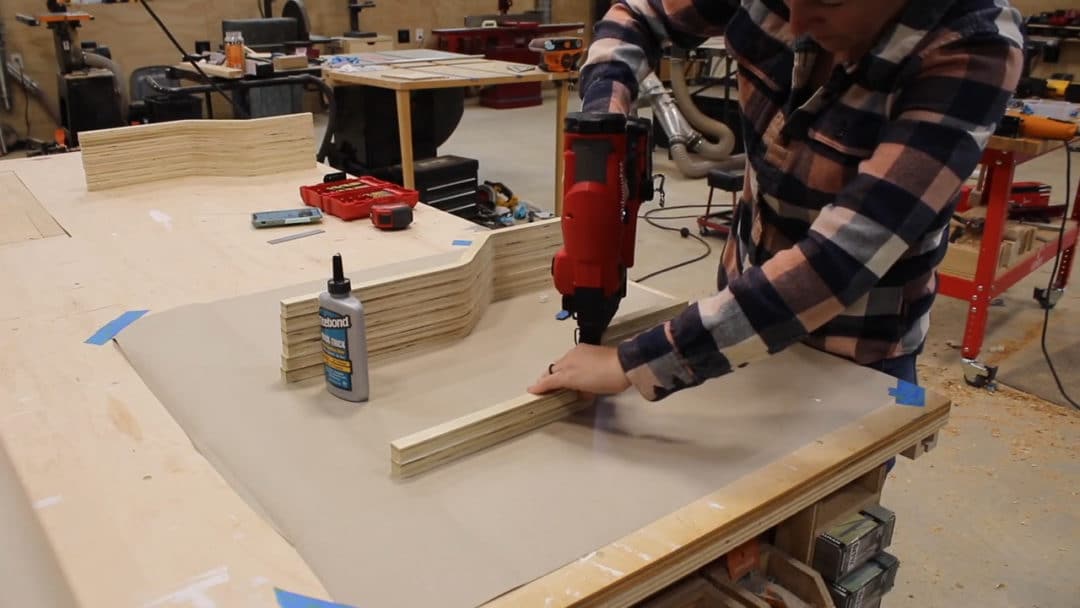
For the body I’m using a construction grade plywood because I’ll be painting it later on. If you would rather stain it, then you can do the same process from any solid wood as well.
As I was laminating the sides, I did my best to keep things aligned so it would minimize sanding and shaping in the next step. Once the glue was dry, I gave both sides a good sanding with 80 grit to smooth out any slight unevenness between layers.
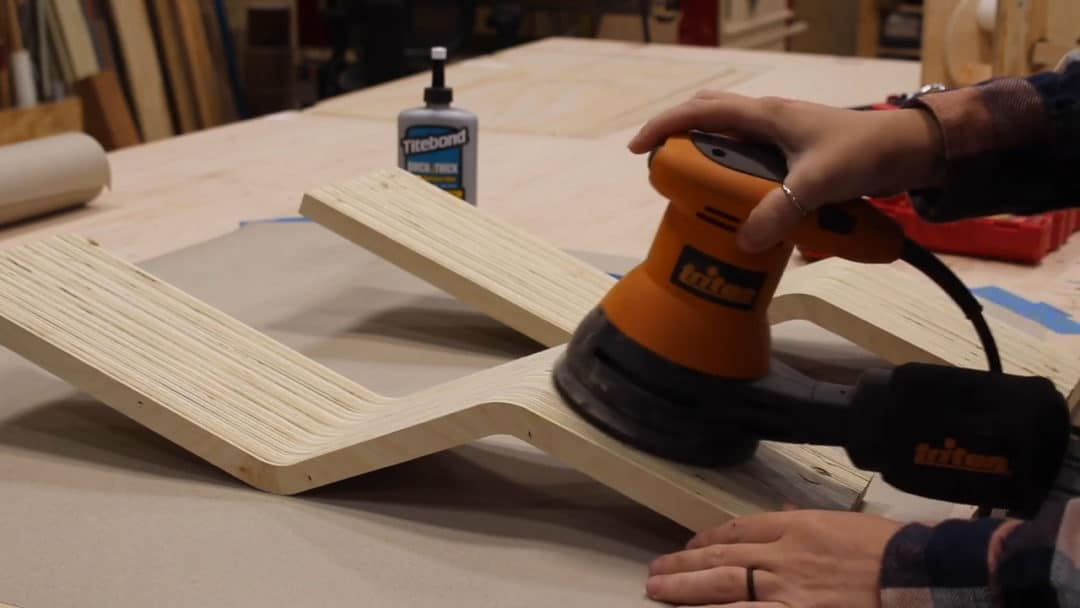
If you use plywood, unless you use a really high end grade there are always a few voids in the plys. My method for filling these in for a seamless paint surface is to apply some joint compound to it. Once the joint compound is fully dry, I again sanded but this time with 120 grit, just until the compound filled in areas were leveled out.
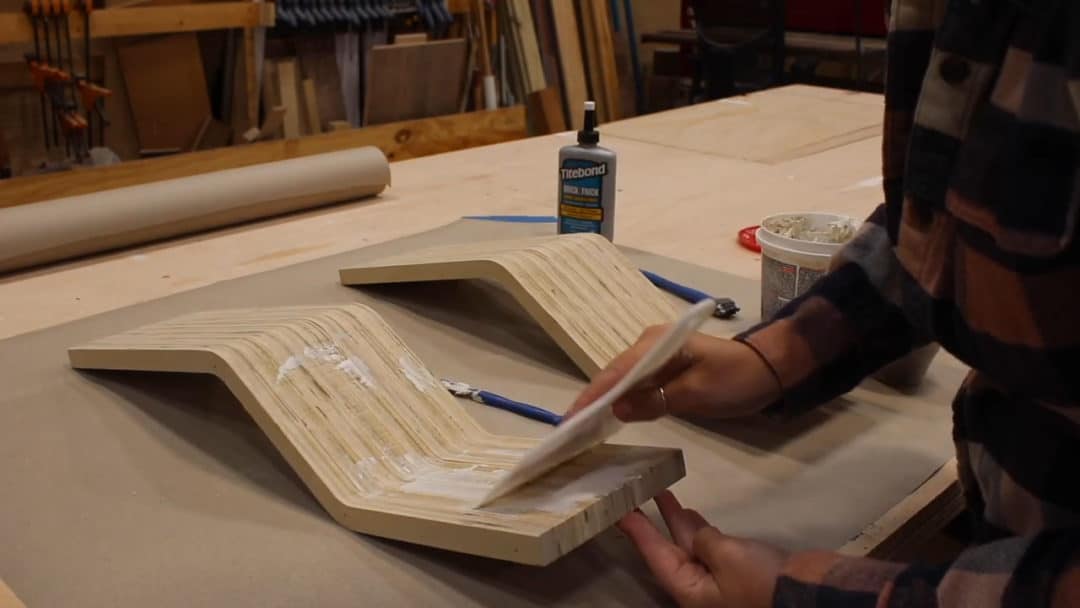
Alright, that is the body done for the moment so lets start work on the mechanism.
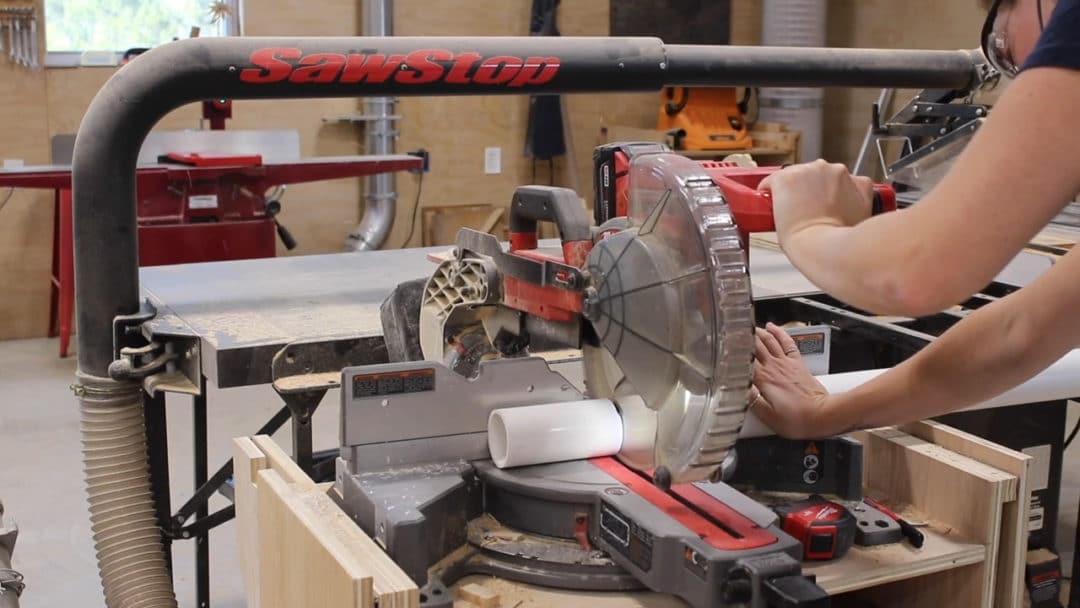
My little dogs eat 1 cup of food each a day so I started off building a mechanism that would dispense that amount. I grabbed some PVC pipe and cut two lengths at the miter saw. This is what will store the needed amount of food.
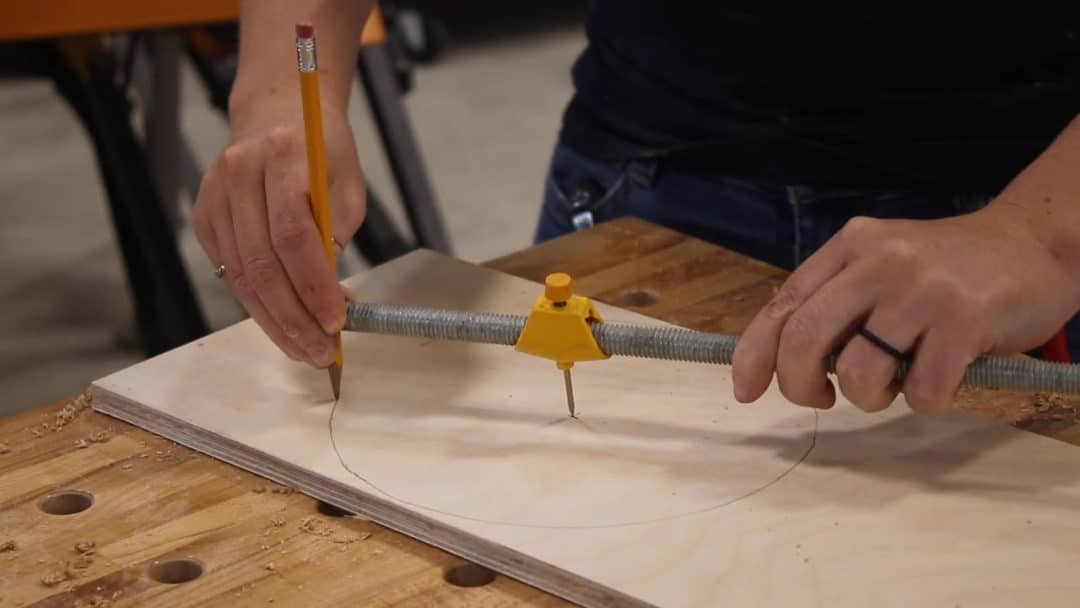
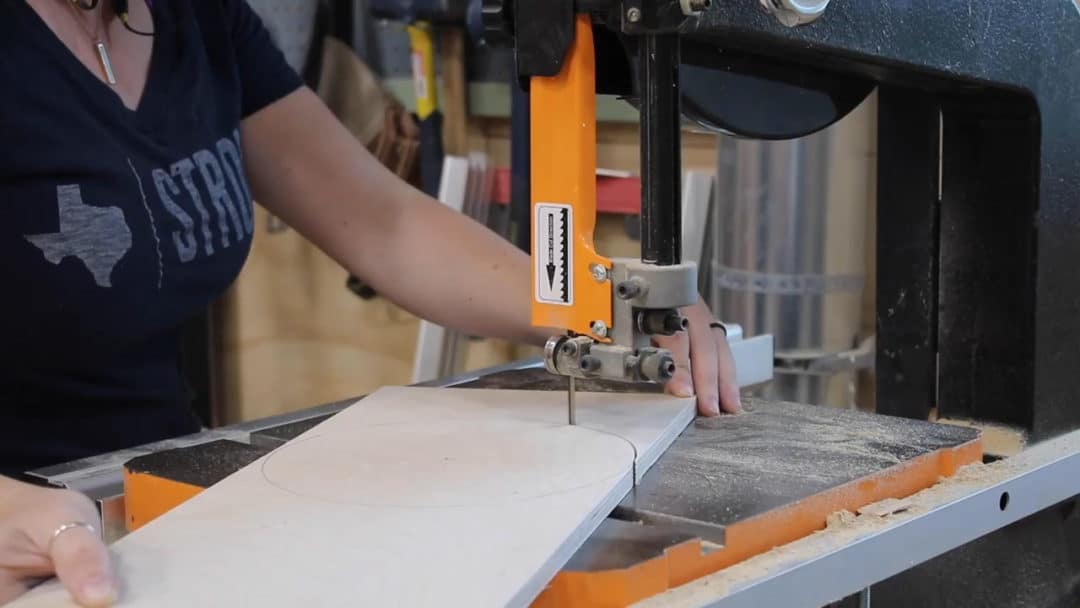
Next I grabbed some 1/2 scraps and started making a few circles. I used a compass to draw the circle, a bandsaw to cut them out, then a forstner bit to cut out the smaller needed circles.
If you don’t have a forstner bit, you can instead use a drill bit to punch a through hole large enough to get a jigsaw blade into, then use a jigsaw to cut it out. This whole assembly creates the inside portion that holds the food and rotates about when the lever is pulled.

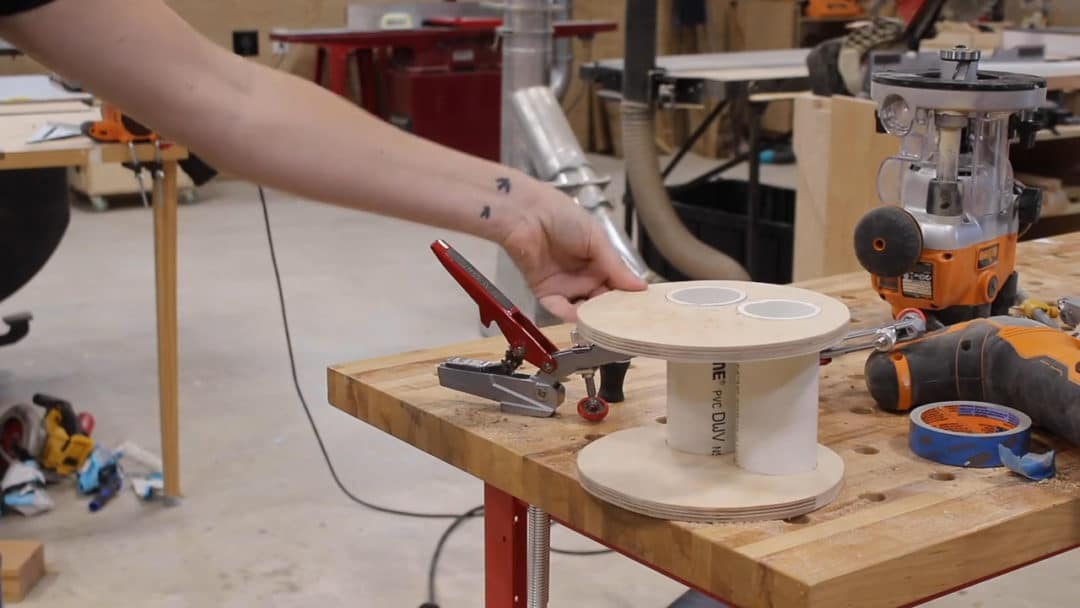
Now to make the top and bottom parts that will open and close off the holes and stay stationary while the inside moves.
I’m again using scrap to make these parts and started by cutting a few rectangles at the tablesaw. Then I clamped them to my Armor Tools workbench once again and punched a few holes.
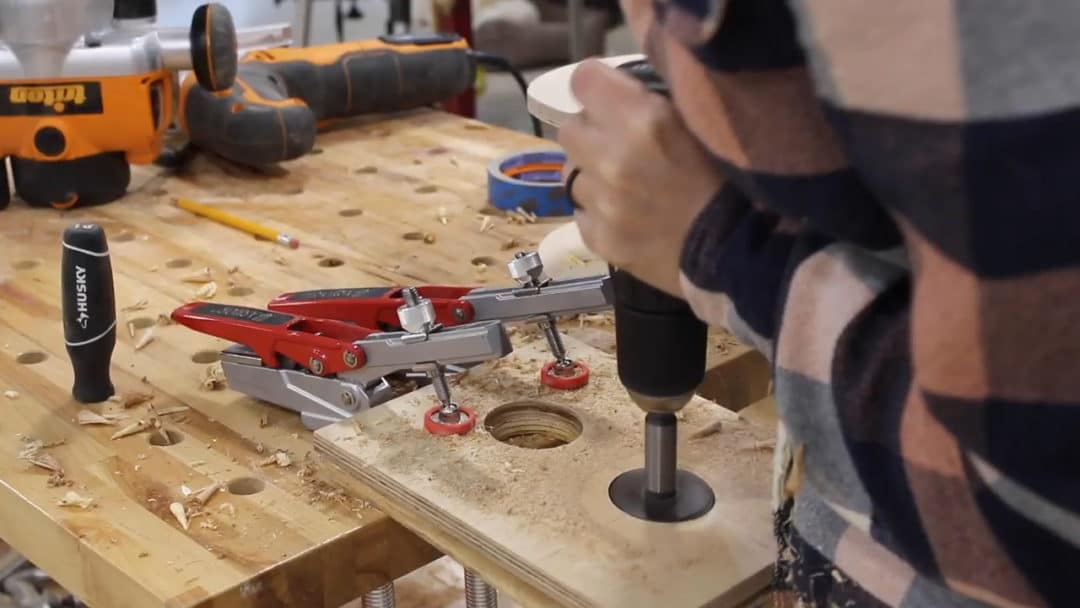
In one of the plates, after the two holes were cut out, I used a jigsaw to cut a curved pathway between the two. This simple cut out drastically cuts down on the food getting stuck and crunched when moving the lever and cutting off the flow of food.
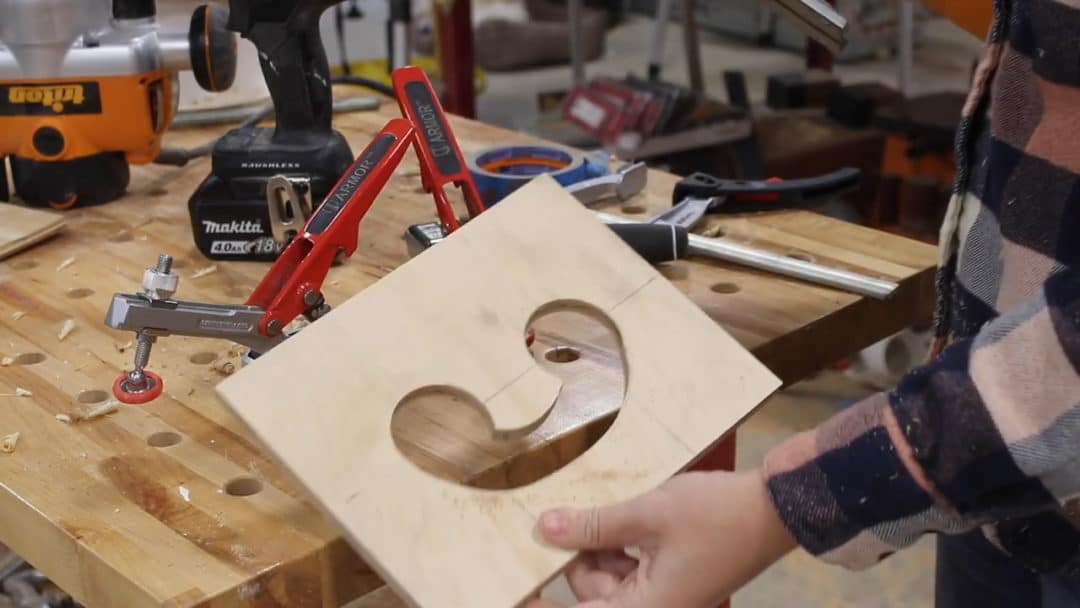
After drilling yet another circle in what will be the bottom, where the food drops out from, I piled all the parts on top of each other and drilled a center hole through. This will give me a way to connect them all.
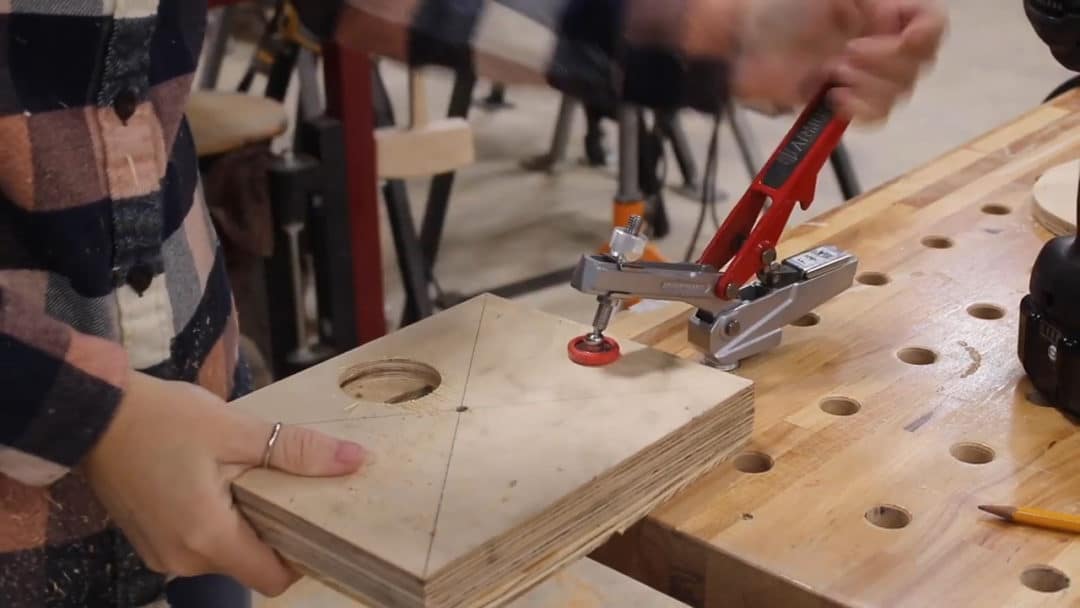
I started with the top of the assembly which has a circle cut out, and two square pieces, being held together with a carriage bolt and two nuts to lock it in place.
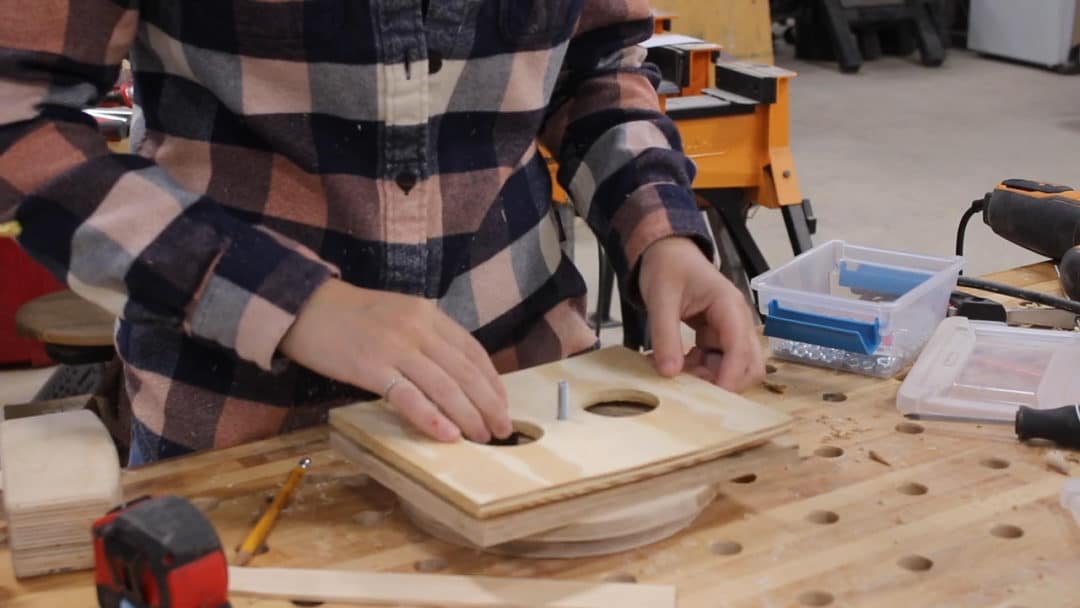
I also put something on this assembly to agitate the food. In my case this is a paint stirring stick cut to length. This part will knock the food around when moving the lever, to keep it flowing nicely into the pipes below.
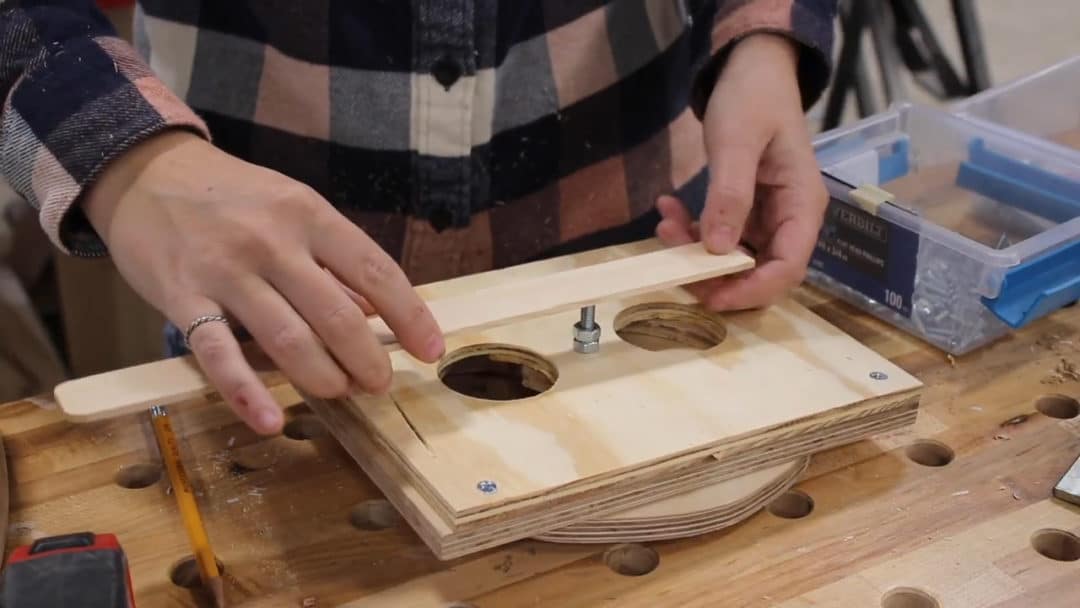
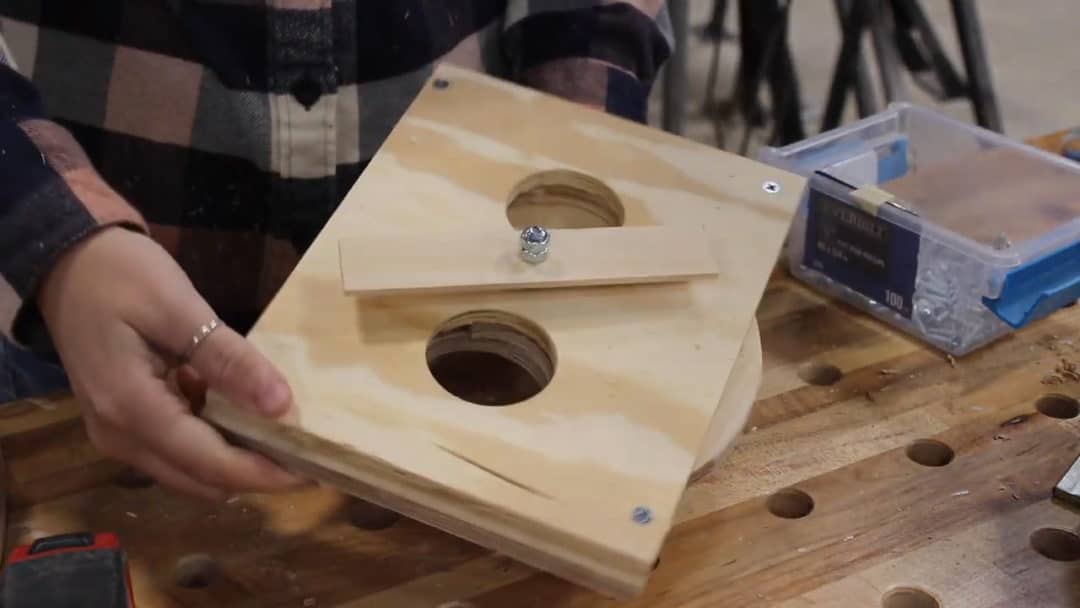
Next I flipped it over and started assembling the bottom, first attaching the circle with two cutouts. Oh, and I again used Titebond’s Quick and Thick to glue the PVC pipes to the wood. This is an interior multi surface glue so it’s perfect for sticking different material together quickly.
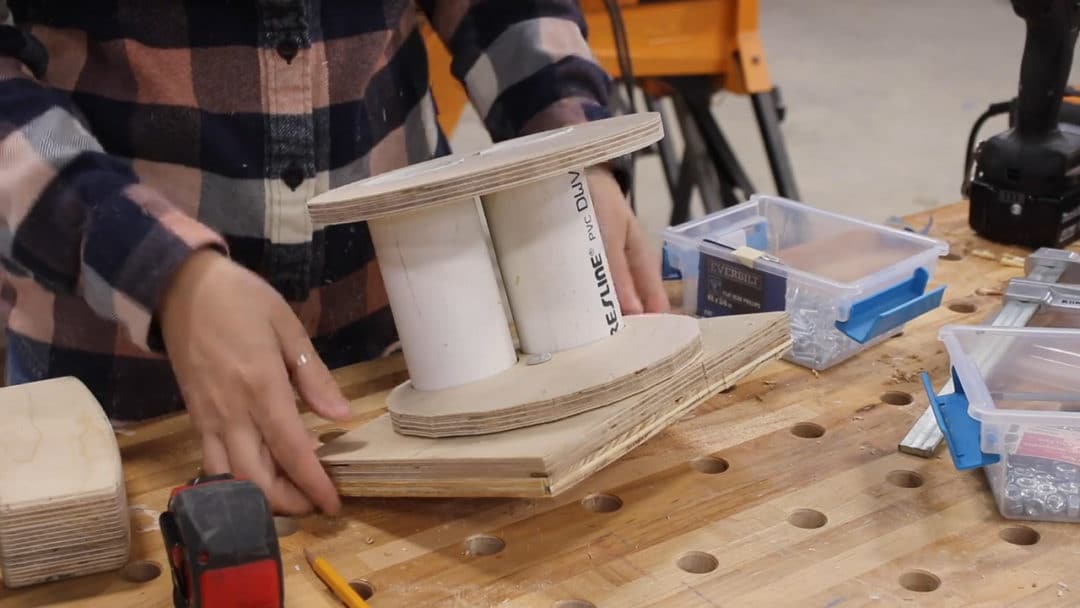
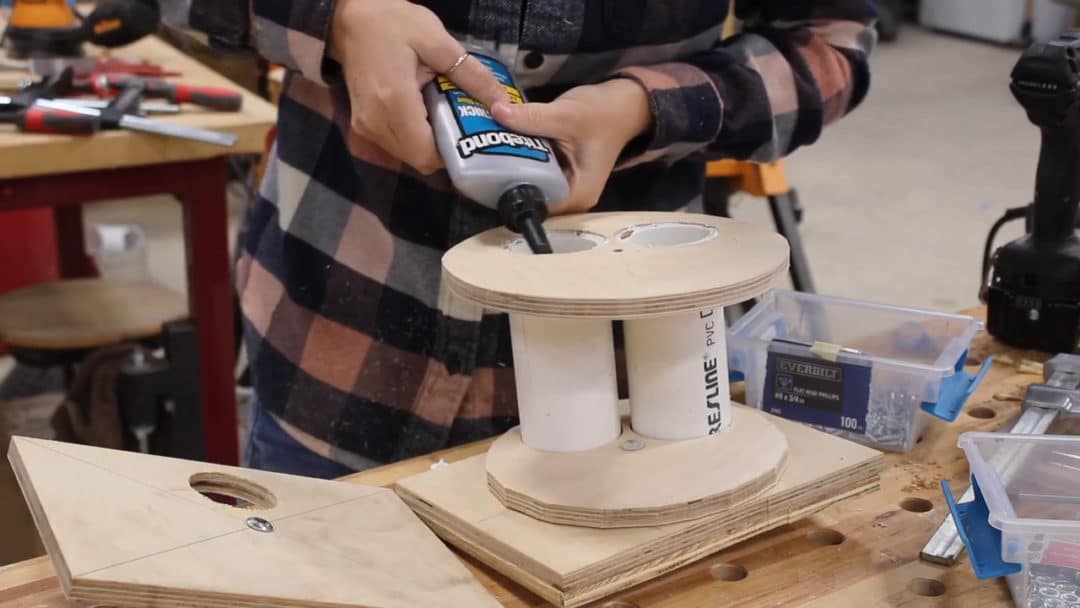
Then lastly I threw on the bottom rectangle where the food drops out of and tighten everything down.
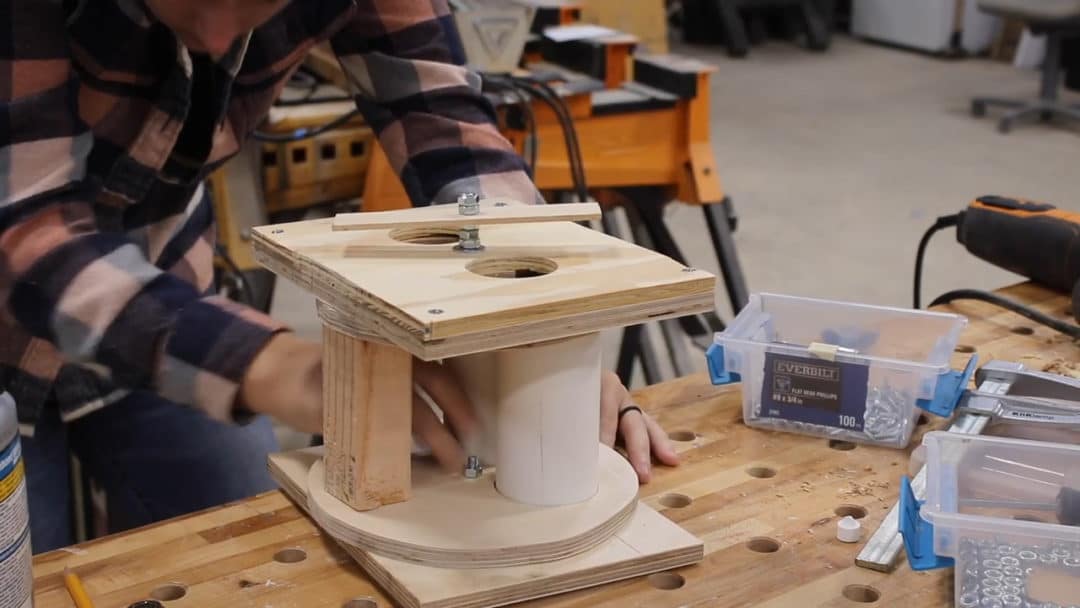
Let me see if I can show you how it works….. When I attach the lever, I’ll be able to rotate the inside circles to one side which opens one of the pipes while closing the other. This is the top so one will always be filling while one will always be closed off. When rotated the other direction, the opposite one will fill.
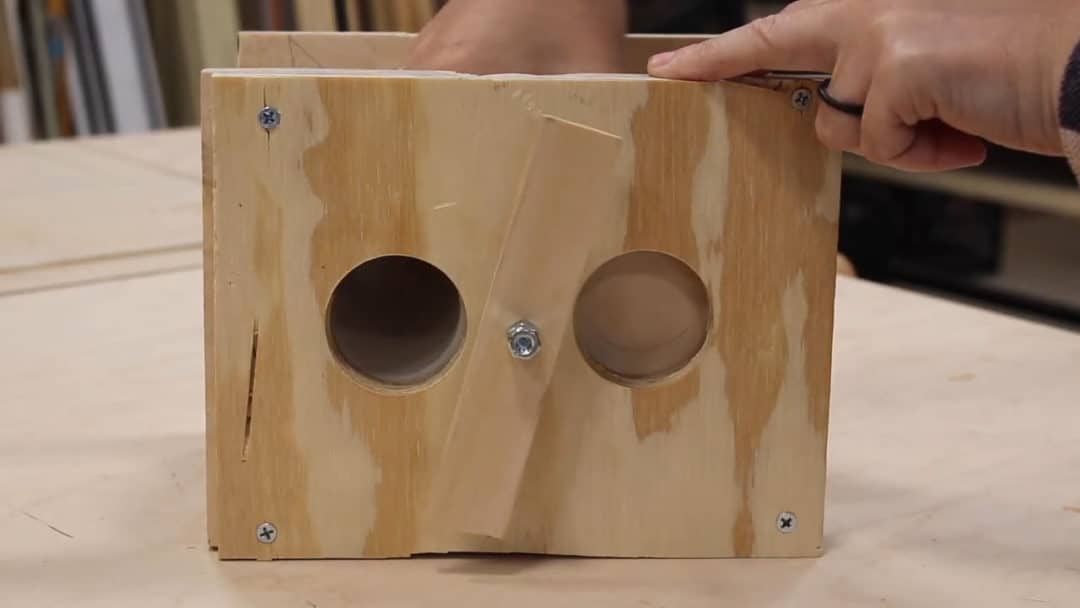
Then on the other side, where there is only one hole, one pipe is always emptying while the other is closed off. The closed off pipe is the one filling so that when the lever is pulled, and things shift, it is then emptied while the other is filling.
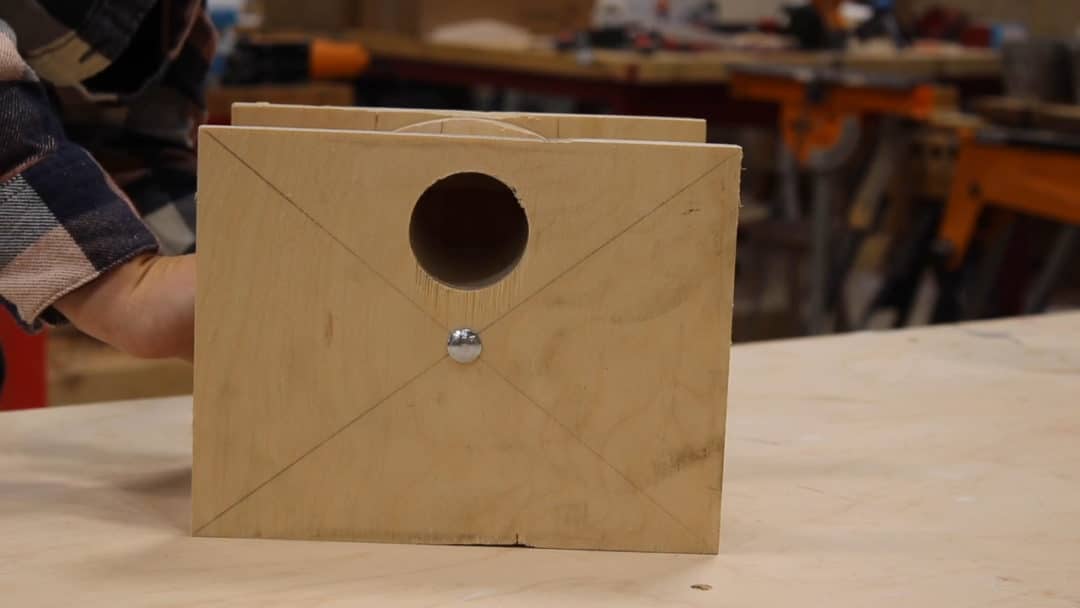
In theory you can resize the device to hold any amount of dog food, cat food, cereal, coffee beans….really anything you can think of. Just be aware that the larger in diameter of pipe you go, the larger the entire dispenser will become. After putting this one together I actually downsized because while my dogs eat 1 cup of food daily, they eat it over two times in the day so next I made a device to dispense just 1/2 cup of food at a time.
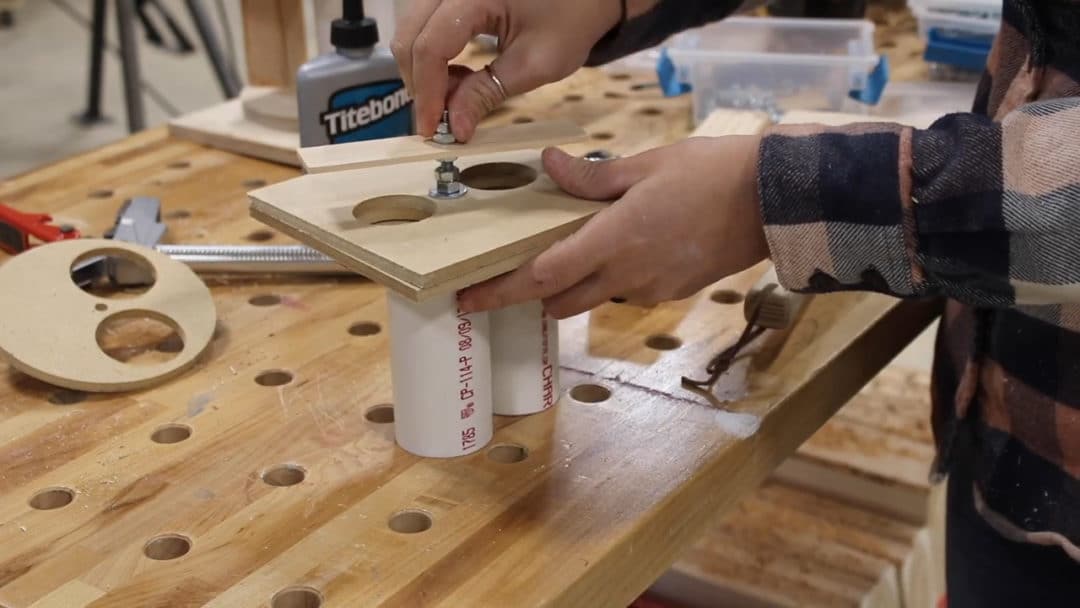
And you can see here the size difference in the device, which will determine how big the body needs to be.
Before setting that aside to build the front, the last thing I did was stick a handle on. I made a simple shape then again used some Titebond to attach it to the device itself.
**And a side note: if you are interested in building this mechanism, I have a set of DIY Dog Food Dispenser Plans for it here!
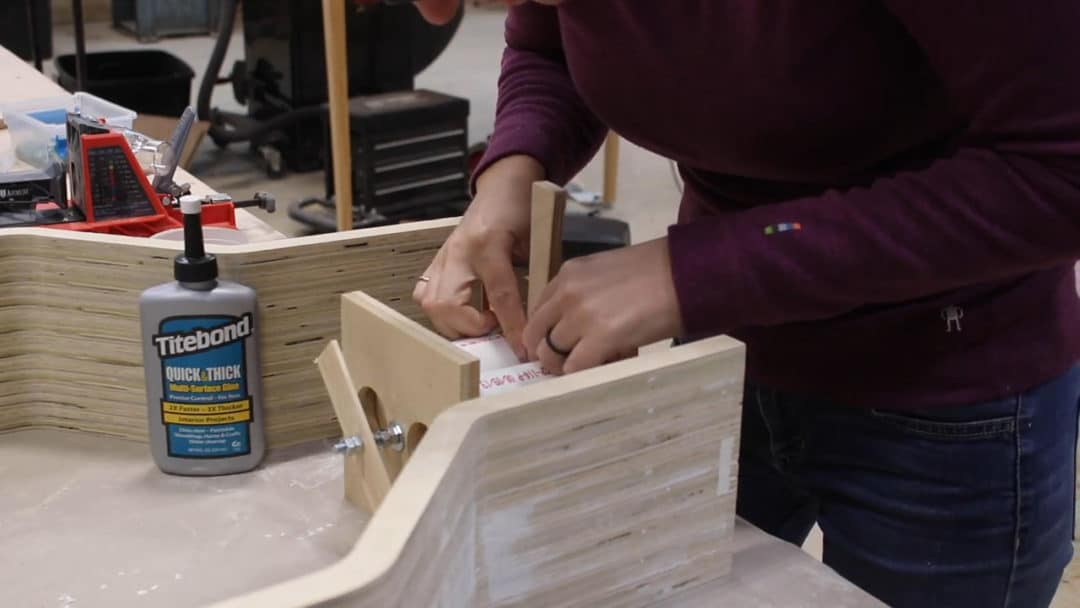
Ok, and now onto the face. Remember that this can be something as simple as a sheet of plywood but I thought it would be really cool to use some live edge, and do a clear epoxy pour in the center to be used as a sight glass so that one can see inside to read the level of food remaining.
Evener cooler, I’m using a piece of mesquite I personally milled up myself a year ago with my chainsaw mill.
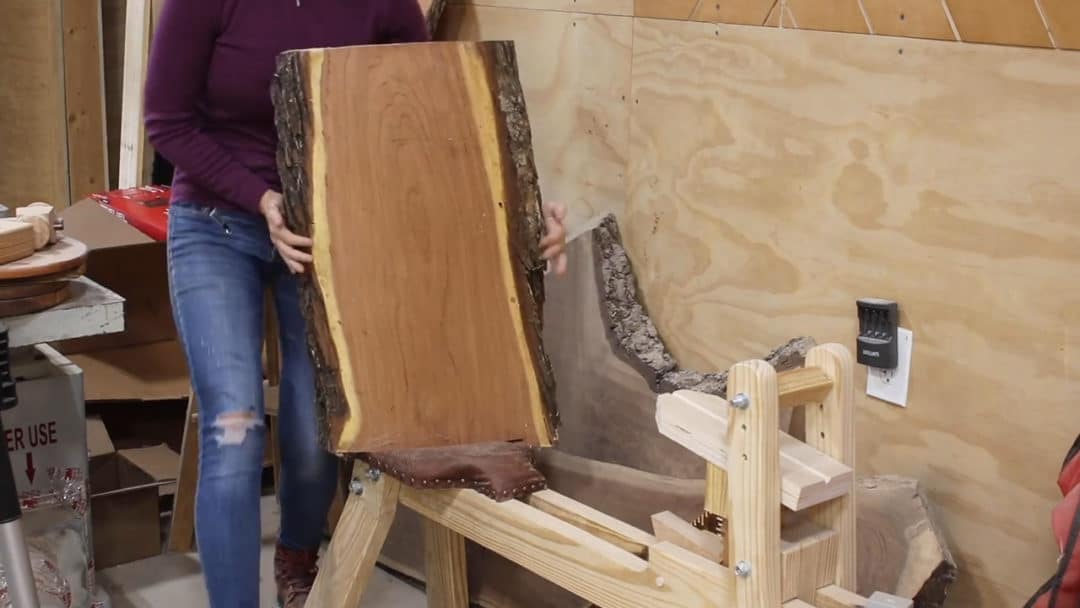
It just happened to be the perfect height for this project and it was actually wide enough to use as is, but I thought I would make a much cooler piece if I cut it down the middle, resawed it to book match, and point the two live edge portions towards one another.
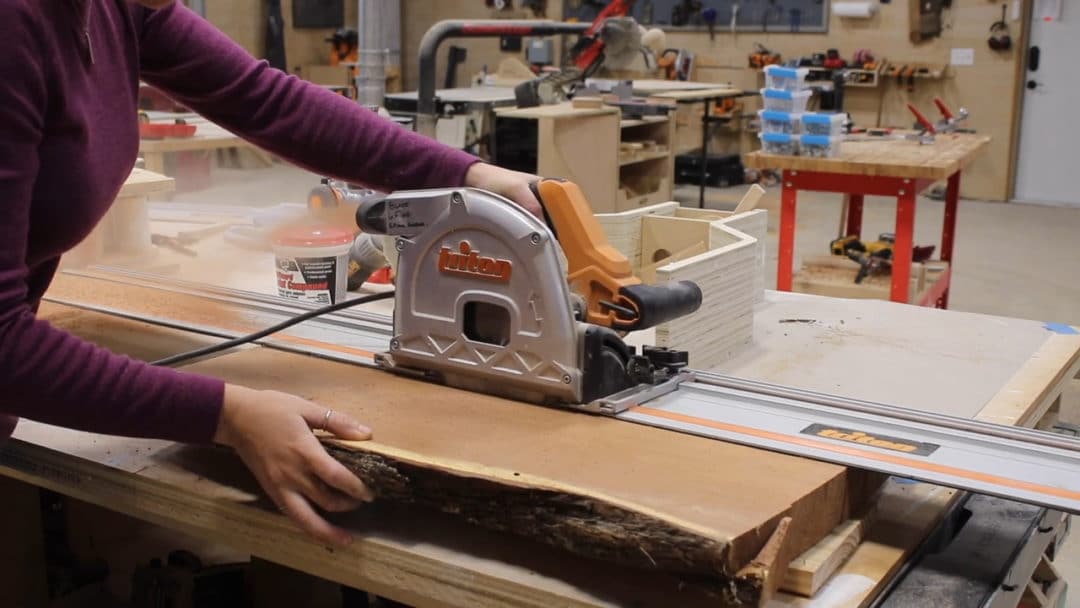
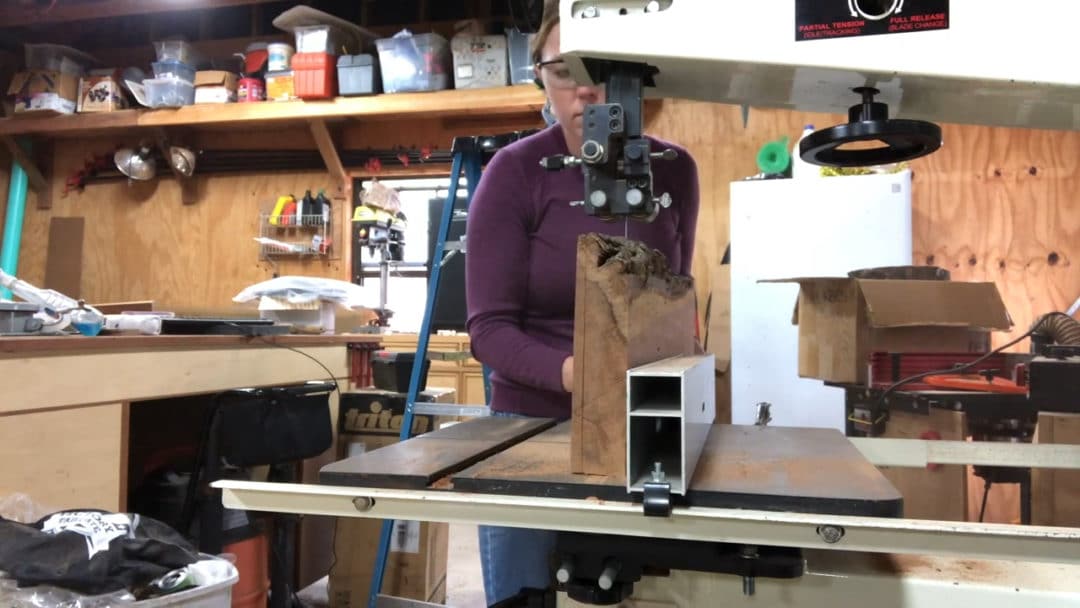
I used my Track Saw to rip it down the center but even doing this, it exceeded the cut capacity of my bandsaw to resew it. So I took it to my neighbors shop and used his to get two boards that are about 3/8” thick.
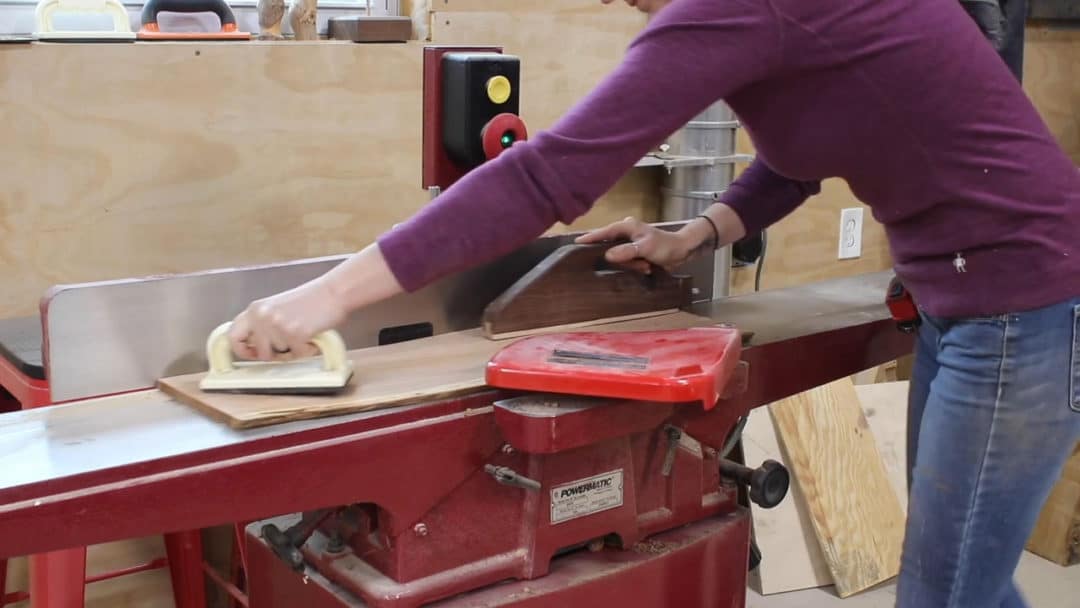
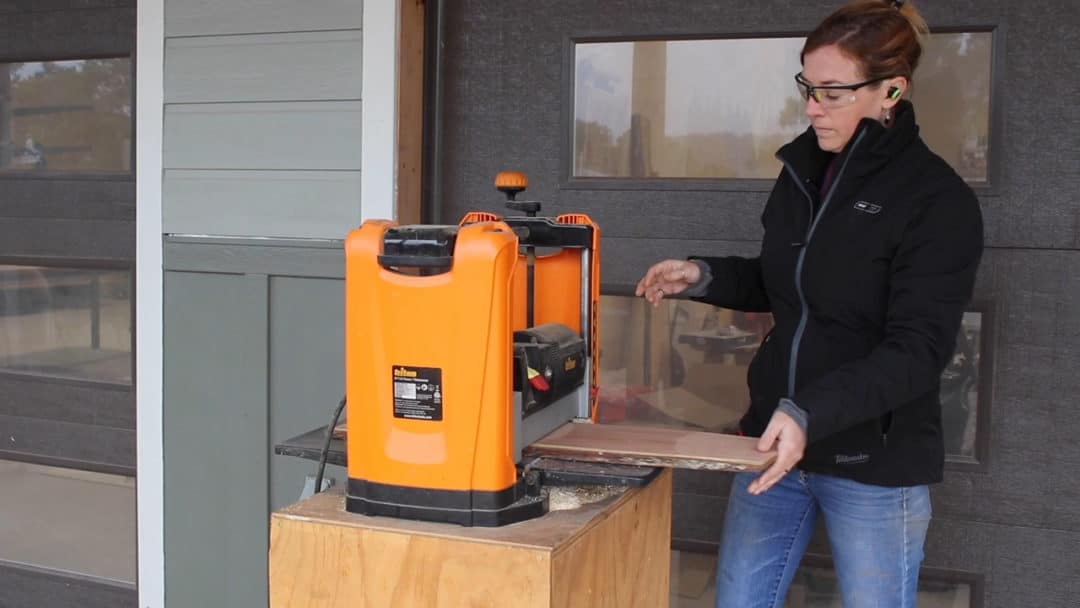
I quickly ran each one over the jointer to get one side flat, then through my Thickness Planer to get the second side flat.
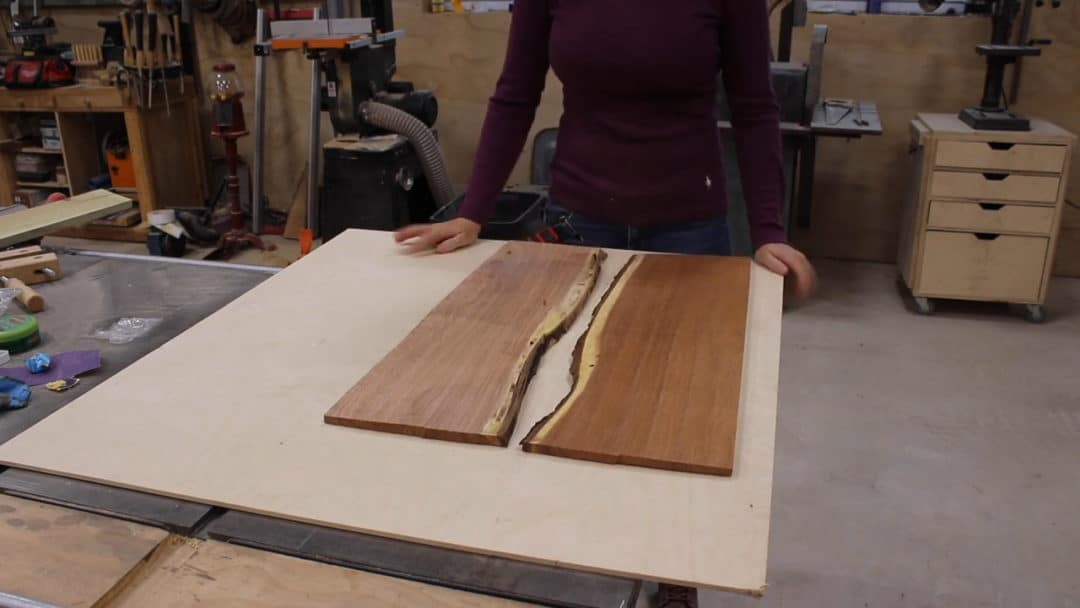
Next I set up a station to do my epoxy pour. First figuring out how my boards were going to lay and how far apart they needed to be.
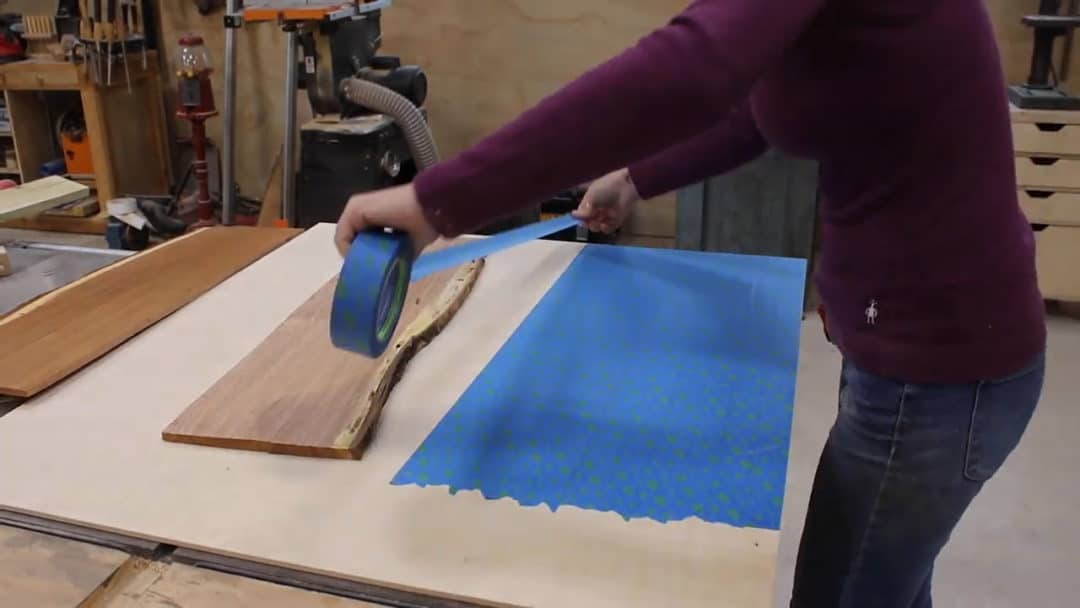
Next I laid down tape to cover up the bottom of the board and the intention here is to create a surface that the epoxy won’t stick to. However, I will tell you that this painters tape ended up sticking really bad. I hear house wrap tape releases much better, but I didn’t have any on hand.
After the tape, I cut a few scraps to length to create some walls. These will build a form around my two mesquite boards to keep the epoxy in.
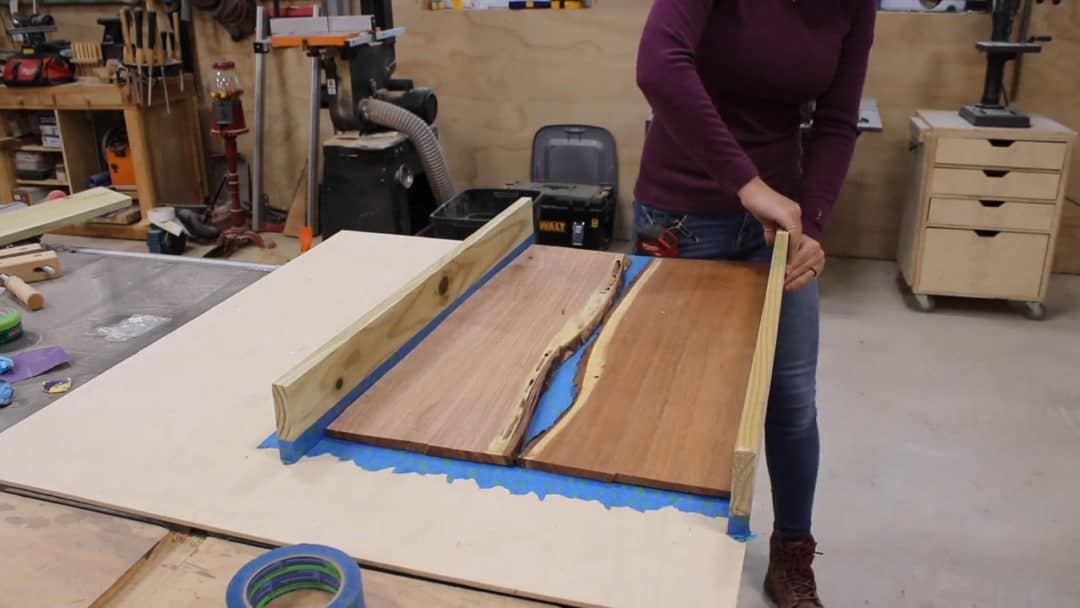
I again used tape on the bottom edges of these boards since that will be the portion in contact with the epoxy.
Next is attach the boards and seal around it to prevent the epoxy from leaking out while it cures. I’ve seen people use silicone before but that has a long dry time and I was trying to get the pour done that day…..so I used a fast setting adhesive from Titebond called Titegrab.
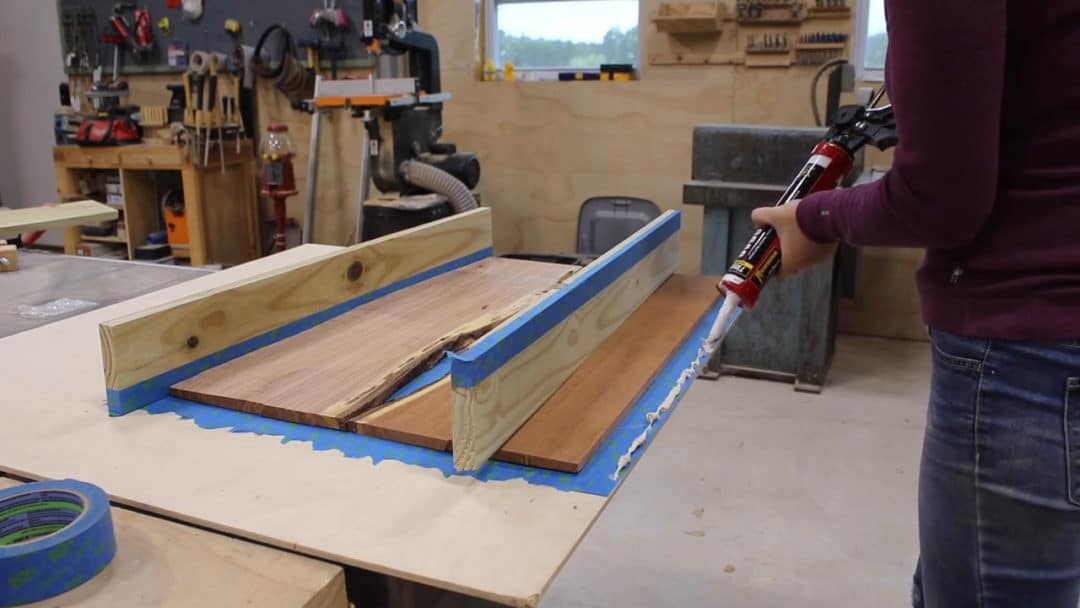
I laid down a decent bead under the side walls, then mushed them down on top. It is an adhesive so this will attach the walls to the bottom, then I took the squeeze out and used it to seal off where the bottom meets the walls and the corners where the walls meet each other.
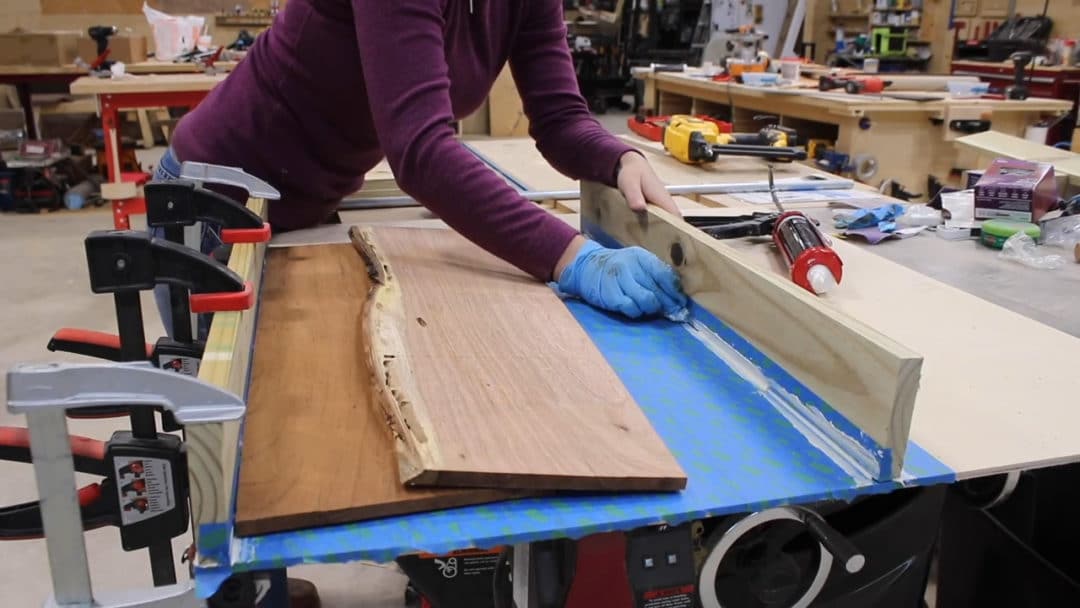
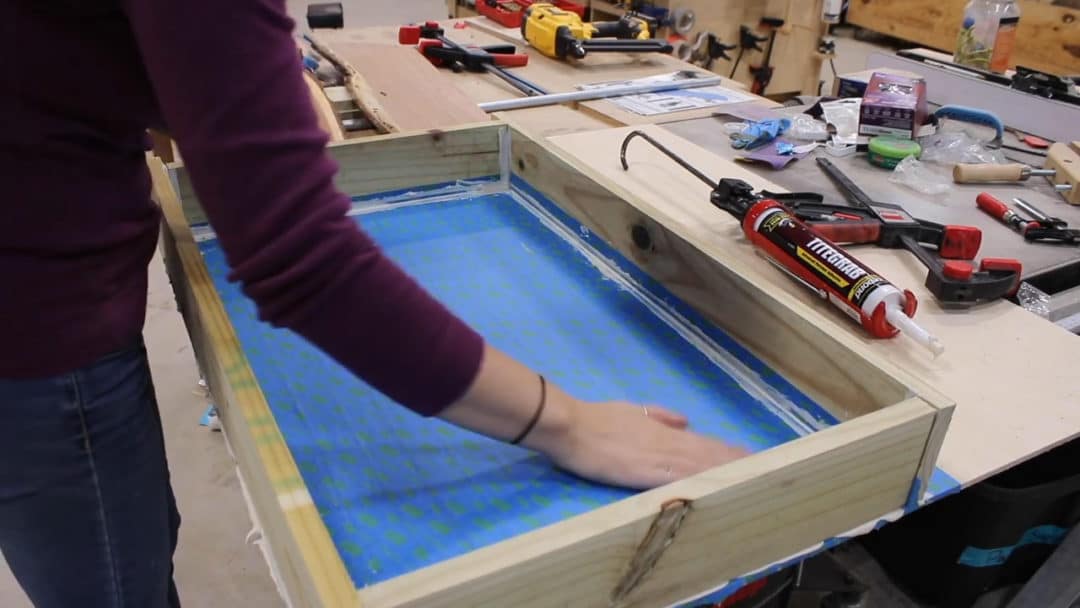
With the form done, next I set my boards in place then started to mix together the epoxy. My goal is to use this as a sight glass so it was really important to use an epoxy that would end up crystal clear. This brand Total Boat has always amazed me as how clear it comes out, so that’s what I used.
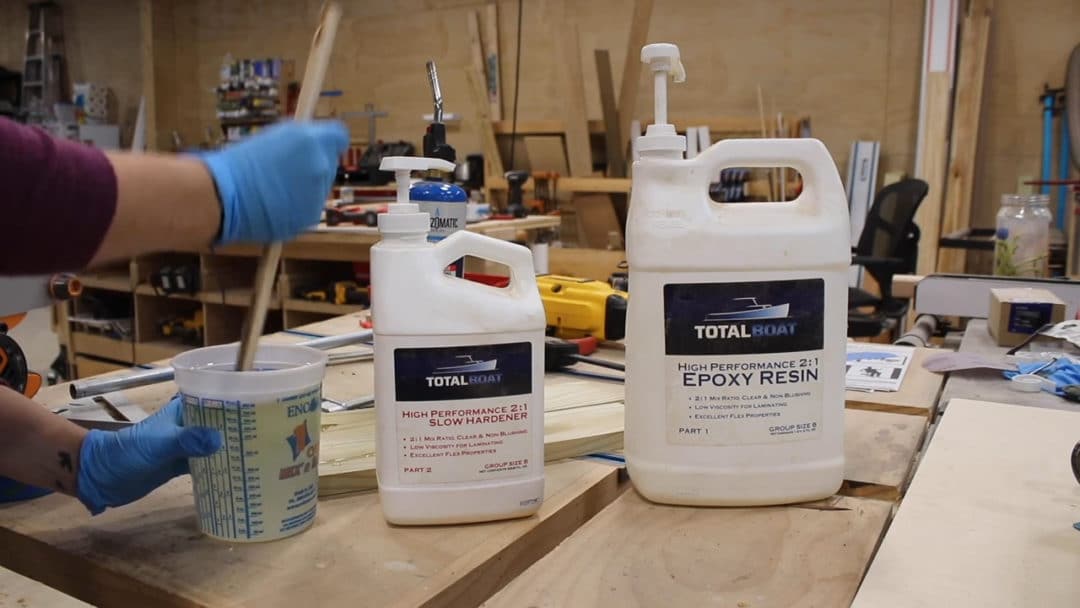
Be sure to read the instructions on how long to spend on mixing the two throughly together. Also, if you are needing epoxy, you can use the code AprilW to get 20% off anything TotalBoat.
Ah, Ok time to pour!
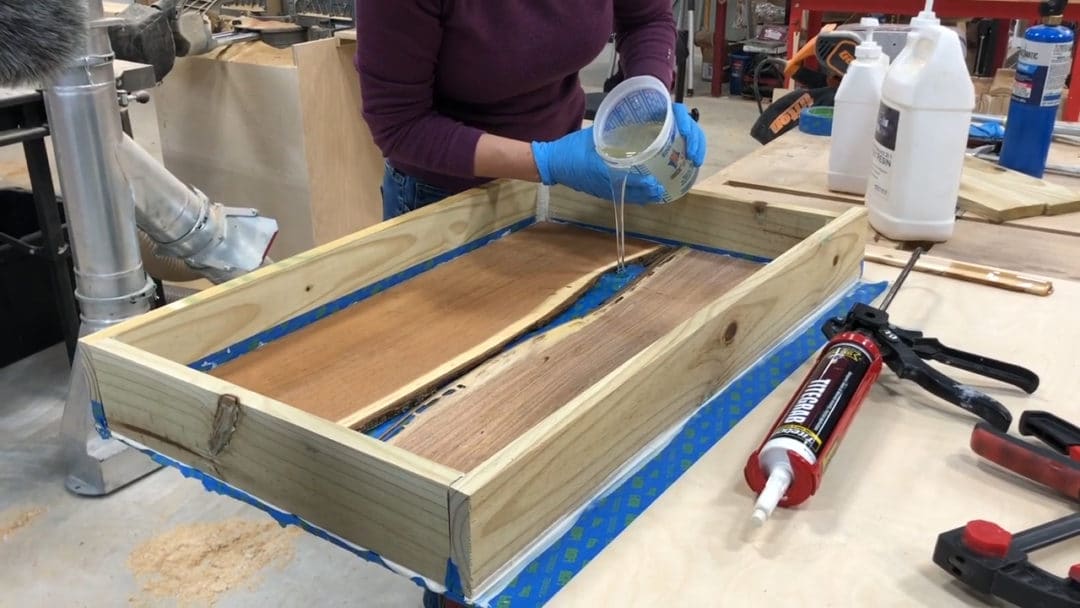
This is my first big-ish epoxy pour so I was a little nervous, but honestly there was no reason to be. I poured it down the center until it filled up to the surface, then waited for it to settled, then poured more.
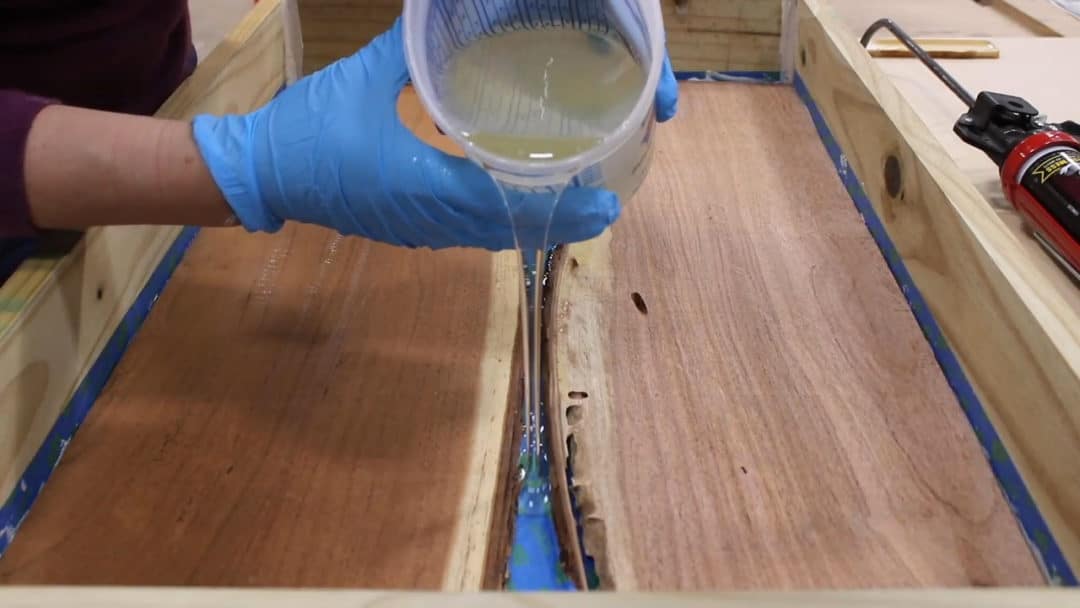
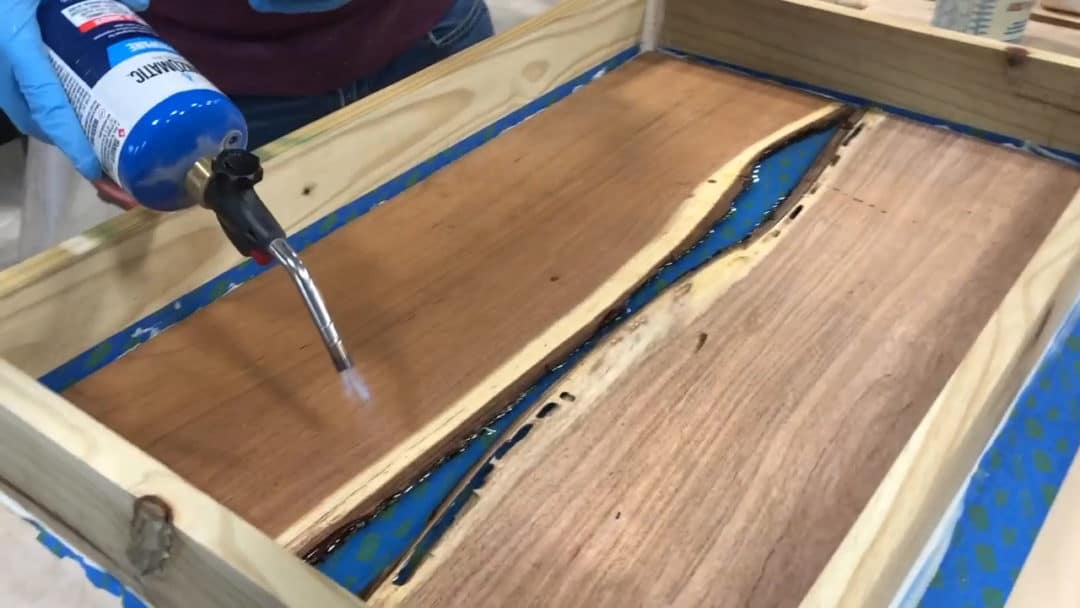
You’ll see there are lots of bug holes in the sap wood of the mesquite and I really didn’t want these to get filled in because I think they look cool as little tunnels. Once you are done pouring, you can use a quick flame to pop all of the air bubbles in the epoxy, then make sure your form isn’t leaking, then just let it sit until cured.
The next day, I used a mallet to bust open the form and expose the pour. The sides came off easily enough but that tape….nope, that was stuck pretty darn good.
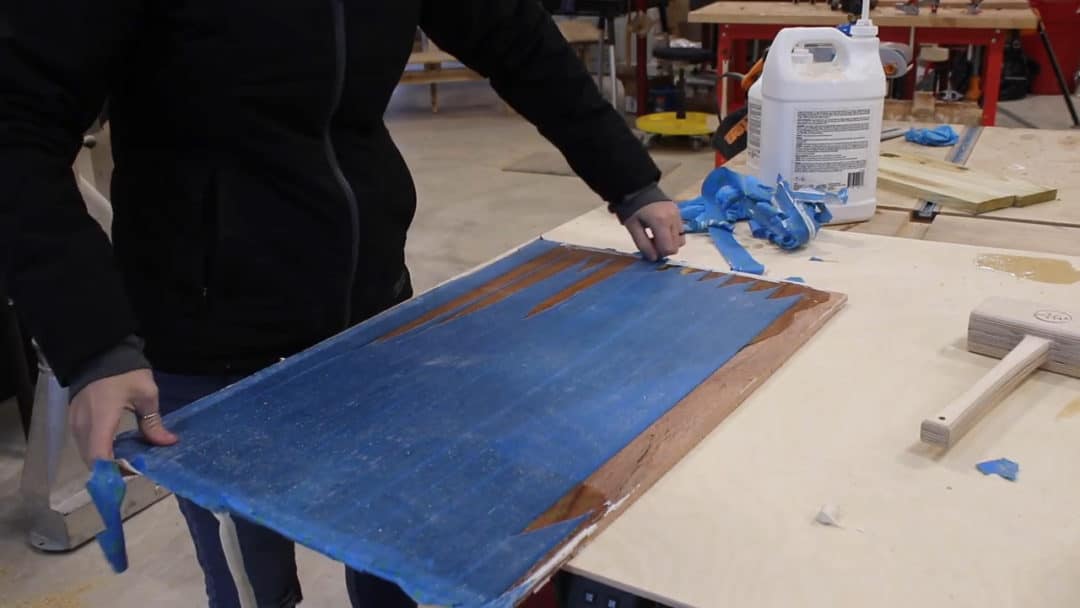
Instead of spending the time it would take to peel it off, I ended up sanding it off which wasn’t a big problem since the next step was to sand the front side and clean up all the excess epoxy. For this job I started with 80 grit and I used the more aggressive setting on my 6” triton ROS and this made quick work of the epoxy and the tape.
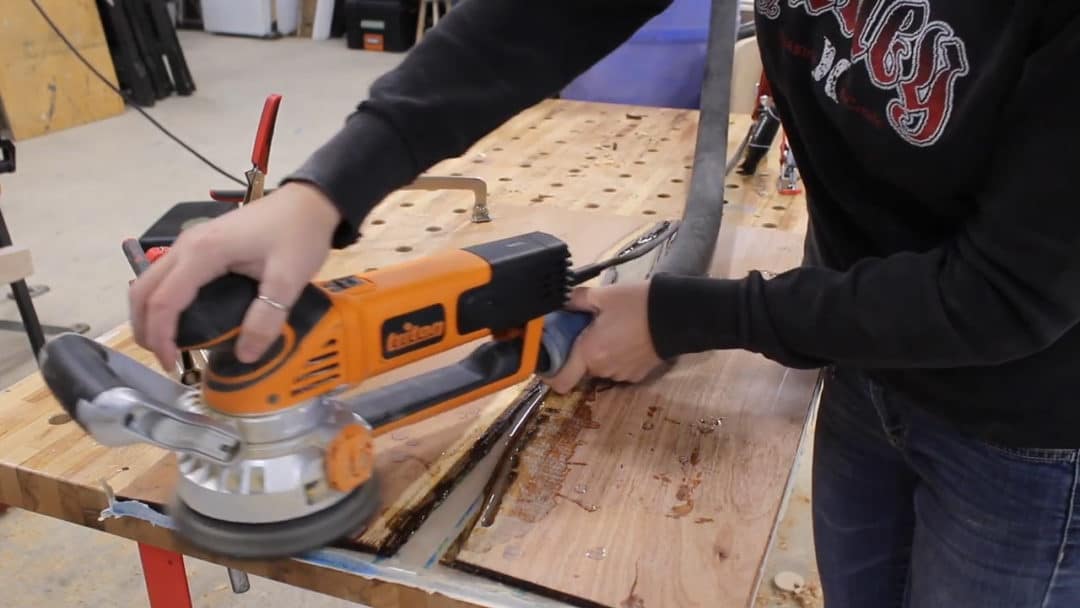
By just hitting it with 80 grit though, the epoxy is pretty scuffed up so the next step is to run through the grits and remove all the scratches further and further until it’s back to crystal clear. I used my ROS to go through all the grits I have pads for, which I only keep up to 320 in my shop….then I switched over to hand sanding and continued to 500, 800, 1000, 1500, then 3000.
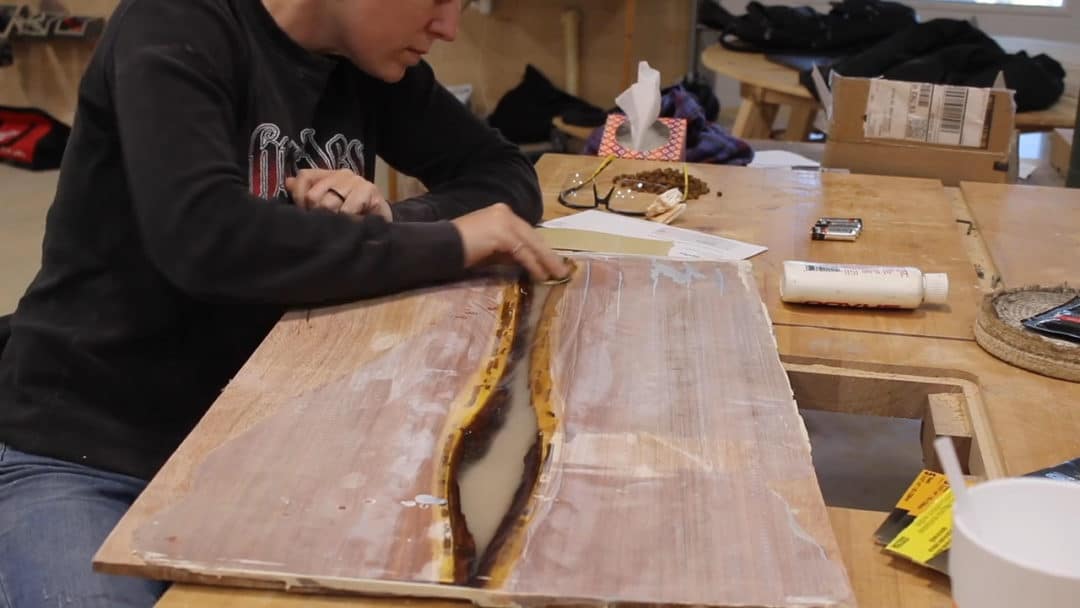
The goal is to remove the scratches you made from the previous grit. After getting through 3000 the last step to really make it shine is to add some polish compound and buff it.
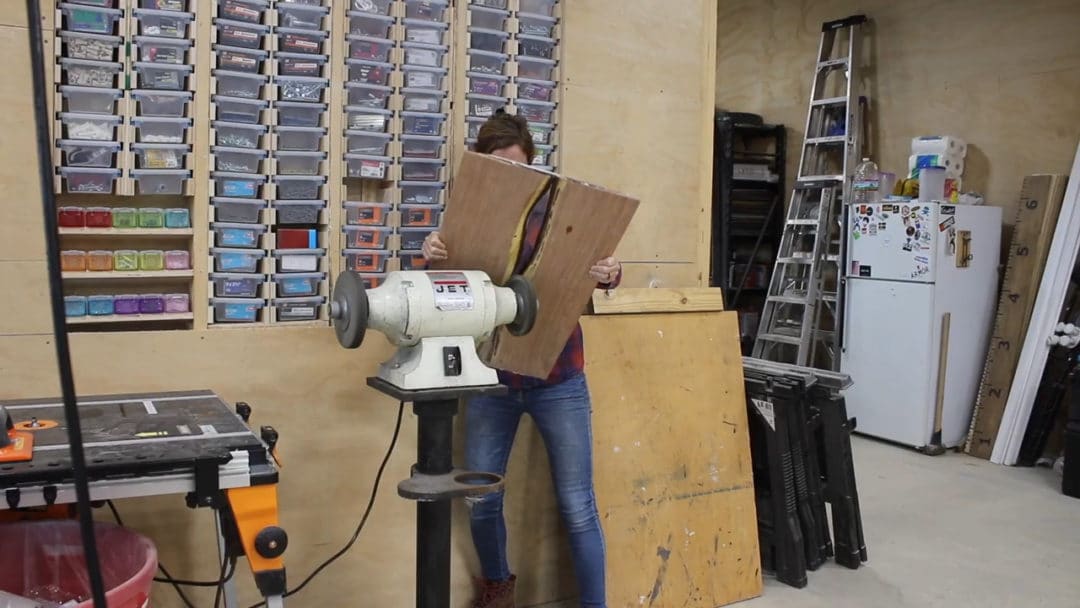
Alright, after adding polish compound, I took the piece to my grinding wheel, which has a buffing wheel on one side and used it to polish up the epoxy. This was kind of hard to do because of it’s size and middle placement, but I made it work on both the front and the back.
Annnnd now that all three components are made (the mechanism, the body, and the front) we can join them together. The front is really the main part that will be seen, because my dispenser will end up in my kitchen pantry so I picked out a brown that would compliment the mesquite wood.
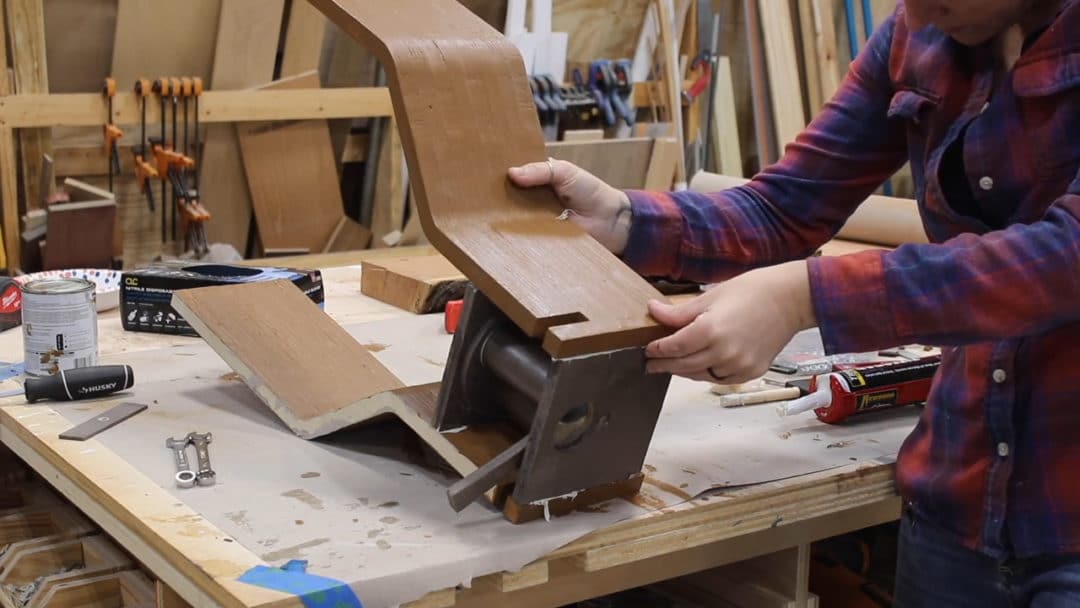
Then for the mechanism, I painted it whatever sort of brown I had in a rattle can. : ) I didn’t think about it too much because you honestly can’t see it as the sight glass narrows where it is.
After attaching the body to the dispenser, I set it on a piece of ply to trace out for a back. I quickly cut that out then attached it using Quick and Thick once again.
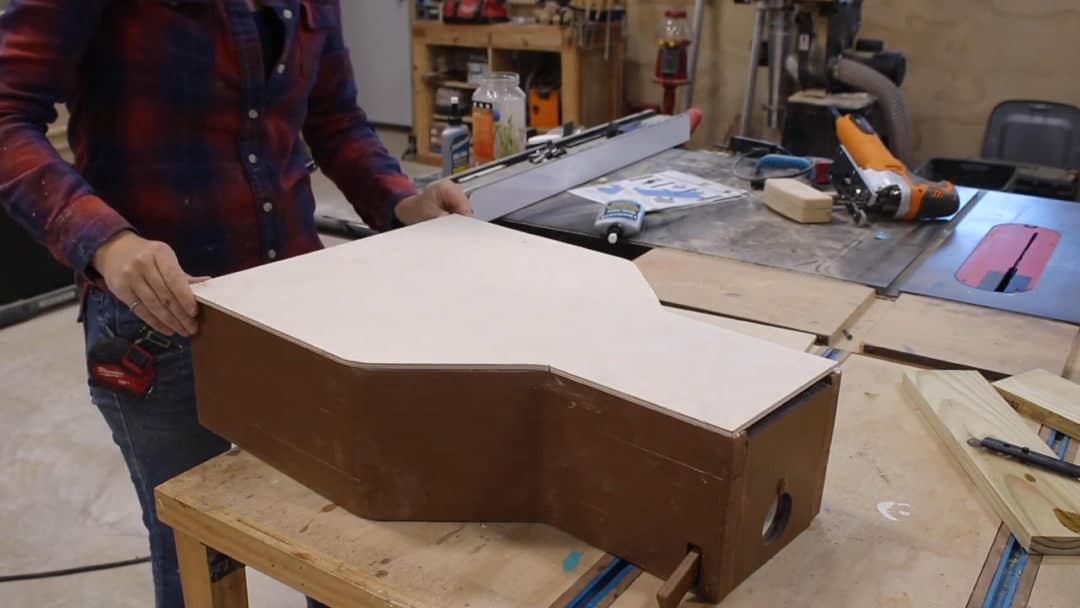
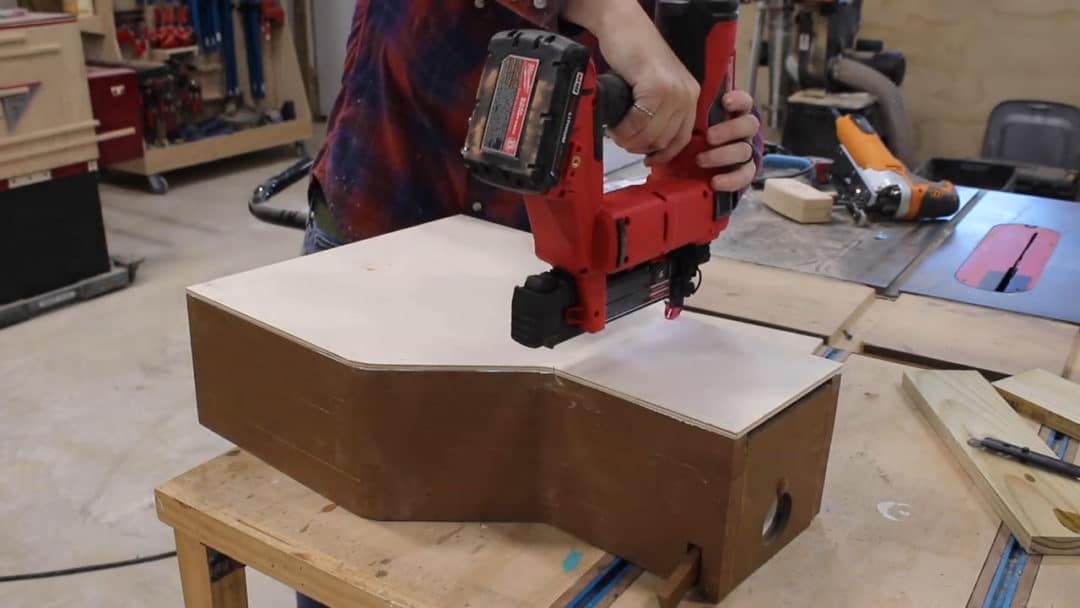
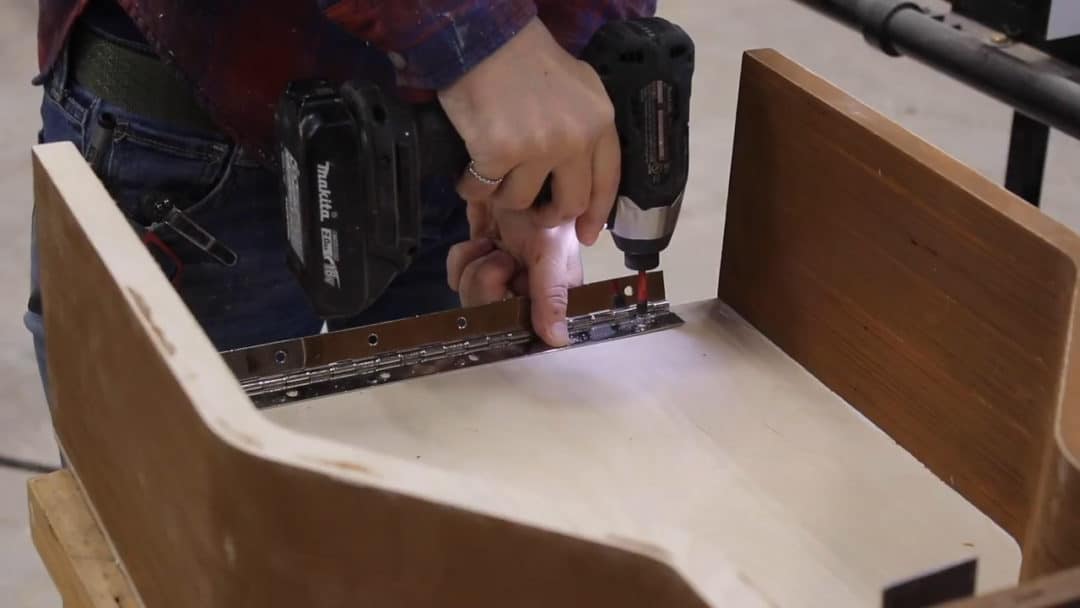
For a lid I cut a piece of piano hinge to size, then threw it on using a few short screws.
Before attaching the top, I first squared up one edge, the top edge, over at the table saw using a cross cut sled.
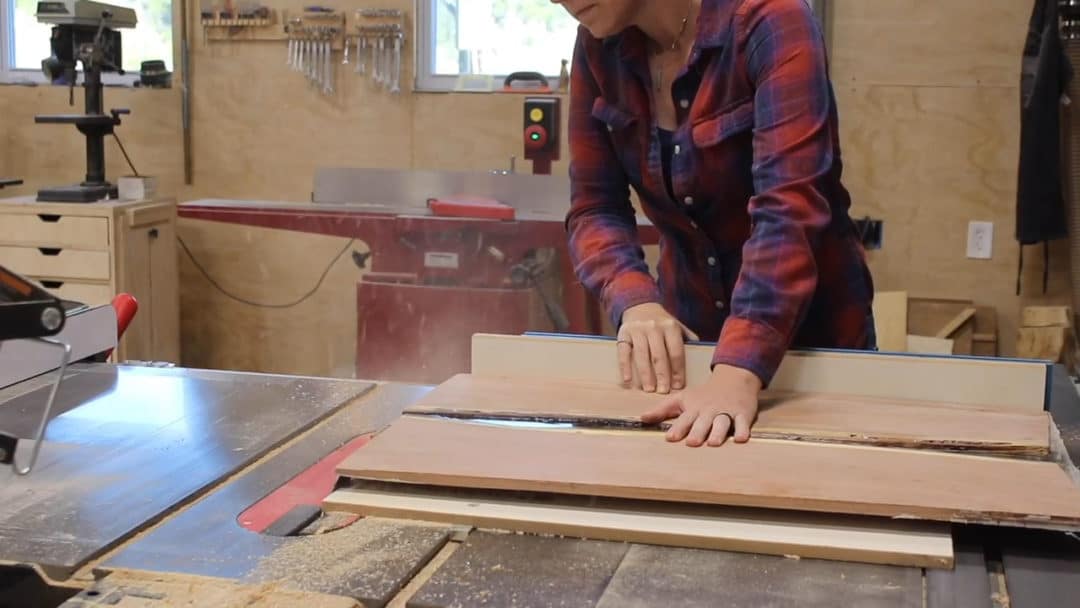
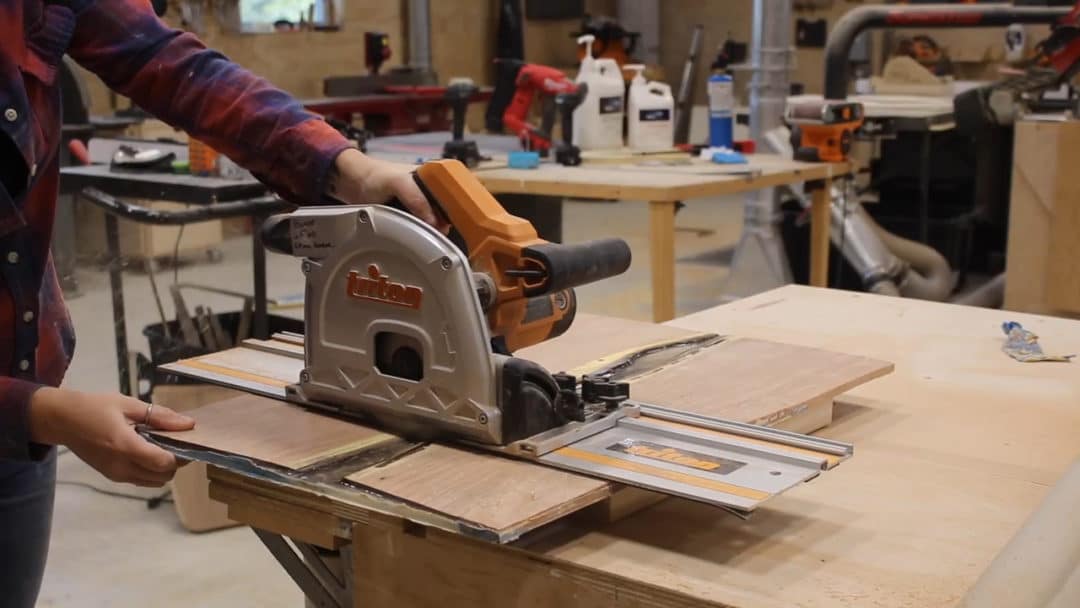
Once I had that edge sorted, I measured down in two different places to the final length I needed the piece, this way I could use a Track Saw to cut it square.
Ok, so good so far!
This main piece of the front goes all the way down but top above the handle. Next, I used the table saw to rip off another small strip of the epoxy pour to attach right underneath the handle. After squaring both pieces up to the body and also making sure they were in line with each other (even though there is a gap in between them), I used the smallest drill bit I own to punch through the front face and into the body. My intention is to attach this face by using dowels but I don’t want to see them in the front at all…I’m calling them blind dowels but I don’t know if that is really a term or not.
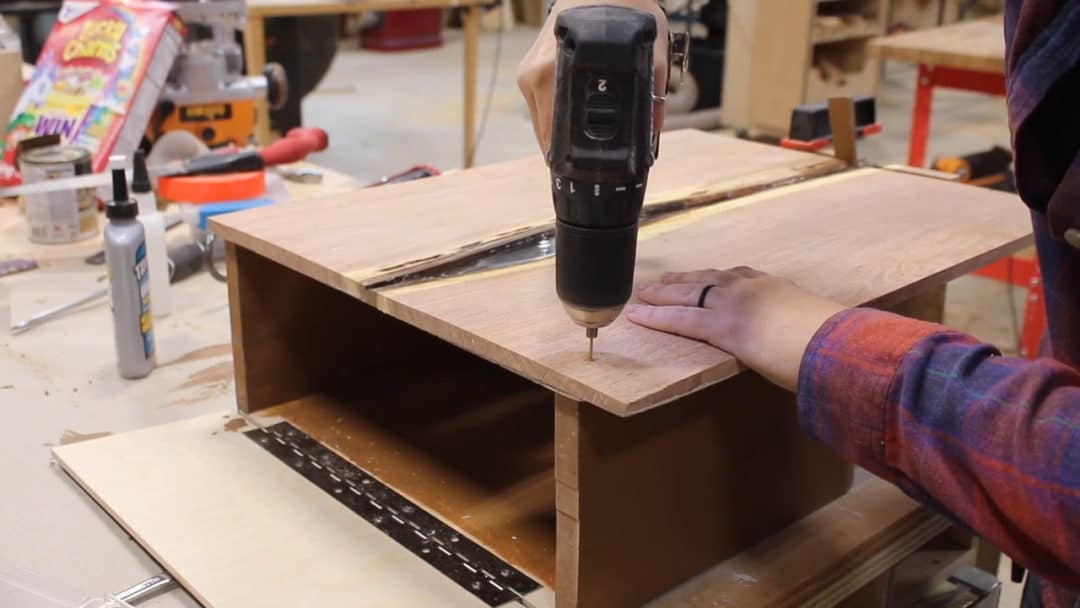
After punching a few holes through the face and into the body, I could remove the top and have an exact location in both pieces to enlarge that would fit a dowel but also line up to one another. I used a piece of tape on my drill bit to mark a depth and make sure I wouldn’t go through the face.
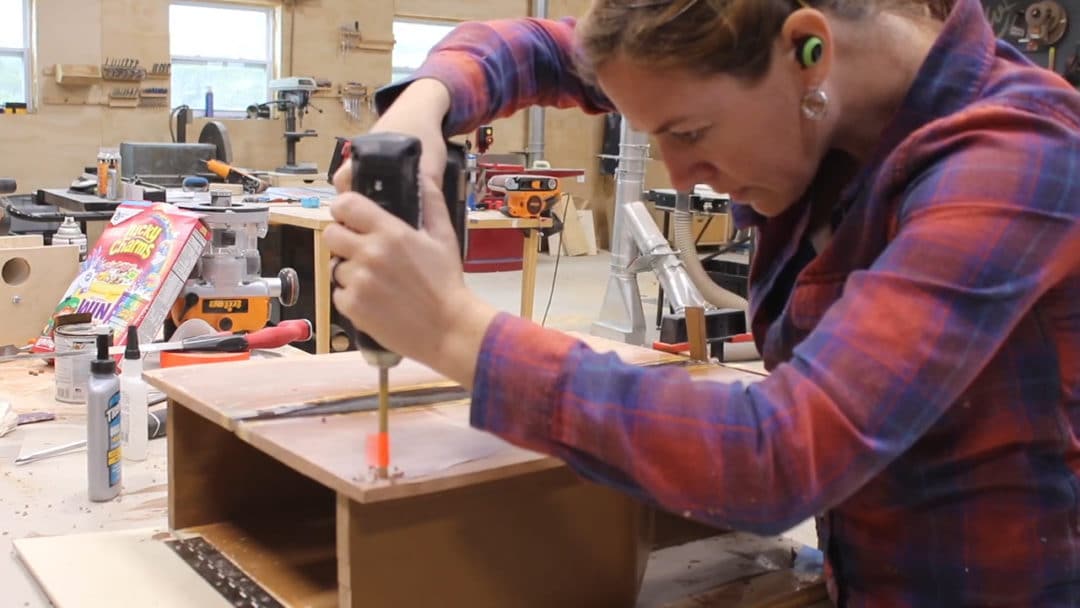
I threw some Titebond and some 1/4” dowels in the holes, then crossed my fingers and hoped this method worked…..
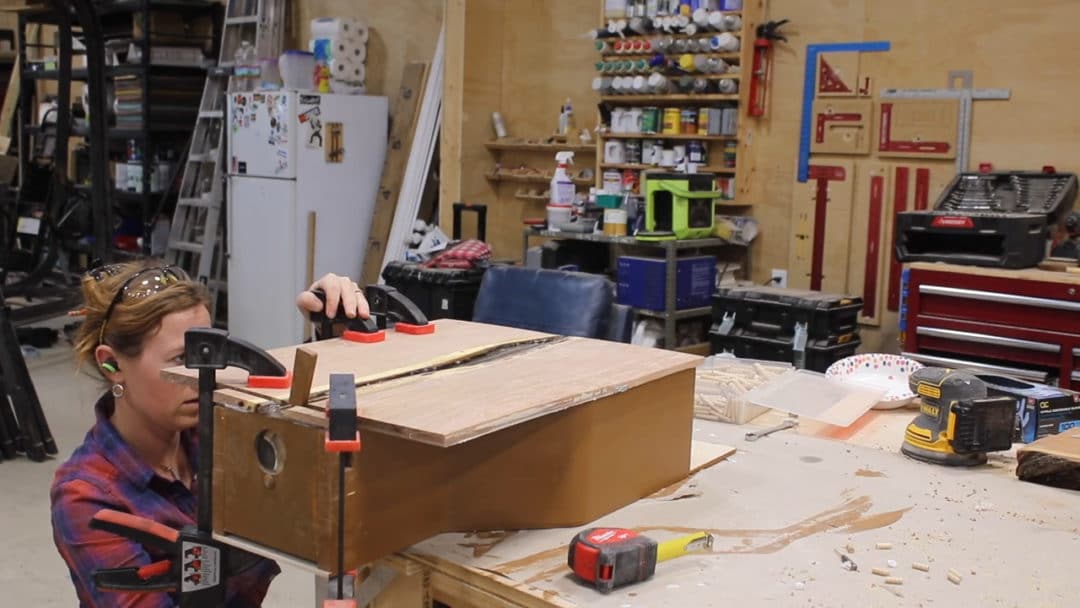
I did throw it in clamps until this glue was dried. But then I used my favorite bit, which is the Infinity Mega Flush Trim bit, to match the shape of the body to the front.
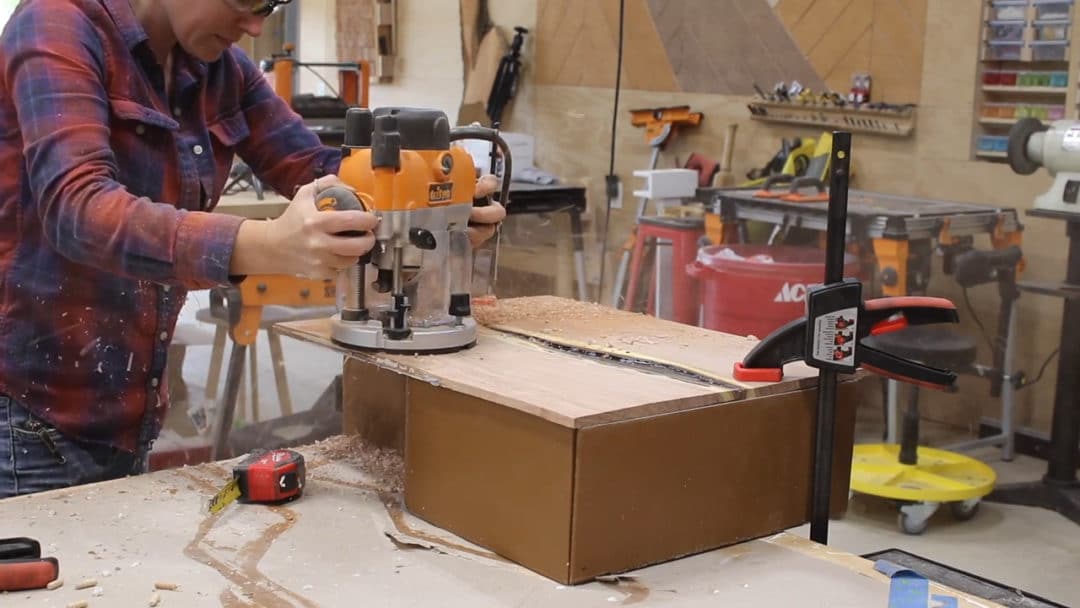
I also used the Infinity round over bit after to soften it a tad by getting rid of those 90 degree edges, then ran over the entire front with 220 grit paper.
Now on to finish!
This is my first time working with mesquite but what a beautiful, beautiful wood. Not only the red brownish of the heart wood, but also that brilliant yellow sap wood. I also love that the majority of the bug holes stayed hollow.
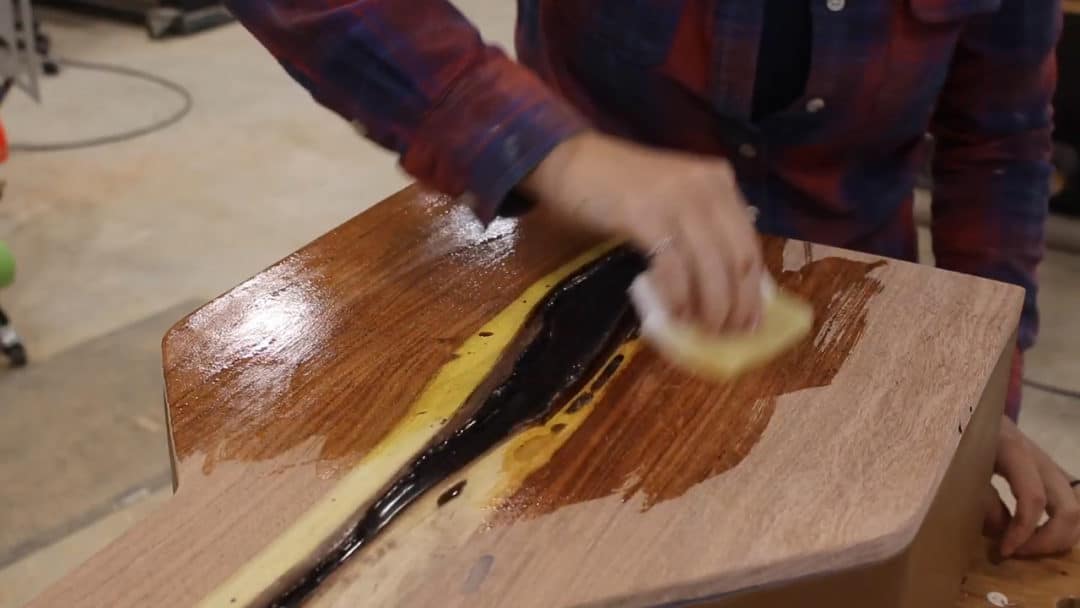
After letting three coats dry, I hung it up. This will end up in my kitchen pantry but since I can’t easily get a camera in there, I hung it on my shop wall to show you how it works.
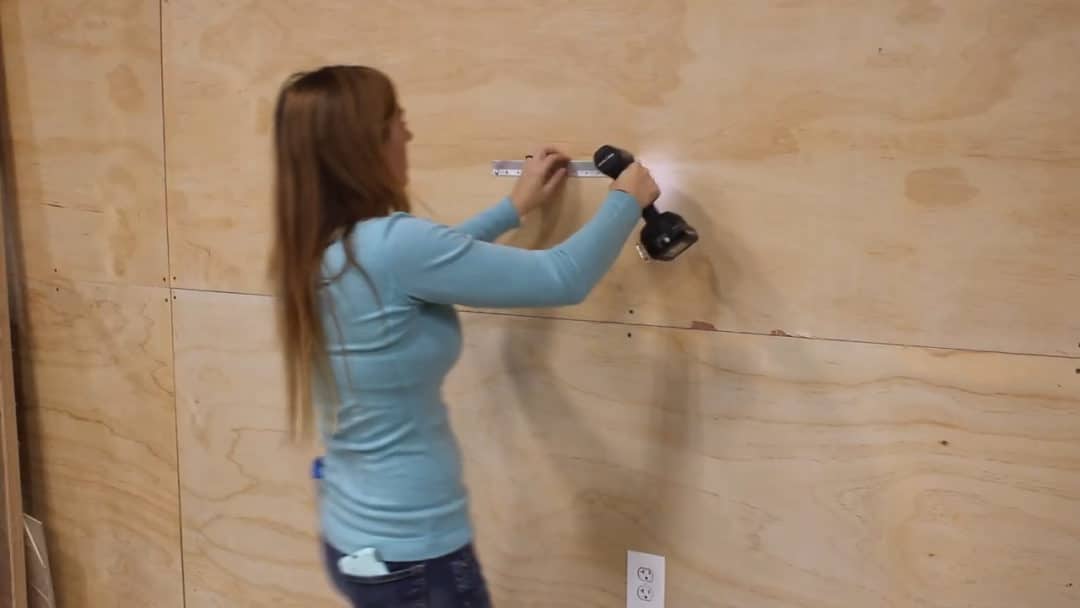
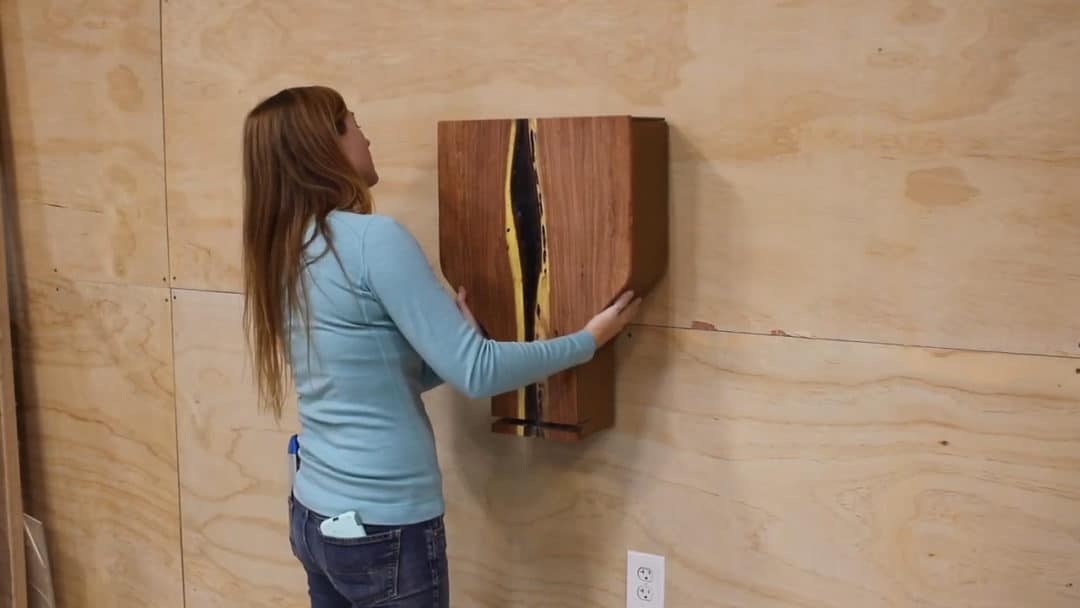
Dog food goes in the top……then pull the lever to have the set amount dispensed.
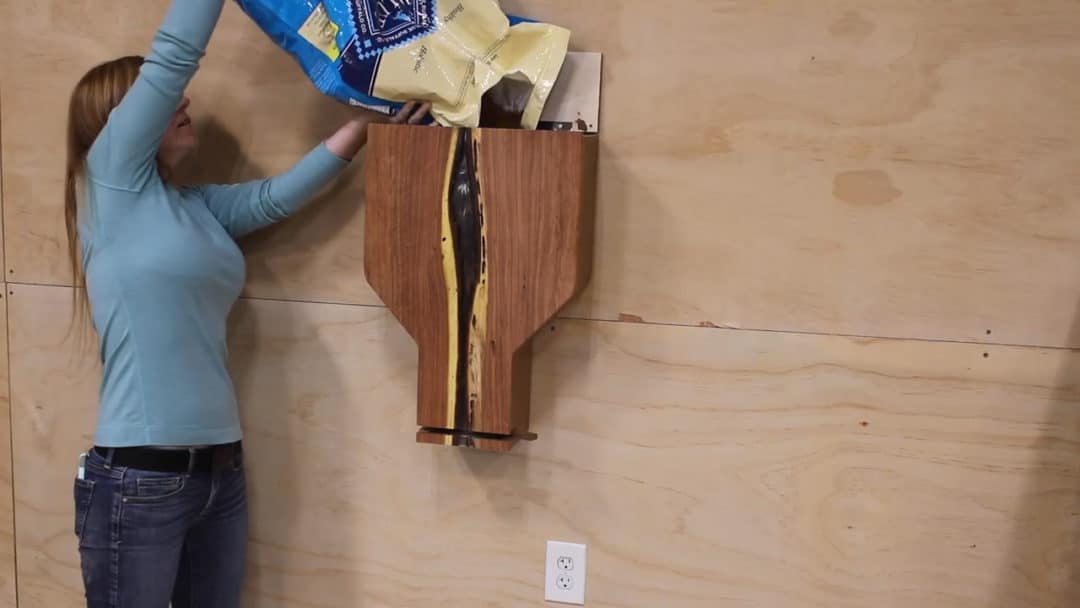
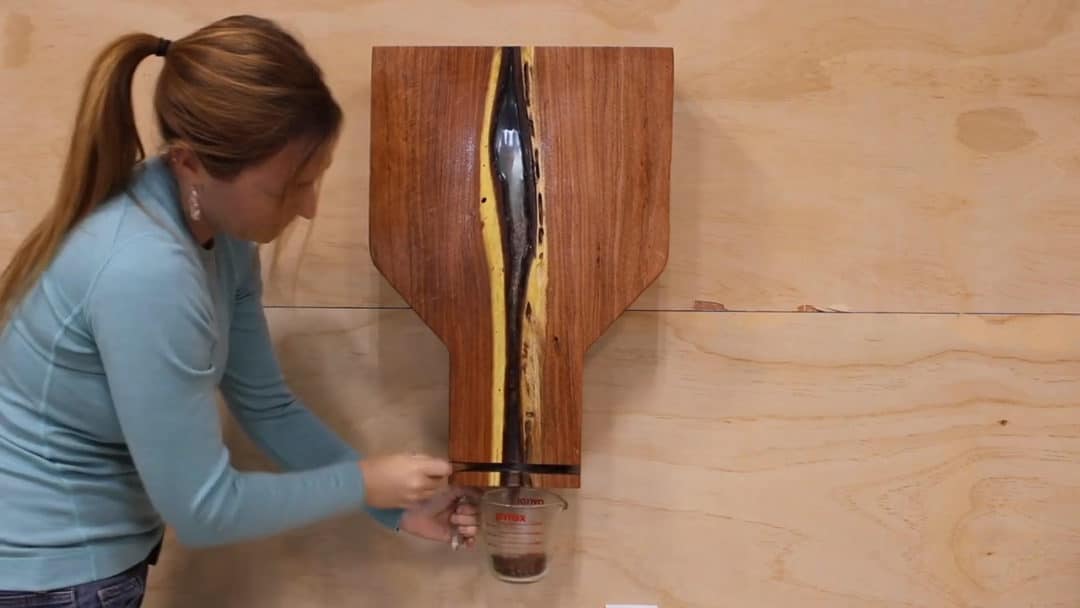
When I’m serving the dogs, I’ll place their food bowls under the dispenser but for testing purposes I was using a measuring cup.
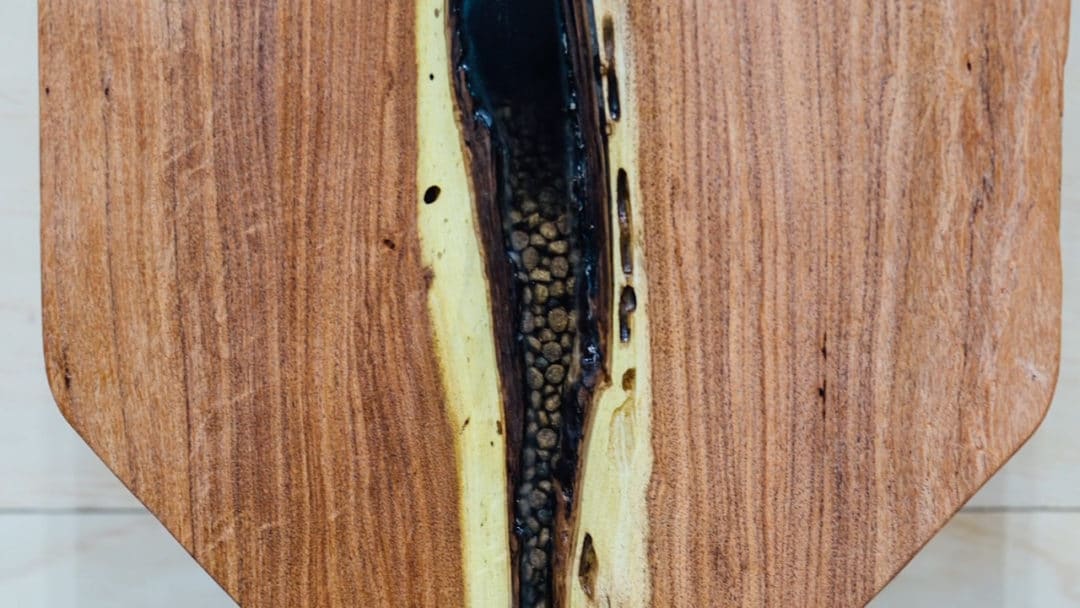
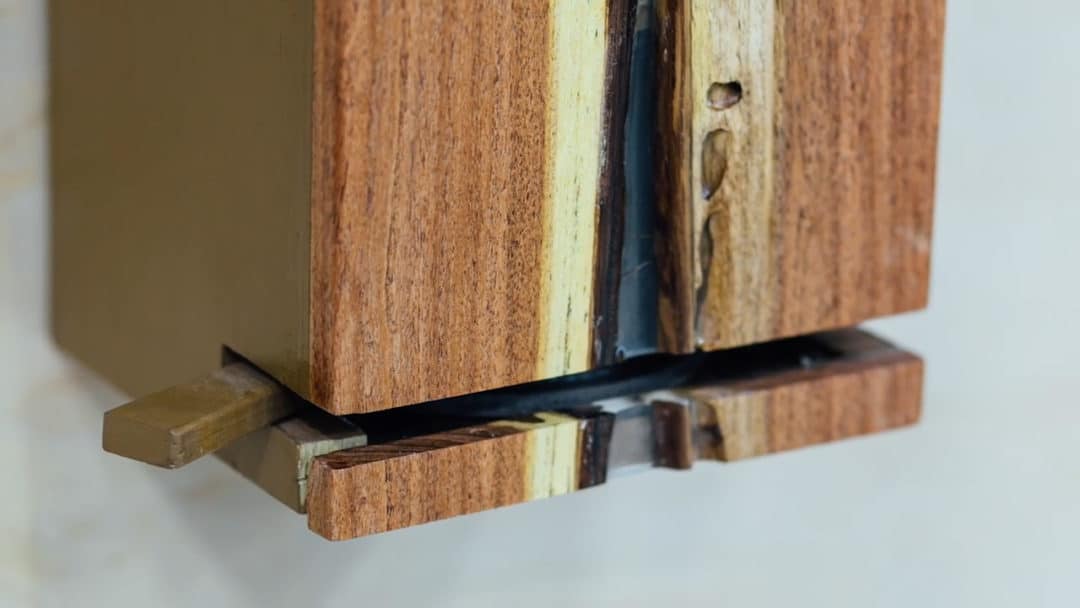
What do y’all think!?
I wasn’t too sure about the live edge front when I started, but I’m really loving the way it came out. I think the sight glass is neat and I love being able to just pull the lever, the right amount of food fall into the bowl, then set it down for the hounds to start in on.
If you are interested in building your own DIY Dog Food Dispenser Plans, I do have a set of plans for the mechanism. You can find those here!
If you haven’t already, don’t forget to sign up at the top of this page for my newsletter so you don’t miss new projects!
I’ll see you on my next project.
(Most of the links listed above are affiliate links. As an Amazon Associate I earn from qualifying purchases)