
6 Last Minute Christmas Present Ideas
- Home Decor DIY Projects
- April Wilkerson
- Updated: February 26, 2023
Looking for last minute Christmas present ideas? Check out these easy DIY Christmas presents I built incredibly quickly! Your family will love these!
Every year I tell myself I’m going start making Christmas presents in October so I don’t wait until the last min and put myself in a bind. Never happens, but I always say it……
If you’re in the same boat and would like to give the people around you handmade items but are running short on time then here are five ideas for projects that are not only quick and easy but also utilize scrap wood. Lets jump right into the first one.
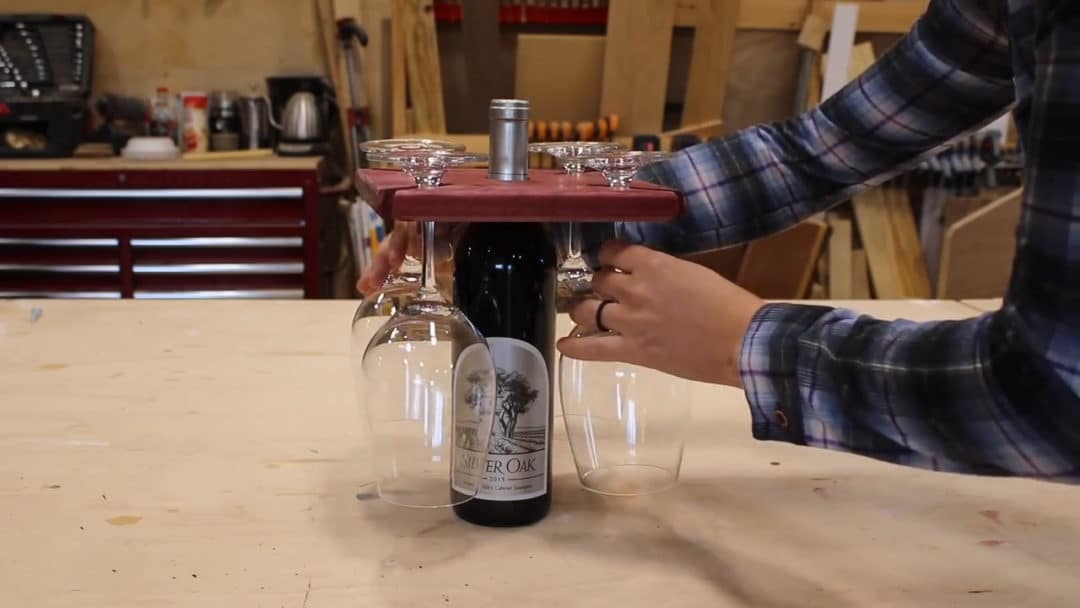
I feel like wine related gifts are a really good coverall since so many people enjoy wine so here are two different holders for those people on your list. The holder goes over the wine bottle neck and rests on top then has four openings for also carrying glasses.
I personally pulled out a nice wide piece of purple heart for this one and started off by cutting it square. You want the size on this one to be sort of large so the glasses don’t bump into the bottle itself so I made mine 8” x 8”.
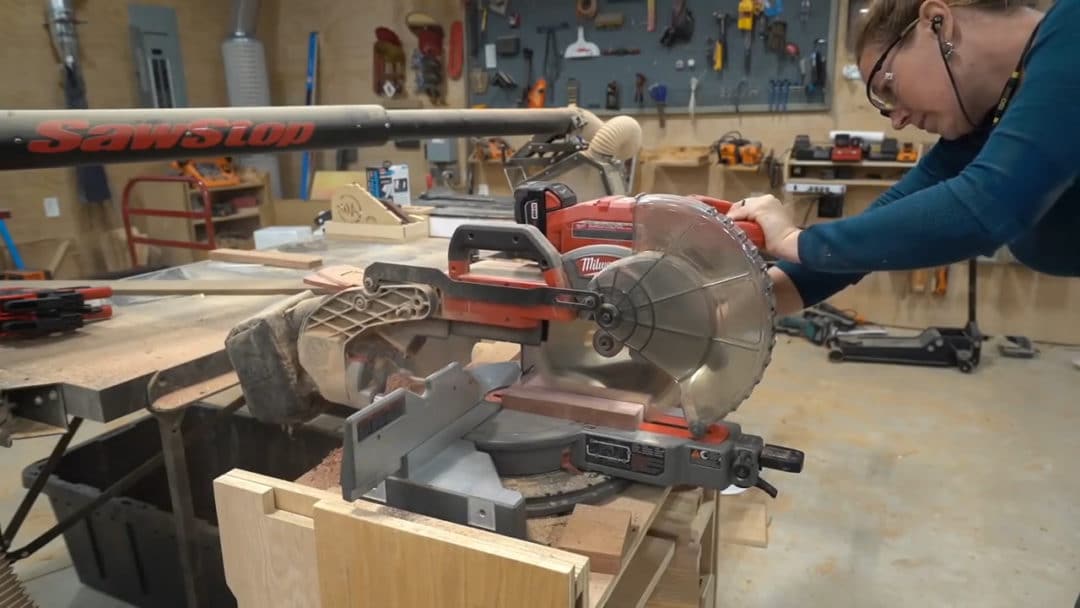
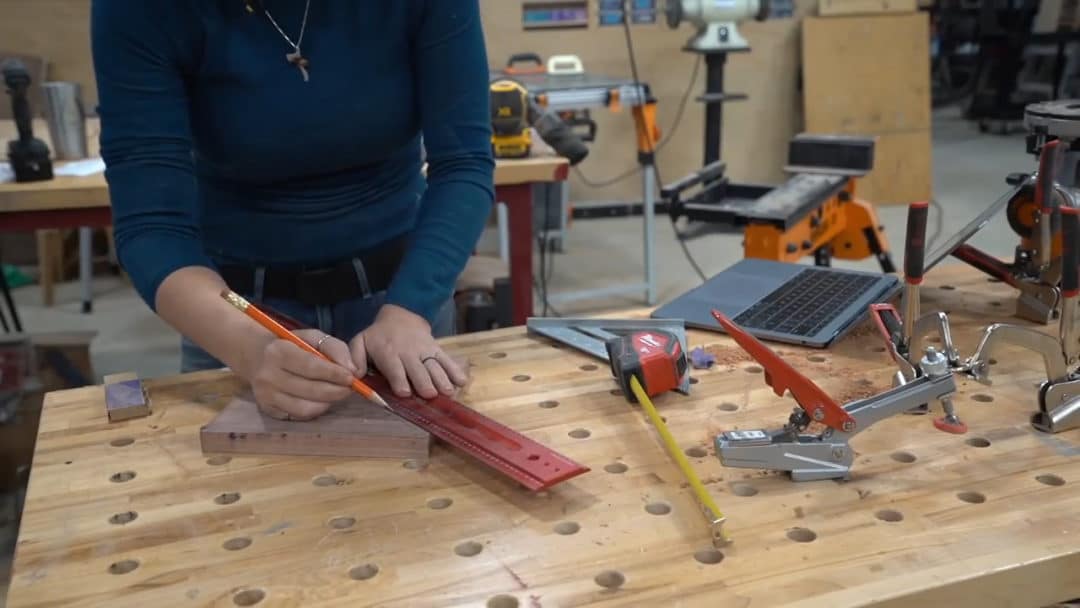
Mark off all the dimensions before cutting out any openings and if you would like a free wine glass template then you can find that here.
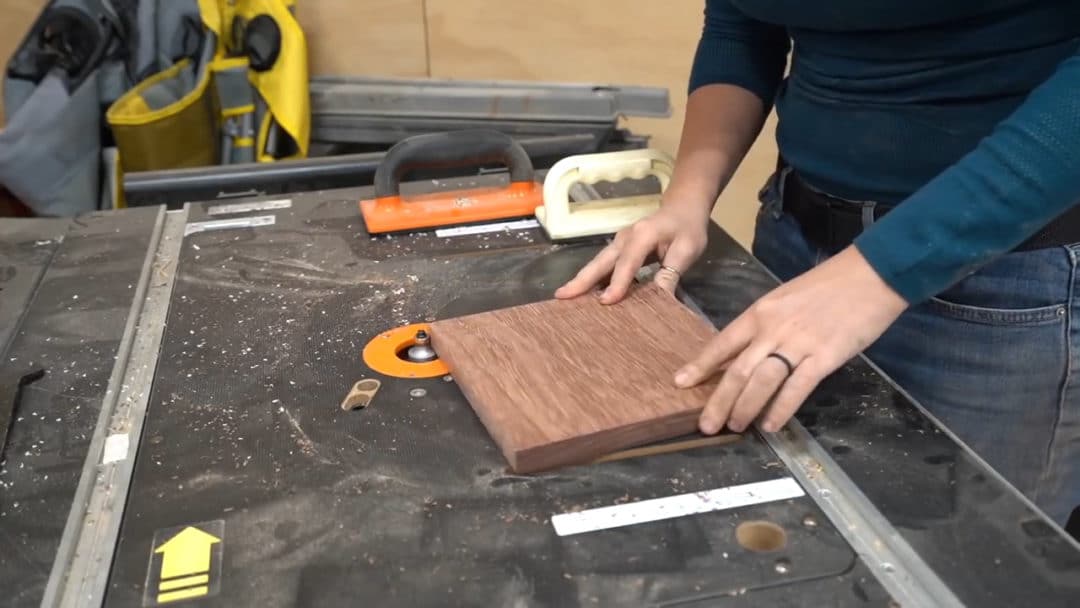
I took the part to my router table. You could put a round over over the entire edge but I decided to put a round over on the top edge and a chamfer on the bottom edge.
Now to punch out holes. I clamped the part on my workbench using my Armor Tool clamps then used a 5/8” forstner bit at the ends of all the glasses slots.
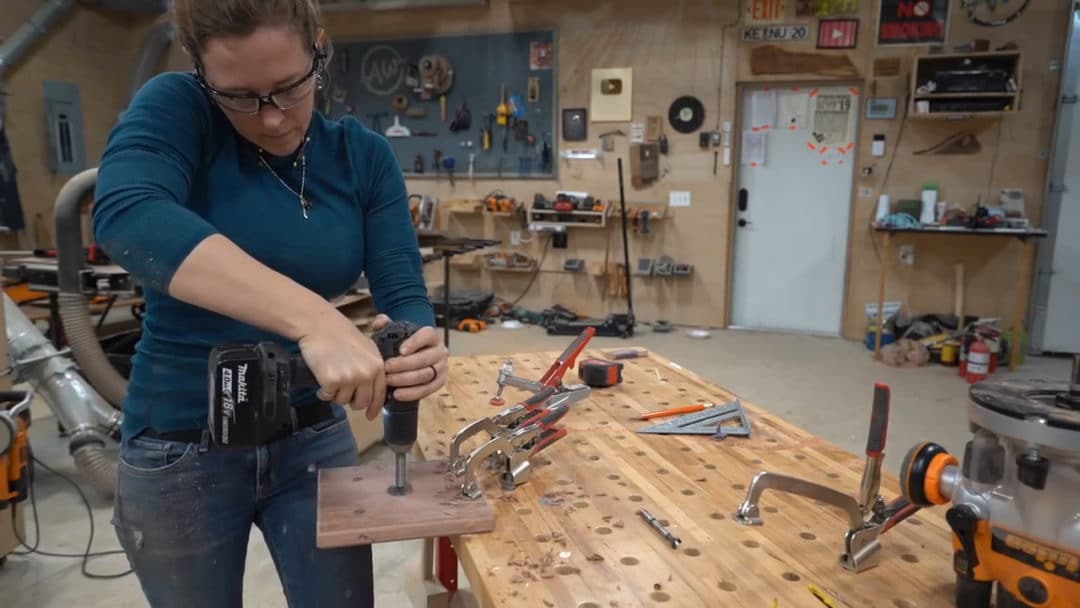
You can reduce tear out on the backside of the piece if you drill most of the way through on one side, but then flip the part over, and complete the last bit from the other side.
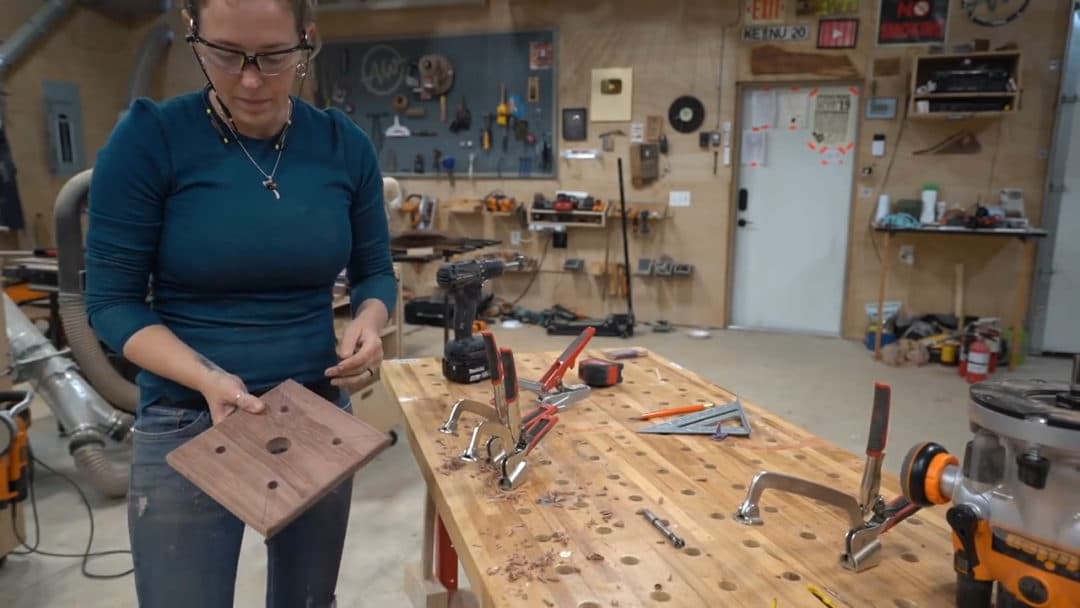
I did the same with the larger center hole but then moved to the bandsaw and cut along my pencil marks in a straight line. Pretty easy huh?
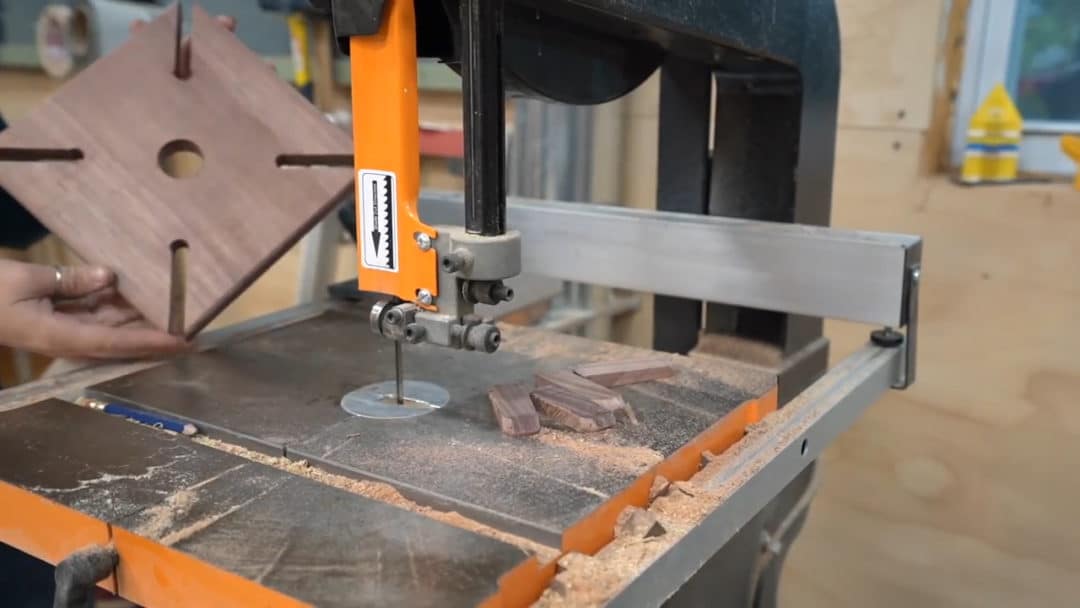
I gave the entire thing a good sanding then also a quick coat of finish.
Now to use it, it slips right over the bottle and rests on the neck so that when you are carrying out a bottle of wine you can also carry up to four glasses. You can also leave it on the counter when not in use and utilize it to hold glasses instead of your cabinets.
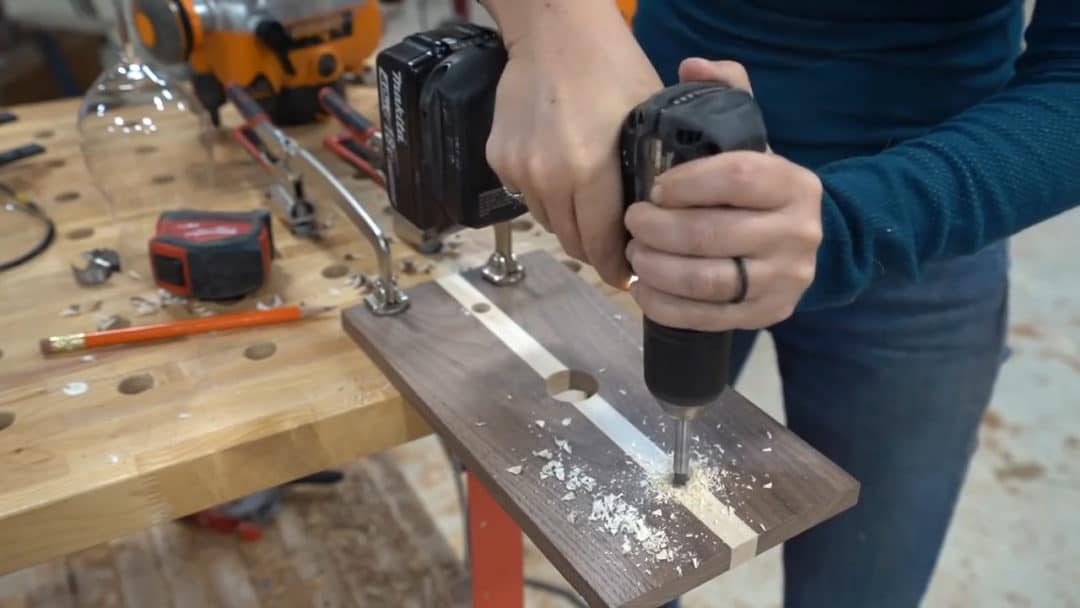
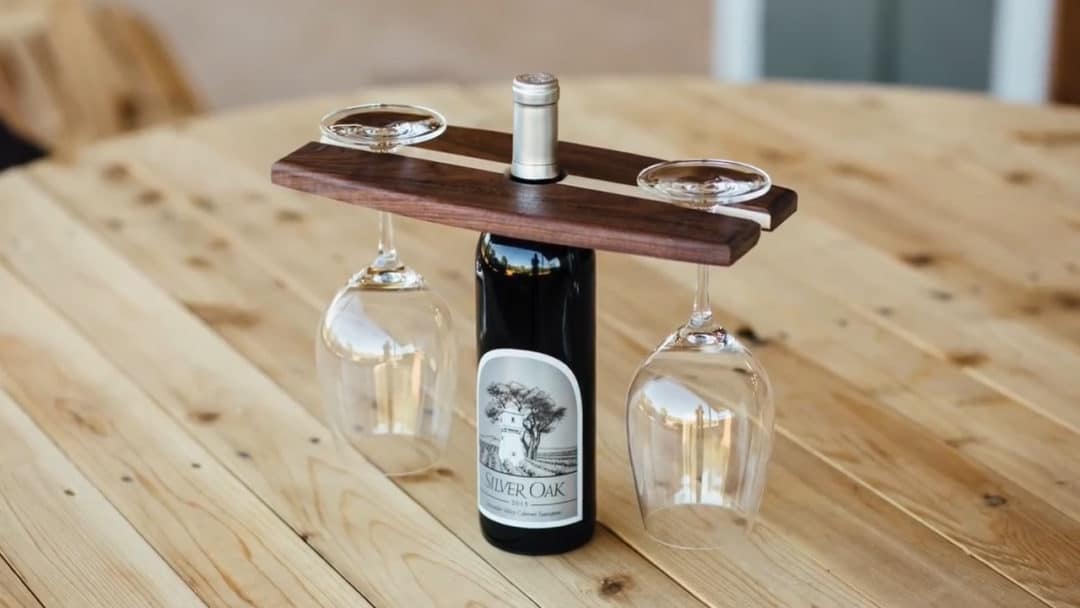
On the same notion, another more cozy option is a two glass holder version. The YouTube channel Make Something designed this one and has an excellent template so that is linked for you down below if you’re interested.
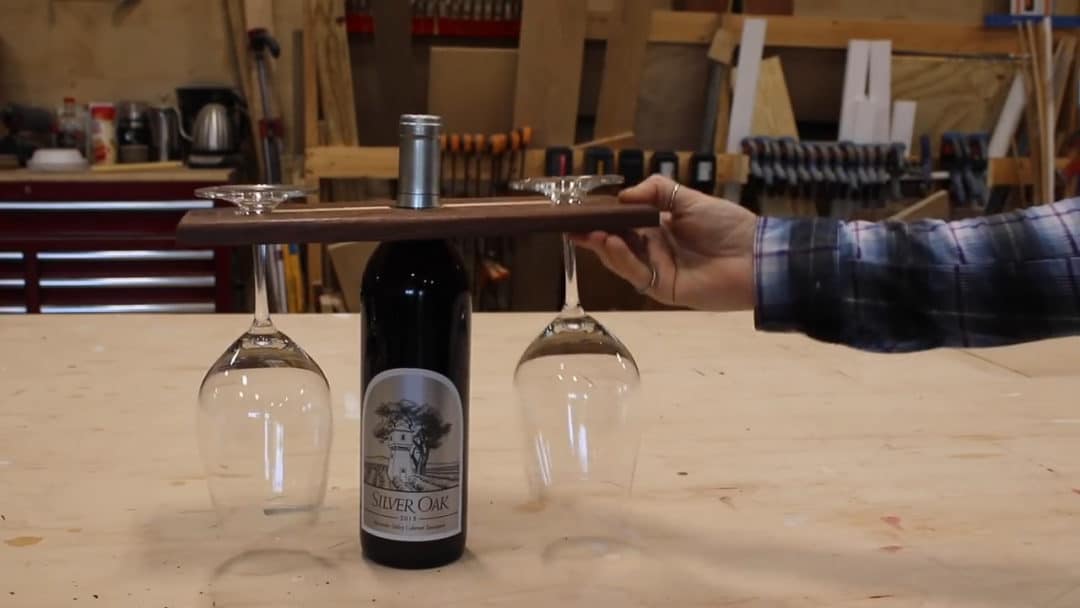
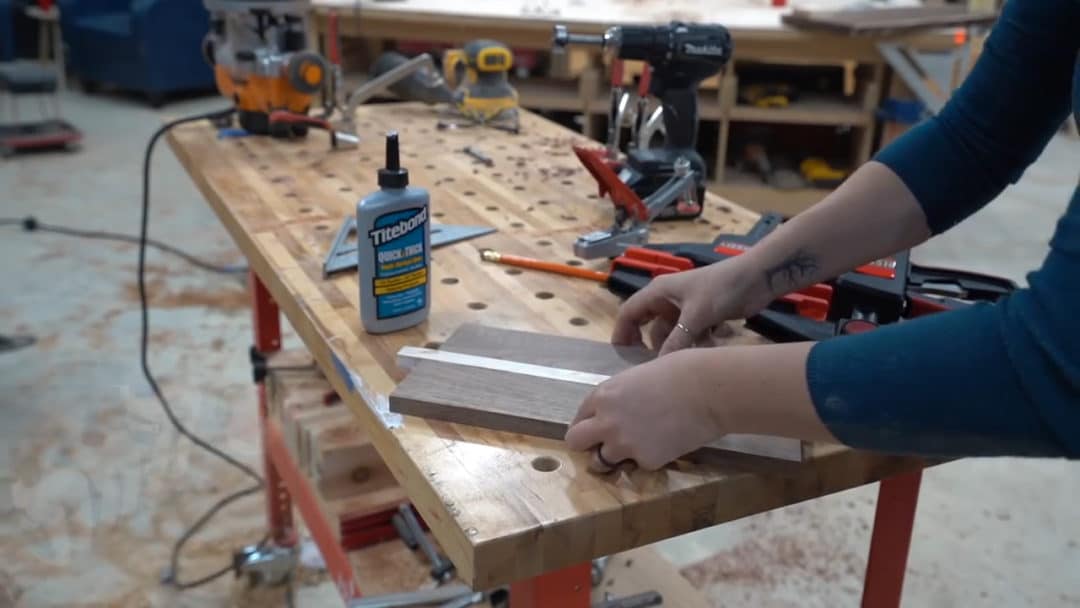
Again, it’s a perfect project to utilize some of those smaller or thinner scraps you can’t make yourself throw away. You can see I’m using a mix of walnut and maple for mine but you could also keep it as simple as the last and make it from one piece of wood.
Moving to project number 2 which is a bath caddy.
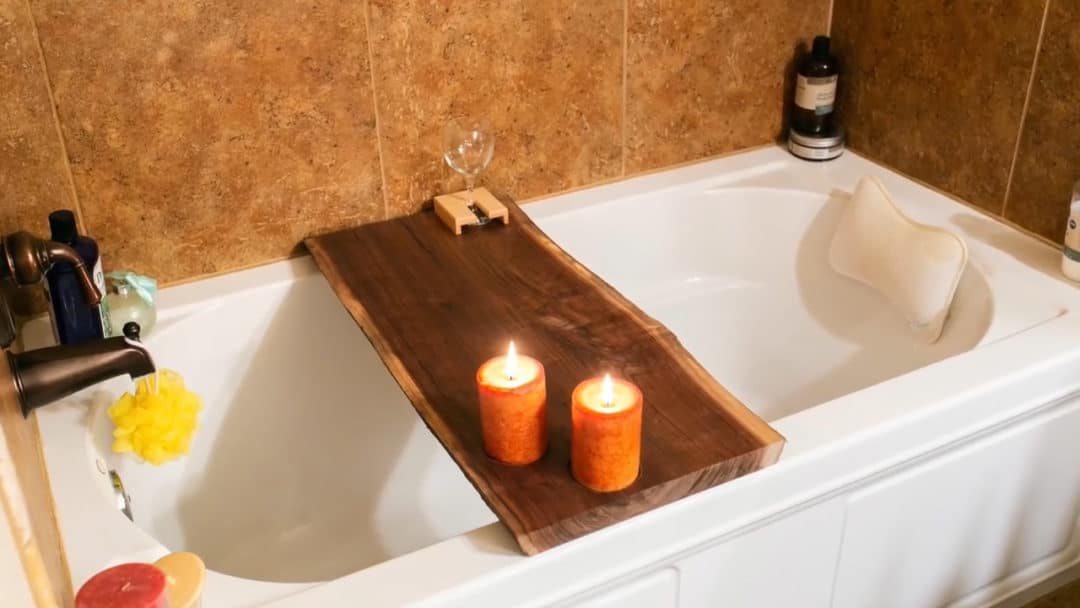
It’s so simple but a wonderful gift for anybody who enjoys baths.
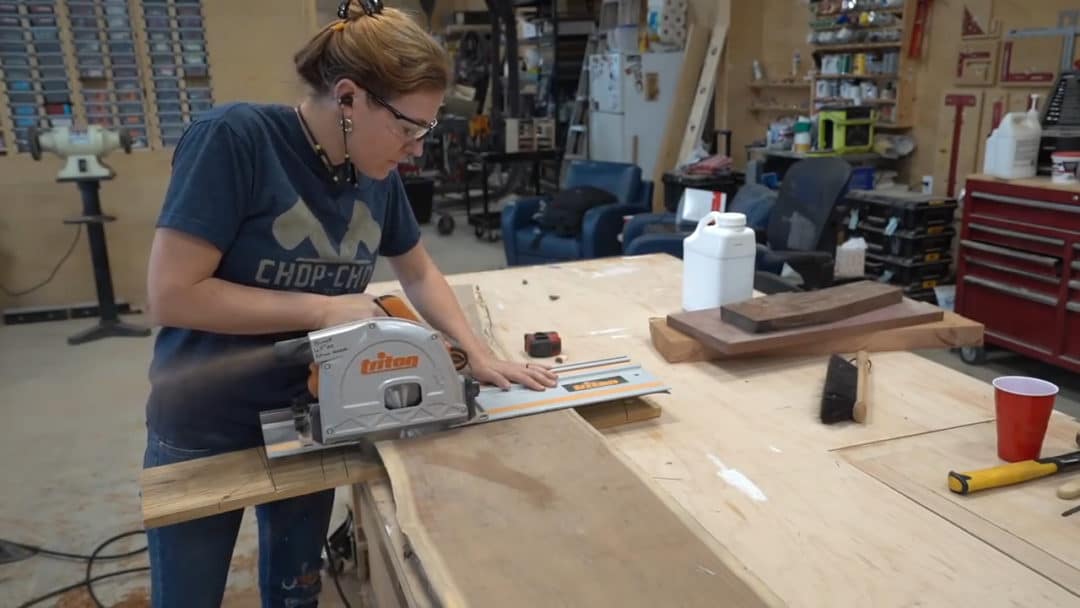
Grab a solid piece of wood. It doesn’t have to be a live edge, but I had a slab of walnut so that’s what I used. Plane it down to the thickness you like then also cut it down so that it will span across a tub and rest on either edge. I’m using my track saw to cut the slab to length.
Now you could sand it and throw a coat of oil on it as is, buuuut if you want a few special touches on it you can also add in a simple wine holder and a few candle holders.
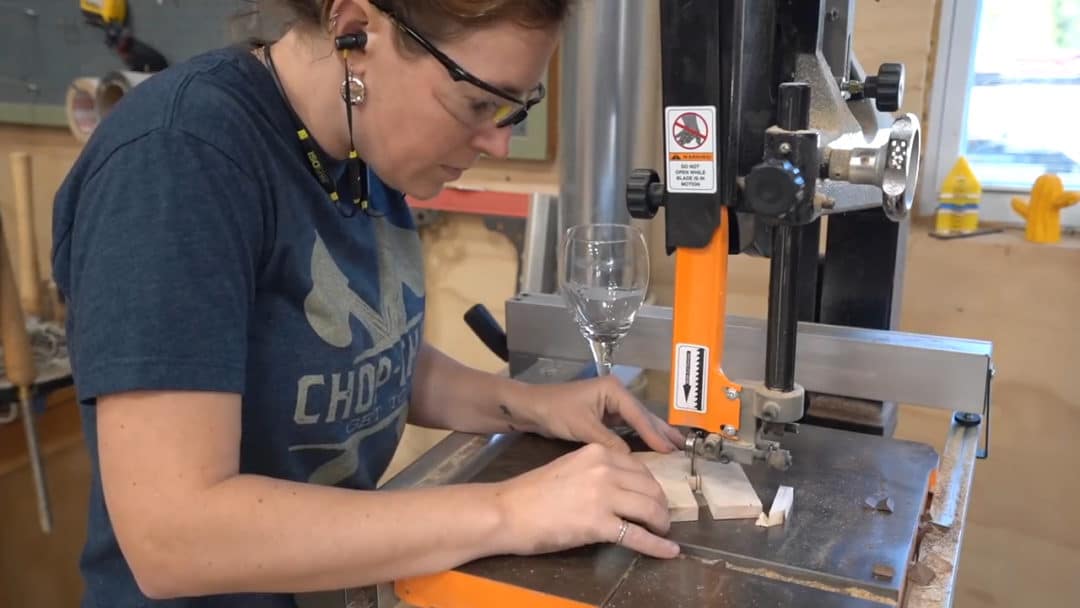
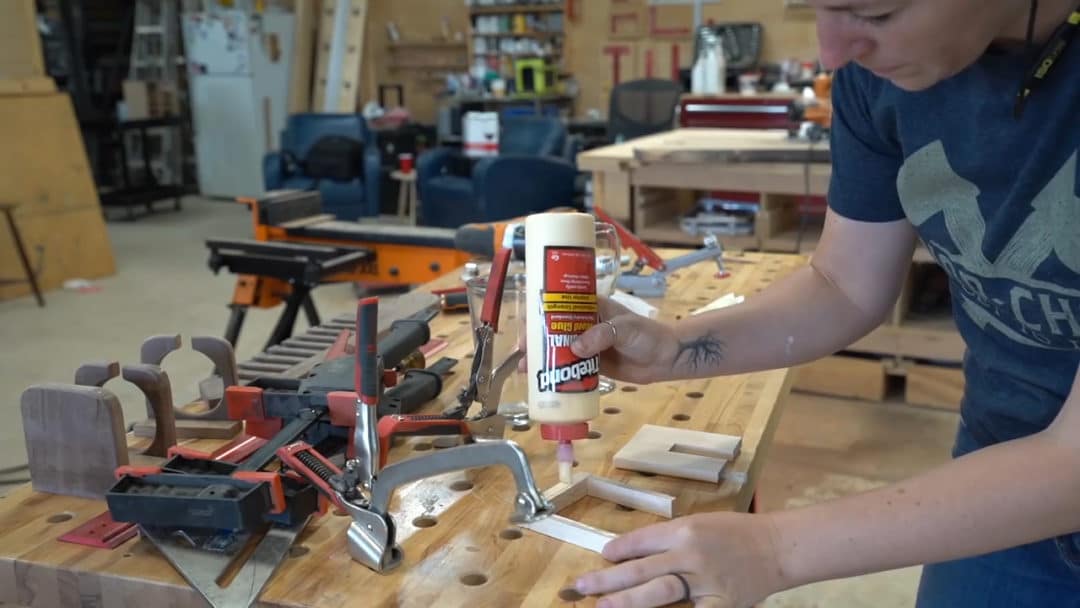
On the wine holder I grabbed some scrap maple to contrast but looking back, I think it would have looked nicer made from walnut. Either way, this is one flat piece that has a slit cut in it large enough to fit a wine glass stem, then a few blocks that will act as standoffs for this piece.
Once the assembly dries it can be glued to the top of the bath caddy. I used Titebond Original here.
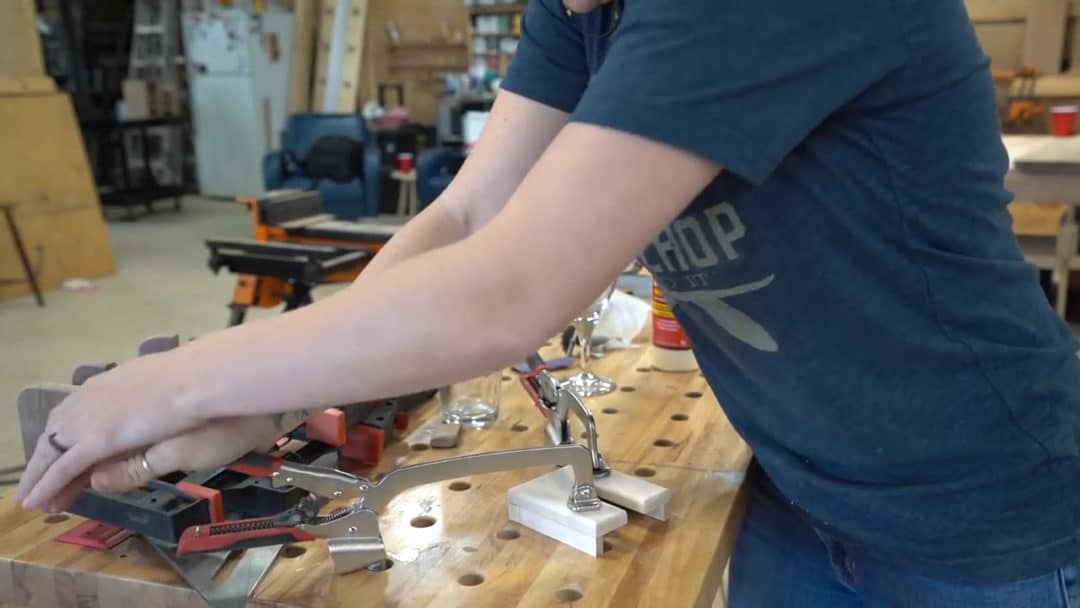
You could just cut a slit into the slab itself for the glass to be inserted into but then you have a portion of the glass that hangs below the caddy. By placing it on top like this one, knees won’t have anything to bump into.
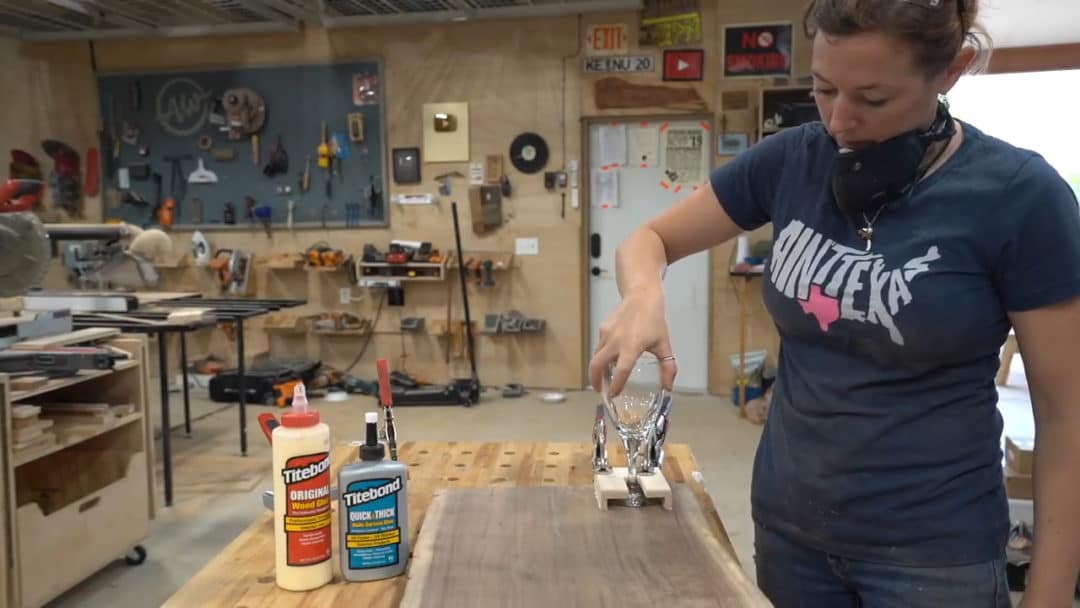
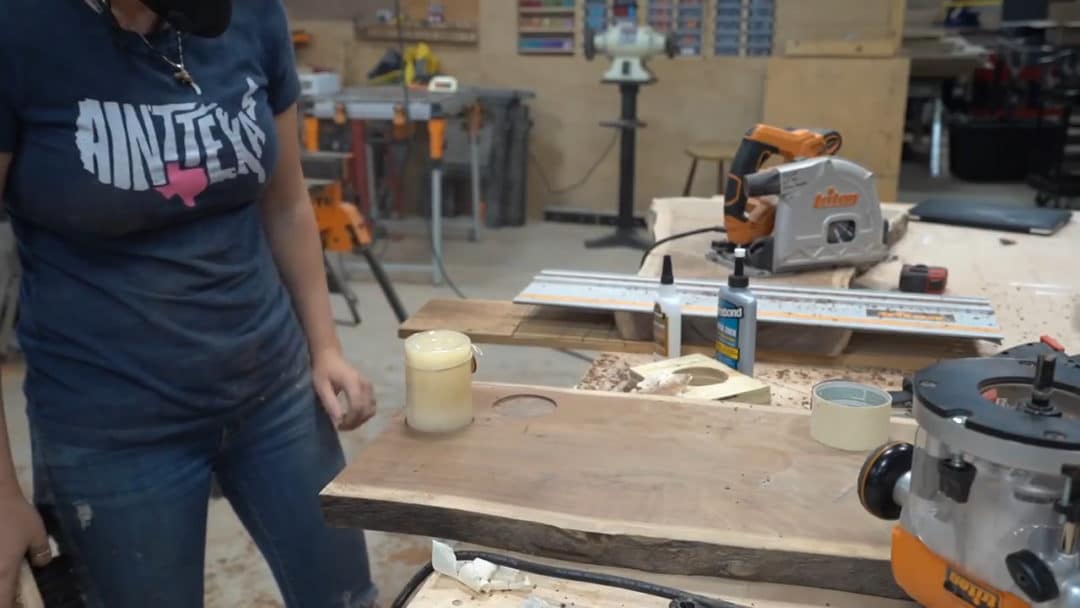
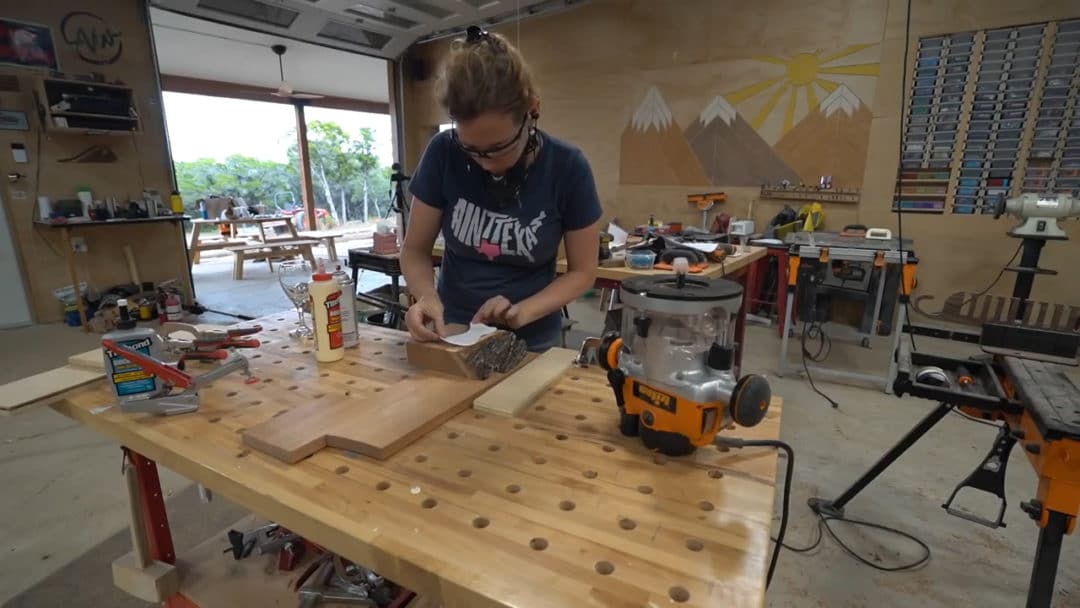
For some candle holders, I wanted some slight recesses in the slab. To make these easily, I first made a round template so I could use my router.
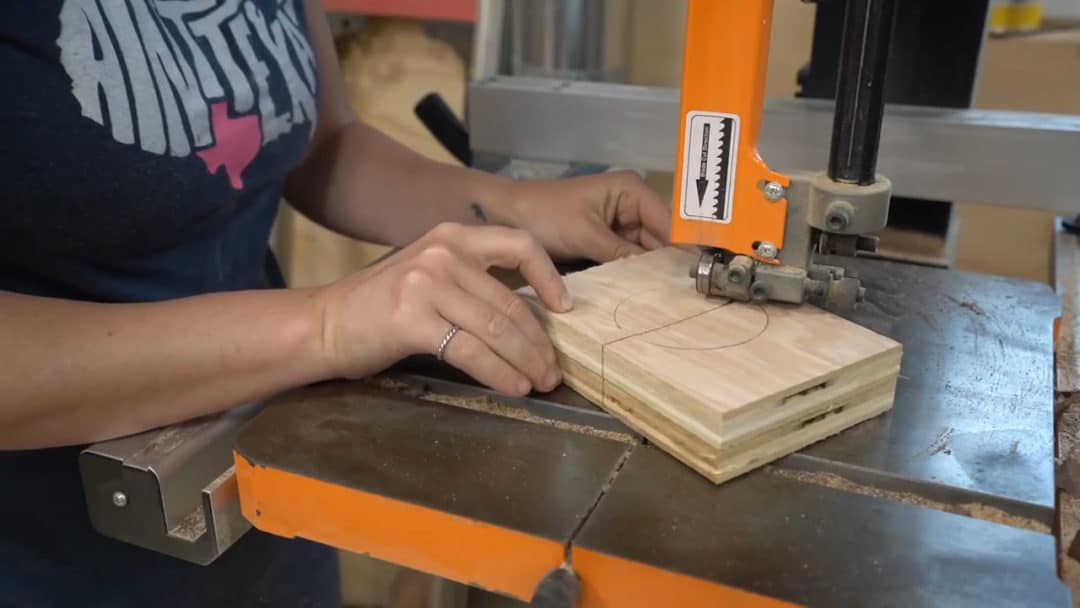
Tracing out a candle, cutting it out over at the bandsaw, then using the spindle sander to clean up the cut right to my line. Now I have a template where I can use a flush trim bit in my router to follow.
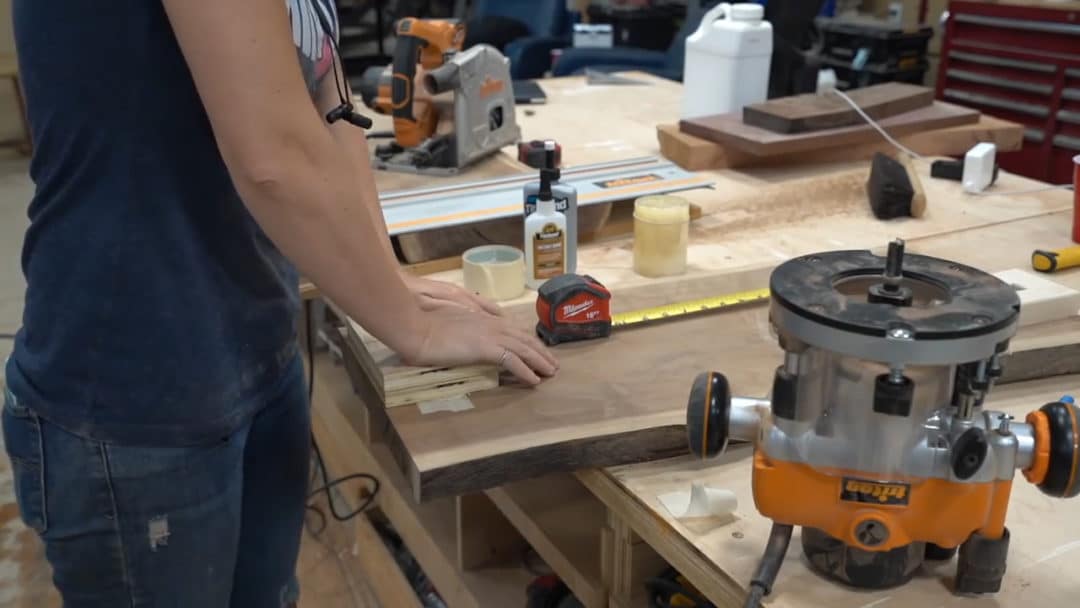
In order to use the bit of mine, I had to laminate another piece of scrap to the bottom. To stick it to the slab I used a few pieces of masking down on the slab as well as the template then a few drops of Titebond’s Instant Bond CA glue. This will temporarily hold the template down but leave no mess after the job is finished.
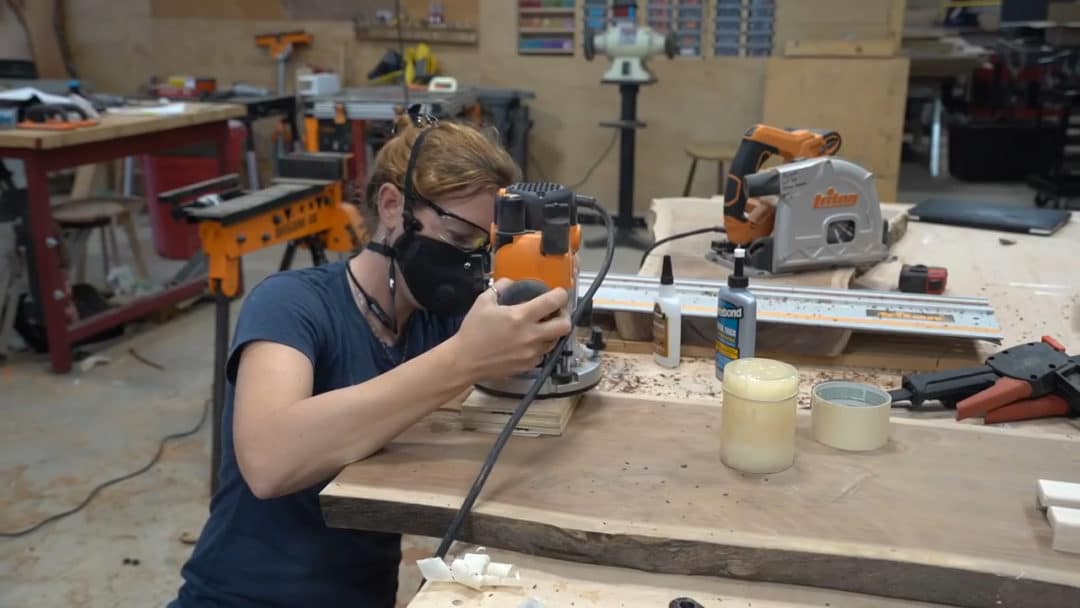
I started off with my bit high on the part then used the plunge feature to drop it down. How deep you carve the recess is completely up to you, but I was only going for a slight indent. If a person doesn’t drink wine, you could repeat this process to make a regular glass holder somewhere else on the slab.
And that’s it. Now it can be placed across the bath and enjoyed.
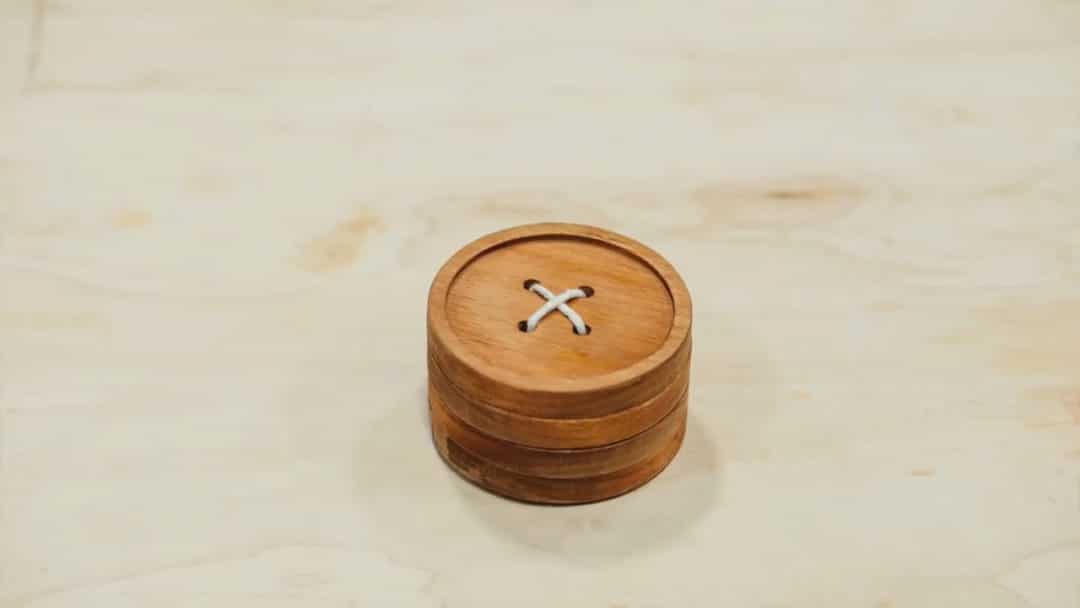
I’m not a seamstress but I love these button looking coasters!
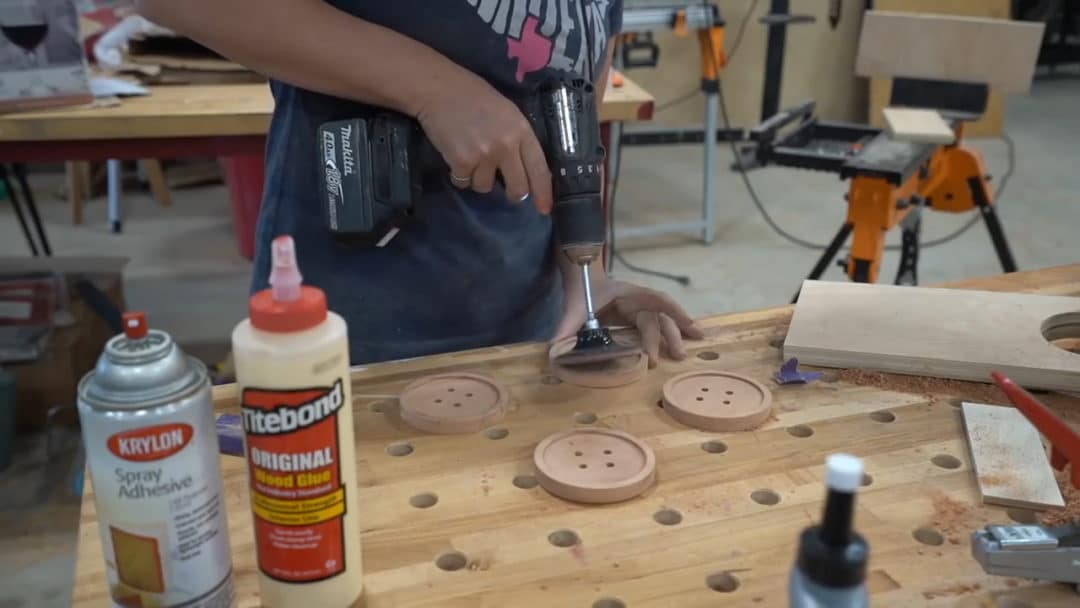
I just think they are so cute and they are dead simple to batch out. In fact you can use the same template set up from the bath caddy candle circle maker because the first step is to make a circle recess that will be the inside of the coaster.
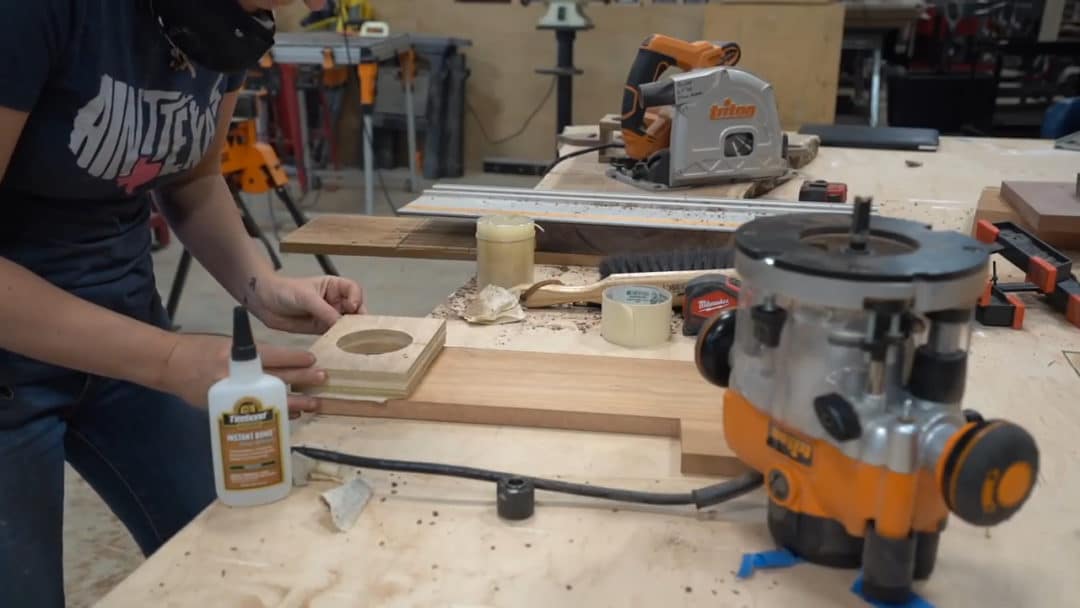
You can use the CA glue/masking tape trick, doubled side tape….or you can make your template extra long so you can clamp it down on either side of the board you are carving a circle out of.
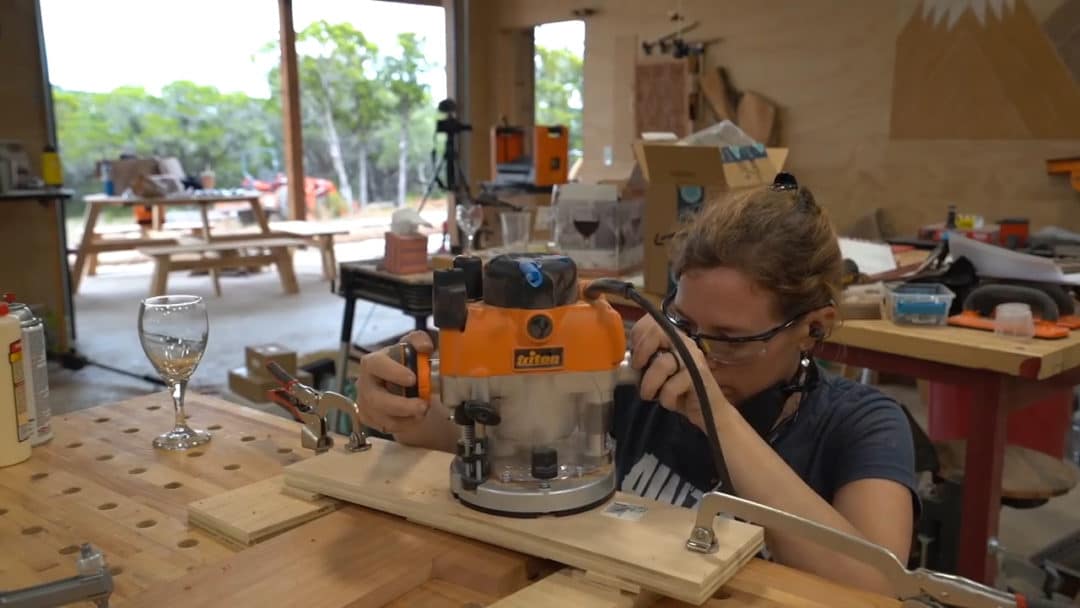
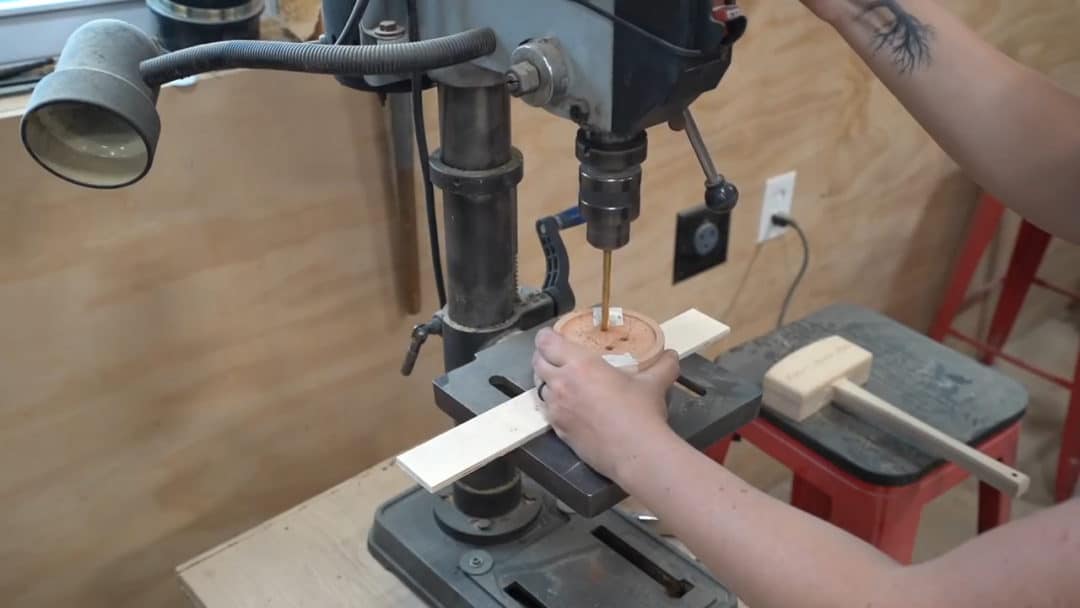
After carving out four insides (or however many you want to make), use a round object in the shop to draw an outside permeter circle then cut it out at the bandsaw. Now tape all of the coasters together and punch four holes in the center. I used the drill press to make these but you can also use a hand drill.
Ha, and that’s all that one takes. Grab some twine to really make presenting these to somebody ultra cute.
Project number 4 is a tie holder….or as my mom kindly pointed out, it could also be used for scarfs as well.
I once again pulled out a piece of walnut for this one because this one piece of mine had some beautiful coloring in it I thought would look nice under finish. You could plane it down to size or you can resaw it over at the bandsaw, which is what I did. Then I got two holders from his one piece of wood.
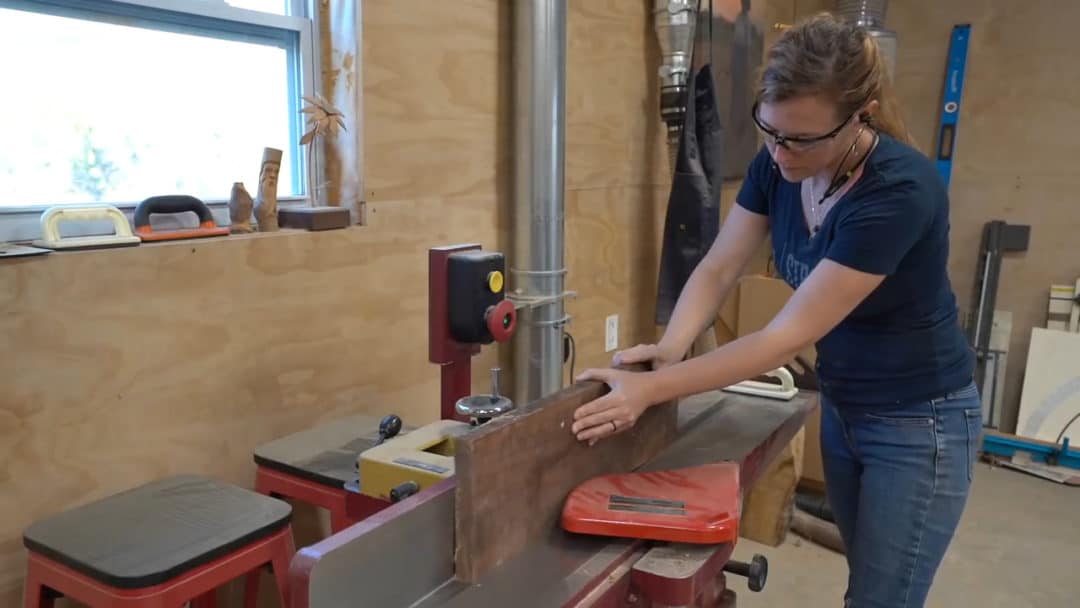
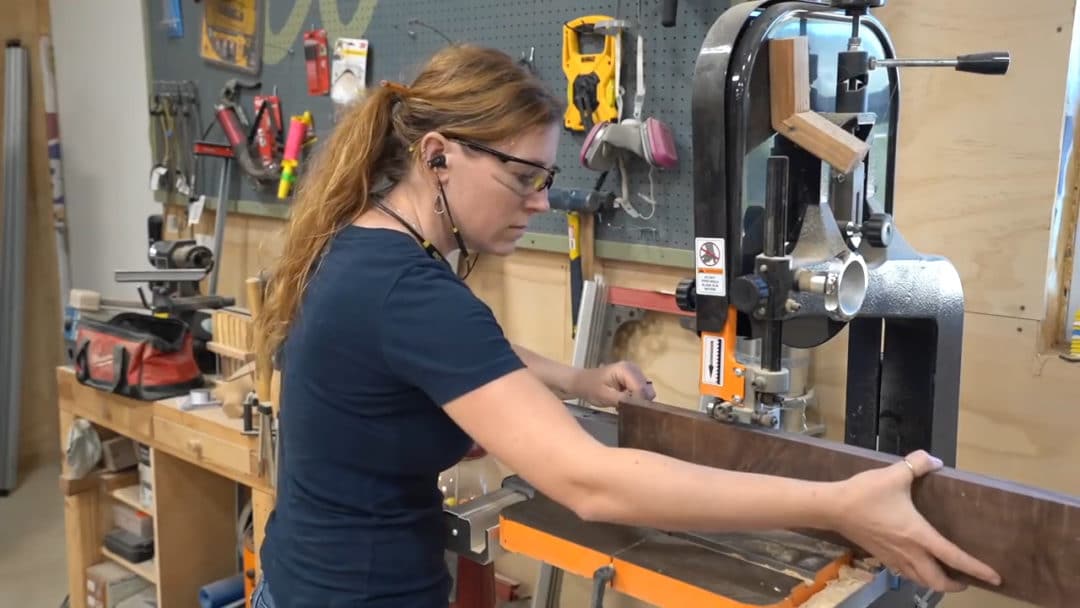
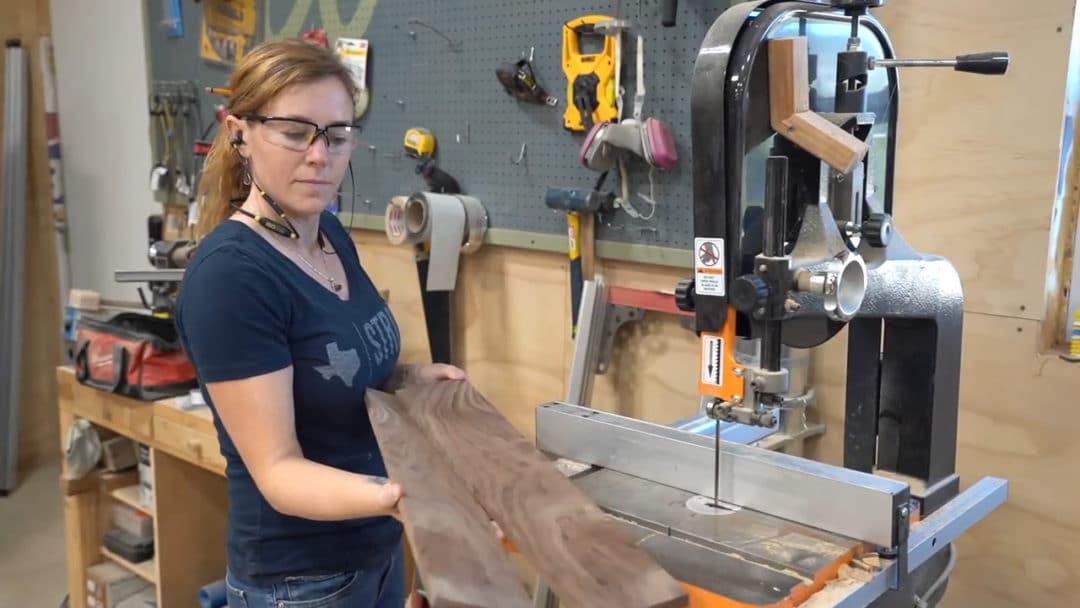
Once it was down to thickness, I used my jointer to get one face flat, then used my thickness planer to get the other face flat.
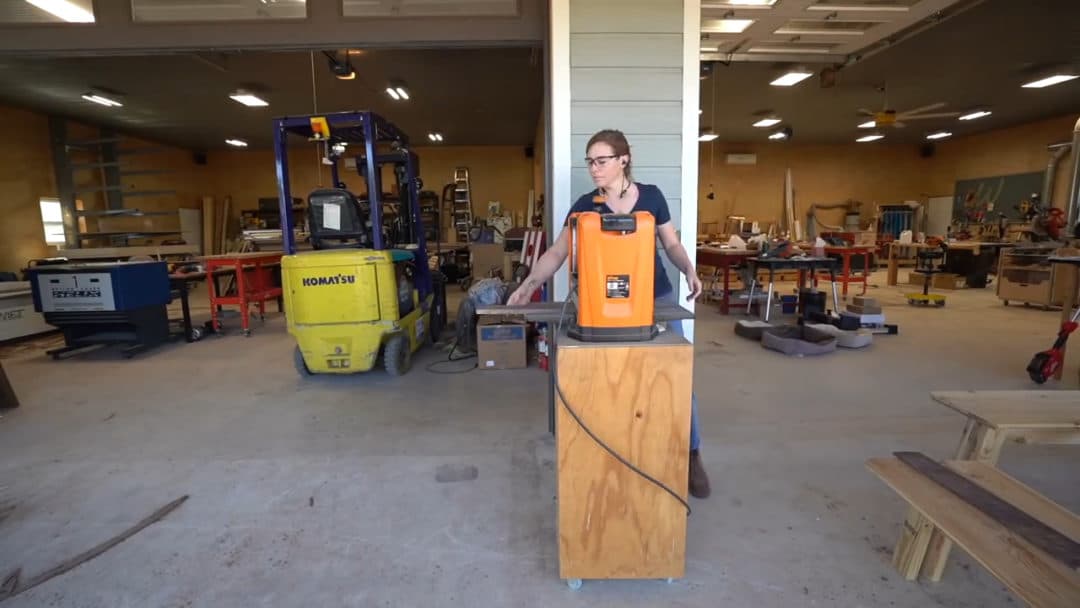
Next it was time to measure out and mark the portion to be cut away. I just made up my own numbers here but do have a free tie holder DIY plan download here if you would like a template.
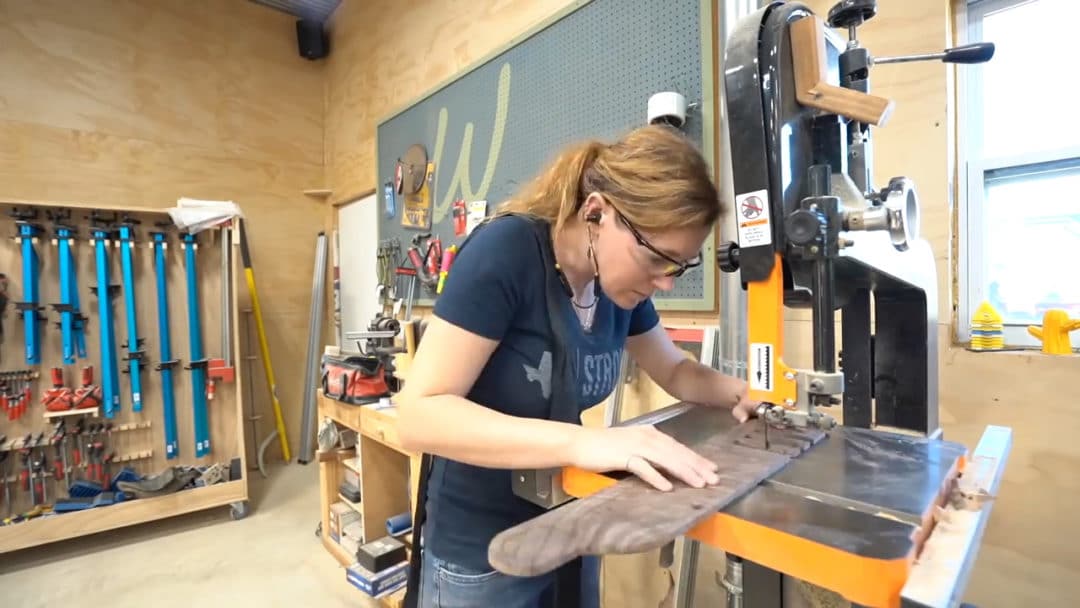
Now it was the tedious part of making all the cuts. This really isn’t too bad, I think it took me about 10 mins per holder to cut all the slots. If you don’t have a bandsaw, another alternative would be to use a jigsaw.
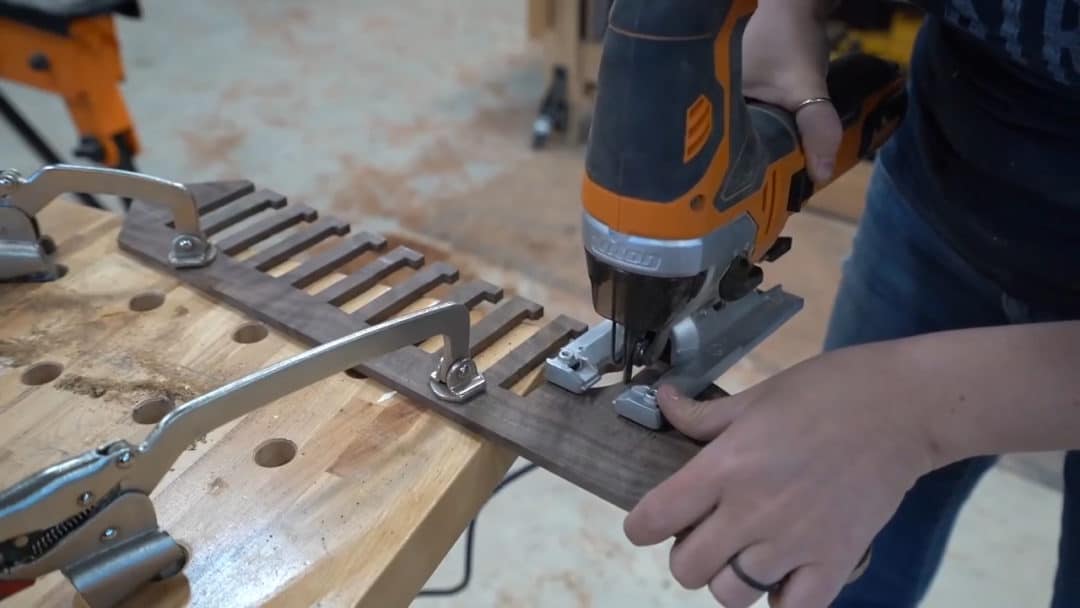
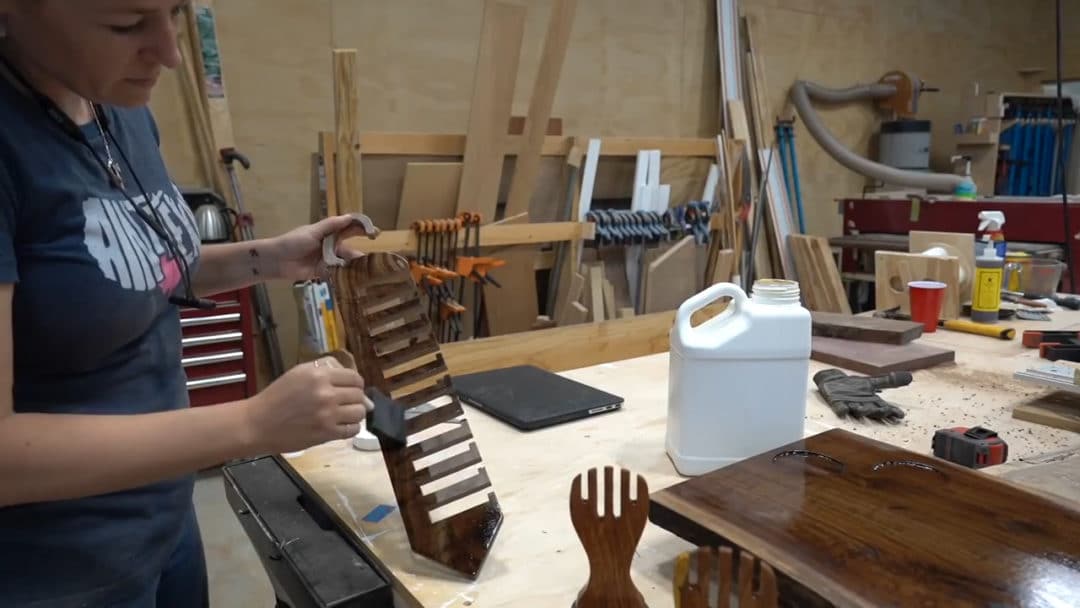
I dont know if you can see but I left a small lip on each one of my slots. And after finishing the project, I don’t think this is needed. The tie’s don’t want to fall off. So on my DIY tie holder templates, I simplified this project even further and just knocked off those lips so it is just two straight lines.
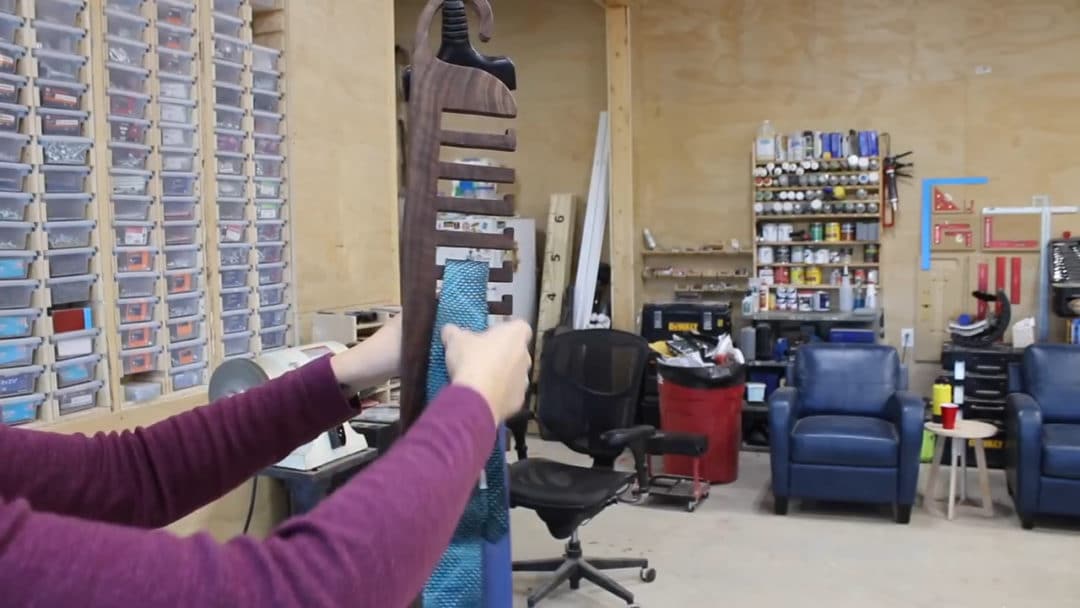
Some more sanding and a coat of finish and now this is ready to hold up to 13 ties or scarfs by simply placing the tie or scarf in one of the slots then hanging up the entire holder.
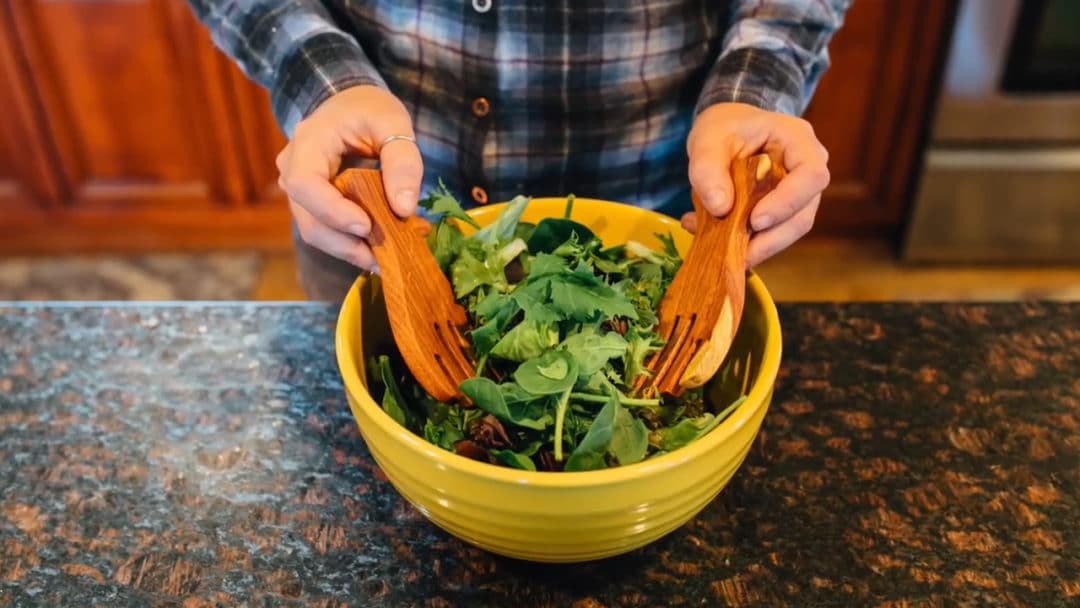
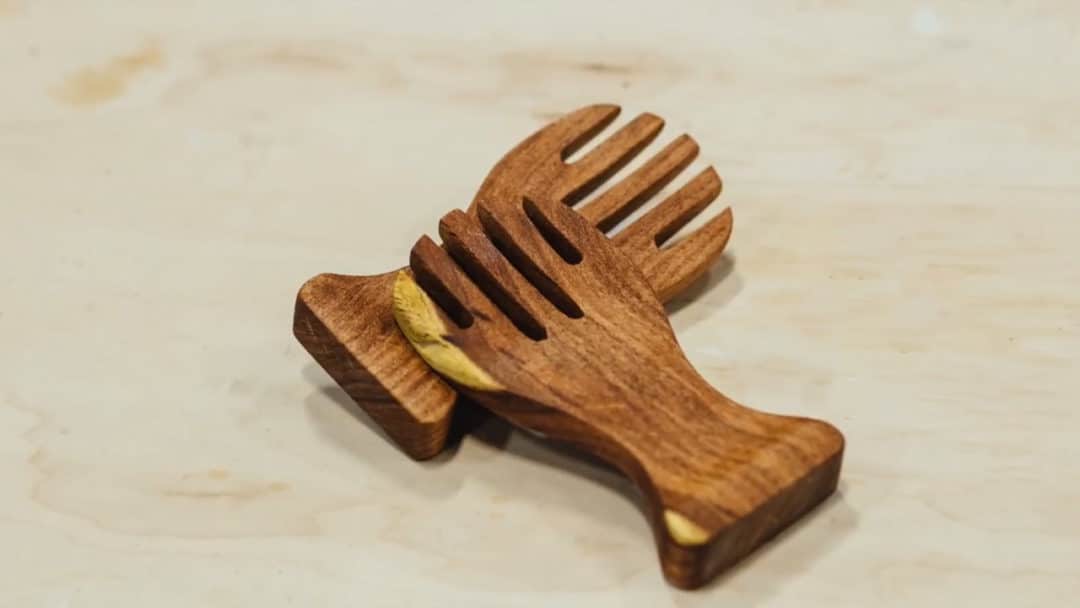
And on to the final project, which is my favorite. Salad Tongs.
I’m really on a mesquite kick right now so I once again cut into my life edge slab to cut off a chunk long enough to make my tongs.
I used a little bit of spare adhesive to temporarily attach a template for the profile of the tongs (you can find that template here). Then I cut it out over at the bandsaw.
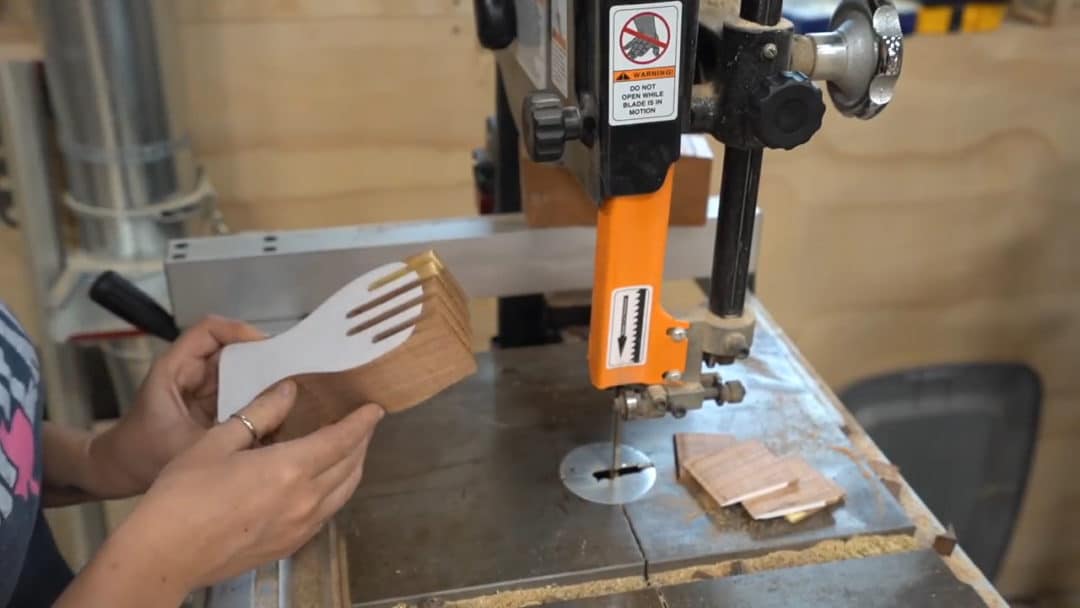
After getting the main shape, I resawed it into two.
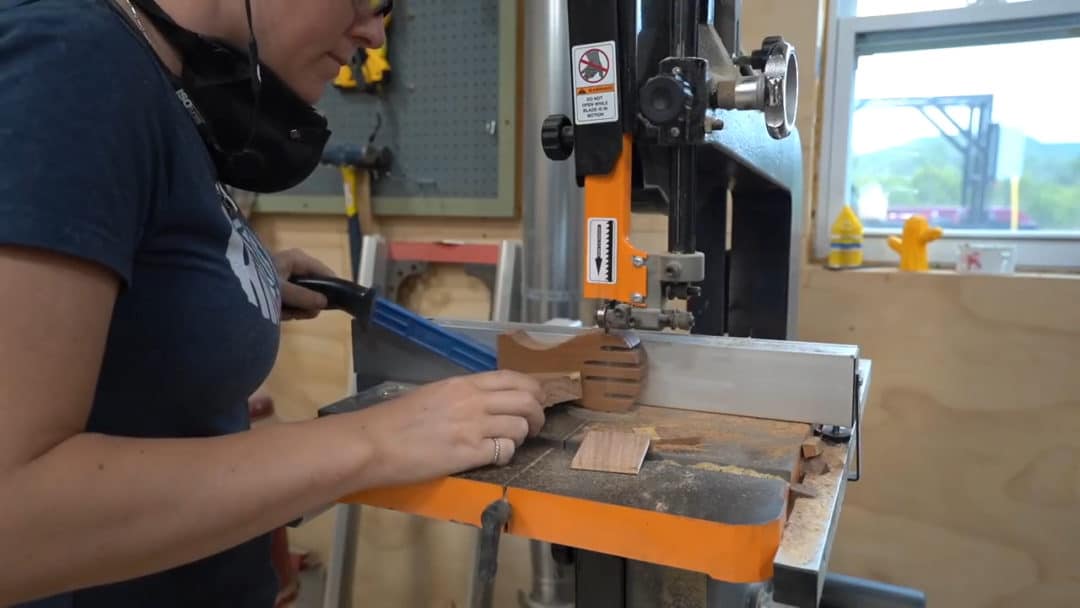
Now to get some shape into the side profile of the tongs I brought out my spindle sander. I used a kinda medium sized spindle to cut in a curved shape at the base of each tong, then bumped up to the largest spindle to cut in a rounded shape on the tong portion of each one.
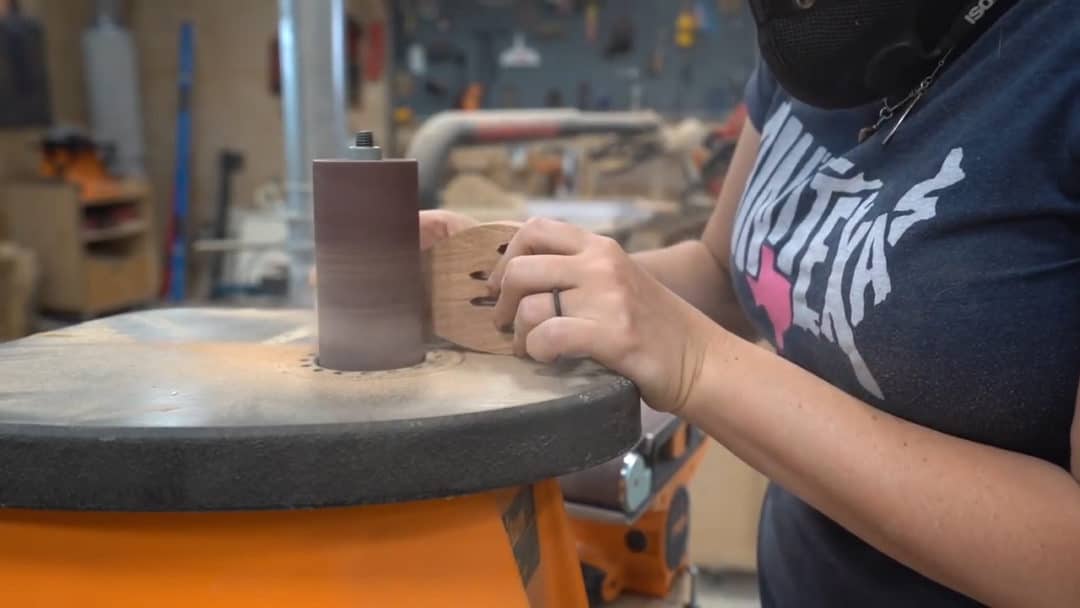
After getting the front concave shape down I used my 4” belt sander turned upside down to add a slight curve that matched it, but on the back. Then to get in between each one of the fingers of the tongs, I stuck it in my super jaws and did a little bit of sanding by hand.
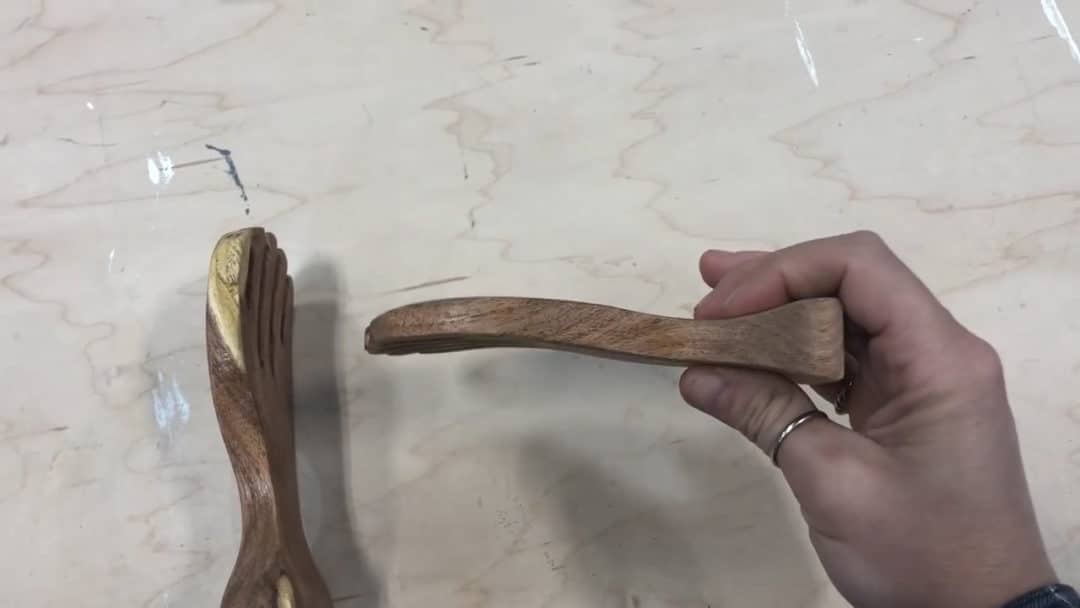
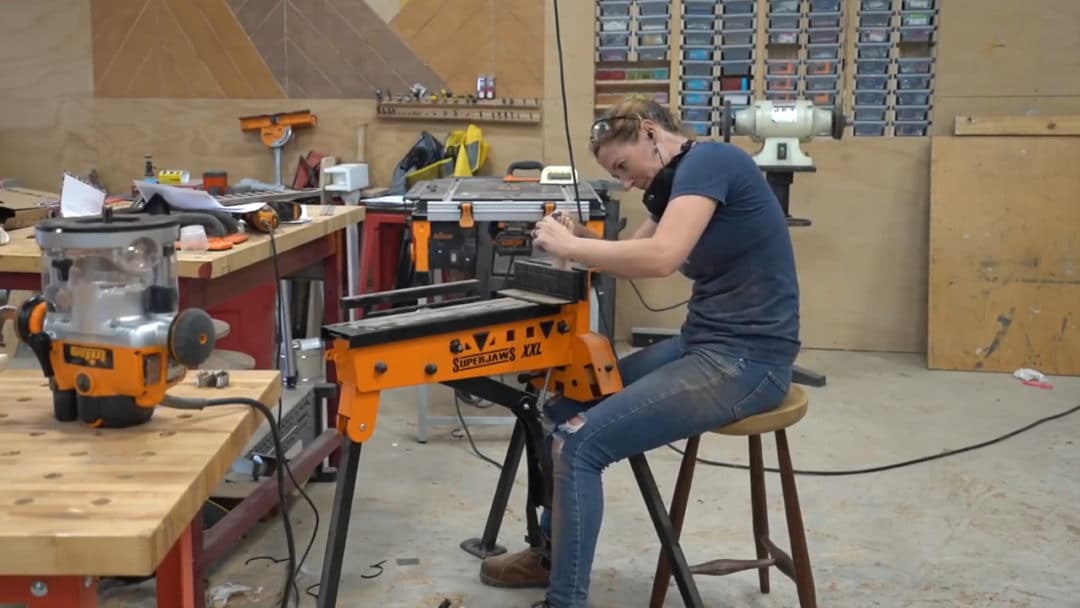
Since this one will be in contact with food, be sure to use a food safe finish. Let it dry then this gift is ready to be given. You could easily knock out a few of these from a few different wood species and let the family fight over which one they get.
You’ve still got some time to knock out some handmade, unique gifts for your friends and family. I hope this will give you at least one good idea.
Don’t forget that there are a few templates here:
If you haven’t already, don’t forget to sign up at the top of this page for my newsletter so you don’t miss new projects!
See you on my next project!
(Most of the links listed above are affiliate links. As an Amazon Associate I earn from qualifying purchases)