How to Build a Modern Wall Shelf in 7 Surprisingly Easy Steps!
- Random DIY Projects
- April Wilkerson
- Updated: April 4, 2023
In this video I’m going to show you how I built this shelf. It might look simple, but it was actually full of little tricky things to figure out. But! It was worth it, as I had this very generic store bought shelf in my home before, and was finally able to replace it with something I’ve made instead.
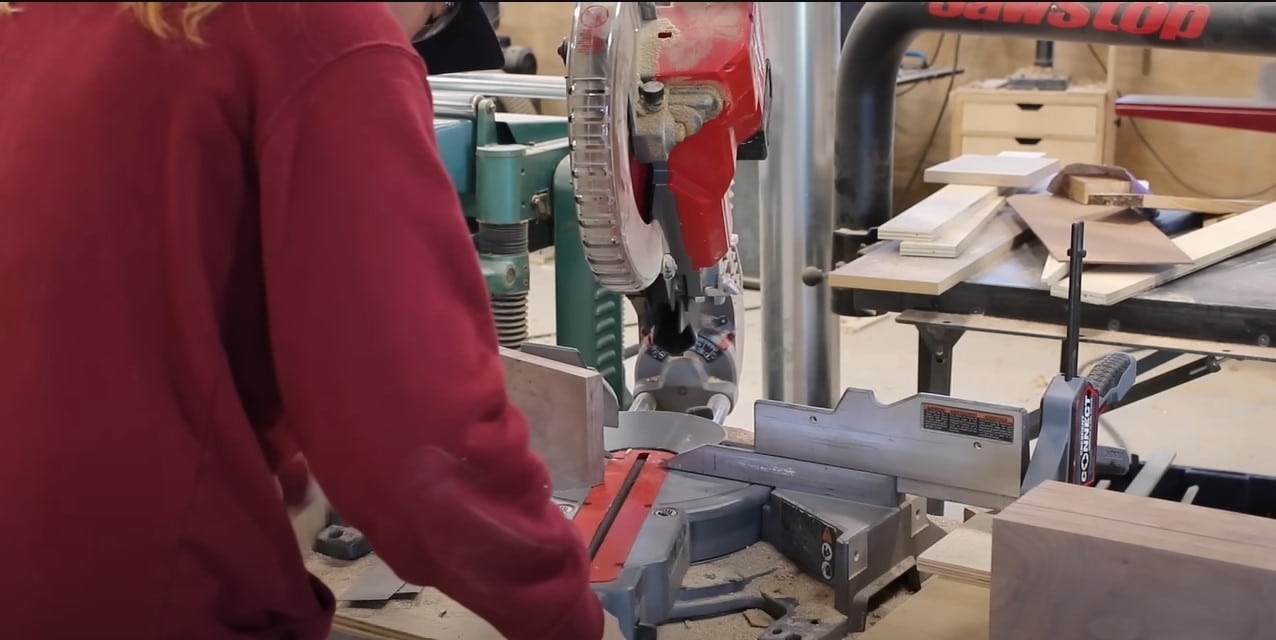
I had walnut and maple in my shop already so I made mine from that. I started by cutting to length all the parts to make up the center hexagon that’s made from walnut. I cut all these boards just slightly longer than really needed. So that in the next step, when I cut in all the angles, I could have some wiggle room to get them all perfect. I first cut in the miter cut on one end of each board needed. Then when cutting the second side, I set up a stop block so I could make sure they all turned out the same. You can test the accuracy by placing them back to back to each other.
Next I did a test fit just to make sure things were looking correct. They were, so next I prepped to start applying glue. When doing miters it’s a good trick to lay down a piece of tape on the inside face first because there will be glue squeeze out and the inside face is always a little time consuming to clean up but a piece of tape lining the miter, solves that.
Another tape trick to help with gluing up miters is to lay out a length of tape long enough for all the pieces. My arms are just barley long enough, and I actually laid down two because of the depth of my pieces. This is so I can lay all my parts, perfectly end to end, on top of the tape. Then I apply the glue. I’m not going overboard on the glue, I’m just making sure the entire face of each miter is covered.
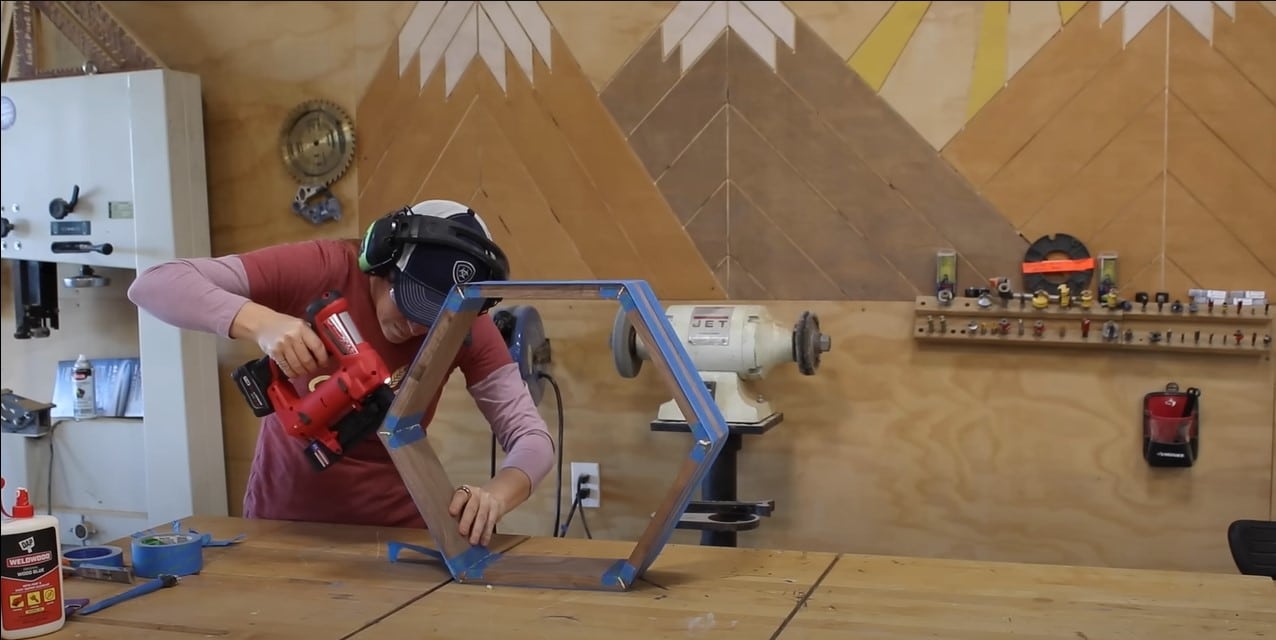
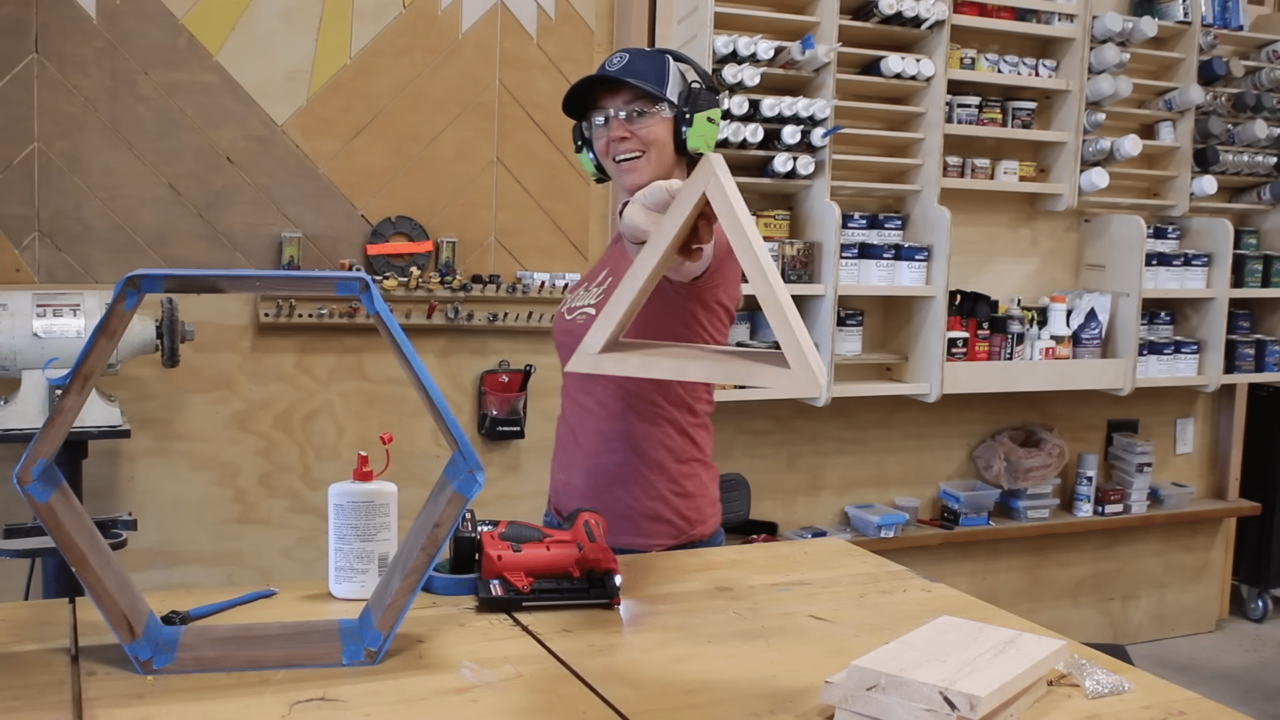
Now I can start on one end, and roll things together. Using that tape to help each each miter in it’s place as I make the roll. The tape can also act as a clamp, giving me a way to hold the hexagon together as the glue has time to set up. However, since I have a 23 gauge nailer, I went ahead and shot a few pin nails into each joint so I wouldn’t have to wait for the glue to dry. If you don’t have a pin nailer, then give it an hour before removing the tape.
There’s actually two more walnut pieces to this unit but they are just straight shelves with no explanations needed so lets move on to the maple triangles that accompany the walnut hex.
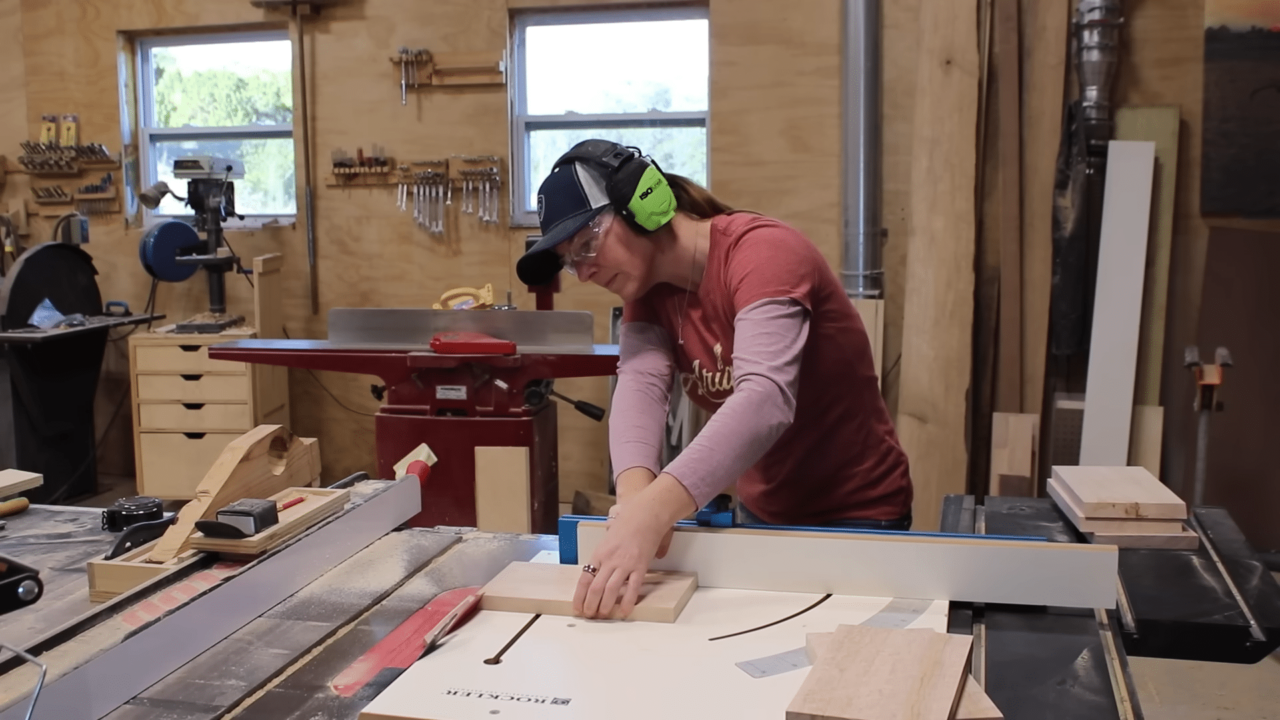
These can absolutely be cut the same way as the walnut mitered pieces at the miter saw however I wanted to show you a different method that is typically more accurate and that is with a sled at the table saw.
If you have a table saw then I do recommend doing all the pieces this way. What I did was tilt the blade of my saw then use a sled to move my piece through the blade to cut one end on all the pieces. Then I set up a stop block to cut all the board’s second end, also cutting the board to length with this cut. Any time you’re making a geometric shape like these, the final product will look the best if all the pieces are as identical as possible which is where using a more accurate tool will pay off but know that it can still be made regardless on which tool you have.
Unlike the hex, the triangle will actually have an exposed miter cut on all three sides so I did a dry fit to first align things…..there we are. This way I could make sure I was applying glue to the correct portion of the board. The roll up tape trick doesn’t work on a connection like this so instead I threw in a few pin nails on each side. However, if you don’t have a pin nailer remember that tape is a great clamp while glue sets up!
Since my design has two triangles, I repeated the process to make a second.
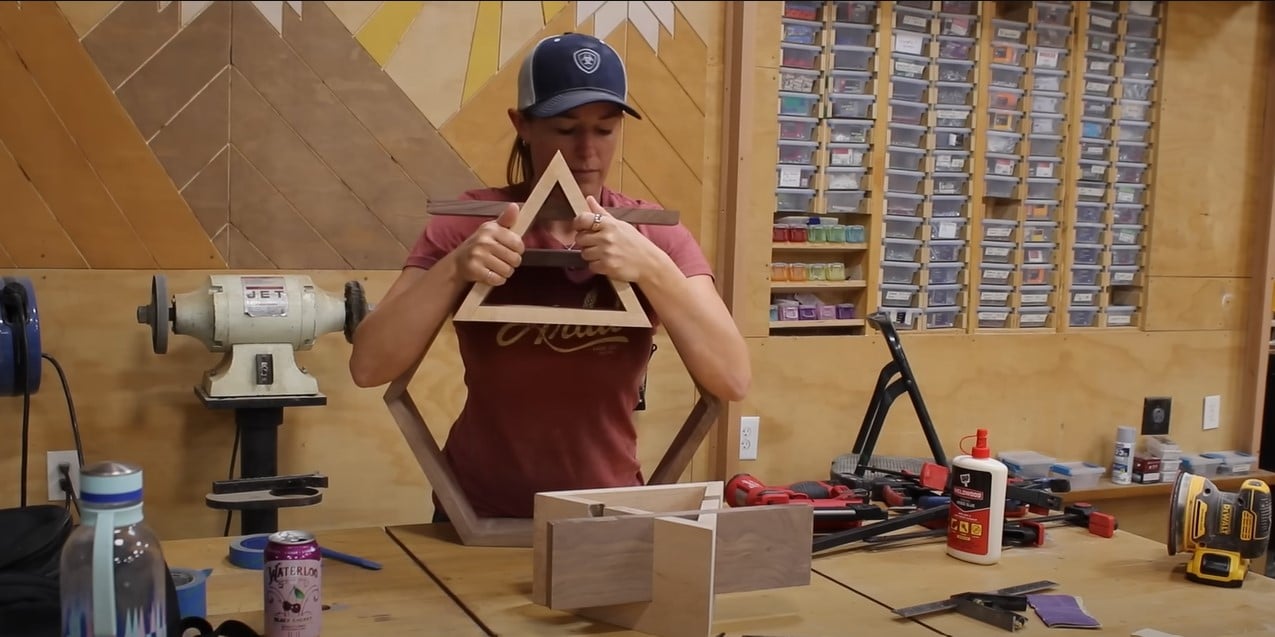
Now, the tricky part folks. Joining things together. In the end product, these triangles will slip right over the horizontal portion of the hexagon shelf. I would actually prefer to make these cuts at the table saw but the blade on it will only go to 3” and I needed 4”. So instead I used the miter saw.
After making all my marks indicating where the cuts needed to be, I set the depth on my miter saw so it could go 4” deep. I cut the outline lines of my marks, actually going slightly inside them because you can always take away more but it’s hard to put back. My intention was to take away the remaining inside one cut at a time, but the first cut was enough to break it out of there. With that done, I just had to get the bottom flat which I did by lowering the saw to it’s full depth of 4” then slowly moving my board left and right until the blade hit the side walls of my cut.
I kept my shelf piece handy so I could test fit things and make adjustments. It was too small to start, so I took a little bit more away until the shelf could easily slip into place.
The thing I like about the miter saw for the triangles is I was able to cut both slots at the same time but on the shelf I took a different approach to show you an alternative method should you want to build these
For the shelf I used the bandsaw.
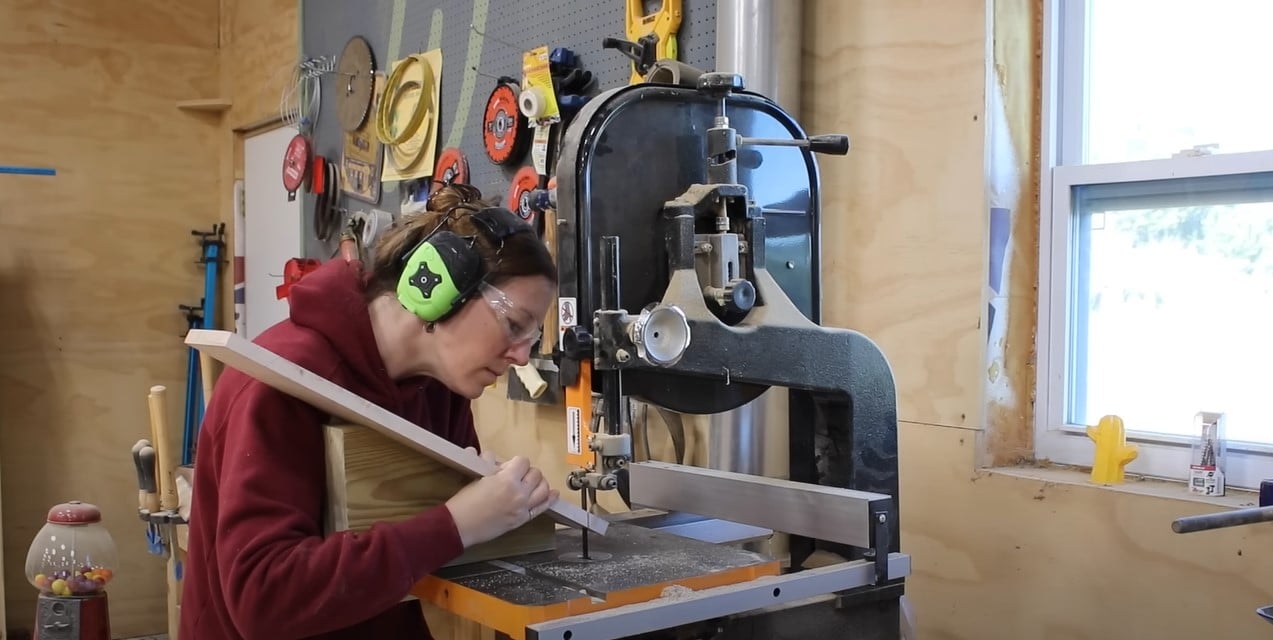
The thing with the bandsaw is the deck will tilt but only one way, and I’m going to show you that cut first even though I made it second in real life. This cut is easy, tilt the deck, line up the blade, make both outside cuts first, then chop away the inners until you have a nice rectangle hole. To get a flat bottom, I like to get close to the line with my straight cuts, but then, just like what I did at the miter saw, I move the piece slowly left and right going across the blade to level things out.
For the second cut, which is opposite of the first, you can’t move the table down so instead I moved the part up by way of a jig. This jig is a scrap of wood that is cut to the proper angle, that is secured to the miter gauge of the bandsaw, then another scrap is attached to the top to give me a fence to hold my part flush up against. This will allow me to hold my part in place and move it into the blade at a 90 but it actually be cutting in at the angle needed to slip right on the other parts.
Lets see if it worked. On this part I was being very careful because those outside pieces will be fragile and break off if I forced it down too much. So I took my time to wiggle it on nice and square.
That was the last complicated bit, now it was just down to finishing. For a hanging method, I attached some simple store bought brackets to the top walnut horizontal shelf. Since everything is attached, it’s the only thing that’s needed.
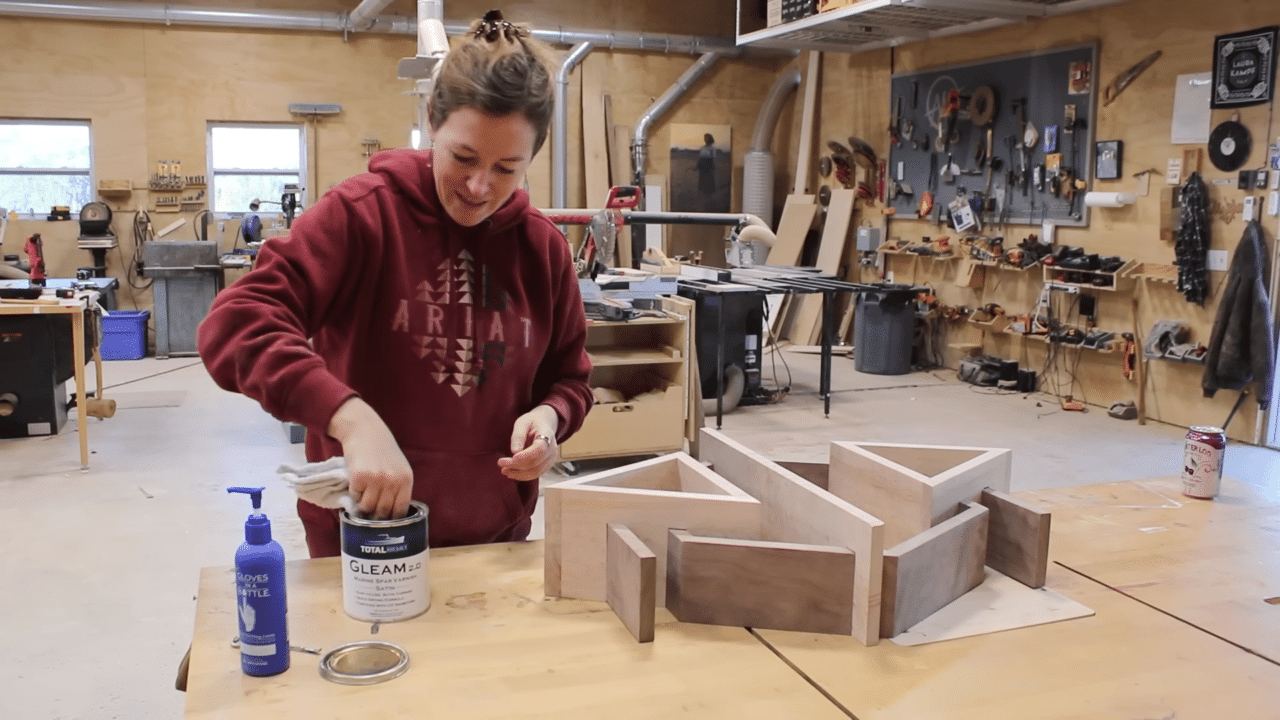
Then I put on a coat of finish. Something I’ve taken to doing is applying some shielding lotion to my hand prior to finishing. This lotion is called Gloves in a Bottle and bonds with the top layer of your skin to prevent things like stains, paint, or any other finishes from penetrating that first layer. It’s such simple protection if you keep a pump bottle in your shop like I do. Oh and don’t worry, it doesn’t leave your hands greesy.
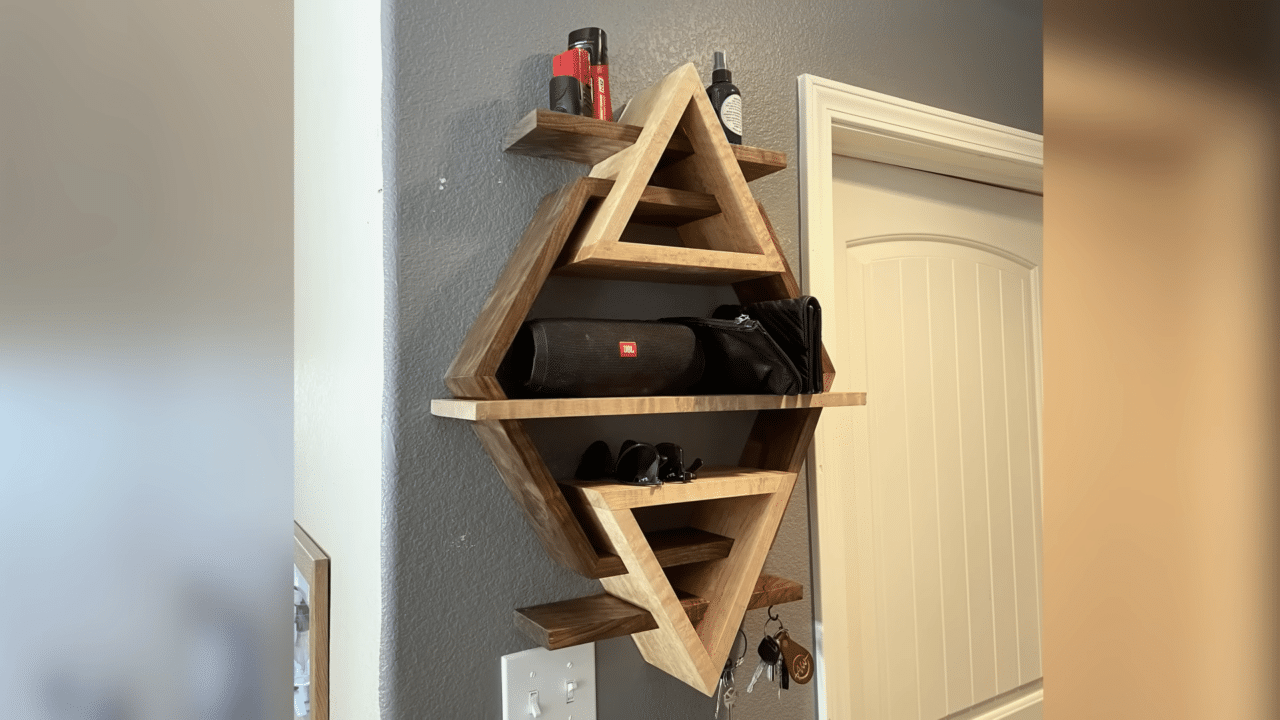
After letting the coat of finish dry, the only thing left to do was remove the old boring shelf and install my new custom one. I know it’s a little unconventional but there are enough flat surfaces to hold the items I like to store over here, which include a speaker, glasses, clutches, and keys. I only placed hooks on one side to keep the light switch in the area, clear.
We did it! You’ve built a modern wall shelf to help spice up your living space. I love how much stuff you can put on these.
If you liked this project, check out my website where I have a ton of building plans to help you with another project.